Duplicator Migration
Some of you may prefer to migrate your WordPress site yourself, maybe due to sensitive data, or perhaps you just want to do it immediately rather than coordinating with us. For migrating your site to Kinsta, one of the plugins we recommend is the free version of the WordPress Duplicator plugin.
However, please note that Duplicator may not be fully compatible with some WordPress sites. Our Support team is always happy to help with basic migration questions, but cannot assist with failed migrations after the fact, as this falls outside of the scope of our support.
All of our plans include one or more free migrations. If you’re at all worried about the integrity of your data, we highly recommend using our professional migration team. Additional migrations can be purchased for a one-time fee of $100, and we also offer bulk migration pricing.
Overview of Duplicator Migration
Duplicator generates two files: a zip file containing an archive of all files and the database, and an installer.php file that can be used to restore the site using the archive.
Once you’ve generated the archive file and downloaded both the archive file and the installer.php file, you simply upload those two files to your new Kinsta site and then run the installer.php file by accessing it using your temporary Kinsta URL.
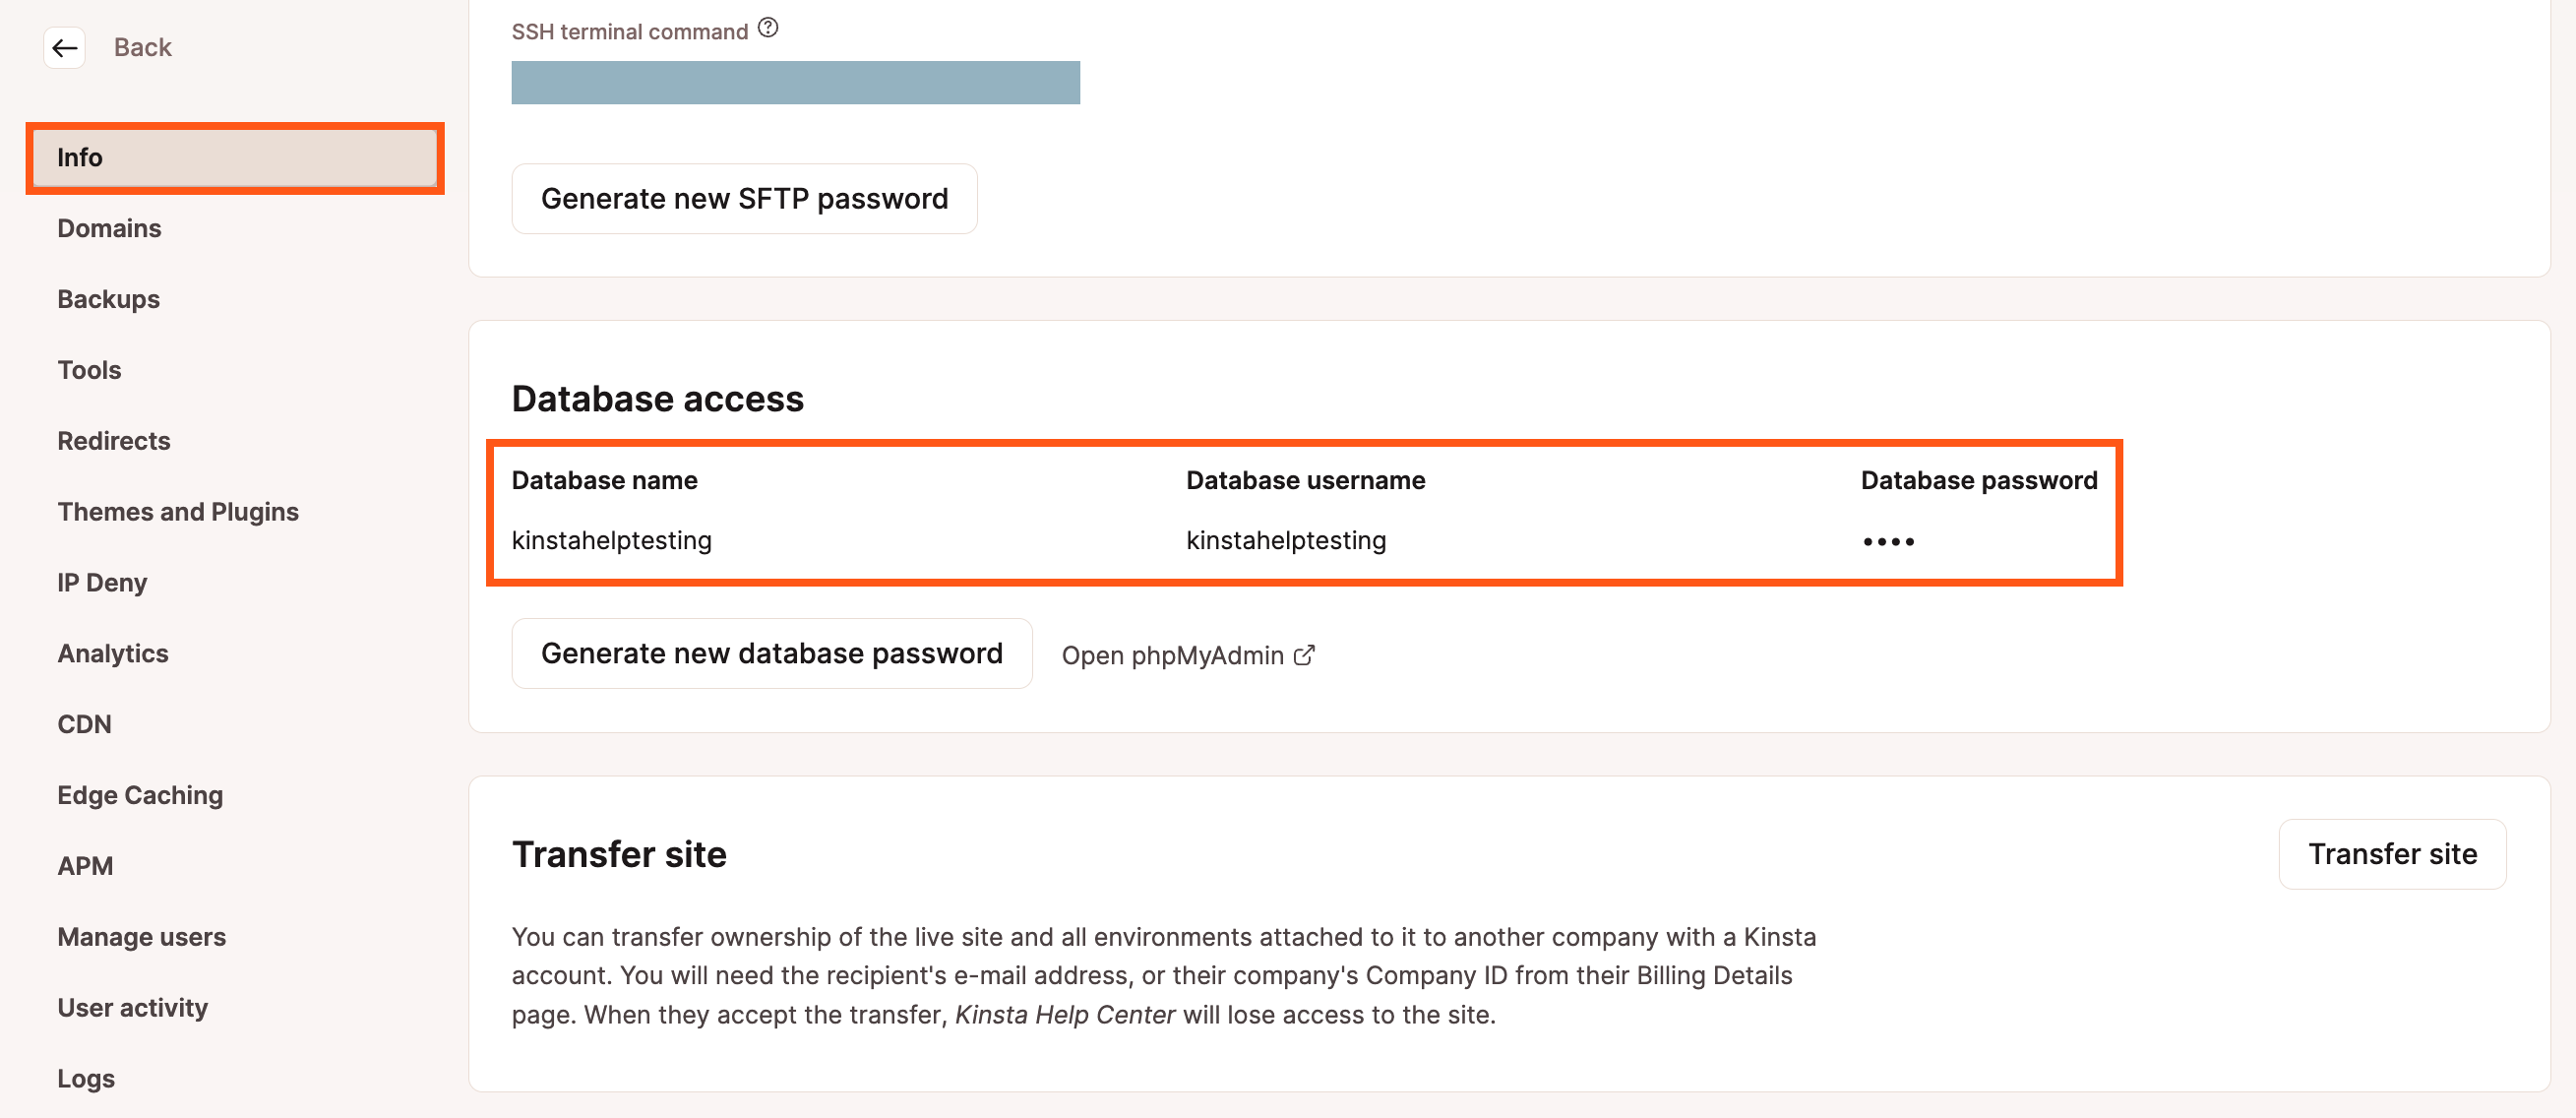
Duplicator will then walk you through the restoration process. During the restoration process, you will be asked for the new database connection details. You will need to copy and paste the database access details found on the Info tab for the site in MyKinsta.
Duplicator will then update your wp-config.php file and rewrite the URLs in the database with the temporary Kinsta URL (e.g., example.kinsta.cloud). Rewriting the URLs will allow you to test your site as hosted on Kinsta without actually pointing your live site to Kinsta. (We’ll do that at the end once you’ve confirmed the site was migrated without issue, at which point we’ll also reverse the URL rewriting process to swap the temporary URL with your live URL in the database.)
Preparing for the Migration
Migrating a Multisite
If you’re migrating a WordPress Multisite network, there are a few things you’ll need to take into consideration. If you’ll be migrating a subdirectory multisite, you’ll need to contact our Support team so they can enable the necessary Nginx configuration for subdirectory multisite.
We also recommend reviewing the WordPress Duplicator plugin documentation for migrating WordPress Multisite. Other than the additional steps noted in Duplicator’s documentation, the steps below still apply.
Create a Backup on your Current Host
If your existing web hosting company has a way to create a full-site backup, go ahead and do that before proceeding with the migration. The migration process itself should not have any effect on your live site, but it doesn’t hurt to create a backup beforehand, and backups are always a good idea.
If your existing web hosting company does not have an option to create a full-site backup, then you can skip this step.
Create the Site on Kinsta
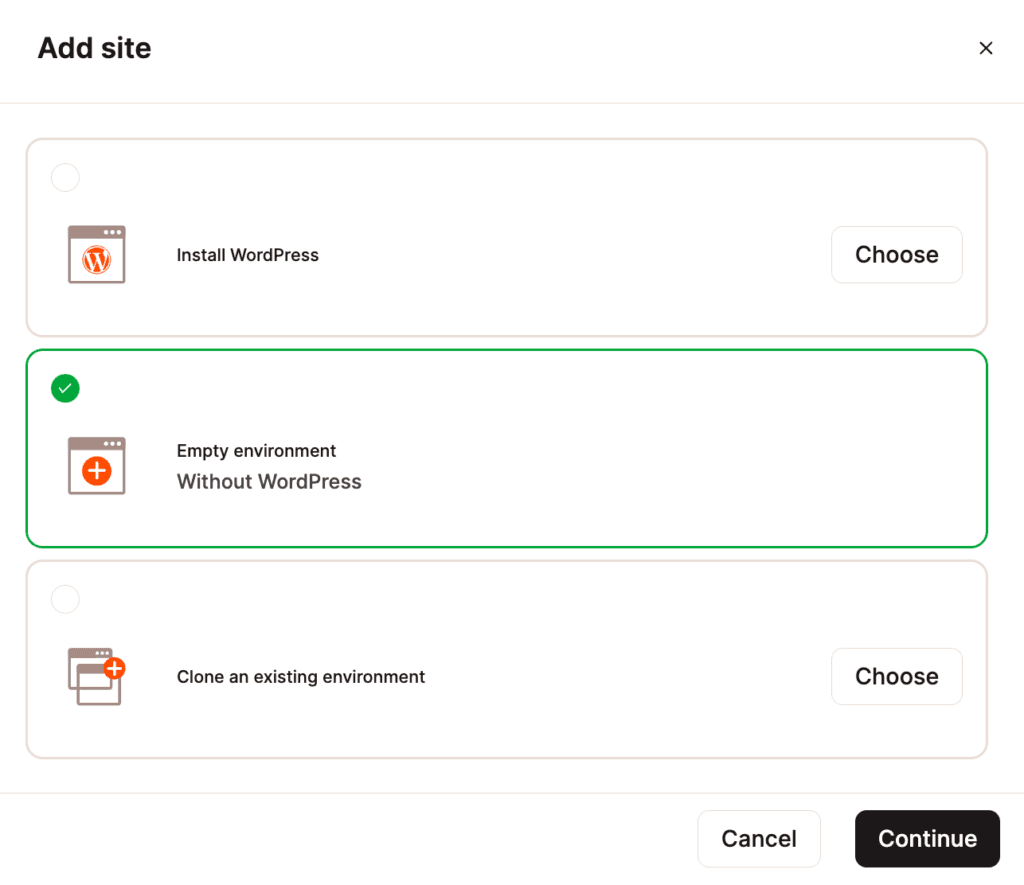
Create a new site inside your Kinsta account for this migration. In MyKinsta, go to WordPress Sites and click the Add Site button. In the modal/pop-up that appears, choose Empty environment (we’ll be migrating your existing WordPress site over, so there’s no need to install WordPress).
Creating the Archive
The next step is to create an archive of your current site using the Duplicator plugin. In this section, we’ll install the WordPress Duplicator plugin on your site, build an archive package that includes all your files and database, and download the archive and the installer.php file.
Disable Caching Plugins
Caching can cause problems during migrations, so it’s best to disable any caching plugins (e.g., Autoptimize, W3 Total Cache, etc.) before creating the archive that you’ll transfer to Kinsta. We have a list of disallowed plugins that you’ll also want to review.
Install and Activate the Duplicator Plugin
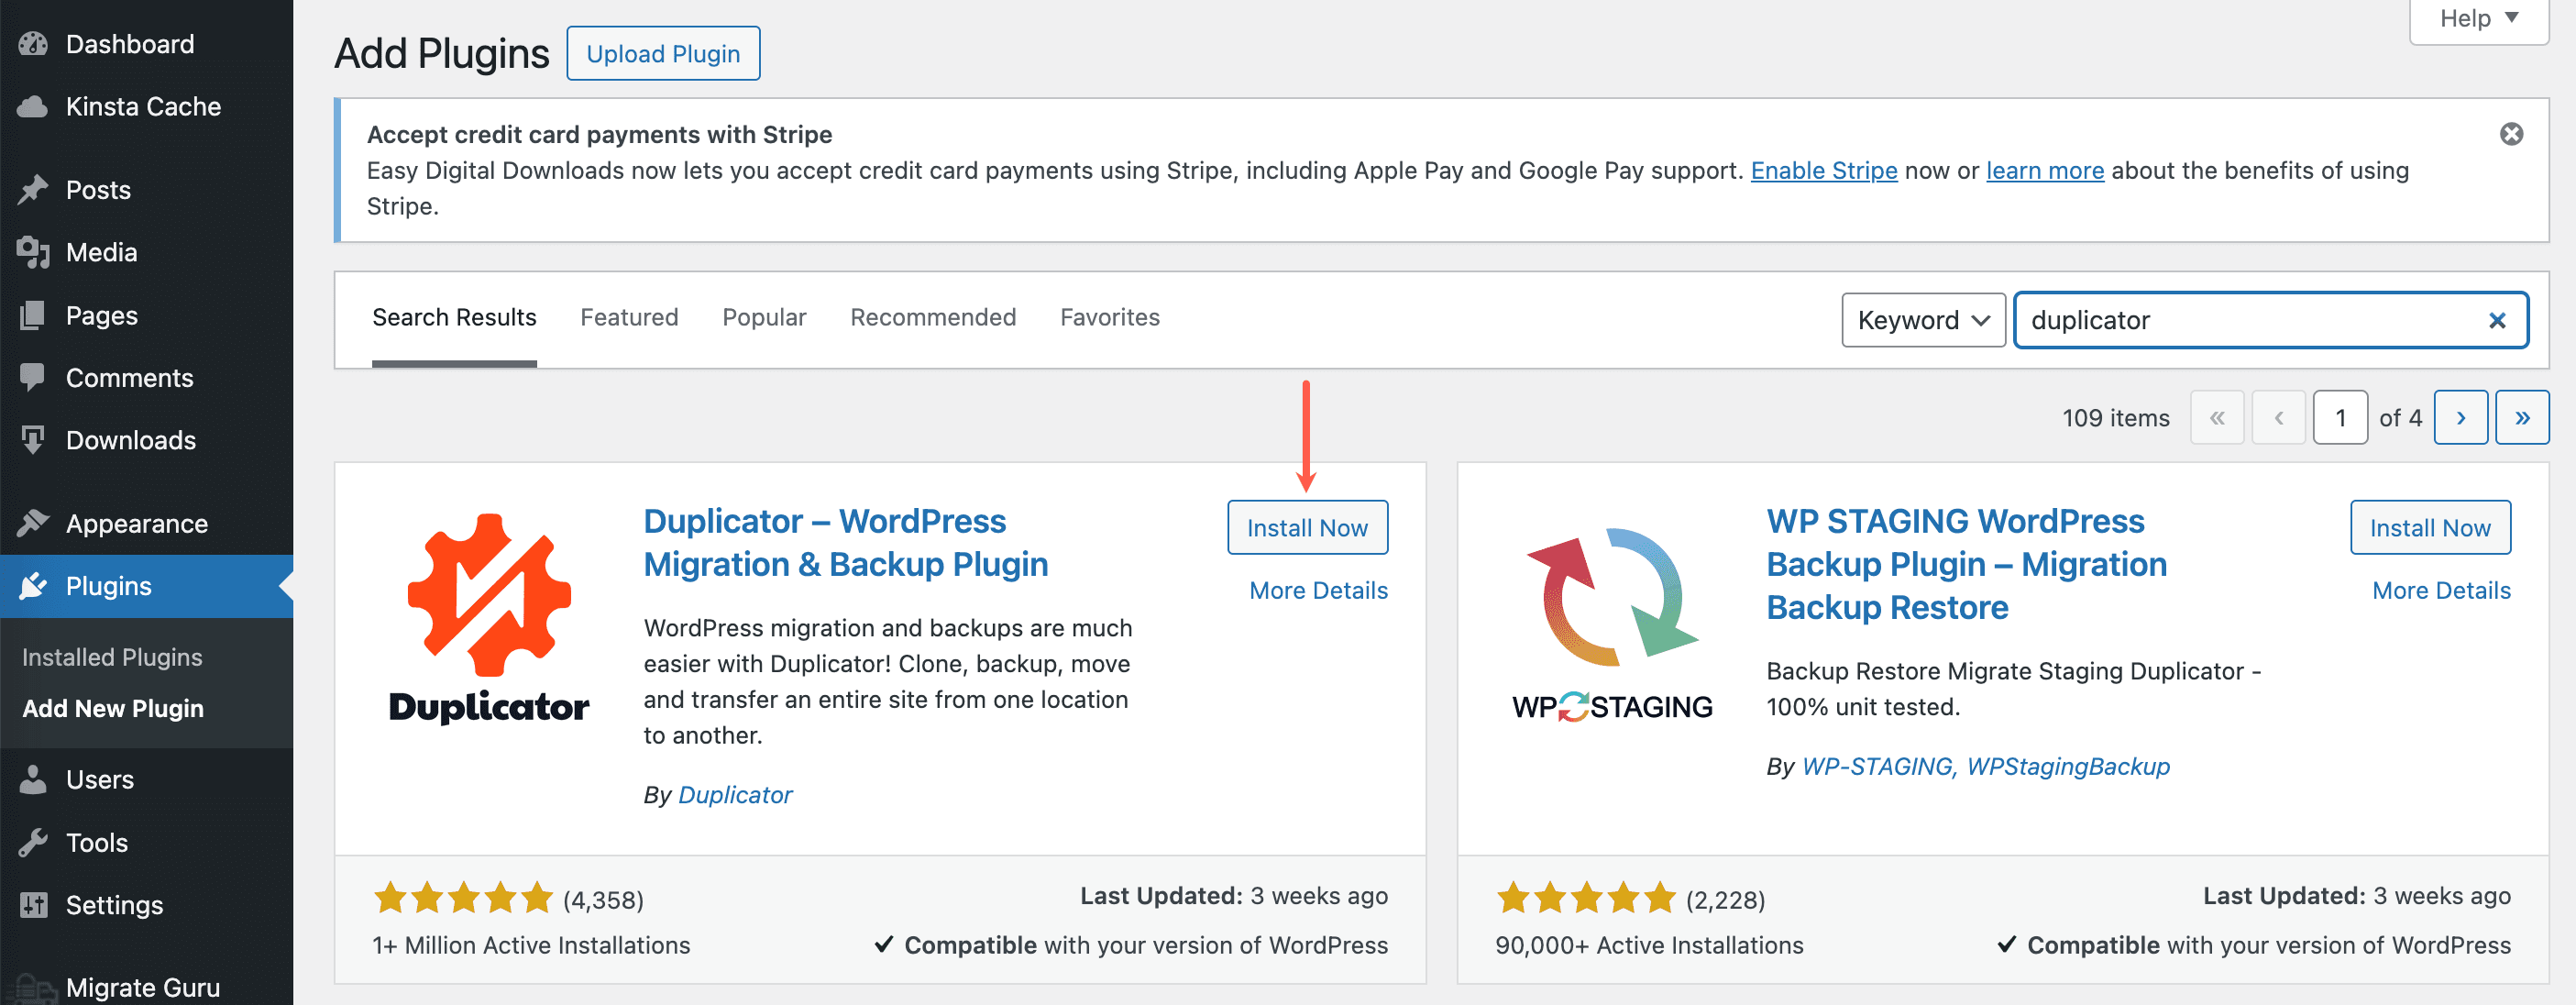
On the WordPress Dashboard for the website you want to migrate, navigate to Plugins > Add New and search for “Duplicator.” Install and activate “Duplicator – WordPress Migration Plugin.”
Create the Site Archive
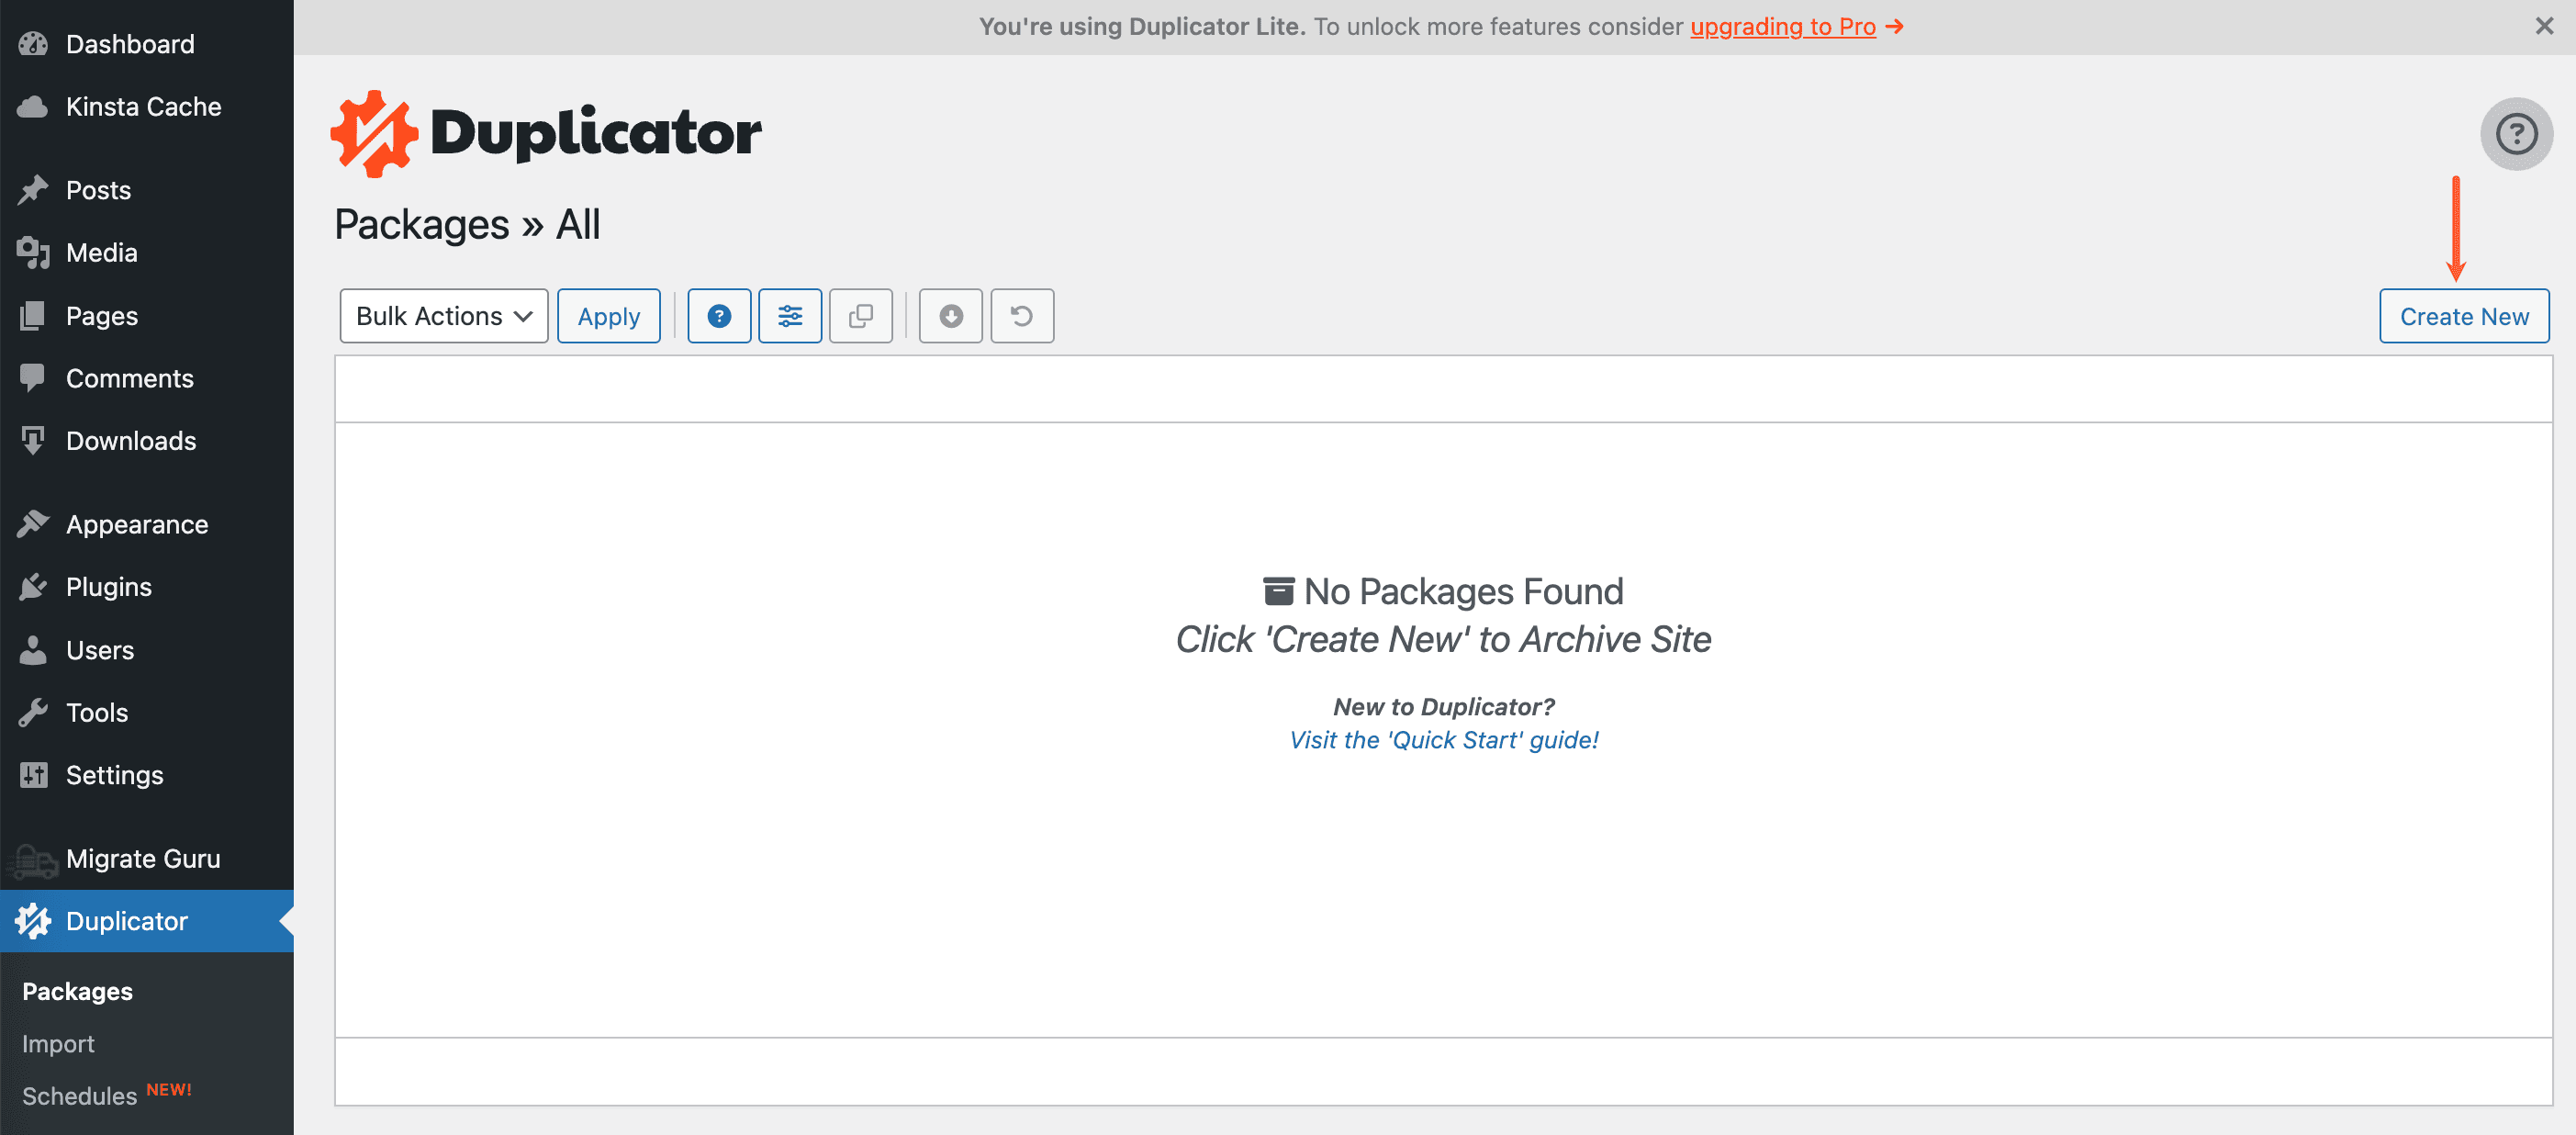
Once you have activated the Duplicator plugin, go to Duplicator > Packages and click the Create New button to create a new archive package.
Follow the prompts through the three steps to build an archive package. In most cases, you should be able to use the default settings.
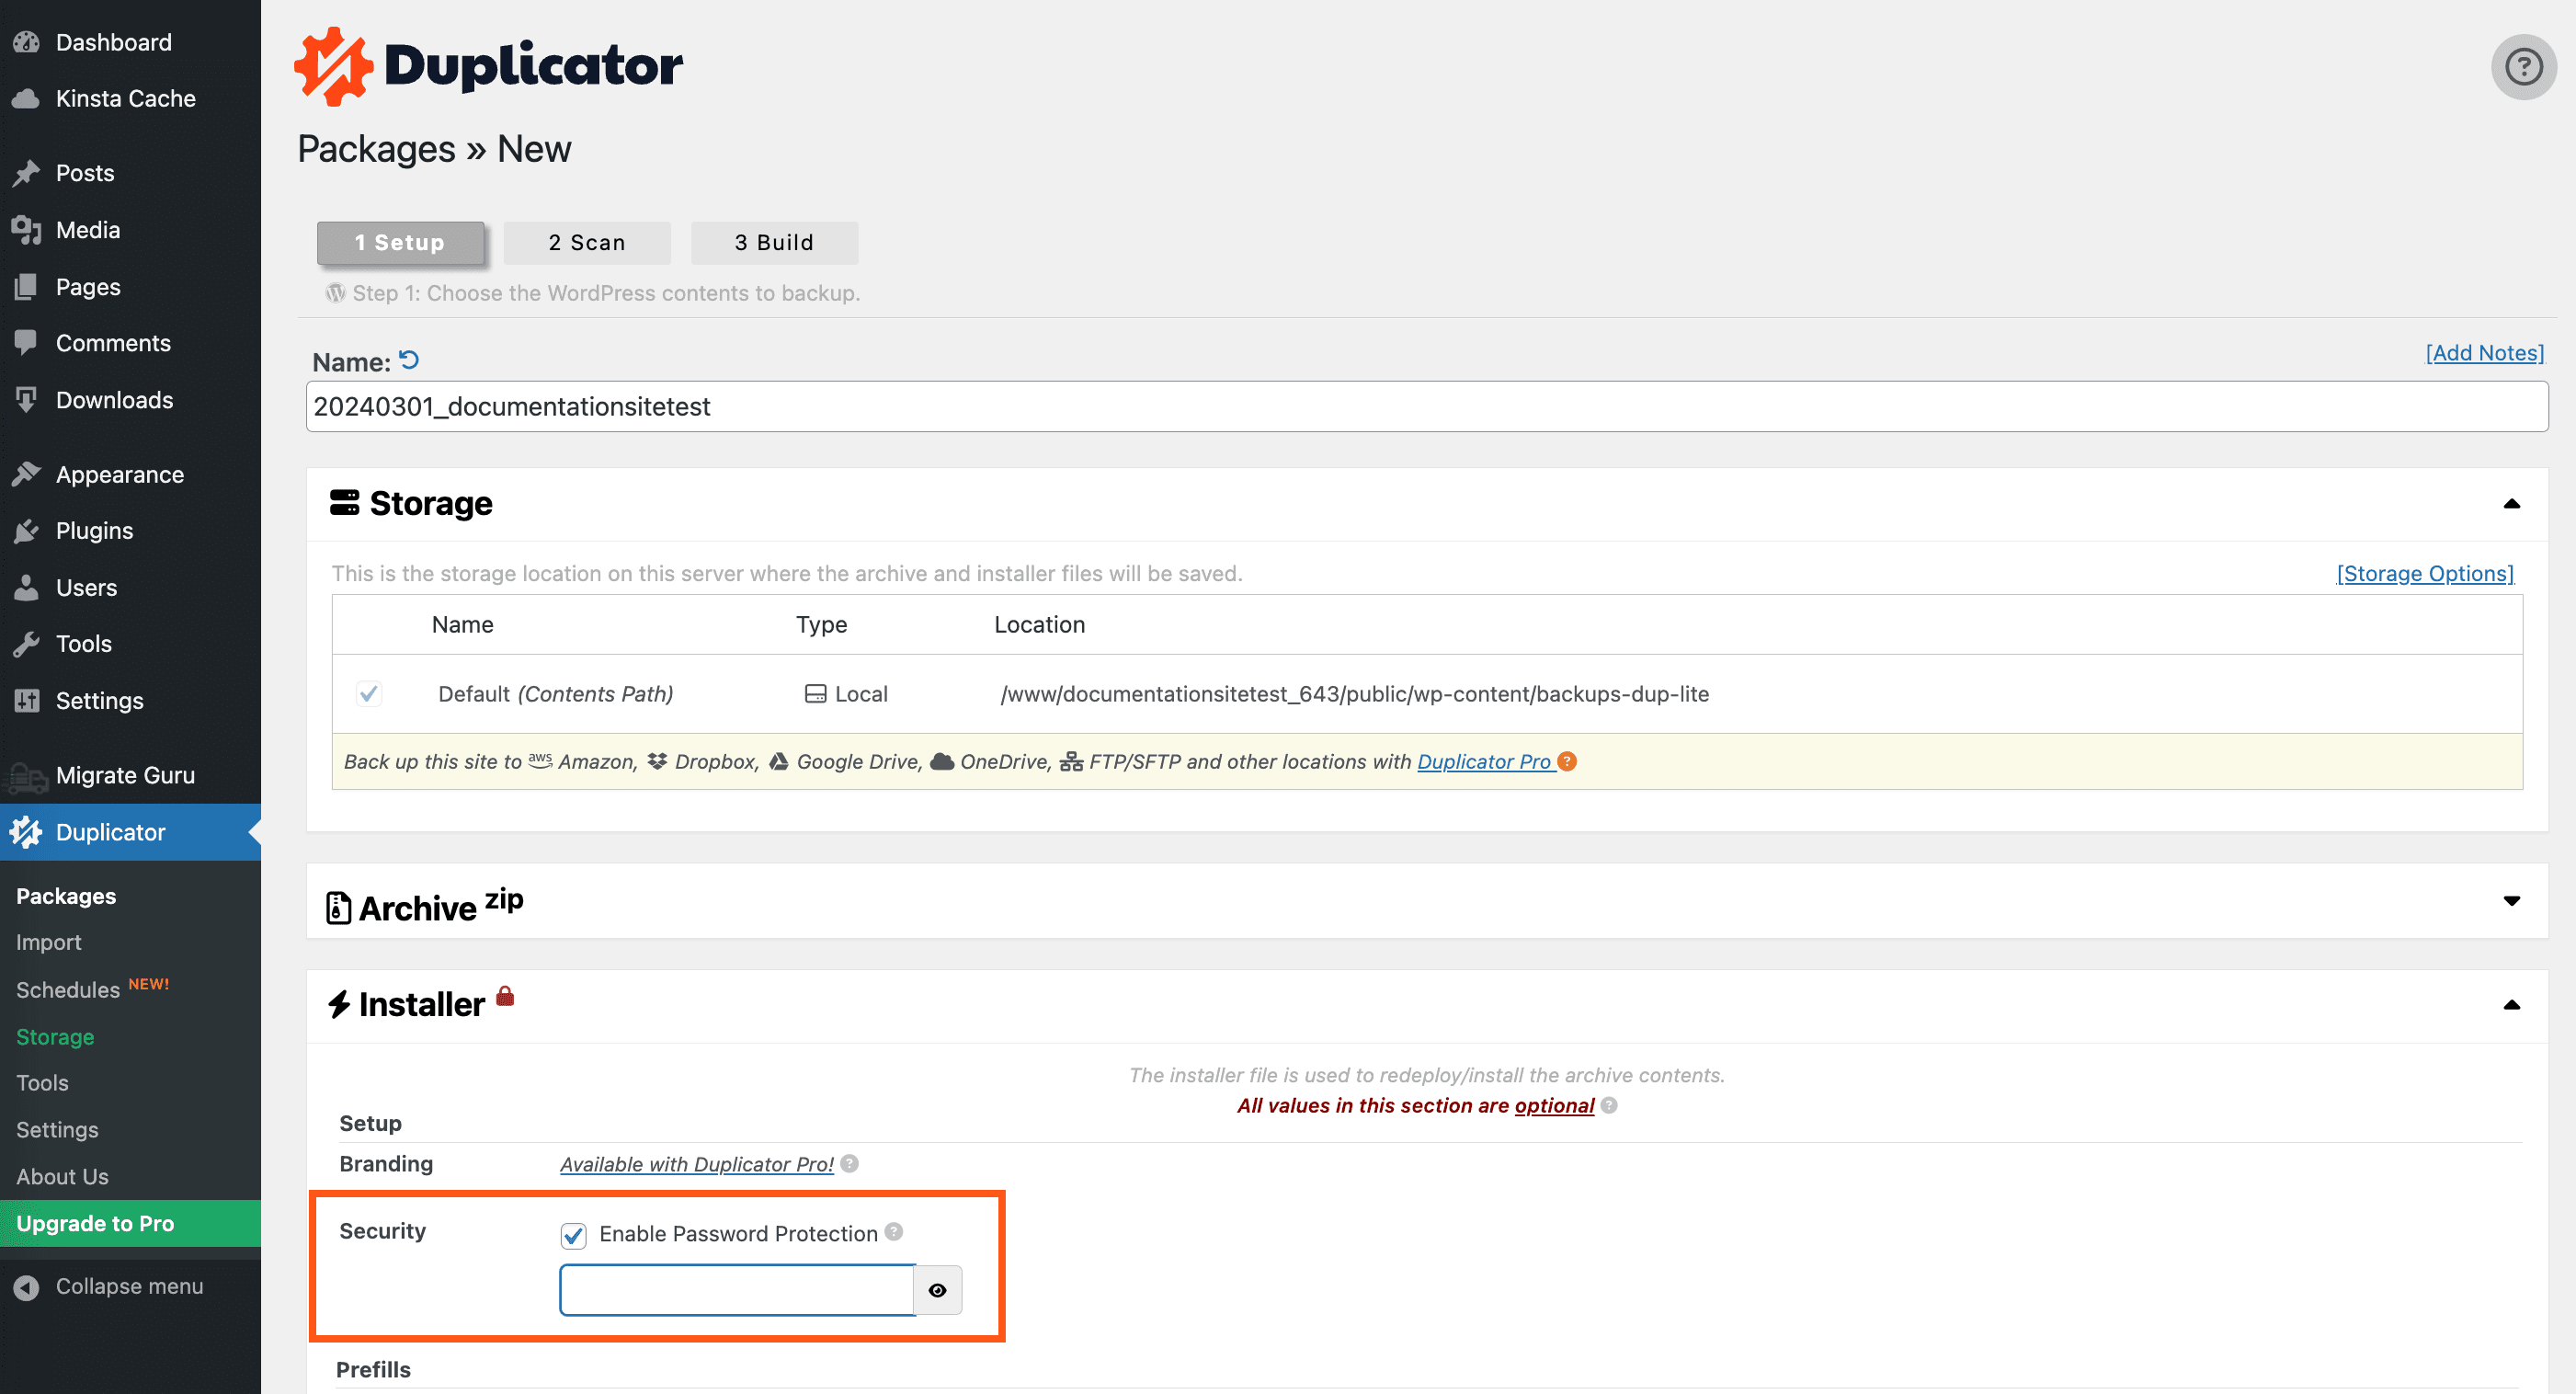
It’s highly recommended that under the Installer option, you enable password protection.
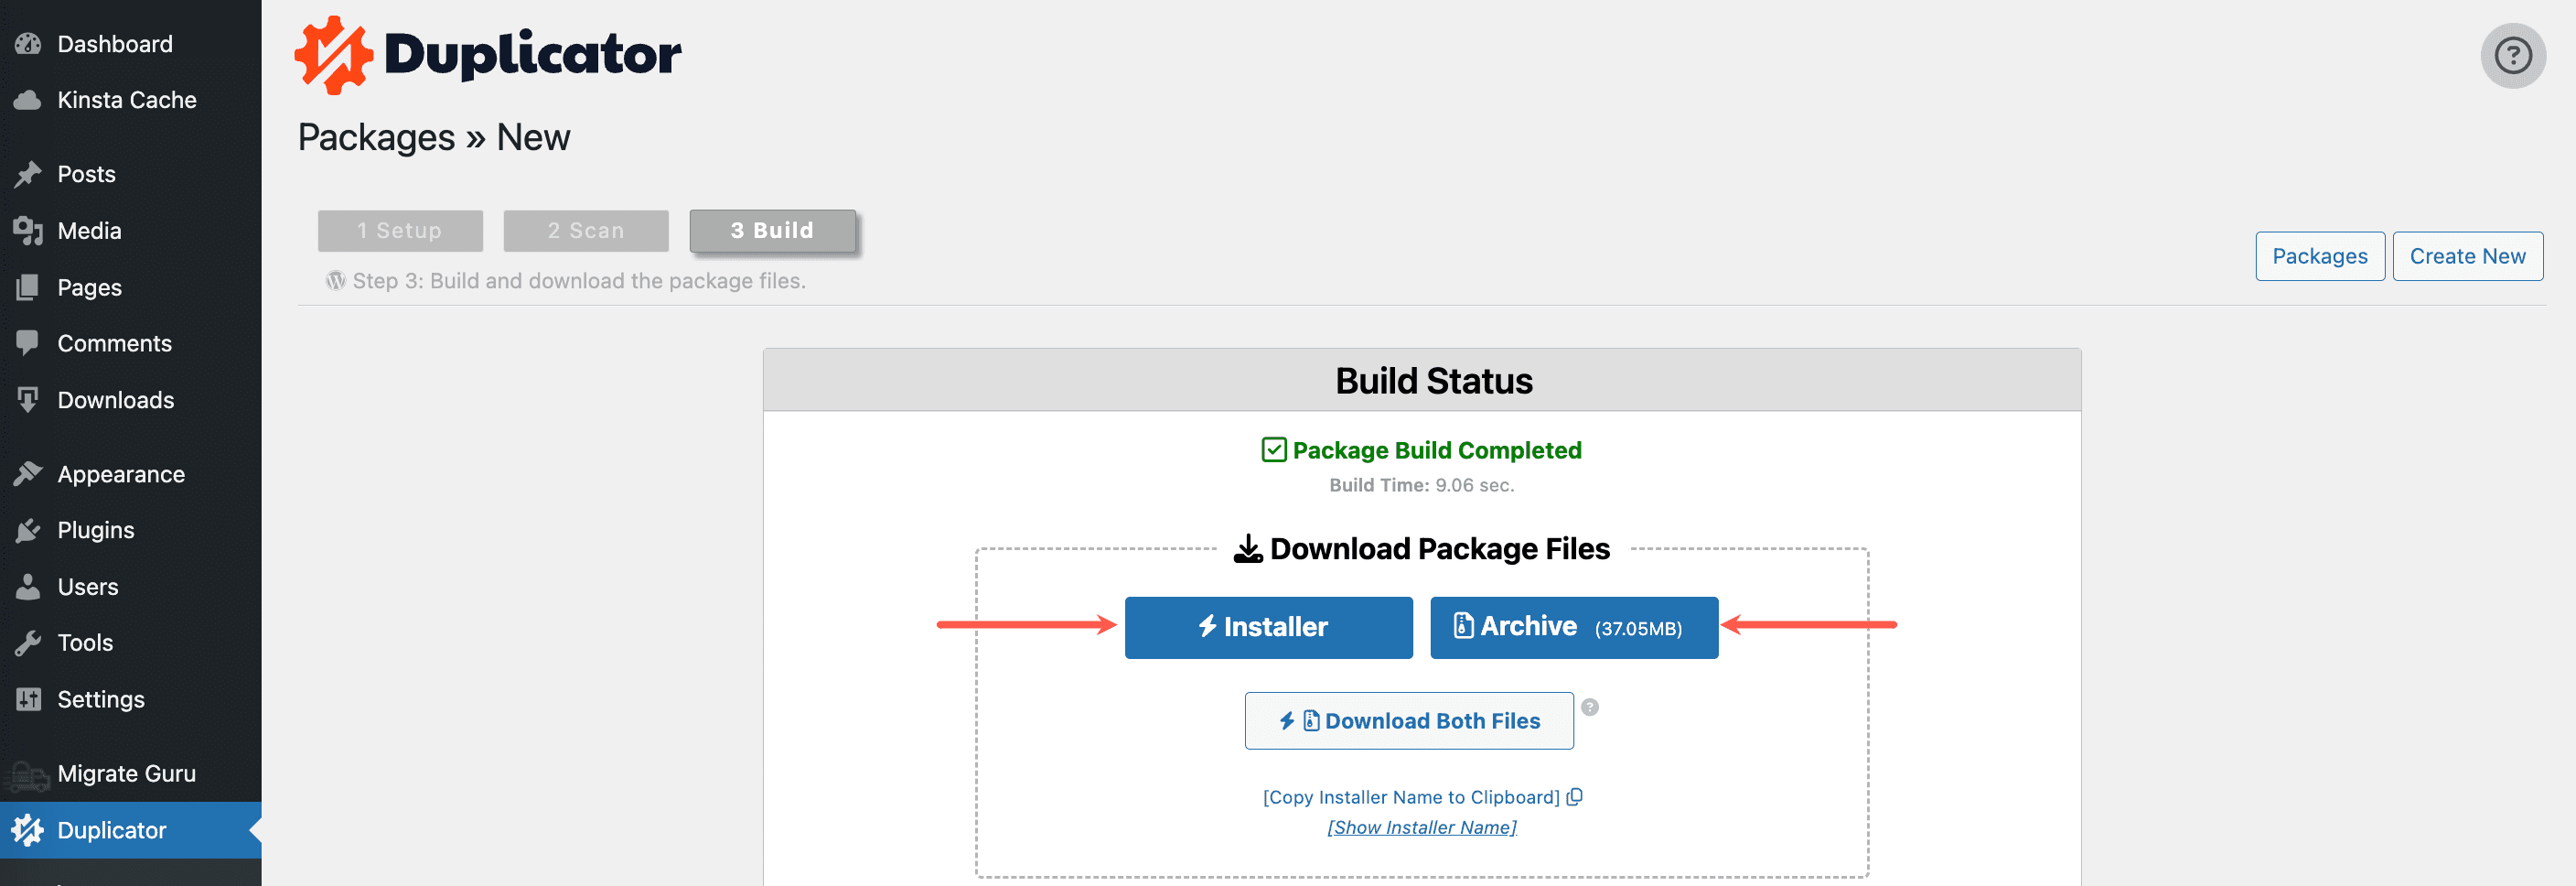
Download the Archive and Installer File
Once the archive package has been built, download both the Archive file and the Installer file to your local computer. You’ll need to upload these files to your new Kinsta site in the next step.
Restoring the Archive
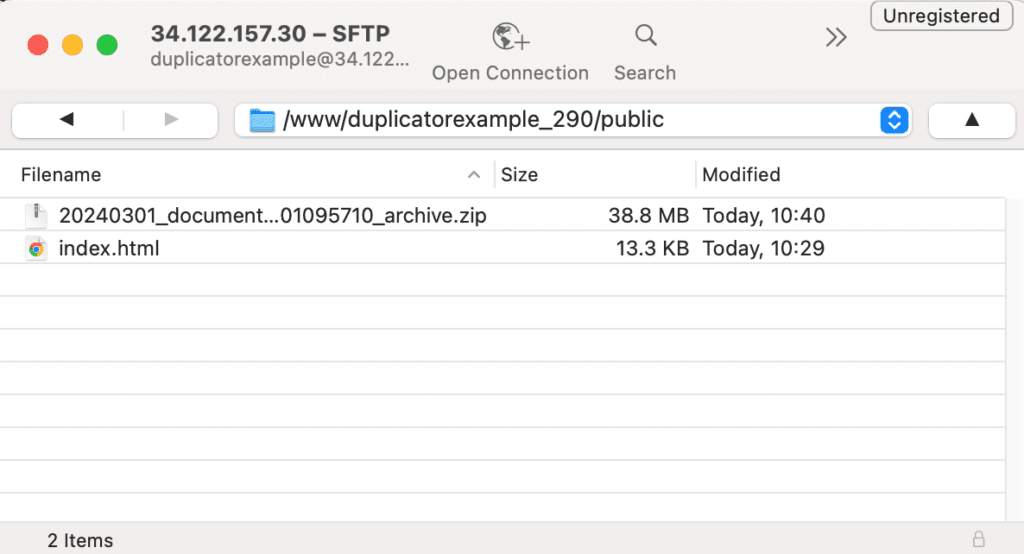
Transfer the Archive and Installer File to Kinsta
The next step is to upload the archive package and the installer file to your new Kinsta site via SFTP (see how to use SFTP). Upload both files to the public/ directory. The public/ directory should be empty. If it’s not empty, you might already have a WordPress installation on this site, and you should remove that before uploading and restoring the archive.
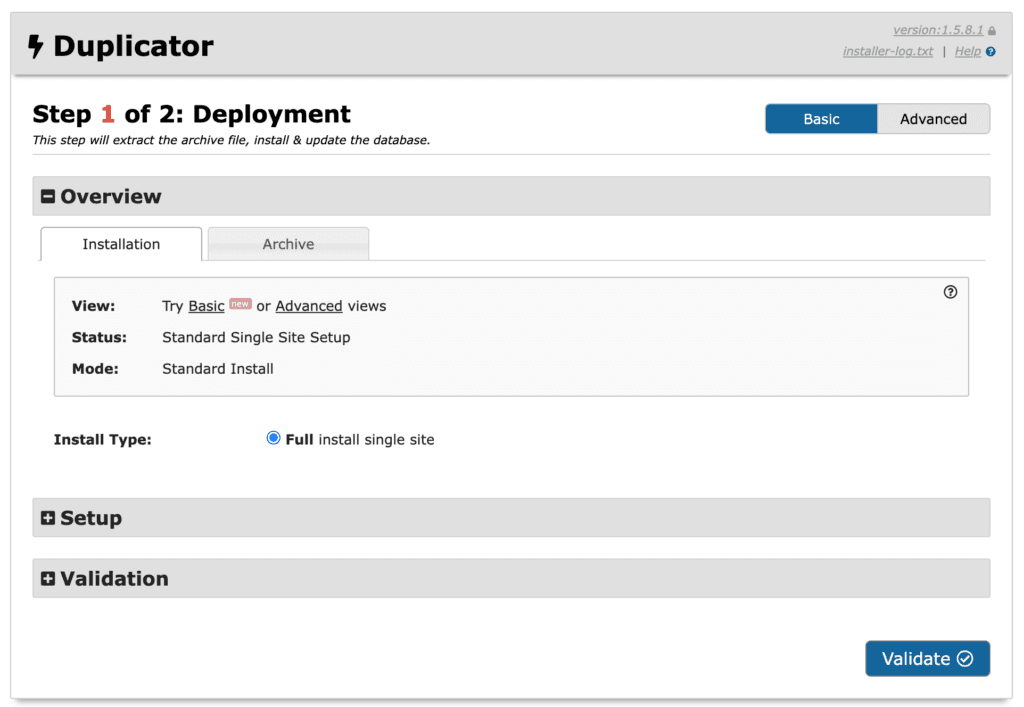
Restore the Archive
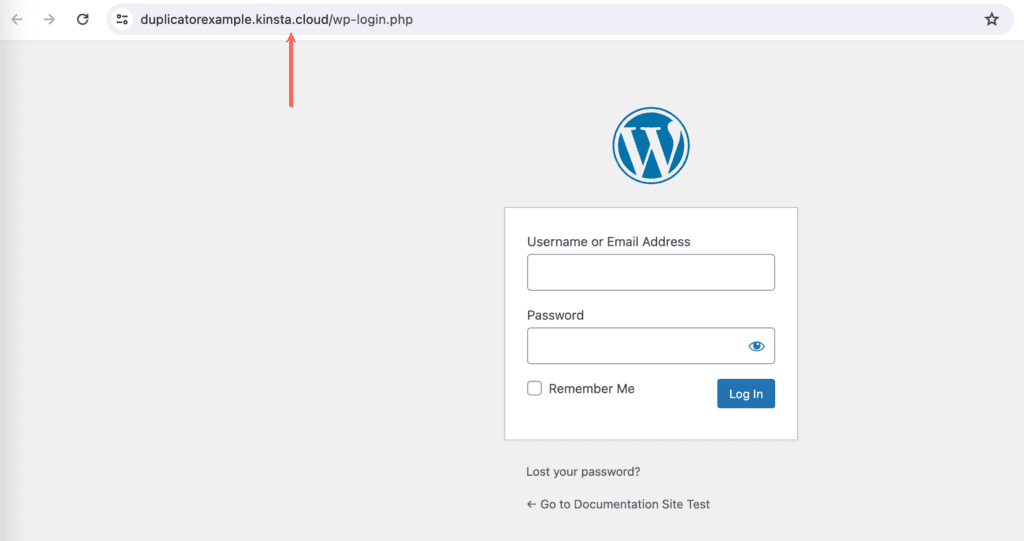
Once you have uploaded the archive file and the installer file, you can run the Duplicator installer by visiting the installer.php file in your browser using the temporary Kinsta URL. You’ll find the temporary Kinsta URL on the Domains tab for your site inMyKinsta.
For example, if the temporary URL is example.kinsta.cloud, the URL to the installer file that we need to visit is http://example.kinsta.cloud/installer.php.
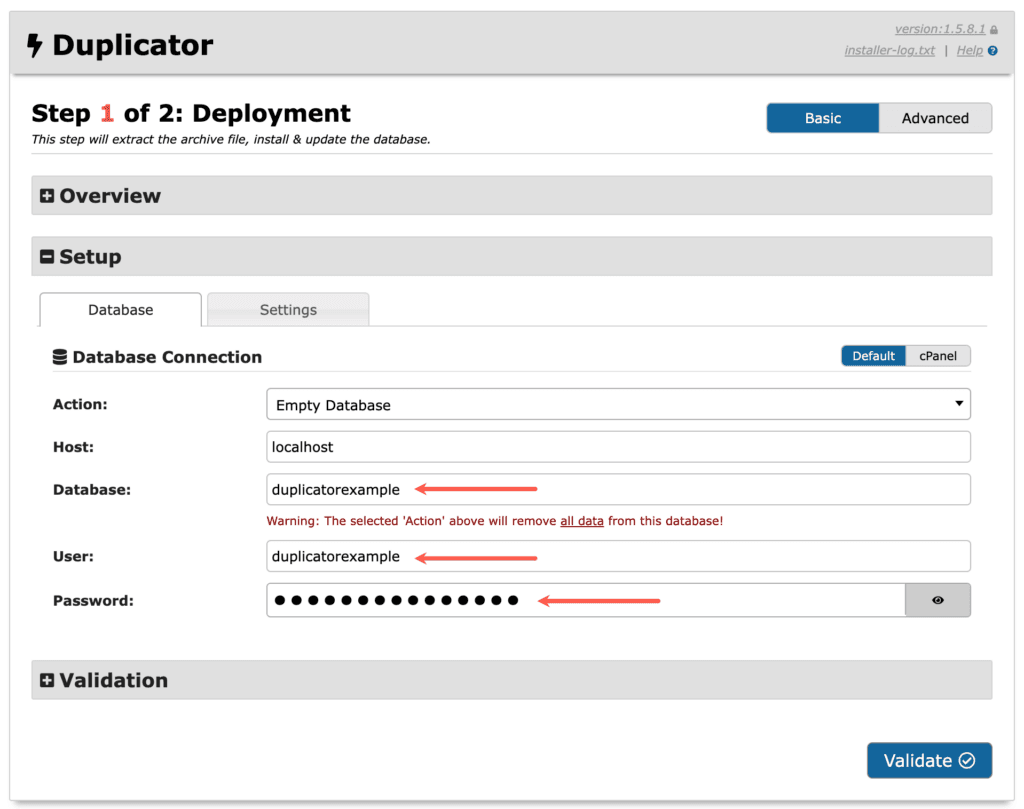
In the Setup section of the Duplicator deployment, enter the Database details for your new Kinsta site. You’ll find the Database access details for your Kinsta site on the Info tab for the site inside MyKinsta.
Click Validate to confirm that you have entered the correct Database details on the Duplicator form.
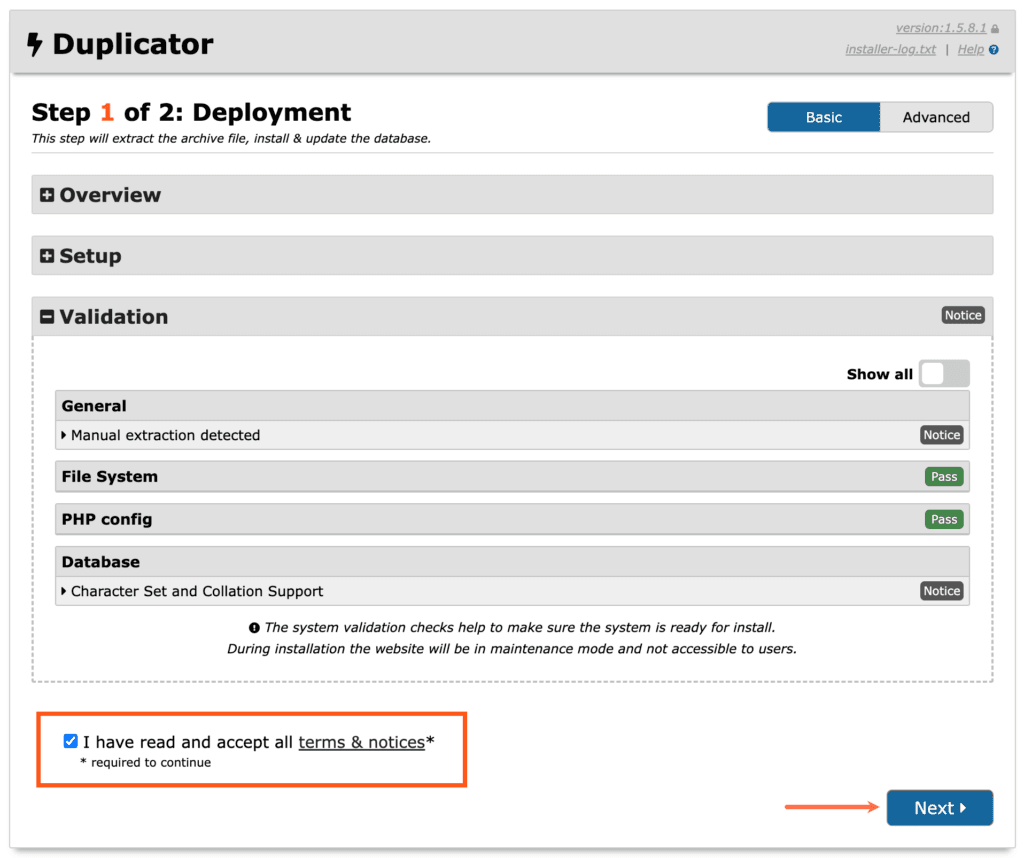
When the database is validated, accept the terms and notices and click Next.
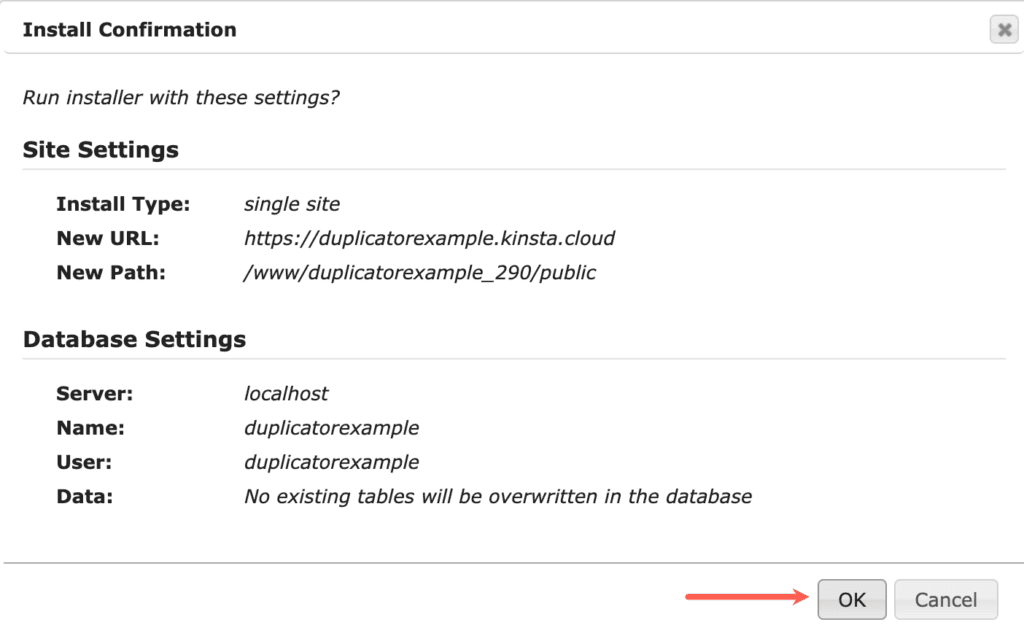
In the next step, Duplicator will update the database to use the Kinsta temporary URL. This step ensures that you will be able to log in and test the site when the migration is completed. If your existing site is using SSL (HTTPS), please ensure that the temporary URL in the URL field is updated to include https://.
Once the Duplicator process has finished, click the Admin Login button to log in to your site.
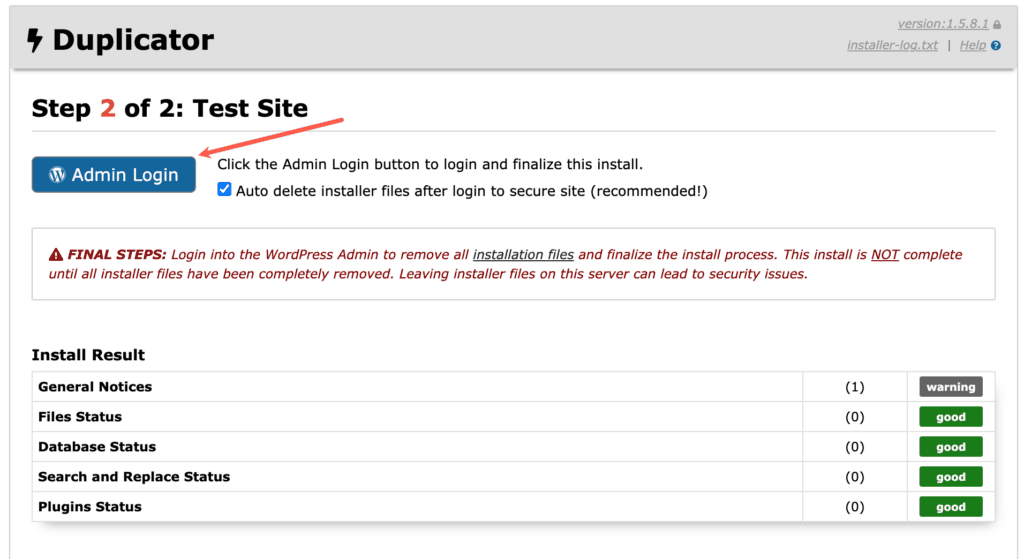
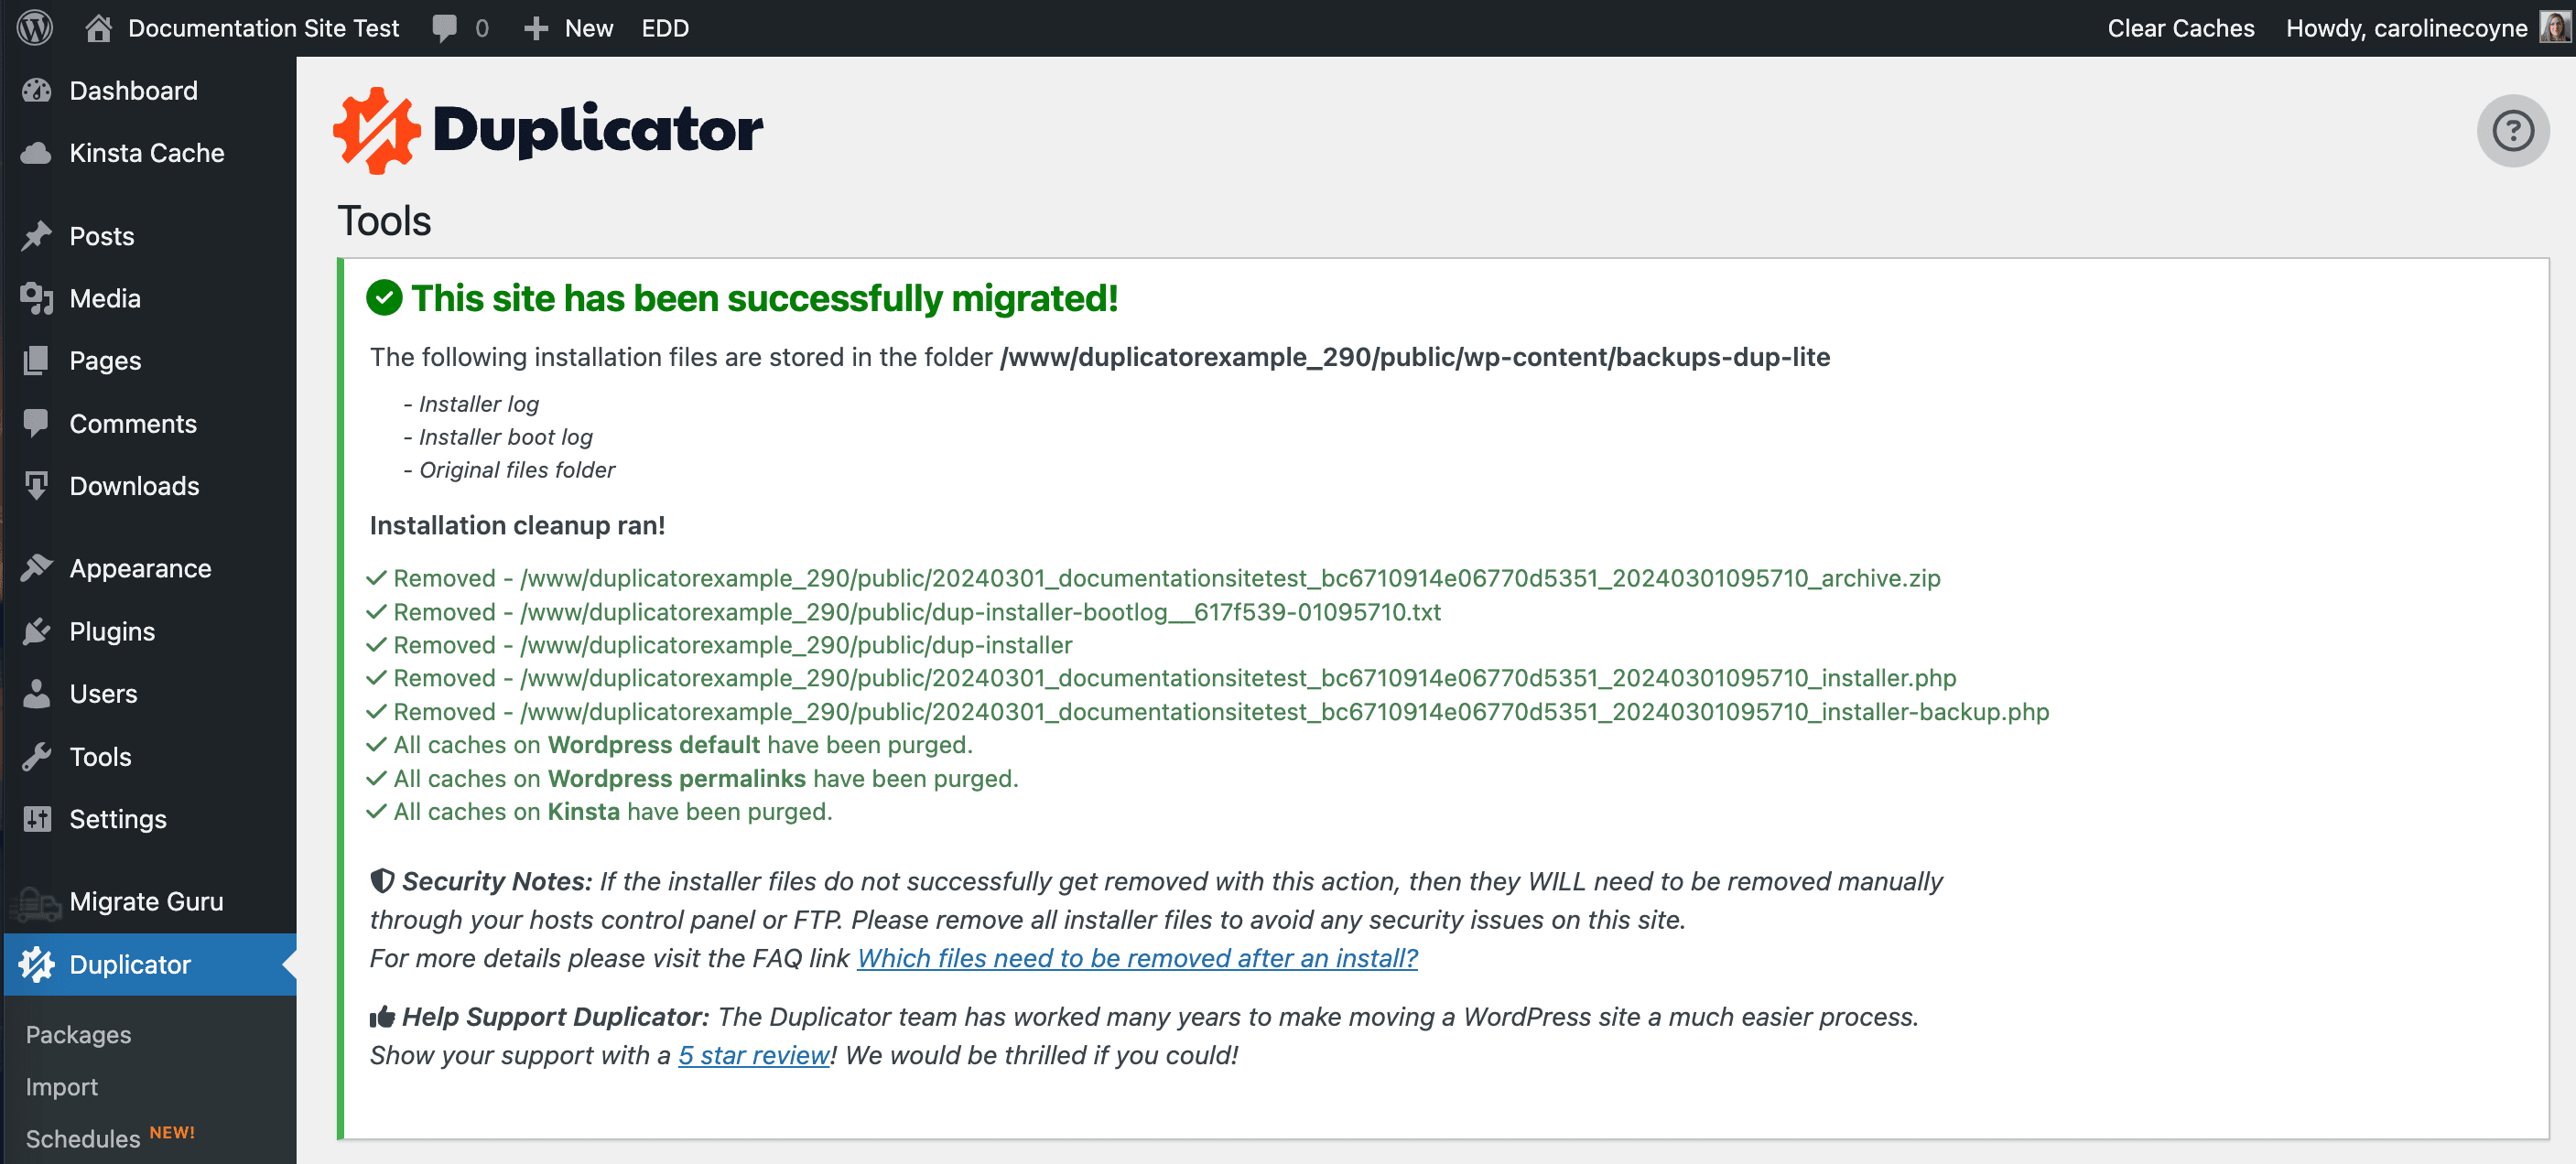
If everything went OK you should see a message indicating a successful migration upon login.
Cleaning Up the Archive Files
Once you have finished restoring the site on Kinsta, it is recommended that you delete the Duplicator archive and installer files for security purposes. If you’d rather not delete them, you can temporarily move them outside the public/ directory and into the private/ directory. The following files should be deleted or moved out of the public directory:
- installer-backup.php
- installer.php
- database.sql
- installer-data.sql
- *_archive.zip
Previewing Your Site Before Updating DNS
At this point in the migration process, you should be able to browse and test your site on Kinsta using the temporary Kinsta URL (e.g., http://example.kinsta.cloud/). If there are references to the live domain in the database or files that give you trouble with that, check out our article on how to preview your site with our Site Preview tool before updating DNS.
Updating DNS
When you’re ready to point your domain at Kinsta, you’ll need to update the DNS for your domain to point it at the Kinsta IP address as outlined in our How to Add a Domain to a Site on Kinsta article.
Install Kinsta MU Plugin
Our Kinsta MU plugin is automatically installed on fresh WordPress installations done here at Kinsta. However, since you’ve migrated your site yourself and site files were overwritten (including this plugin), you’ll need to download and install the Kinsta MU plugin manually. This includes our full-page caching and other functionality, such as the ability to deploy Kinsta’s CDN.