Bitbucket
When adding an application, you’ll need to select a Git provider and repository from your account. In addition to Bitbucket, you can also choose from GitHub or GitLab.
Kinsta hosts all of our application quick start repositories on GitHub. If you’re using Bitbucket and want to use one of the starter repositories, you’ll need to import the repository from GitHub. Later in this guide, we’ll show you how to import a GitHub repository into Bitbucket.
Grant Access to the Kinsta Bitbucket Application
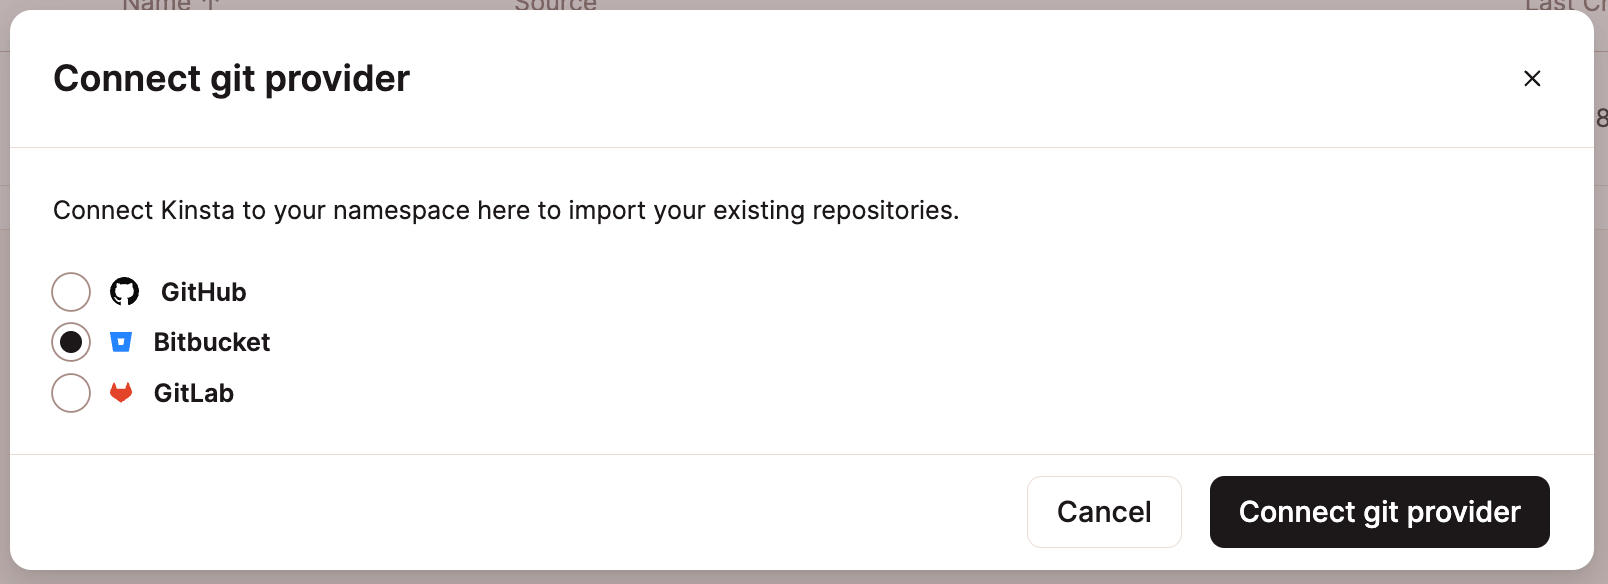
The first time you add an application in MyKinsta, you’ll need to connect to a git provider so that Kinsta can access your application’s repository. When you click the Add service button and select Add application from the dropdown menu, you’ll be prompted to choose your git provider and connect Kinsta to your account.
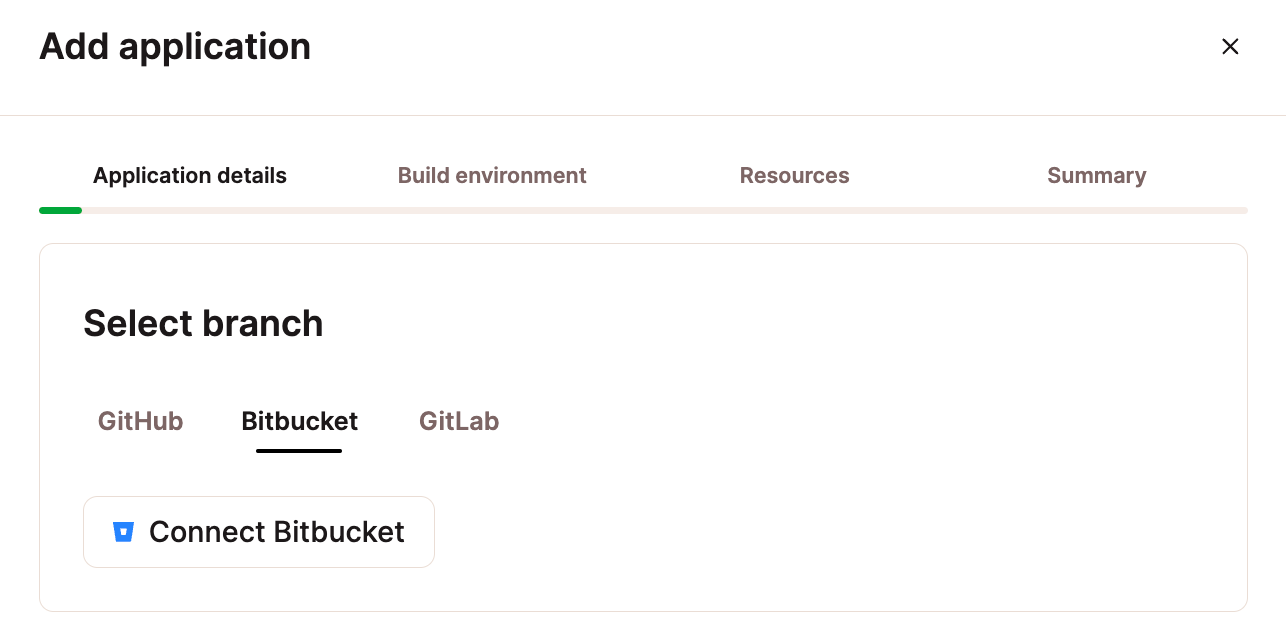
If you’ve previously deployed an application and connected a different git provider, you’ll also have the option to select Bitbucket in the Application details step when adding an application.
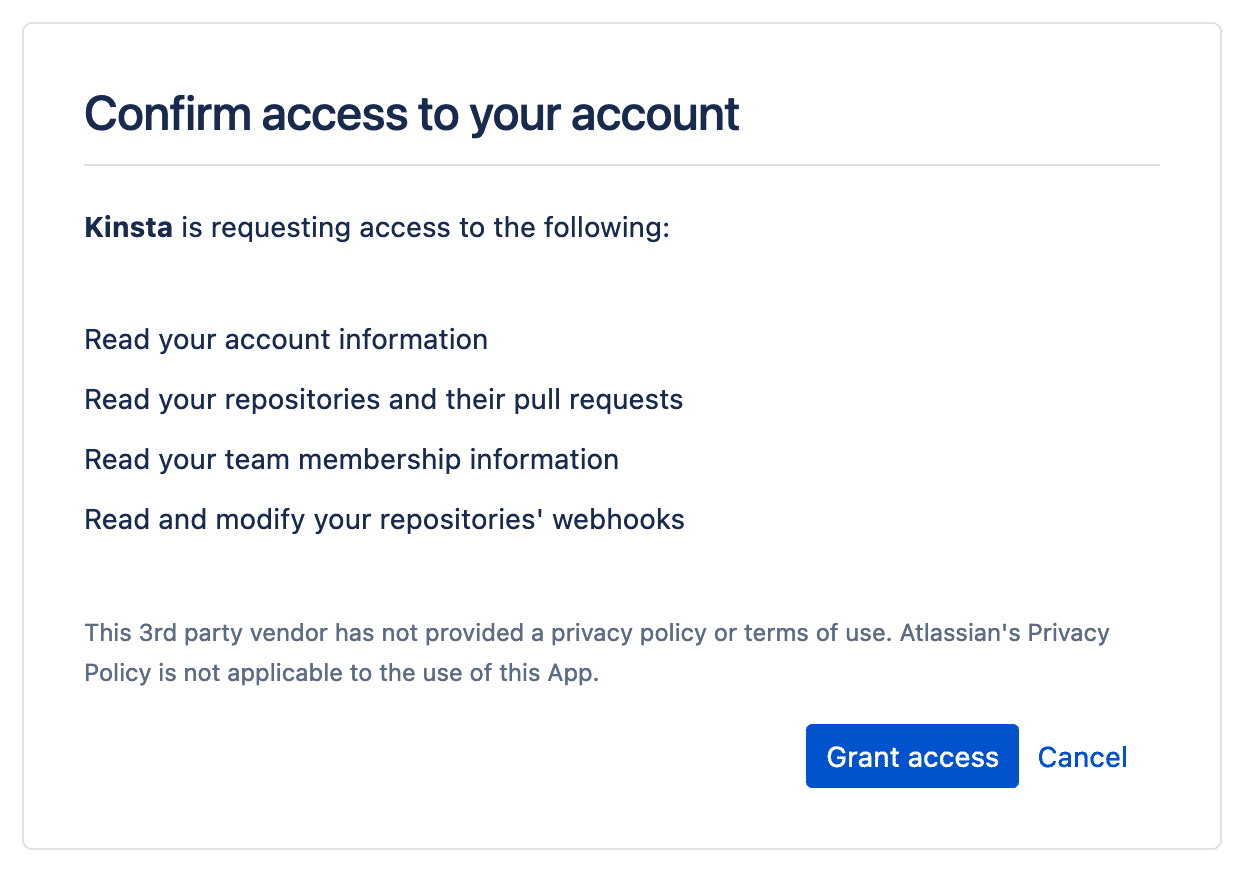
If you aren’t logged in to Bitbucket, you’ll need to log in. On the next page, you’ll need to confirm Kinsta’s access to your Bitbucket account.
You will be returned to MyKinsta. In Application details, select your application’s Bitbucket repository and Default branch. Then continue with the rest of the Add application steps.
Remove Kinsta Access to Bitbucket
To remove Kinsta’s access to your Bitbucket account, you’ll need to revoke access in your User settings in MyKinsta and in Bitbucket:
- In MyKinsta, click on your username and go to User settings > Access. In Application access, click Revoke for the Bitbucket application.
- In Bitbucket, click on the gear icon and select Personal Bitbucket settings. Click on App authorizations under Access Management and click Revoke next to the Kinsta application.
Importing a GitHub Repository
- Find the repository you want to use from Kinsta’s example repositories at GitHub and copy the URL.
- In Bitbucket, click Create > Repository > Import repository.
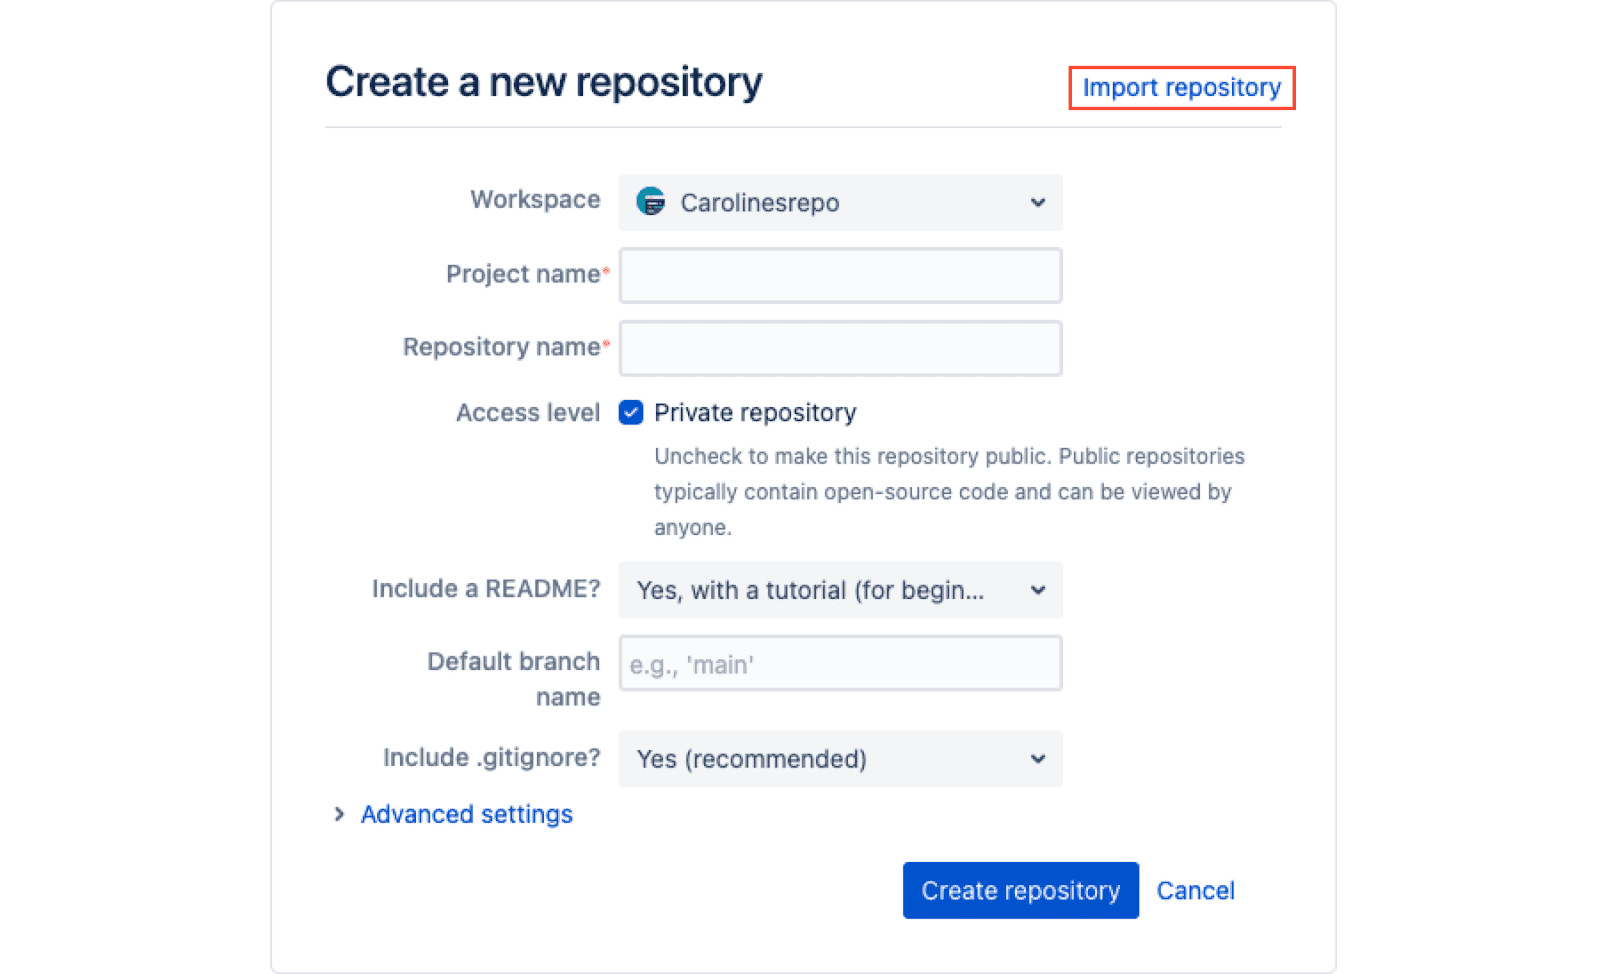
Create a new repository at Bitbucket. - Paste the URL of the Kinsta repository in the URL field, select the Project you want to add it to, and click Import repository.
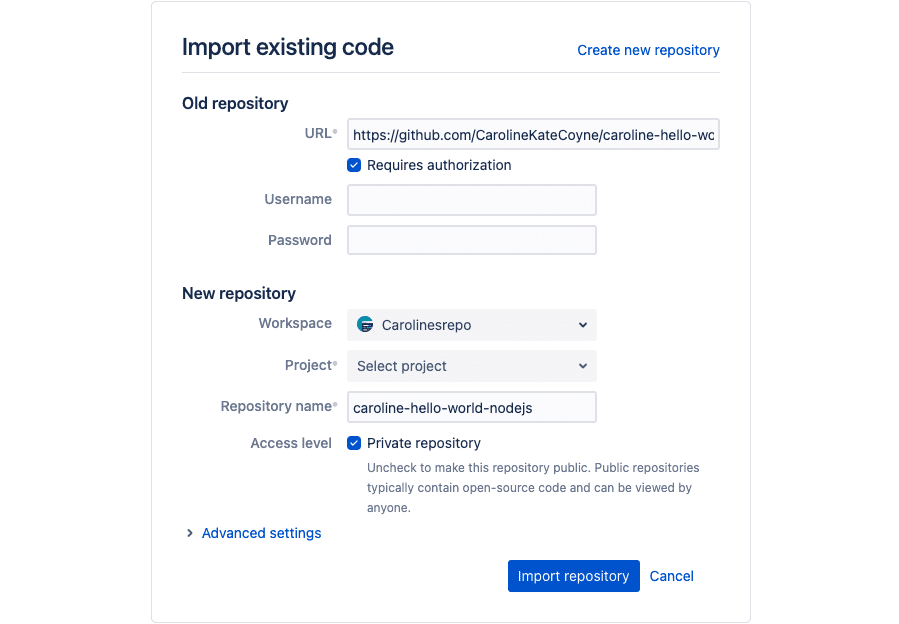
Import a repository to Bitbucket. - When the import is complete, you can start using the repository in Bitbucket.
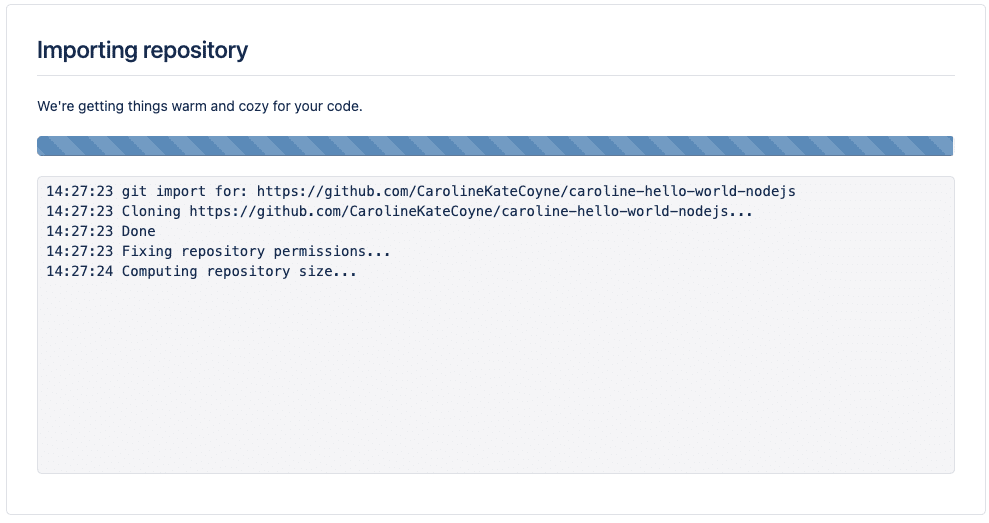
Importing repository progress in Bitbucket.
Troubleshooting
Missing Repositories
If you’re having trouble seeing your repositories in the Add application modal/pop-up, you may need to re-authorize Kinsta’s access to Bitbucket. To do that, start by removing access between Kinsta and Bitbucket as described above.
In MyKinsta, in the Add application modal/pop-up (Add service > Add application), go through the authenticate and grant access steps to connect Kinsta to your Bitbucket account again.
Conflicting Namespaces
The Conflicting namespaces error appears when a Git account is connected to another MyKinsta user account. Your Git account can only be linked to one MyKinsta account; if you have multiple MyKinsta accounts, you must use multiple Git accounts.
To resolve this error, you must log in to your other MyKinsta account and remove Kinsta access to Bitbucket.