
The hosts file on your computer allows you to override DNS and manually map hostnames (domains) to IP addresses. This can be handy during migrations as you might want to see how your website looks on a different server, but perhaps DNS records haven’t yet been pointed at the new server.
Many web hosting providers — including Kinsta — provide a temporary URL (we use hostnames like sitename.kinsta.cloud here) that allow you to visit a website without DNS support. However, temporary URLs can still be problematic if a different domain name is hard-coded within your site’s internal links or templates. And that is pretty common after migration to some hosting platforms.
So, let’s look at some solutions.
A Kinsta Customer? The Problem is (Probably) Solved!
If you’re one of Kinsta’s Managed WordPress Hosting customers, you probably won’t need to edit a hosts file on your own computer to navigate a new site on our servers. Our Site Preview tool works in the background to map a domain name embedded in your site’s markup to the temporary URL you use to preview its pages.
Site Preview is enabled within the MyKinsta dashboard:

That’s about as easy as it gets.
Previewing a Kinsta-Hosted Website by Editing a Hosts File
While our Site Preview option is all you’ll need in most cases, you may be using tools on your end that don’t work with our temporary URLs. In that case, you can follow the instructions below for editing a hosts file. But first, you’ll need to find your website’s Site IP Address and verify your control over your domain’s DNS records, even if you are not yet ready to point the domain at your new server.
Kinsta’s Cloudflare integration means that your Site IP Address points to Cloudflare’s servers. That’s different from your Kinsta site’s External IP Address (what some services see when your site makes outbound connections) and from the Host IP address you might use to connect via SFTP or SSH.

To verify your domain’s ownership, you’ll need to follow the instructions for a domain with non-Cloudflare DNS or for a domain with existing Cloudflare DNS.
Once those steps are complete, you can jump to instructions below for editing a hosts file on Windows or for editing a hosts file on a Mac.
Preparing to Preview Your Non-Kinsta Website
Editing the hosts file on your computer essentially means you are faking the DNS on your computer. But before editing the file or using the free tool we recommend below, there are two things you must do first.
1. Record Your Site’s Domain Name
The point of the exercise is to view your website at an address not yet supported by DNS. You’ll need that domain name to continue below.
If you have just migrated your website to a new server, the domain name is likely the one used on your previous site.
2. Find Your Site’s IP Address
You also need to note the IP address your hosting provider has assigned to your site. That address is typically displayed in your host’s customer control panel.
Once you have recorded your preferred domain name and your website’s IP address, you can proceed to the three different options below on how to preview your site before changing your DNS.
Option 1 – Preview a Non-Kinsta Website Without Editing Anything
If you are not comfortable editing your hosts file in option 2 or 3 below, there is a super easy way to preview many non-Kinsta websites with the free online SkipDNS tool.
Important: SkipDNS is an external service designed only to help you preview the look of your website before changing your DNS. It should not be used for evaluating the speed or performance of your site. For this, you should use one of the options further below, or any temporary URL provided by your hosting provider. The best way to see the full performance of your site is to enable DNS and then use a website speed test tool.
Step 1
Simply browse to skipdns.link and input your domain name and IP address (which we asked you to record above).
Depending on whether or not you have an SSL certificate already installed, you might need to also enable the “Flexible SSL” option.
It’s recommended you temporarily disable the following if they are running, as we have seen some encounter issues:
- CDN (if you are running a plugin like CDN enabler temporarily deactivate this)
- Adobe Fonts (comment this out or remove from your header if possible, otherwise your fonts might appear broken)
If you are unsure of how to do this, you can ask your host. Or use the 2nd option below, which is a good way to preview things without anything breaking.

Step 2
A preview is then created. Click on “Check it.”

Step 3
You will then get assigned a temporary URL which you can use to view your WordPress site before changing your DNS. You can browse to your temporary URL and click around to confirm everything works the way it should.

Option 2 – How to Edit Hosts File on Windows
Option 2 requires editing your hosts file. This will more closely replicate your live site before changing your DNS. An advantage of doing this over the temporary URL above is that you don’t have to worry about disabling your CDN or web fonts.
If you want a quick and easy method, you can use a free application like Hosts File Editor. This allows you to manage multiple entries at a time, as well as filter and sort them.
Otherwise, you can follow the steps below to edit your hosts file on Windows manually.
Step 1
The hosts file typically requires additional access. So the first step is to open up your text editor as an administrator. Simply click on your start menu, search for your text editor, right-click on it and select “Run as administrator.” This can be done in any text editor such as Notepad, Notepad++, Atom, etc. We are using Sublime in our example below.

Step 2
Within your text editor click File > Open and browse to the following location:
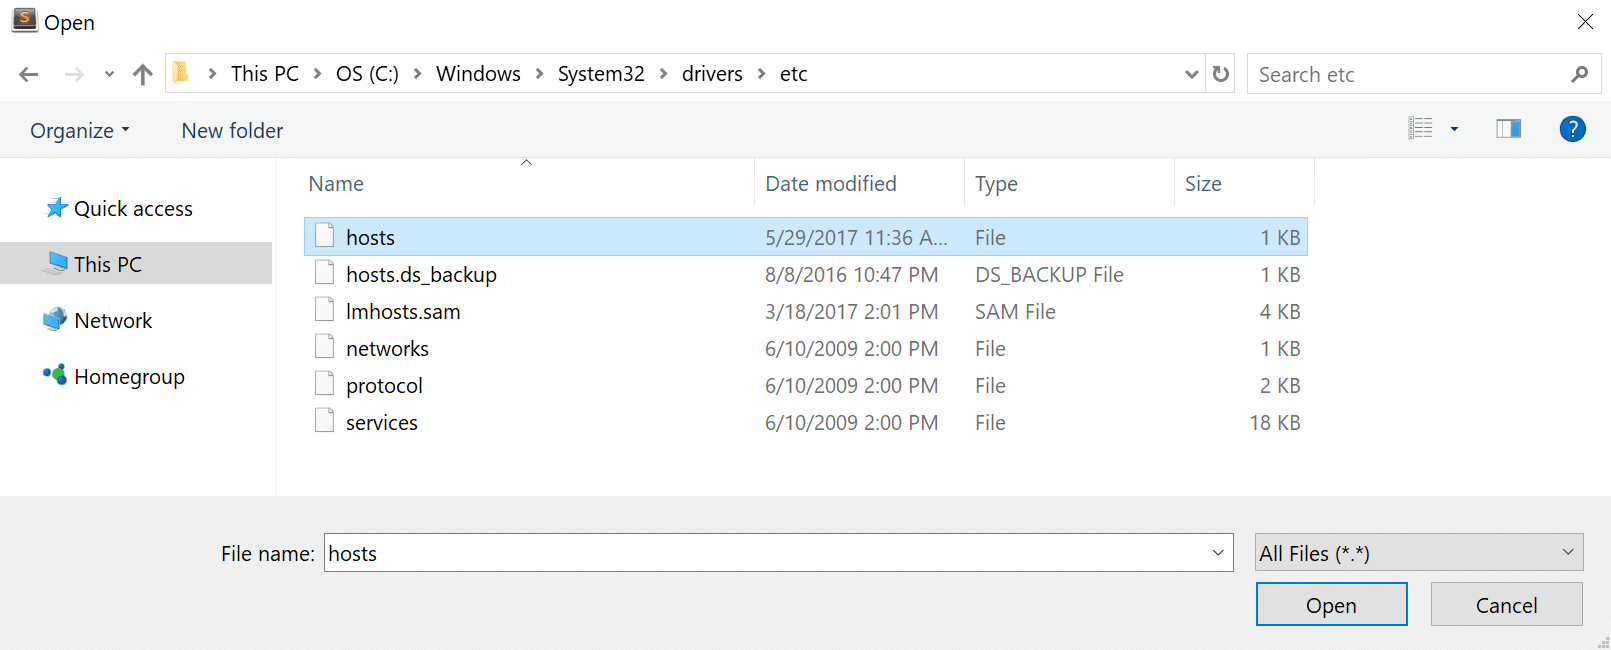
C:\Windows\System32\drivers\etc\Step 3
Click on the hosts file and “Open.”
Step 4
At the very bottom of the file insert your IP address (which you obtained above) and your domain name (in our example we are using wpdev.ink). If you want to test redirects, you can also add the www or non-www version as well. Here is an example of what we added to our hosts file.
 192.168.1.2 wpdev.ink
 192.168.1.2 www.wpdev.ink
Once you add the above, save the file.

You can then launch your browser and navigate to the domain you inserted. It will then show up as it would on your server. You can test things such as logging into your WordPress admin dashboard, click around the site, etc. Once you are fully satisfied, you can remove the DNS information from your hosts file. You can then point your DNS to your server through your domain registrar or 3rd party DNS provider.
Option 3 – How to Edit Hosts File on Mac
Follow the steps below to edit your hosts file on Mac manually.
Step 1
Click on the “Finder” icon on the bottom of your screen. Click on Applications and then on Utilities.

Step 2
Click on the “Terminal” application and enter in the following and press Enter (you will most likely be prompted for your administrator password as well).
sudo nano /private/etc/hosts

Step 3
Press Enter again to begin editing the file. Move down to the bottom with the arrows on your keyboard. Then insert your IP address (which you obtained above) and your domain name (in our example we are using wpdev.ink). If you want to test redirects, you can also add the www or non-www version as well. Here is an example of what we added to our hosts file.
192.168.1.2 wpdev.ink
192.168.1.2 www.wpdev.ink
Then press CTRL + O which will ask you if you want to write to the file. Then press Enter. You should see a wrote confirmation at the bottom of the screen. Then close the terminal.

You can then launch your browser and navigate to the domain you inserted. It will then show up as it would on Kinsta’s servers. You can test things such as logging into your WordPress admin dashboard, click around the site, etc. Once you are fully satisfied, you can remove the DNS information from your hosts file. You can then point your DNS to your server through your domain registrar or 3rd party DNS provider.


