
Local WordPress development often starts simple but quickly becomes complex. As sites grow larger and databases get heavier, maintaining local environments can feel like unnecessary overhead, especially when your production and staging environments already live on powerful hosting infrastructure.
With SSH access available on all Kinsta managed hosting for WordPress plans, developers can connect securely to the Kinsta environment and work with their WordPress files remotely.
In this article, we explore how remote WordPress development on Kinsta works using SSH and VSCode. This approach also applies to other IDEs, such as Cursor and Antigravity.
Getting started
To begin, you need access to your site’s SSH credentials. You can find these in MyKinsta > WordPress Sites > [sitename] > Info, under the Primary SFTP/SSH user section.
Here, you see the following connection details:
- Host
- Username
- Port
- Password or SSH key
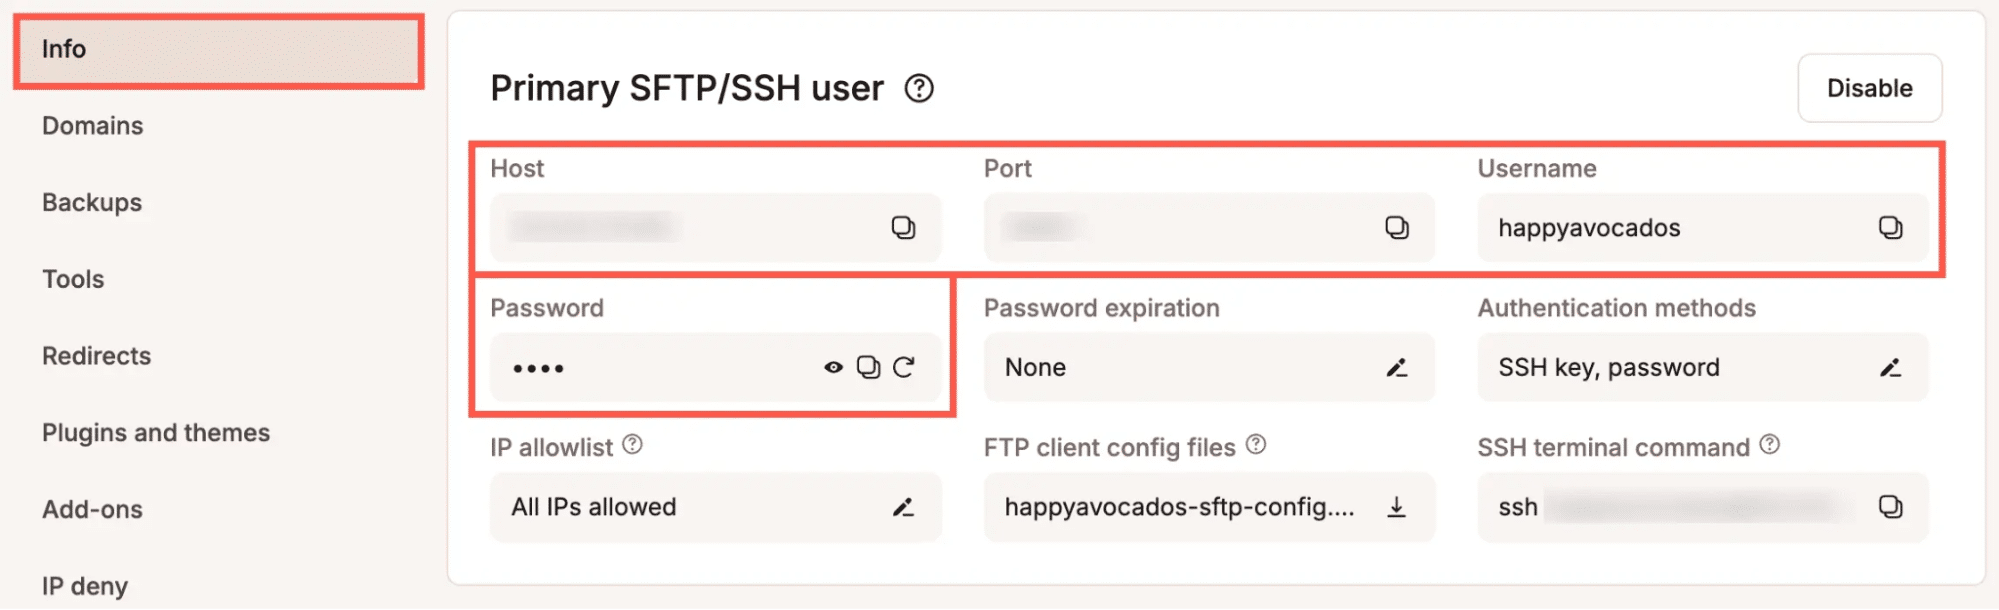
These details are required to connect to your environment over SSH.
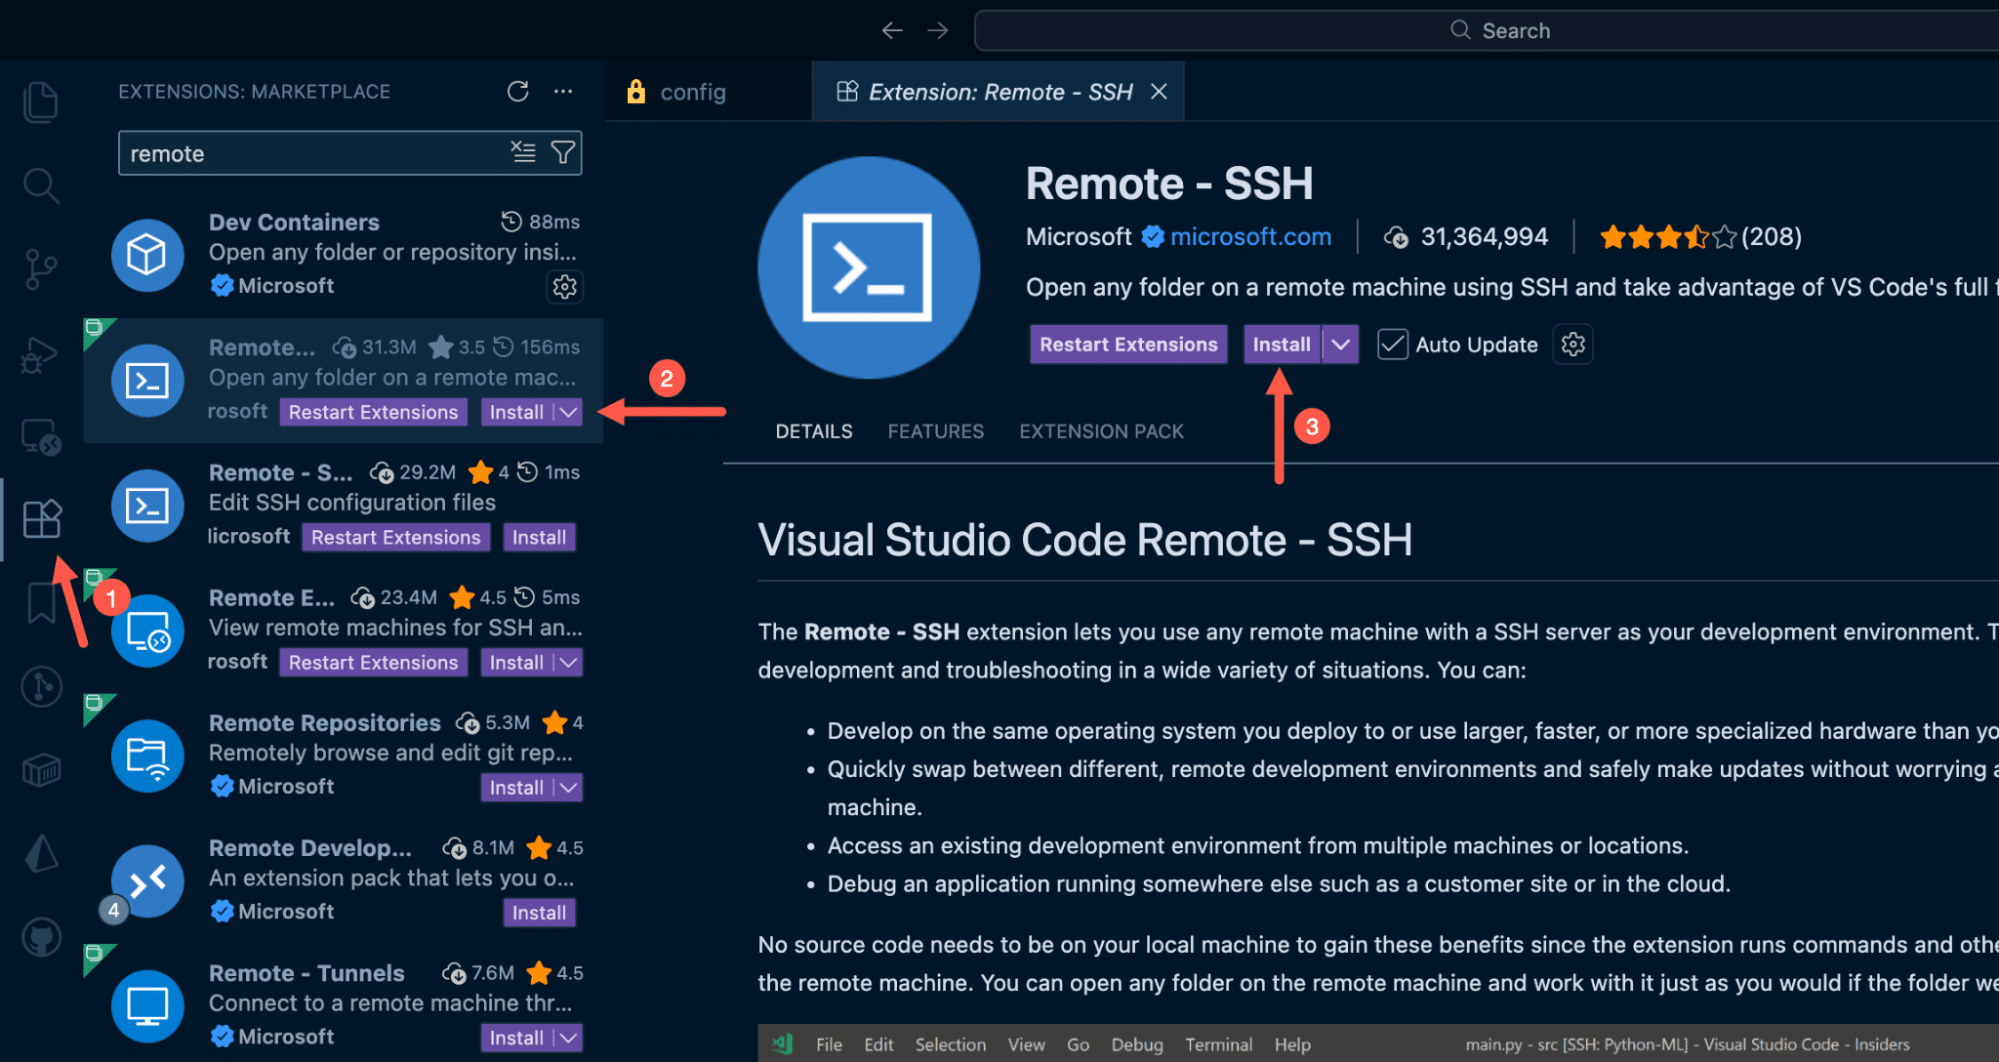
Next, install the Remote – SSH extension in Visual Studio Code or your preferred IDE. Click the Extensions icon in the left sidebar, search for Remote – SSH, and install the extension.
Connecting to your Kinsta site using SSH
Before connecting through your IDE, it’s a good idea to confirm that SSH access works from your local machine.
Open a terminal (or PowerShell on Windows) and run the following command, replacing the placeholders with the values from MyKinsta:
ssh username@host -p portIf the connection is successful, you are prompted to enter your password and logged into the server. Once confirmed, you can use the same credentials in your IDE.
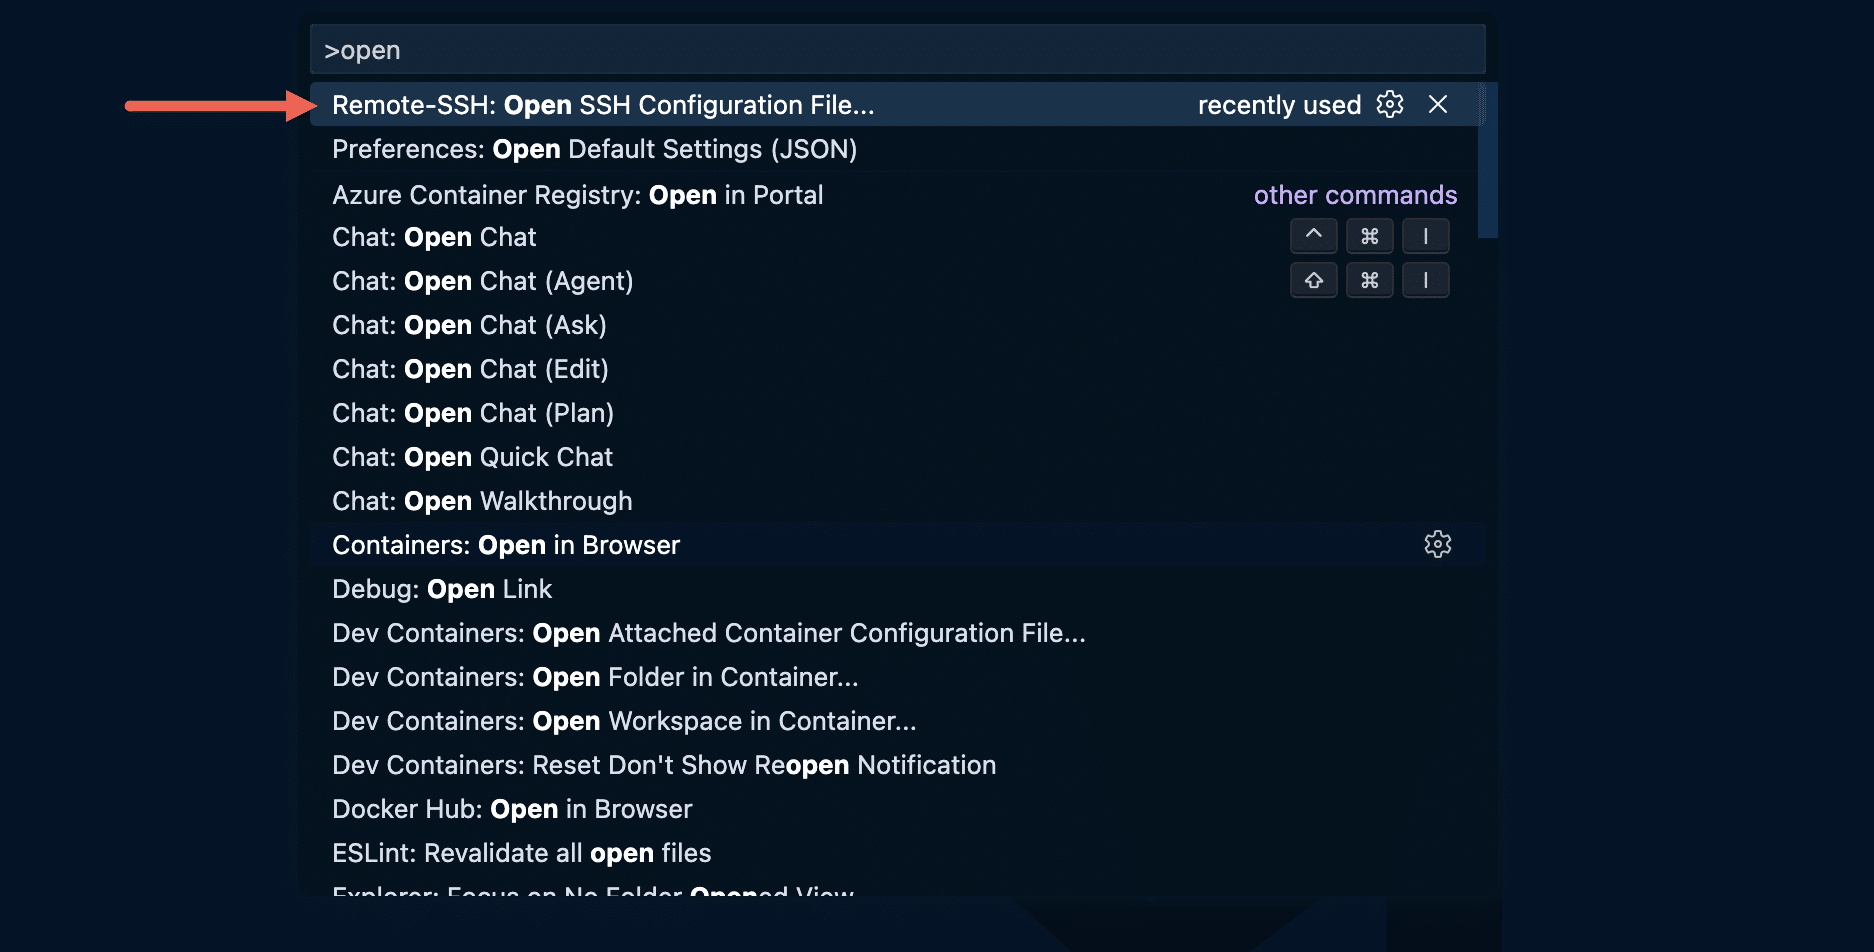
To connect using VS Code, open the Command Palette:
- macOS:
Cmd + Shift + P - Windows/Linux:
Ctrl + Shift + P
From the Command Palette, select or search for Remote-SSH: Open SSH Configuration File.
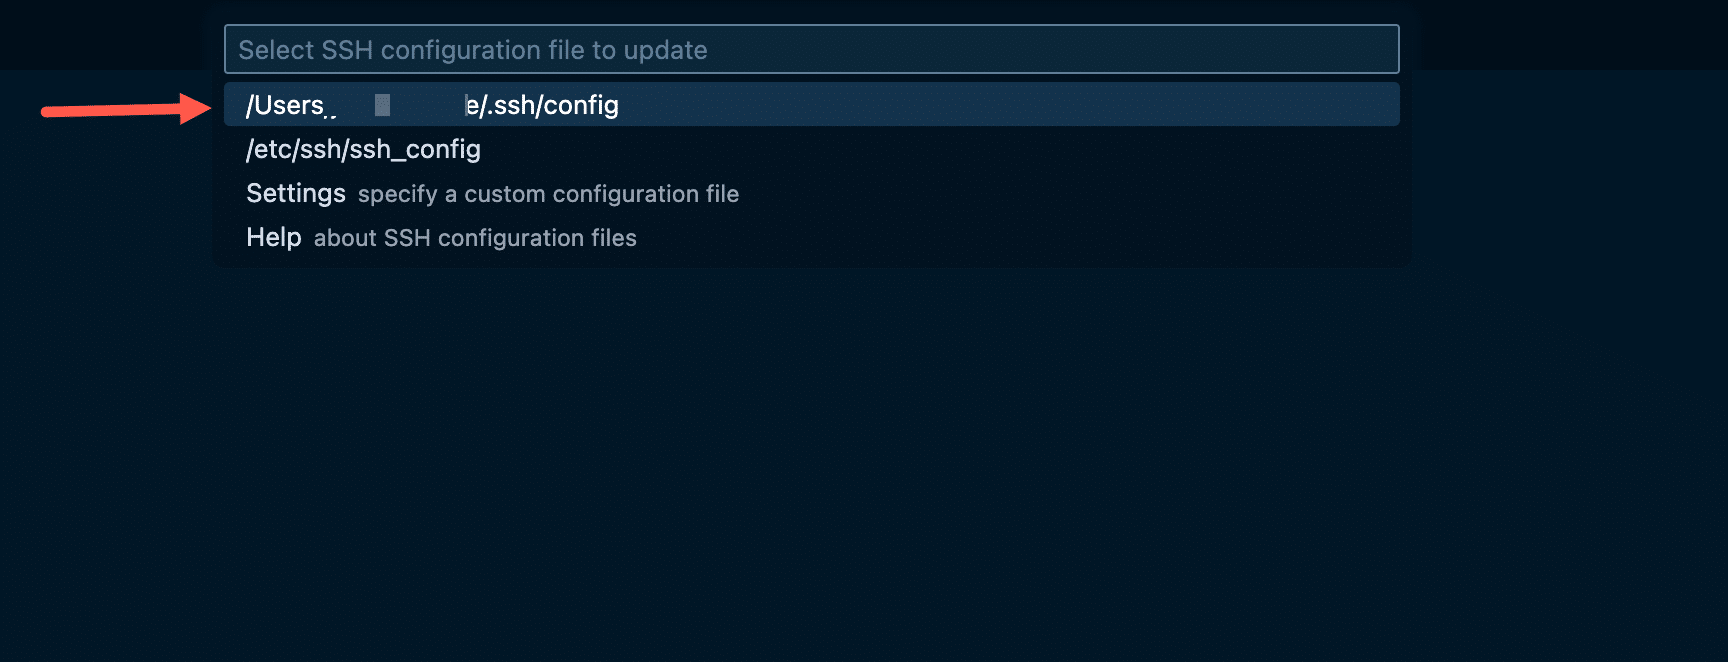
If this is your first time using Remote – SSH, VS Code prompts you to choose an SSH configuration file. Select the default SSH config file for your system (for example, ~/.ssh/config).
Once the file opens, add a new entry using your Kinsta SSH details:
Host kinsta-mysite
HostName 12.345.67.890
Port 12345
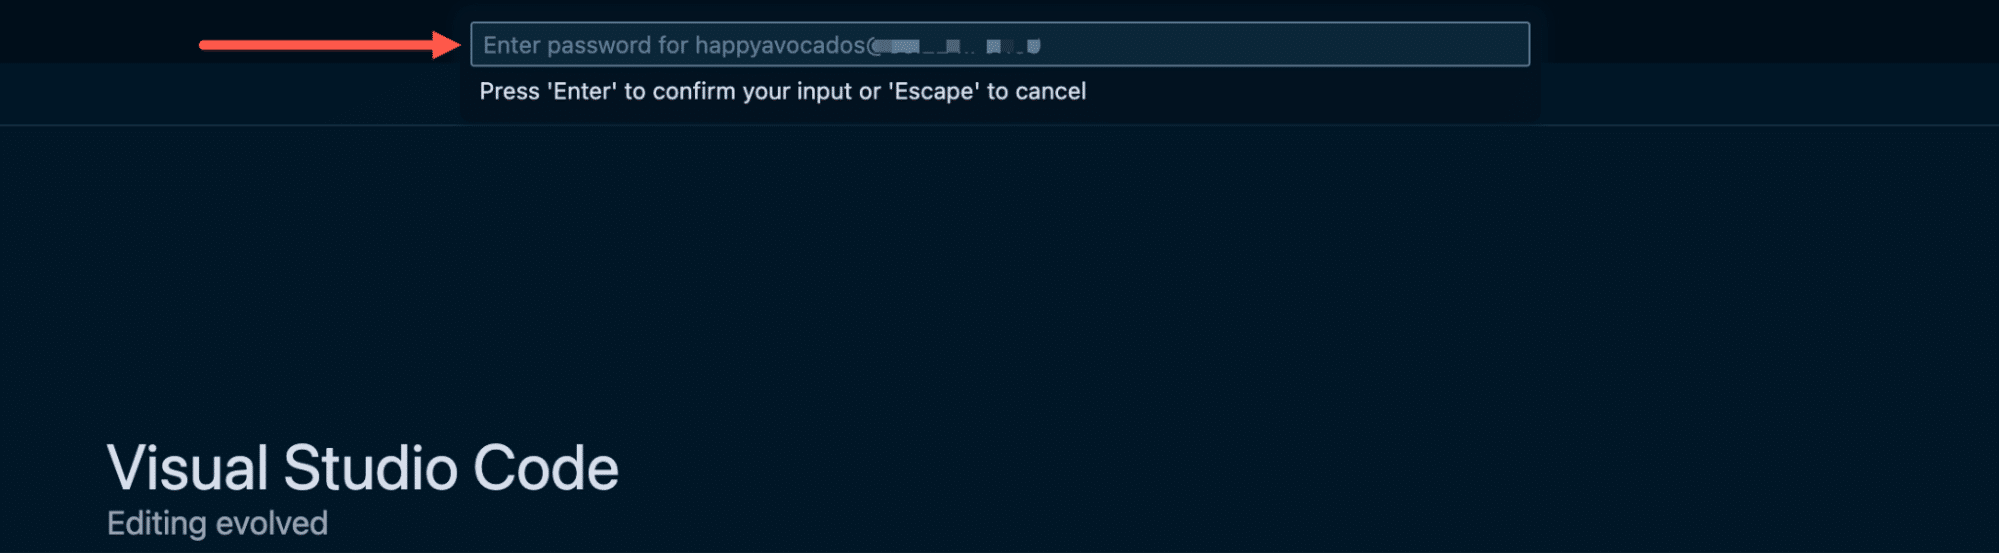
User usernameSave the file, then reopen the Command Palette and run Remote-SSH: Connect to Host…. Select kinsta-mysite, and VS Code opens a new remote window, prompting you to enter your password (or uses your SSH key, if configured).
Once connected, you can then choose a directory. For WordPress sites on Kinsta, your site files are located at /www/[sitename]/public.
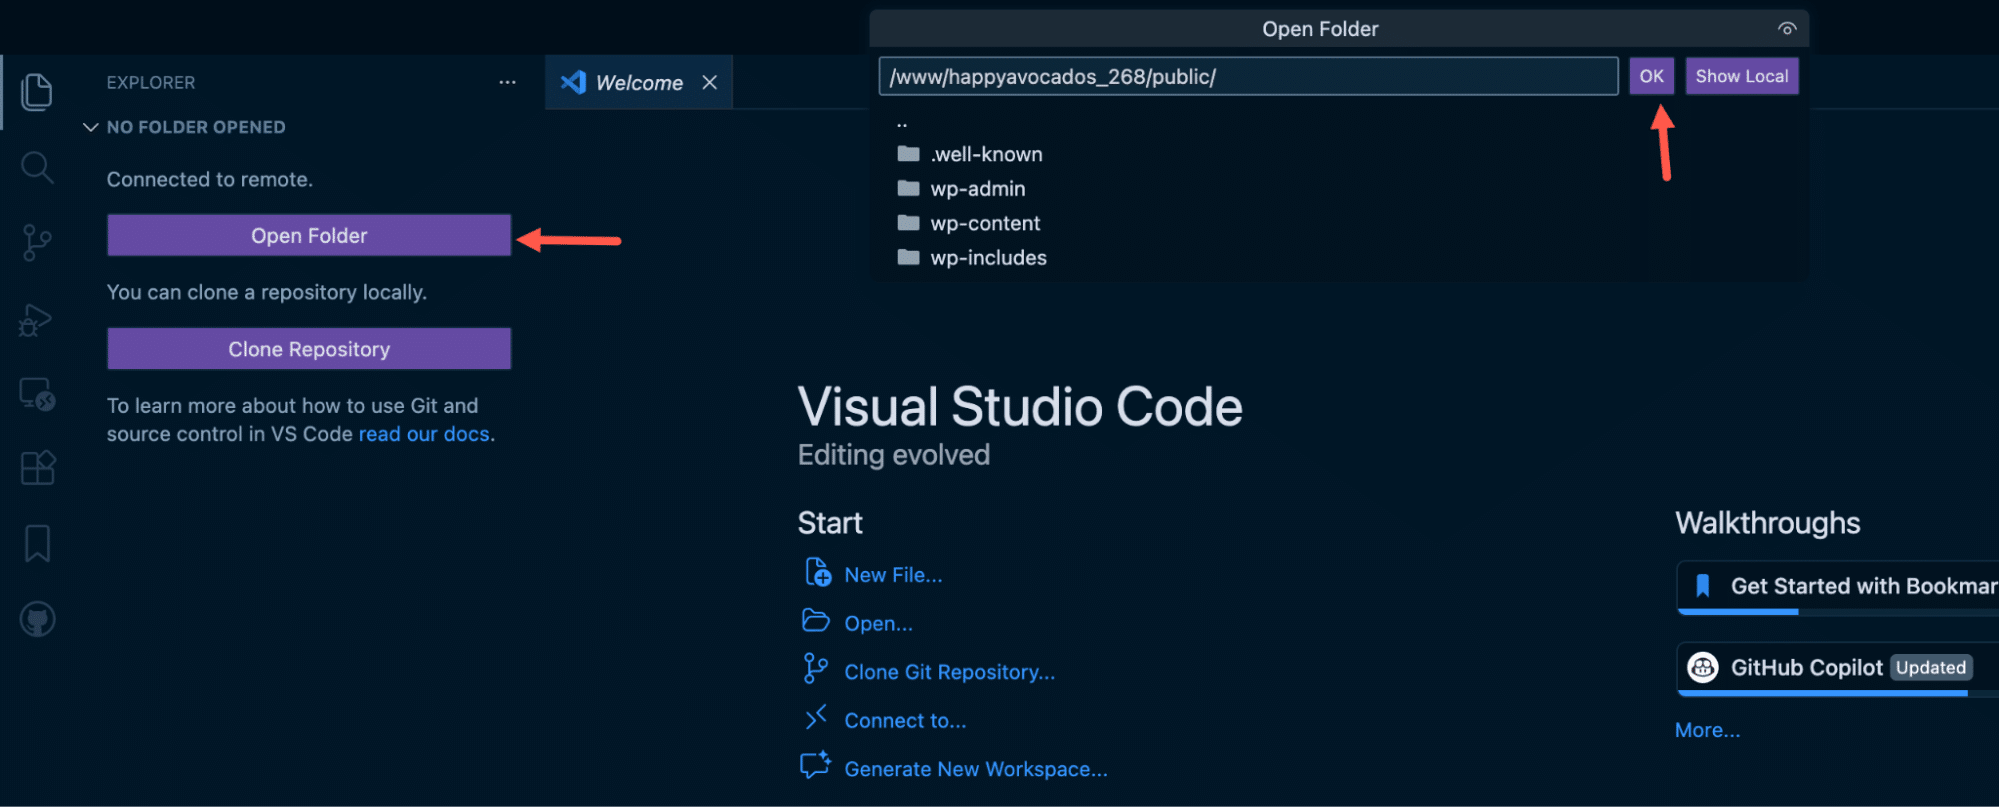
At this point, you are working directly on the remote environment.
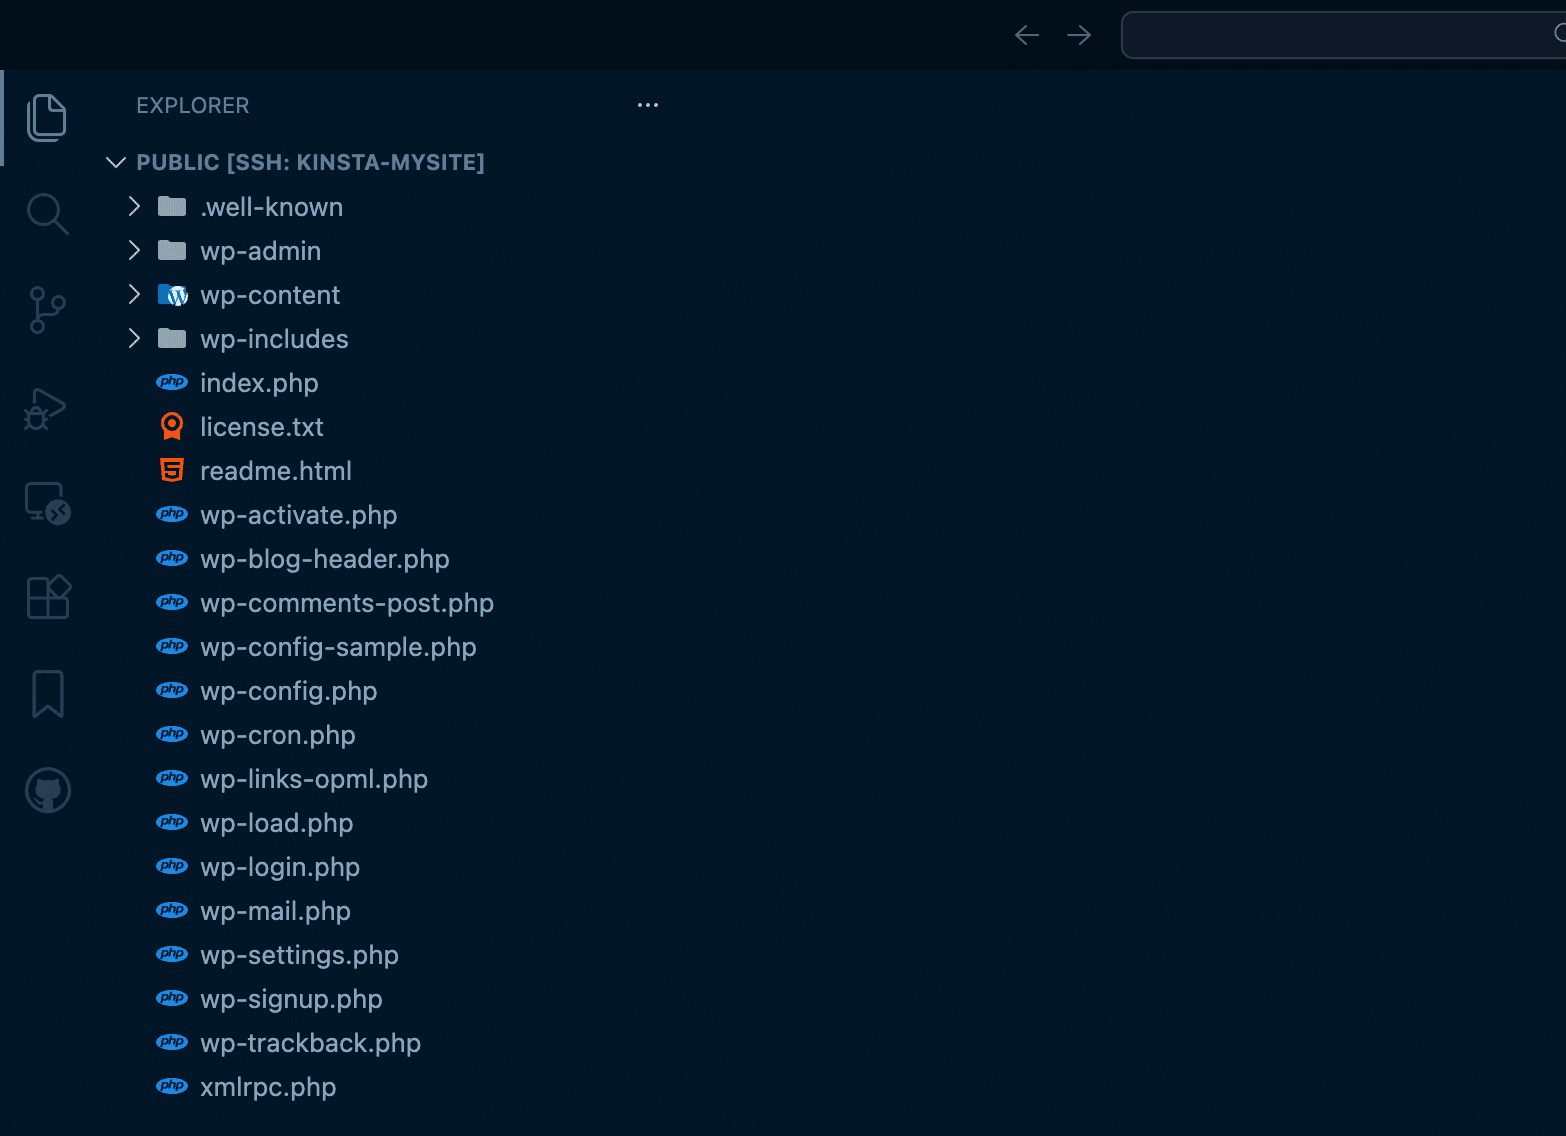
VS Code or your preferred IDE treats the files as if they were local, allowing you to edit code, run commands, and use extensions without downloading the site to your machine.
When remote WordPress development makes sense
Remote WordPress development isn’t meant to replace every local workflow, but it can be a better fit in specific scenarios where local setups become more of a burden than a benefit.
In a recent LinkedIn discussion about moving WordPress sites between hosts, one developer highlighted the ability to use VS Code’s SSH extension to work directly on a Kinsta-hosted site as a key advantage, noting that it eliminates local environment setup, avoids storing customer data on a developer’s machine, and simplifies working with large databases.
That said, remote development should be used intentionally. For ongoing feature development or larger changes, pairing this approach with a staging environment and MyKinsta’s Push Environments provides a safer and more structured workflow.
If you’re already hosting WordPress sites on Kinsta, SSH access is available by default. And if you’re exploring hosting options that support modern, developer-friendly workflows, Kinsta’s managed hosting for WordPress is built with SSH, staging, and flexible deployment tools out of the box.


