
When you install the MySQL database service, it creates a root account automatically. You can use it to perform any action and access any data. This can be a security nightmare!
To keep your site safe, it’s wise to set up additional accounts that don’t have these elevated privileges. Fortunately, there are multiple ways to create new users in MySQL.
In this post, we’ll explore all of the reasons you may want to add more users to your MySQL database. We’ll then show you how to create these accounts and manage their permissions for maximum security. Let’s get started!
An Introduction to MySQL (and Why You May Want To Add New Users)
The official WordPress distribution supports both the MySQL and MariaDB database engines. If you’ve weighed up the pros and cons, you may have opted for the latest version of the MySQL database management software. At some point, you might want to create additional users.
In MySQL, each account consists of a username and password. It also specifies the client host or hosts where the user can connect to your MySQL server.
You’ll typically create additional accounts when more people require access to your database. While multiple people could interact with MySQL from the same account, sharing login credentials is a security risk. If you detect any errors or suspicious activity within your database, then a shared account will also make it more difficult to identify the culprit.
MySQL is a permission-based system. It enables you to control exactly what information each user has access to and the actions they can perform. Creating multiple accounts with different permissions is far more secure than relying on a single account with global access.
When you install MySQL, it automatically creates a single ‘root’@’localhost’ superuser account. Even if you’re managing the database solo, it’s still wise to make at least one additional account. Doing so ensures that you won’t lose access to your entire database just because you encounter an issue with ‘root’@’localhost.’
This root account also has permission to access all your data and perform any action. Even experienced database users can cause serious damage with this level of control. For this reason, you may want to create a regular user account that you can use for day-to-day MySQL admin. You can then reserve ‘root’@’localhost’ for tasks that require elevated privileges.
How To Manage Your MySQL Database
When it comes to managing your MySQL database, you have two choices. You can use MySQL Shell, which is a Python, Javascript, or SQL interface and a component of the MySQL Server. This tool is available on Microsoft Windows, Linux, and macOS for 64-bit platforms.
Alternatively, you can use the free phpMyAdmin tool. Let’s take a closer look at both of these options.
1. Manage Your Database From MySQL Shell
To enter the MySQL Shell prompt, open a Terminal or Command Prompt. You can then run the following command:
> mysqlsh
This opens MySQL Shell without connecting to a server. By default, MySQL Shell launches in JavaScript mode, but you can switch modes using the sql, py, or js command:
In MySQL Shell, connections to MySQL Server instances are handled by a session object. If X Protocol is available, then you can use a Session object. Note that X Protocol requires the X Plugin.
The X Plugin listens to the port specified by mysqlx_port, which defaults to 33060. You can create a Session object using the following:
–mysqlx (–mx)
For example, you can establish an X Protocol connection to a local MySQL Server instance listening at port 33060, using the following:
shell> mysqlsh –mysqlx -u user -h localhost -P 33060
If the X Protocol isn’t available, then you can use a ClassicSession object. This object is intended for running SQL against servers using the classic MySQL protocol. To create a ClassicSession object, type in:
–mysql (–mc)
You can verify the results of your connection attempt using MySQL Shell’s status command or the shell.status() method. For example:
mysql-js []> shell.status()
To assign privileges via MySQL Shell, you’ll need to execute your commands as a root user. To achieve this, enter the following and then provide your MySQL root user password when prompted:
mysql -u root -p
Here, the -u indicates that the following parameter is a username, which in this instance is root. Instead of displaying the password in plain text, we’re using -p. This specifies that the password is not provided and that you’ll need to enter it when prompted. Using these parameters can help keep your root account secure.
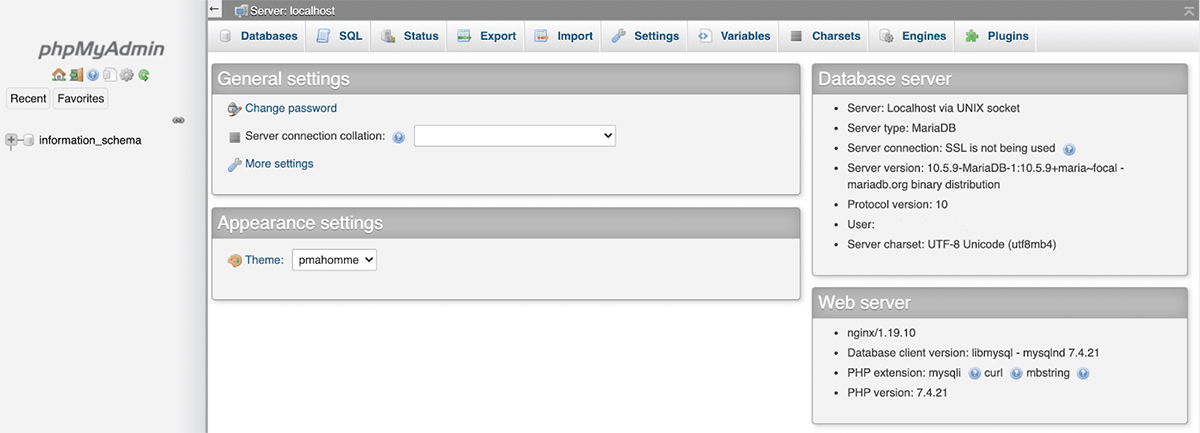
2. Manage Your Database From phpMyAdmin
If you prefer to use a Graphical User Interface (GUI), you may be able to manage the MySQL database via phpMyAdmin. With proper permissions, this interface can allow you to create new accounts, view and edit permissions, and delete accounts you no longer require. You’ll need to be logged in as root to perform these actions.
You can download this tool for free from the phpMyAdmin website.
How To Create and Manage a MySQL User (4 Key Processes)
Once you’re connected to your database, you can perform lots of different actions. Here are four key ways you can manage your MySQL user accounts.
1. Create a New User in the Database Server
In phpMyAdmin, you can create an account using the Add a new user link. You can then use the text fields and dropdowns to configure this account:
At this point, you have the option to assign global privileges. This grants the user unlimited access to all of your databases and tables. It can be a security risk, so you should only give these elevated privileges when they’re required. You can assign database-specific privileges after creating this account.
To spawn a new account via MySQL shell, enter the CREATE USER command. You’ll also need to provide a username and the hostname. The latter is the name of the host from which the user connects to the MySQL Server:
CREATE USER ‘exampleuser’@’localhost’ IDENTIFIED BY ‘password’;
When typing this command, make sure to replace exampleuser and password with the values you want to assign to this account. The user can always change their MySQL password at a later date.
In the above example, we’re setting the hostname to “localhost”. Therefore, the user will only be able to connect to the MySQL server from the system where MySQL Server is running.
You may want to replace the word localhost with your server’s address. For example, if this user needs to access MySQL from a machine with the Internet Protocol (IP) address 11.0.0.0, then you’d run the following:
CREATE USER ‘newuser’@’11.0.0.0’ IDENTIFIED BY ‘user_password’;
If you want to create a user who can connect from any host, you can include the % wildcard in your command. For example:
CREATE USER ‘newuser’@’%’ IDENTIFIED BY ‘user_password’;
Alternatively, you can omit the hostname value entirely. This will have the same result.
2. Assign MySQL Permissions via phpMyAdmin
By default, a new MySQL user doesn’t have permission to perform any actions. Even if they log into their account, they’ll be unable to create any tables or select any data.
After creating a new user, you’ll typically want to start assigning them some permissions. To keep your database secure, it’s a good idea to give each user the minimum privileges required to complete their work. It’s also wise to regularly review their permissions and then revoke any unnecessary ones.
You can edit a user’s privileges from phpMyAdmin’s Users dashboard.
Granting unrestricted access may seem like the easy option, but it can put your database at risk. Unless you have a specific reason, you’ll typically want to avoid giving anyone free reign over your entire database.
3. Modify User Permissions From MySQL Shell
If you’re using MySQL Shell, you can view all the privileges granted to a specific account with the SHOW GRANTS command. You’ll need to replace “username” and “localhost” with information for the account that you want to review:
SHOW GRANTS FOR ‘username’@’localhost’;
When you create an account, this list will be empty. You can start assigning access to different parts of your database using the GRANT command:
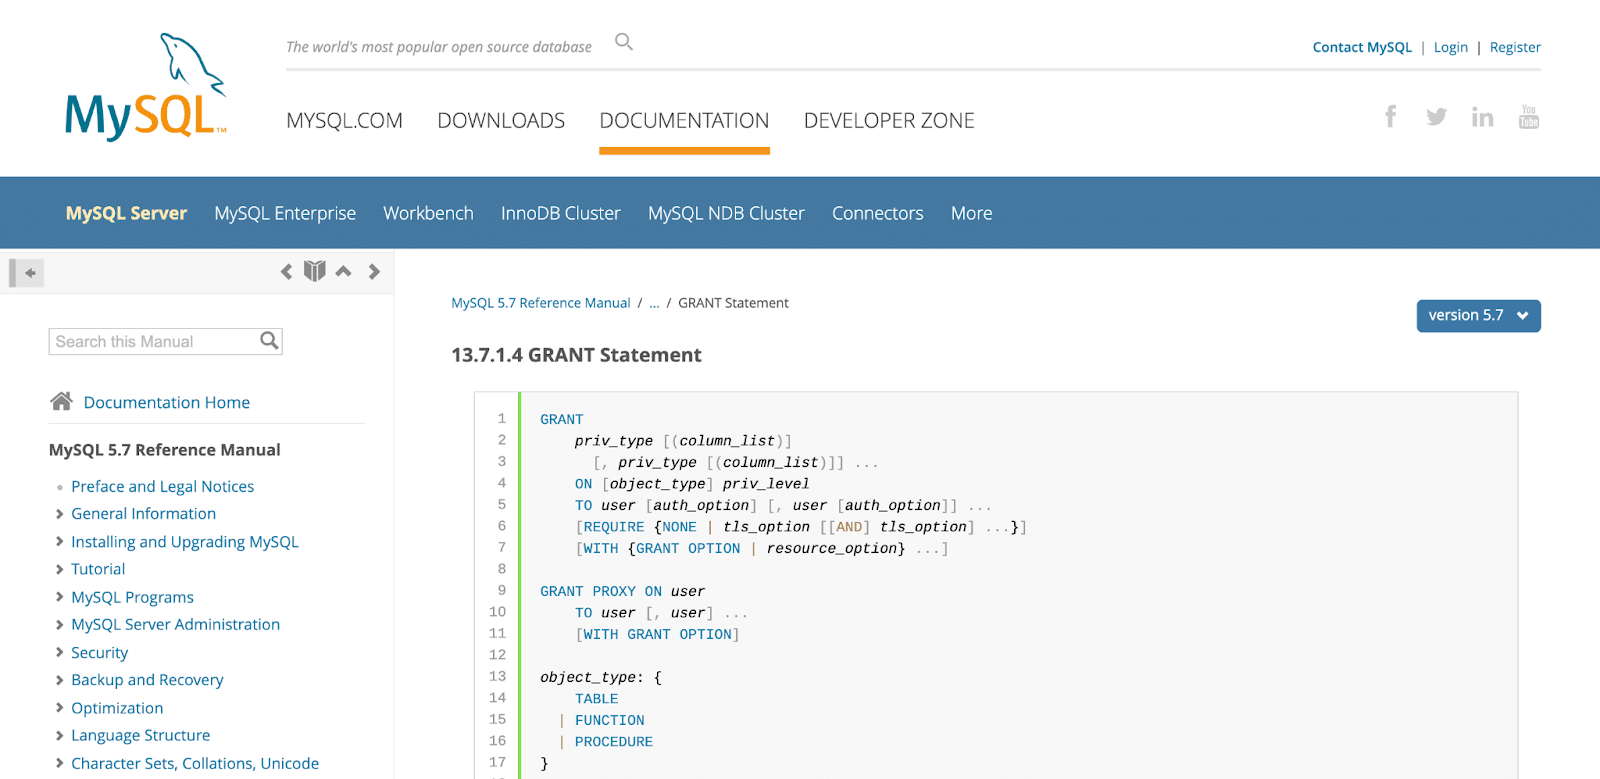
GRANT type_of_permission ON database_name.table_name TO ‘username’@’localhost’;
In this command, we’re specifying the privileges that we’re assigning, followed by the database and tables that these changes should apply to. Finally, we’re providing the username and server that will receive the named privileges. You’ll find a full list of all the available privileges in the official MySQL documentation.
If you want to grant access to any database or table, you can use an asterisk (*) in place of the database or table name. For example:
GRANT ALL PRIVILEGES ON *. * TO ‘exampleuser’@’localhost’;
Here, we’re granting exampleuser permission to read, edit, execute, and perform all tasks across all databases and tables. You’ll typically want to reserve these elevated privileges for admins.
Sometimes, you may need to take away a permission. For example, maybe you granted a privilege by mistake, or the user no longer needs it. To revoke access, run the following:
REVOKE type_of_permission ON database_name.table_name FROM ‘username’@’localhost’;
If you assign privileges using the GRANT command, MySQL should notice these changes and apply them automatically. However, it’s still smart to refresh a user’s privileges by running the FLUSH PRIVILEGES; command.
4. Remove a User From MySQL
Sometimes, you may need to remove a user from your MySQL database. For example, perhaps this person is leaving your organization, or they’re relocating to another department. You may also be actively trying to limit the number of people who can access your database, in order to boost your security.
If you’re working with MySQL Shell, you can delete an account using the DROP USER statement. This command will also delete all of their privileges:
DROP USER ‘username’@’localhost’;
Alternatively, with phpMyAdmin, find the account you want to remove on the Users page. You can then select the accompanying checkbox and choose whether you also want to remove any database with the same name.
When you’re happy to proceed, click on Go. This person will now be deleted from MySQL.
Summary
MySQL automatically creates a ‘root’@’localhost’ superuser account, but it’s never a good idea to use it for everything. By creating multiple MySQL users, you can assign different privileges to keep your data safe.
Additionally, you can ensure that you don’t lose access to your database because you’re having issues with ‘root’@’localhost’.
As a website owner, your database is often your most valuable asset. At Kinsta, our team of experienced WordPress experts can help keep your database in tip-top shape.
All of our hosting plans include round-the-clock support! By partnering with Kinsta, you’ll always have WordPress veterans on hand to help resolve any issues with your MySQL database.


