
Laravel’s templating engines support React, Vue, and other libraries. Yet, developers love the Laravel Blade engine’s robust ability to create modular and reusable views quickly. Blade lets you effortlessly extend layouts, define sections, and use control structures to generate data-driven content.
This hands-on article explores what Blade is, how it works, and how it enhances your Laravel applications.
Everything You Need To Use Laravel Blade
Laravel Blade is the default templating engine for the Laravel framework. It lets you use variables, loops, conditional statements, and other PHP features directly in your HTML code. To create Blade files, simply define blade views by creating files with the .blade.php extension in the resources/views directory of your Laravel project, then structure your preferred dynamic pages in these files.
Why Should You Use Blade?
One main benefit of Blade is its modular code organization. Blade helps organize your code into reusable modules that you can easily add, remove, or update without affecting the rest of your application.
Code encapsulation is another of Blade’s advantages. Blade helps encapsulate functions, making testing, debugging, and code maintenance more manageable. This approach benefits larger applications since unorganized applications can quickly become challenging to manage.
Blade’s templating engine is performant and the fastest PHP framework we tested. The engine compiles all your blade views into plain PHP code and then caches them until you modify them. This approach promotes faster rendering and overall better performance.
How To Use Laravel Blade
In this tutorial, we create a Laravel application to experience Blade templates in action. Learn to define and extend blade layouts, pass data between blade views, use the various control structures available, and create your own blades.
Prerequisites
To follow this tutorial, ensure you have the following:
- Prior familiarity with PHP
- Composer installed. Verify that Composer is on your system by running
composer -V
Check out the complete tutorial code for guidance while working.
How To Create the Laravel Application
To create a sample Laravel application, run:
composer create-project laravel/laravel my-appFollow the set of instructions on your terminal to finish making the app.
Next, go into the app directory and serve it with this command:
cd my-app
php artisan serve
Click the link in the terminal to open the Laravel Welcome page on your browser.
How To Define the Layout
Layouts let you configure sections of your web application to share across multiple pages. For example, if your application has a consistent navbar and footer across pages, it’s more efficient to create it once than build it again for each page.
Before working through step-by-step instructions, take a look at the following skeleton demonstration.
The code for creating websites without layouts is shown below. It makes you rewrite your navbar and footer code for each page.
<!-- Page 1 -->
<nav>. . . </nav>
  Content for page 1
<footer> . . . </footer>
<!-- Page 2 -->
<nav>. . . </nav>
Content for page 2
<footer> . . . </footer>Instead, you can easily construct your application using layouts to share the same components in a single code block:
<!-- Main layout code -->
<nav>. . . </nav>
{slot}
<footer> . . . </footer>
Once you’ve defined your layout, you can use it on any page you want:
<!-- Page 1 or Page n -->
<main-layout>
  Content for page n
</main-layout>
In older Laravel versions, you had to create layouts using template inheritance. However, when the company added the component feature, it became much easier to create robust layouts.
To create a new layout with Laravel Blade, first run this command to create the layout’s component:
php artisan make:component LayoutThis command generates a new layout.blade.php file located in a new folder called components in the resources/views/ directory. Open that file and paste this code:
<html>
  <head>
    <title>{{ $title ?? 'Example Website' }}</title>
    <link rel="stylesheet" href="{{ asset('/css/app.css') }}">
  </head>
  <body>
    <nav>
      <h3>Welcome to my website</h3>
      <hr>
    </nav>
    {{ $slot }}
    <footer>
      <hr />
      © 2023 example.com
    </footer>
  </body>
</html>
This code creates a layout component that has a simple navbar and footer. The slot function defines where to pass the main content whenever you extend your layout component.
How To Extend the Layout
You can easily import a component in a blade view using the <x-component-name> tag. This method also applies to the layout component you created earlier.
To see how extending the layout looks, open the default resources/views/welcome.blade.php file and replace the file’s contents with this code:
<x-layout>
<div>
<h1>Hello World!</h1>
<p>Lorem ipsum dolor sit amet consectetur adipiscing elit. Hic, aut?</p>
<button class="btn">Get Started</button>
</div>
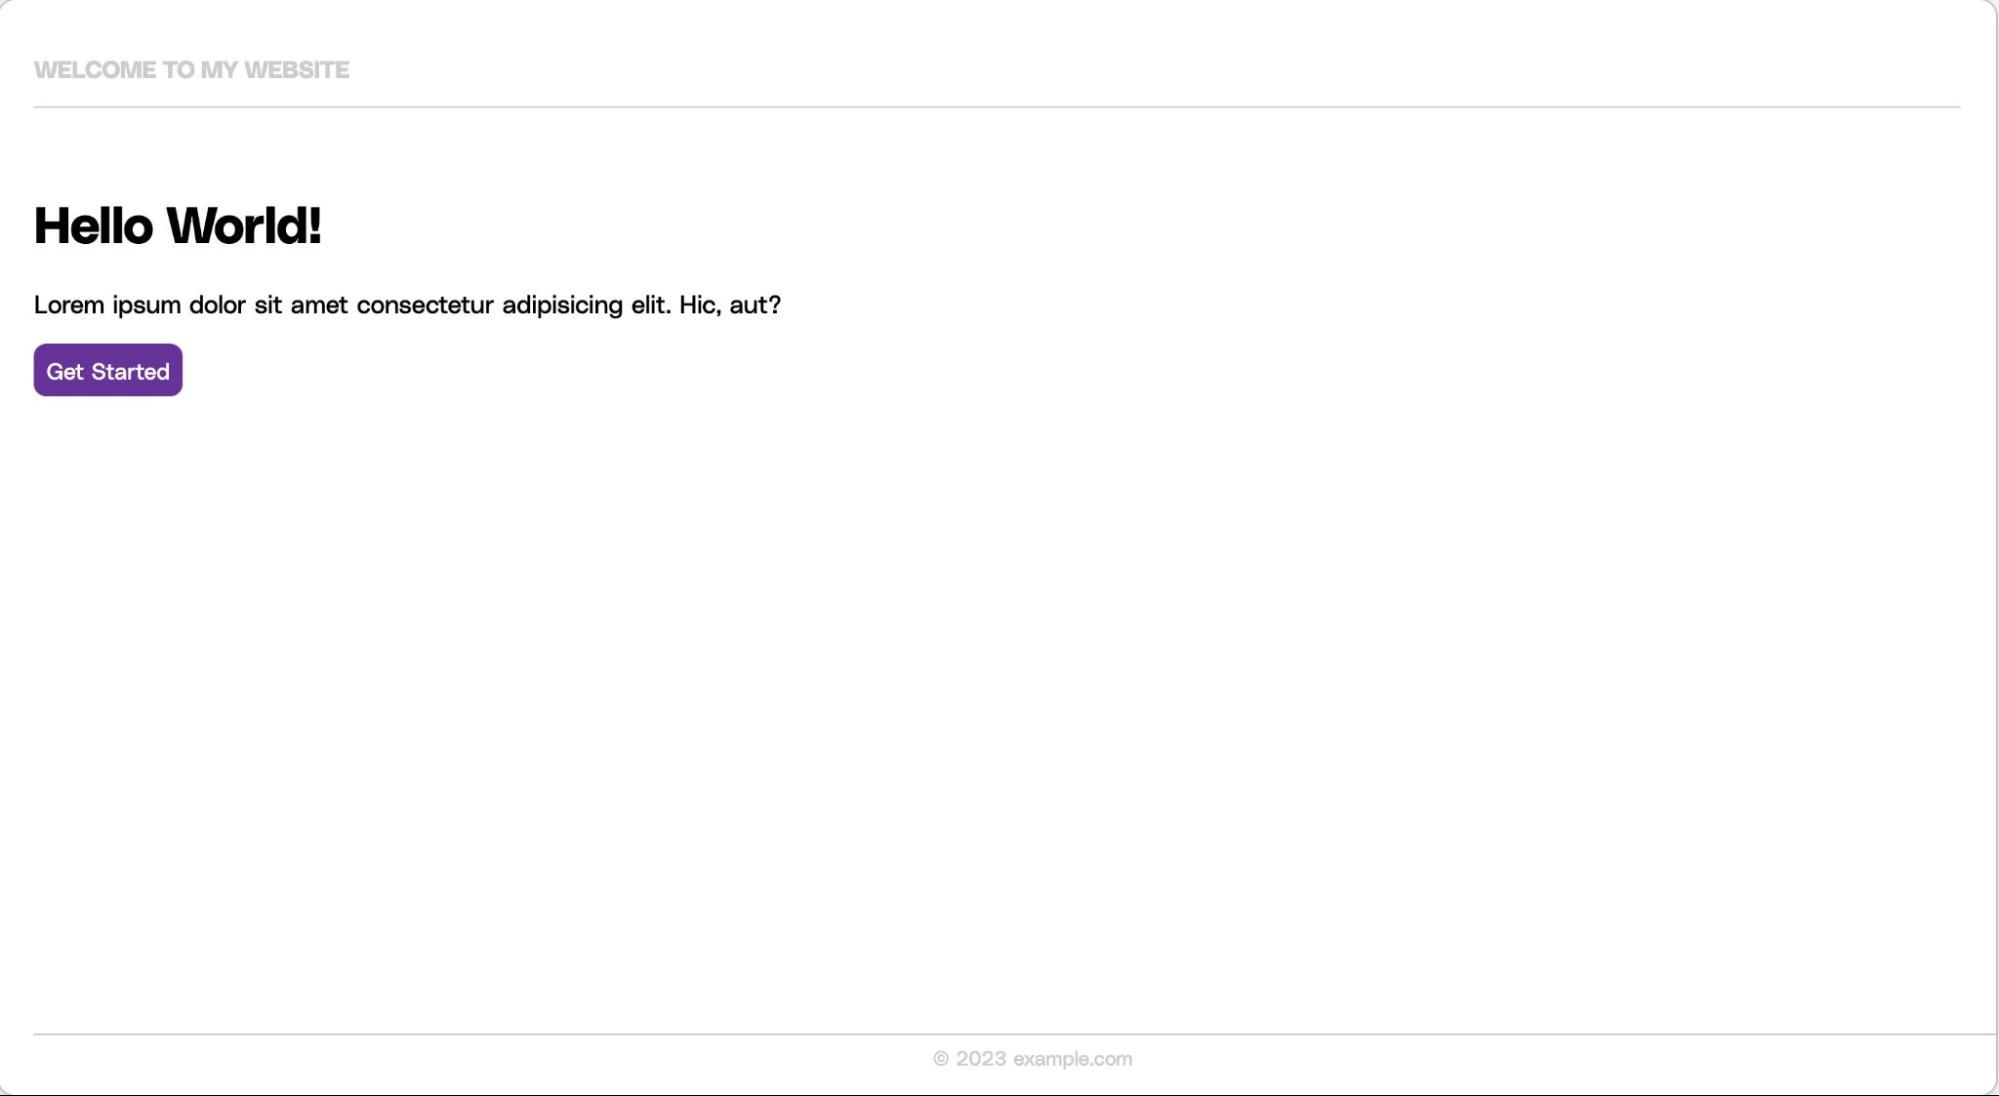
</x-layout>This approach updates the welcome page to use the layout component while passing a heading element and a paragraph with some mock text as its content. Reload the link you opened earlier to view the changes.
In your layout definition, notice that the code rendered a title data that defaults to “Example Website” if the code doesn’t pass the title data. You can pass this data as named slots in your views via the <x-slot name="slotName" /> code — in this case, <x-slot name="title" />. Update the welcome.blade.php file with the code below and reload the page:
<x-layout>
  <x-slot name="title">
    Home | Example Website
  </x-slot>
  <div>
  <h1>Hello World!</h1>
  <p>Lorem ipsum dolor sit amet consectetur adipiscing elit. Hic, aut?</p>
    <button class="btn">Get Started</button>
  </div>
</x-layout>
Next, add some styling to enhance your app’s appearance. Create a new app.css file inside the /public/css directory, then paste the code from this file.
With all these updates, you should see the following output when you preview your application at http://127.0.0.1:8000/.
How To Include Backend Data
In the previous example, you readily shared data between components and views via slots. However, there are better approaches for loading data from a database or other remote source.
In that case, load and pass the data directly from your router definition and access it like you accessed a named slot in the previous example. To do so, open the routes/web.php file and replace its contents with this code:
<?php
use Illuminate\Support\Facades\Route;

Route::get('/', function () {
  $name = "John Doe";
  return view('welcome', ['name' => $name]);
});
In the code above, you updated your web route to pass the name "John Doe" to the welcome view. Now, access this value in your blade views like this:
<div>
  Hello, {{ $name }}
  <!-- Outputs: Hello, John Doe -->
</div>
You may use this method to load data from a database. For instance, suppose you have a to-dos table containing a to-do list. Use the DB facade to load these to-dos and pass them to your view:
<?php
use Illuminate\Support\Facades\DB; // Import DB Facade
use Illuminate\Support\Facades\Route;

Route::get('/', function () {
  $todos = DB::table('todos')->get();
  return view('welcome', ['todos' => $todos]);
});
However, if you don’t have a database, update the web entry route to pass an array of static to-dos. Open the routes/web.php file and update the default (/) route with the code below:
Route::get('/', function () {
  $todos = ['Learn Laravel', 'Learn Blade', 'Build Cool Stuff'];
  return view('welcome', ['todos' => $todos]);
});
Replace the content of the welcome.blade.php file with the code below to access the to-dos as an encoded JSON array.
<x-layout>
  <x-slot name="title">
    Home | Example Website
  </x-slot>
  <p>{{ json_encode($todos) }}</p>
  <!-- Output:  ["Learn Laravel","Learn Blade","Build Cool Stuff"] -->
</x-layout>
How To Use Control Shortcuts
The Blade templating engine also supports multiple directives to render various data types conditionally. For example, to iterate through the returned to-dos array you had passed to your welcome view, apply a foreach loop by pasting the following code in the welcome.blade.php file:
<x-layout>
<x-slot name="title">
Home | Example Website
</x-slot>
<ul>
@foreach ($todos as $todo)
<li>{{ $todo }}</li>
@endforeach
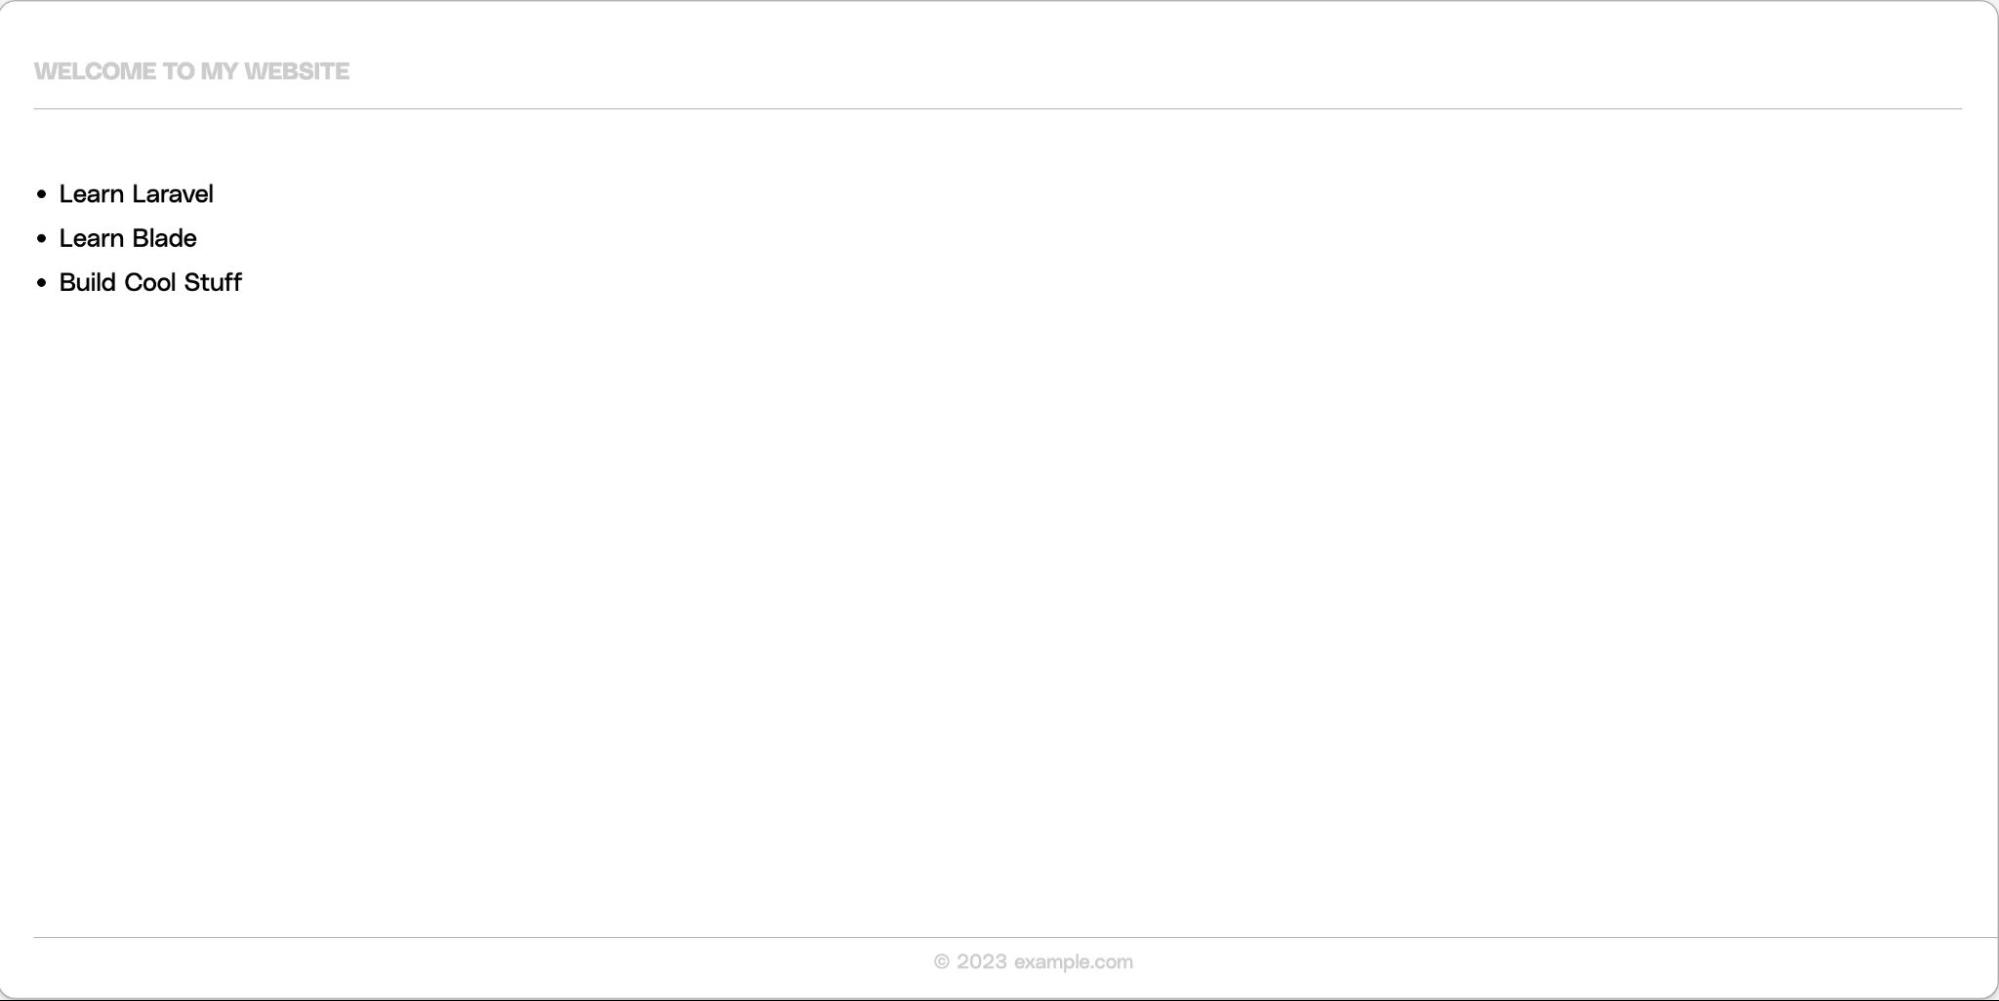
</ul>
</x-layout>This change should render your to-dos in an unordered list, like the screenshot below.
To construct a block of conditional statements, use the @if, @elseif, @else, and @endif directives. For example:
@if (count($todos) === 1)
  <p>I have one task!</p>
@elseif (count($todos) > 1)
  <p>I have multiple tasks!</p>
@else
  <p>I don't have any tasks!</p>
@endif
Replace the content of the welcome.blade.php file with the code above. The various if–else directives count the to-do items and display a custom message for different scenarios. Given that you have more than one task in your to-dos array, you should see the output “I have multiple tasks!” in the browser.
You can find more supported directives in Laravel’s documentation.
How To Make a Custom Extension
You can write a custom directive, too, similar to the previous example. To explore this technique, create a custom text-truncating directive.
First, make a new service provider by running:
php artisan make:provider TruncateTextServiceProviderThis command generates a new service provider file at app/Providers/TruncateTextServiceProvider.php. Open this file and replace its contents with:
<?php
namespace App\Providers;

use Illuminate\Support\Facades\Blade;
use Illuminate\Support\ServiceProvider;

class TruncateTextServiceProvider extends ServiceProvider
{
  public function register()
  {
    //
  }
  public function boot()
  {
    Blade::directive('truncate', function ($expression) {
      list($text, $length) = explode(',', $expression);
      return "<?php echo Str::limit($text, $length); ?>";
    });
  }
}
The code imports the Blade facade and defines a new custom directive called @truncate. The directive accepts two arguments: $text and $length. It uses the Str::limit() method to truncate the text to the specified length.
Finally, register the service provider by adding it to your providers’ array in the config/app.php configuration file:
'providers' => [
  // Other service providers
  App\Providers\TruncateTextServiceProvider::class,
],
Use the custom directive in your Blade templates (welcome.blade.php) by invoking it via the @truncate syntax.
<div>
  @truncate('Lorem ipsum dolor sit amet', 10)
  <!-- Outputs: Lorem ipsu... -->
</div>
Summary
This article explored how Laravel Blade enables you to streamline your development process while creating modular and reusable views for web applications. However, your Laravel development journey shouldn’t end there.
The infrastructure hosting your application is as critical to your success as your local development process. To take your Laravel application to the next level, you need a reliable hosting platform that can handle its demands.
Sevalla, Kinsta’s PaaS product, optimizes hosting solutions for performance, security, and scalability, enabling you to grow your application in the best possible environment.

I'm the Editorial Team Lead at Kinsta. I'm a open source enthusiast and I love coding. With more than 10 years of technical writing and editing for the tech industry, I love collaborating with people to create clear and concise pieces of content and improve workflows.

