
Every Laravel website can use some style, and Tailwind CSS is the easiest way to give your site some flair. This utility-first CSS framework offers predefined classes to style your HTML elements. Instead of writing endless CSS code, you can build custom web pages quickly and then easily maintain and scale your stylesheets.
Tailwind is part of the TALL stack, along with Alpine.js and Livewire. The Laravel community built this full-stack development solution to help developers of all skill levels quickly prototype web applications. These solutions are easy to use without deep knowledge of front-end or back-end technologies.
This hands-on article explores how to use Tailwind CSS to spice up your Laravel project, then deploy it using MyKinsta.
Enhance Your Laravel Project Using Tailwind
To get started, create a basic Laravel page, then use Tailwind CSS to style it with minimal effort.
Prerequisites
To follow along with the tutorial, you need:
- Laravel and Composer installed.
- Node.js and npm installed.
- MyKinsta account for deployment. If you don’t already have an account, sign up for a free trial.
To see the final project, check out the complete project code.
Laravel Project and Set Up Tailwind
To create a new Laravel project using Composer:
- Open the terminal to the directory where you want the project to live and run:
composer create-project laravel/laravel my-project- Go to the my-project directory to install the required packages:
cd my-project- Install the packages to work with Tailwind:
npm install -D tailwindcss postcss autoprefixer- Run the following command to set up Tailwind’s configuration files:
npx tailwindcss init -pThis action places two files at your project’s root: tailwind.config.js and postcss.config.js.
Configure Your Template Paths
- Next, configure your template paths in the tailwind.config.js file. Laravel looks for CSS files in the public directory by default. The template path tells Laravel where to find the application’s CSS files.
- Replace the code inside the tailwind.config.js file with this:
/** @type {import('tailwindcss').Config} */
module.exports = {
content: [
"./resources/**/*.blade.php",
"./resources/**/*.js",
"./resources/**/*.vue",
],
theme: {
extend: {},
},
plugins: [],
}
Add the Tailwind CSS Directives To the Project’s CSS
- To add the directives for Tailwind CSS, go to the resources/css folder and open the app.css file.
- Then, add the following code:
@tailwind base;
@tailwind components;
@tailwind utilities;
Build the Application
Before running your app locally:
- Launch the Vite development server:
npm run devThis command bundles your static assets file, including Tailwind CSS, and starts the Vite local server.
- Use Artisan to run your Laravel app:
php artisan serveYour app should now be running at http://127.0.0.1:8000/. It displays the default output of a newly created Laravel application.
Upon opening the resources/views/welcome.blade.php route view file, you can see that it already uses Tailwind utility classes.
How To Make a Simple Tailwind Component
To understand better how Tailwind works:
- Open resources/views/welcome.blade.php.
- Delete the code from the application’s welcome view.
- Replace it with the code below, which renders a beautiful card component:
<!DOCTYPE html>
<html lang="en">
  <head>
    <meta charset="UTF-8">
    <meta http-equiv="X-UA-Compatible" content="IE=edge">
    <meta name="viewport" content="width=device-width, initial-scale=1.0">
      @vite('resources/css/app.css')
    <title>Document</title>
  </head>
  <body>
    <div class="max-w-md  m-24 rounded overflow-hidden shadow-lg">
      <img class="w-full" src="https://picsum.photos/400/300" alt="Blog Image">
      <div class="px-6 py-4">
        <h2 class="font-bold text-2xl mb-2">This is My Blog Title</h2>
        <p class="mt-3 text-gray-600 text-base">
        Lorem ipsum dolor sit amet, consectetur adipisicing elit. Voluptatibus quia, nulla! Maiores et perferendis eaque,
                exercitationem praesentium nihil.
        </p>
        <button class="mt-4 bg-blue-500 text-white font-bold py-2 px-4 rounded">
            Read More
        </button>
      </div>
    </div>
  </body>
</html>
The code above uses Vite to import the app.css file via @vite('resources/css/app.css'). It also imports Tailwind. It creates a fundamental markup component to mock up a blog card using these Tailwind CSS utility classes:
max-w-sm— Sets the maximum width of the container to the sm (small) breakpoint size.m-24— Adds a margin of 24 units (96px or 6rem) to all sides of the container.rounded— Adds a border-radius to make the container’s corners rounded.overflow-hidden— Hides any content that overflows the container.shadow-lg— Adds a shadow effect to the container.w-full— Sets the image width to 100% of its container.px-6 py-4— Adds padding of 6 units (24px or 1.5rem) on the x-axis and 4 units (16px or 1rem) on the y-axis.font-bold— Sets the text’s font-weight to bold.text-xl— Sets the text’s font-size to extra-large.mb-2— Adds a bottom margin of 2 units (0.5rem or 8px) to the element.text-gray-600— Sets the text color to dark gray.text-base— Sets the text’s font size to the default.
When you preview your application in the browser, you should see an output similar to the one below.

Deploy Your Laravel Tailwind Project to Kinsta
Before deploying and hosting your Laravel application using Kinsta, make a few more changes to ensure it properly works when hosted.
- Open app/Http/Middleware/TrustProxies.php. Change the value of
protected $proxiesto enable your Laravel app to trust all proxies:
protected $proxies = '*';- Create a new .htaccess file in your project root directory and paste the following code:
<IfModule mod_rewrite.c>
  RewriteEngine On
  RewriteRule ^(.*)$ public/$1 [L]
</IfModule>- Create a new Git repository and push your code to it (Kinsta supports pushing from GitHub, GitLab, and Bitbucket).
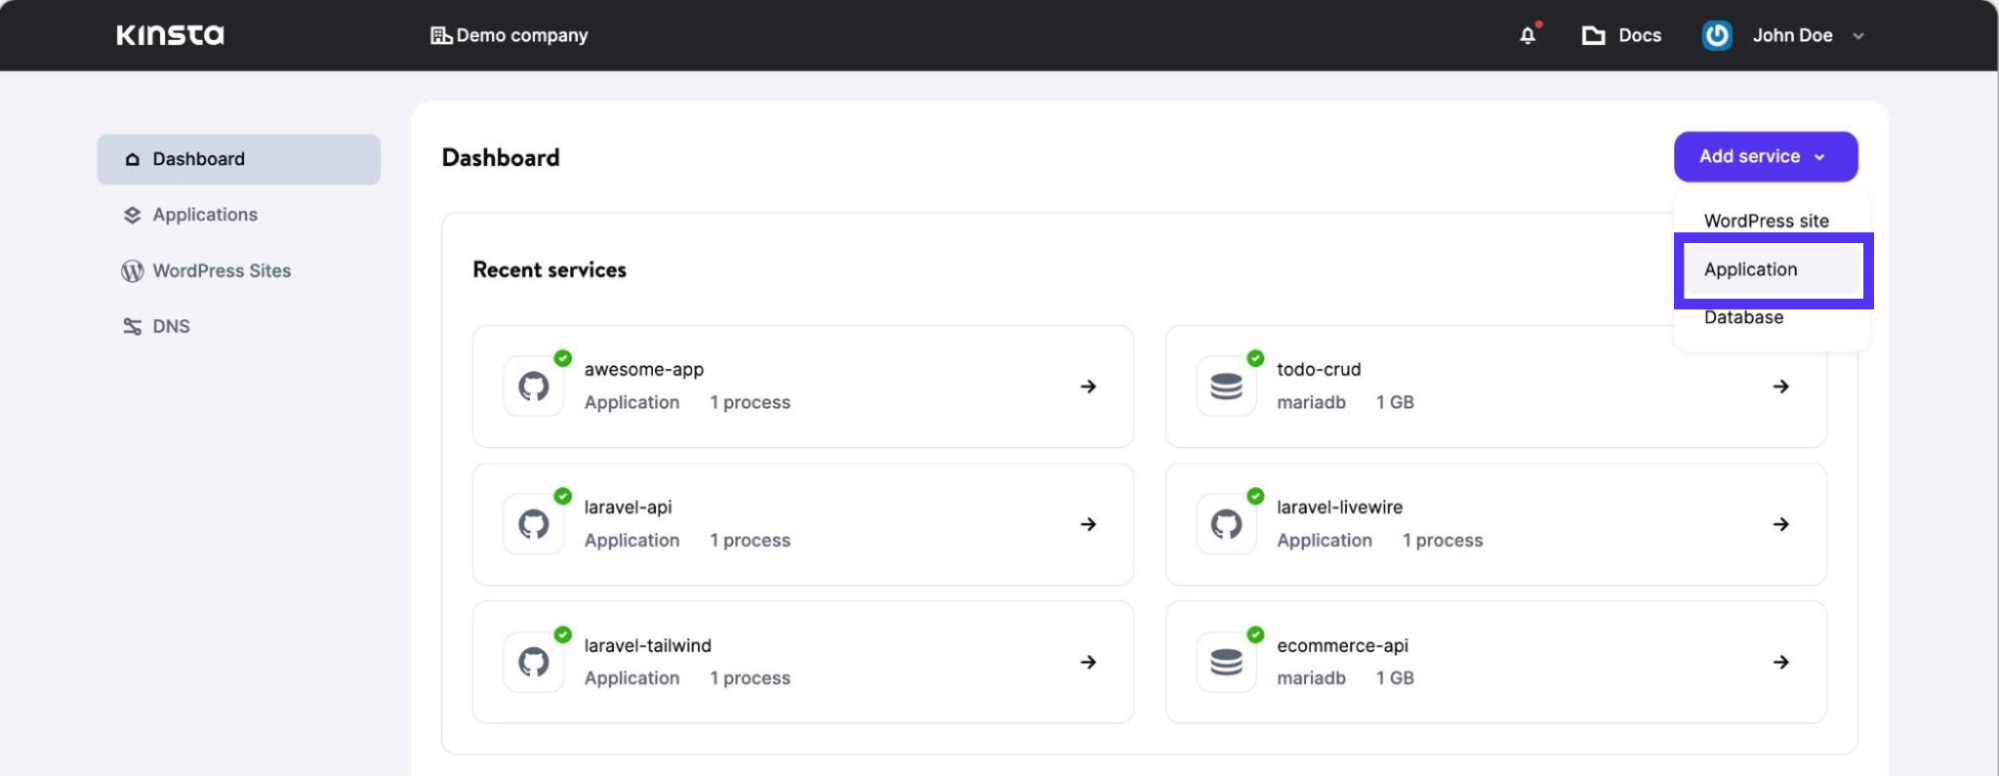
- Sign in to your Kinsta account or create a new one. Once on your MyKinsta Dashboard, click the Add service button, then select Application, like the screenshot below.
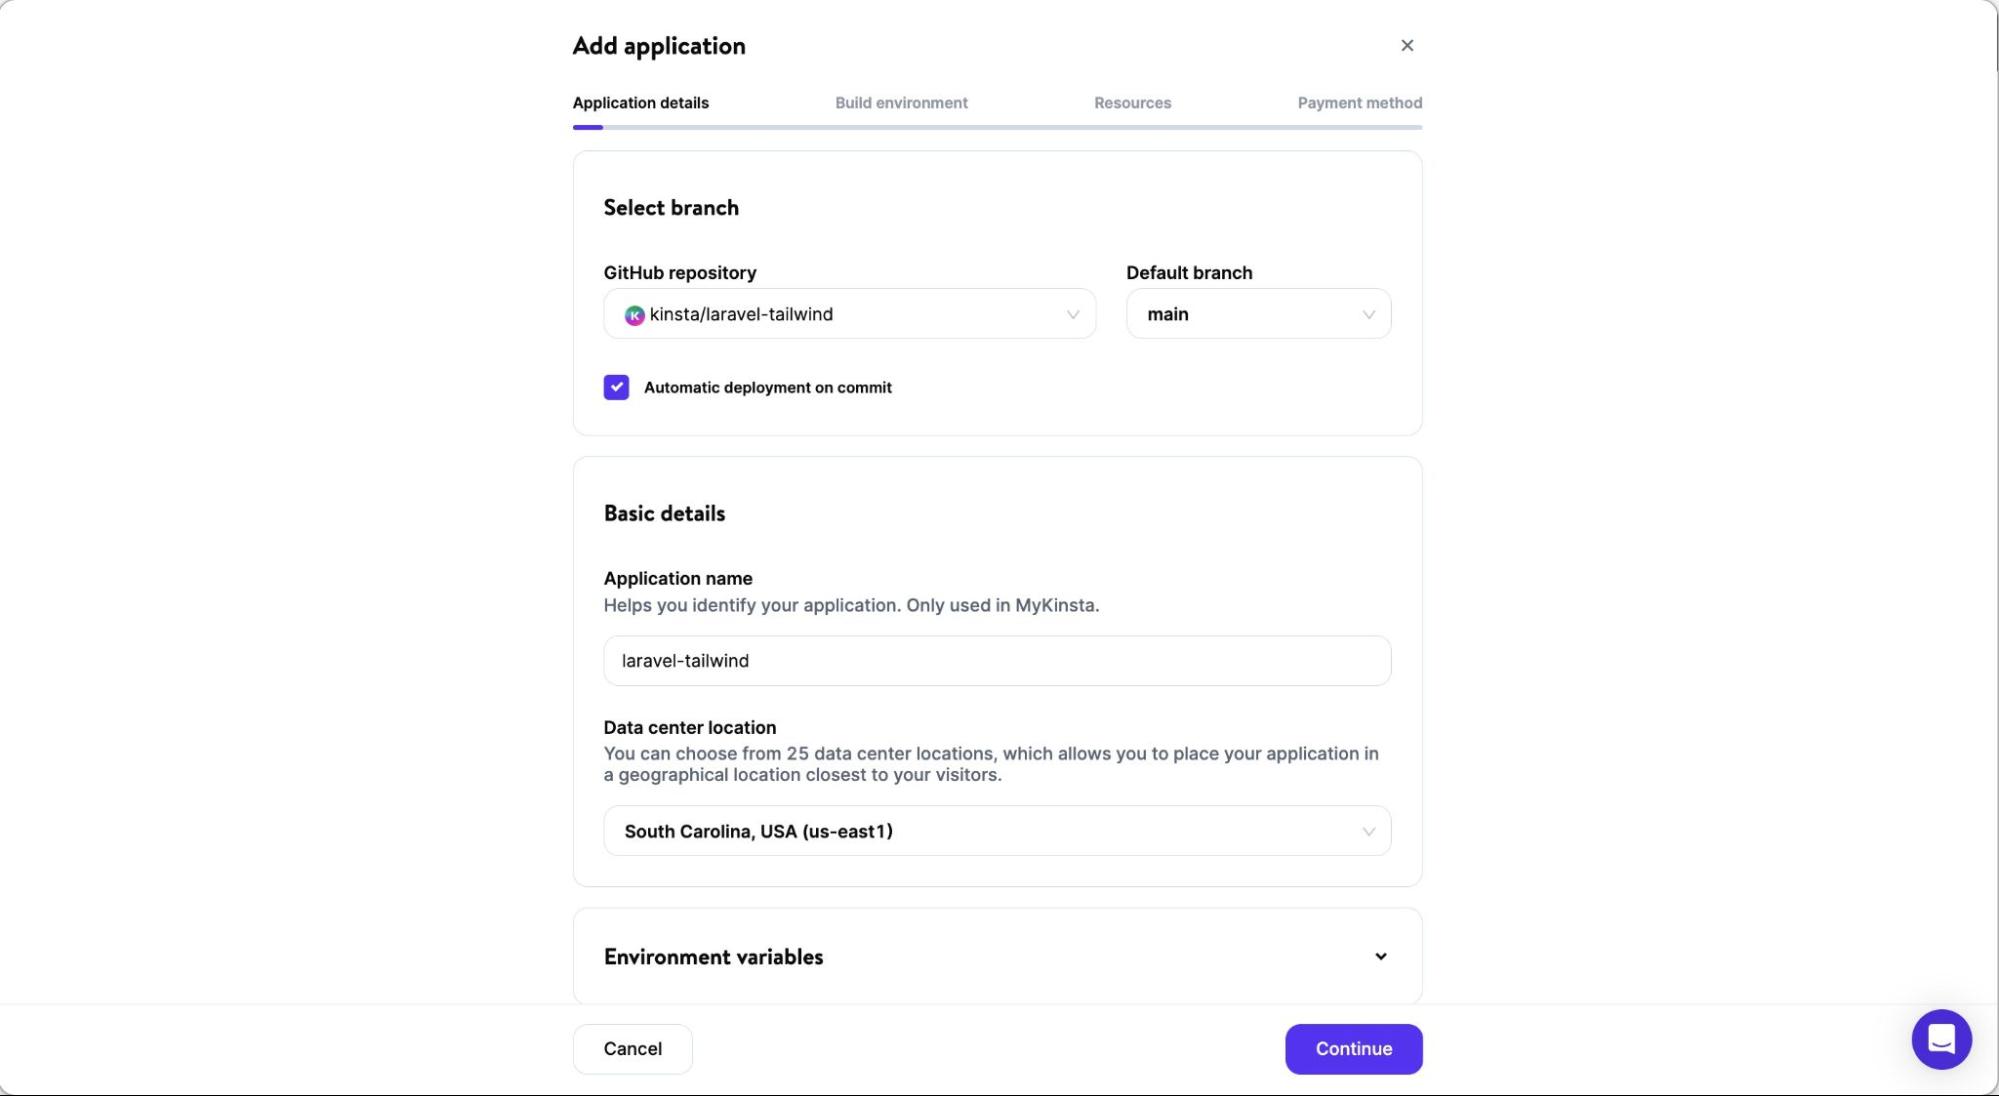
MyKinsta prompts you to connect your Git account. Complete the authorization as requested, then select the project you previously pushed to your repository and the branch you want to use.
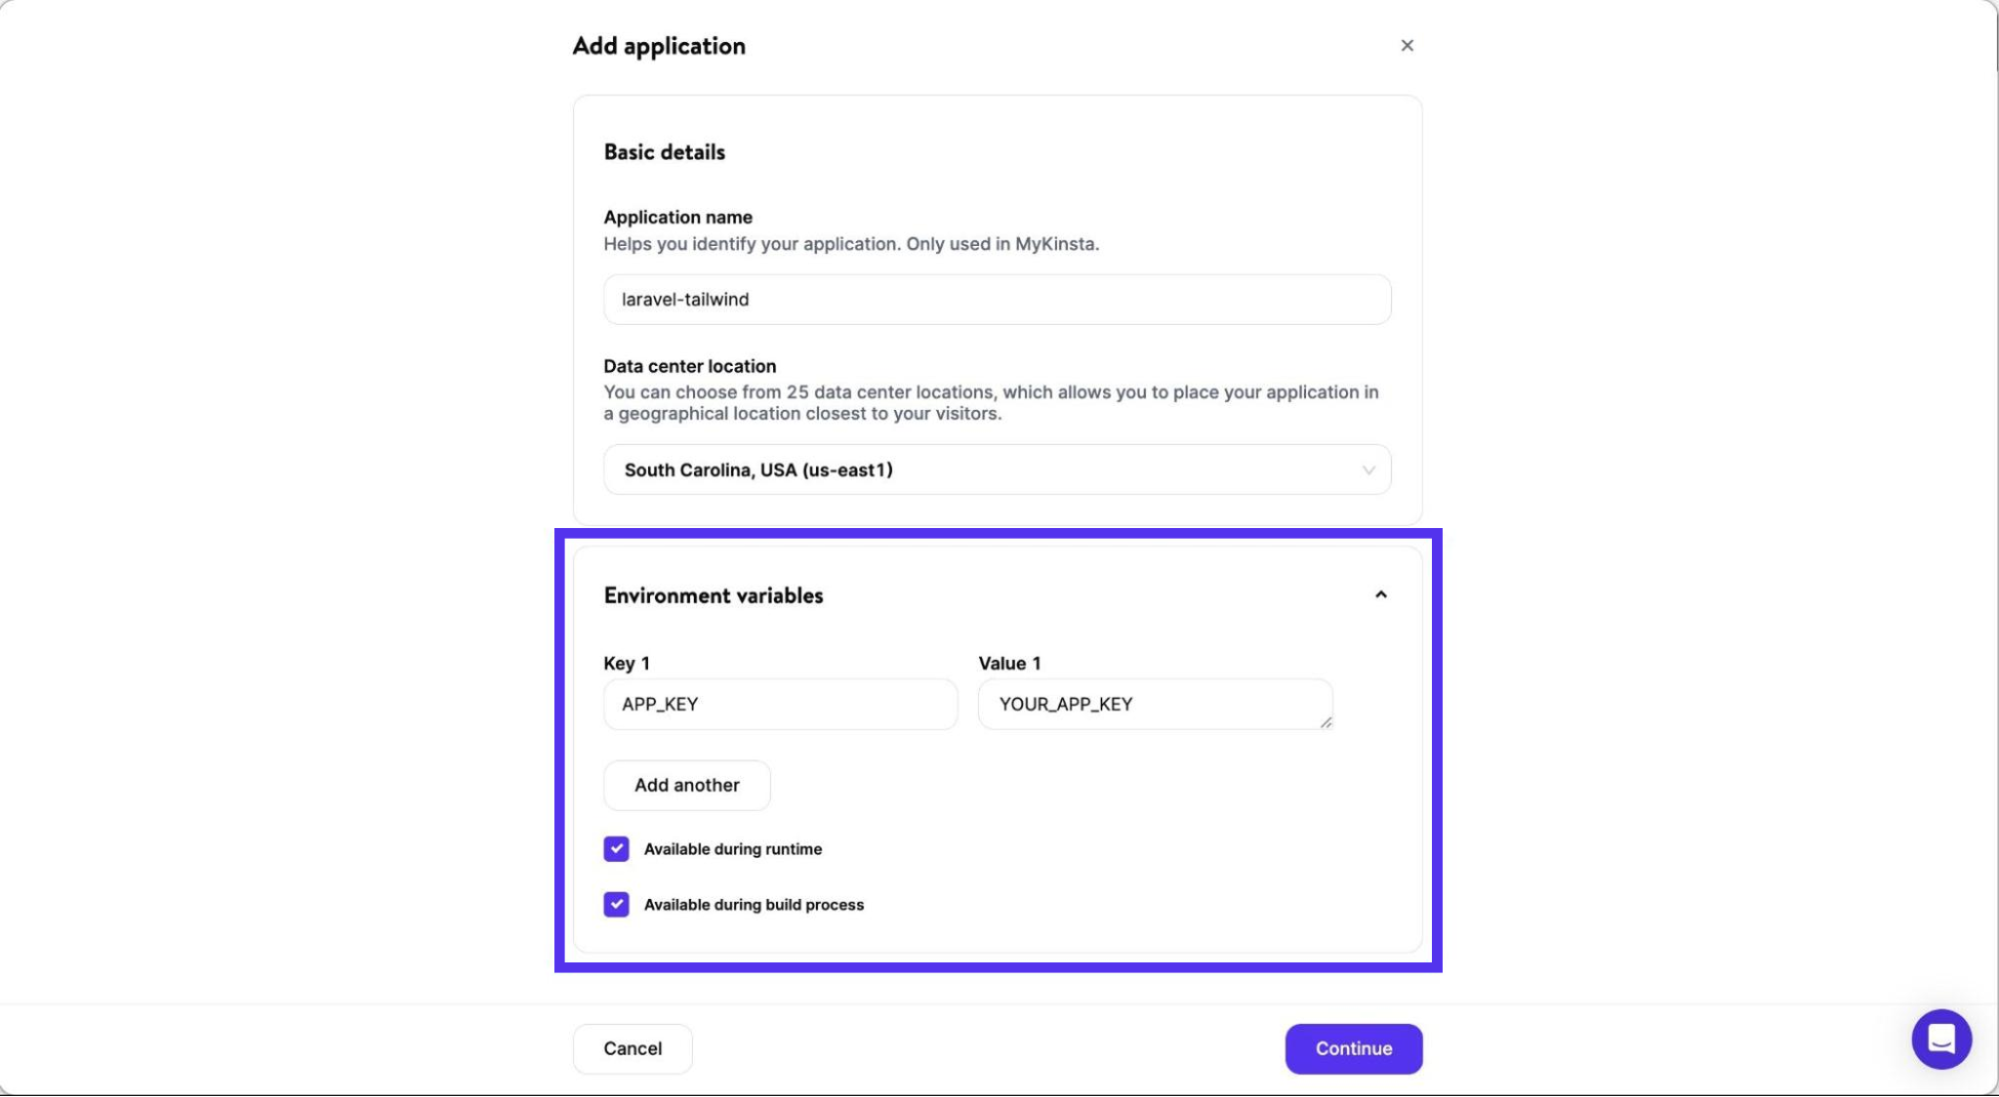
- Add your Laravel
APP_KEYin the Environment variables section. The key is in your local project directory’s .env file.
- Click Continue and select the build environment according to your preferences.
- Leave the start command in the Resources section blank for now, and then click Continue to proceed.
- Finally, complete the payment information. The deployment starts immediately.
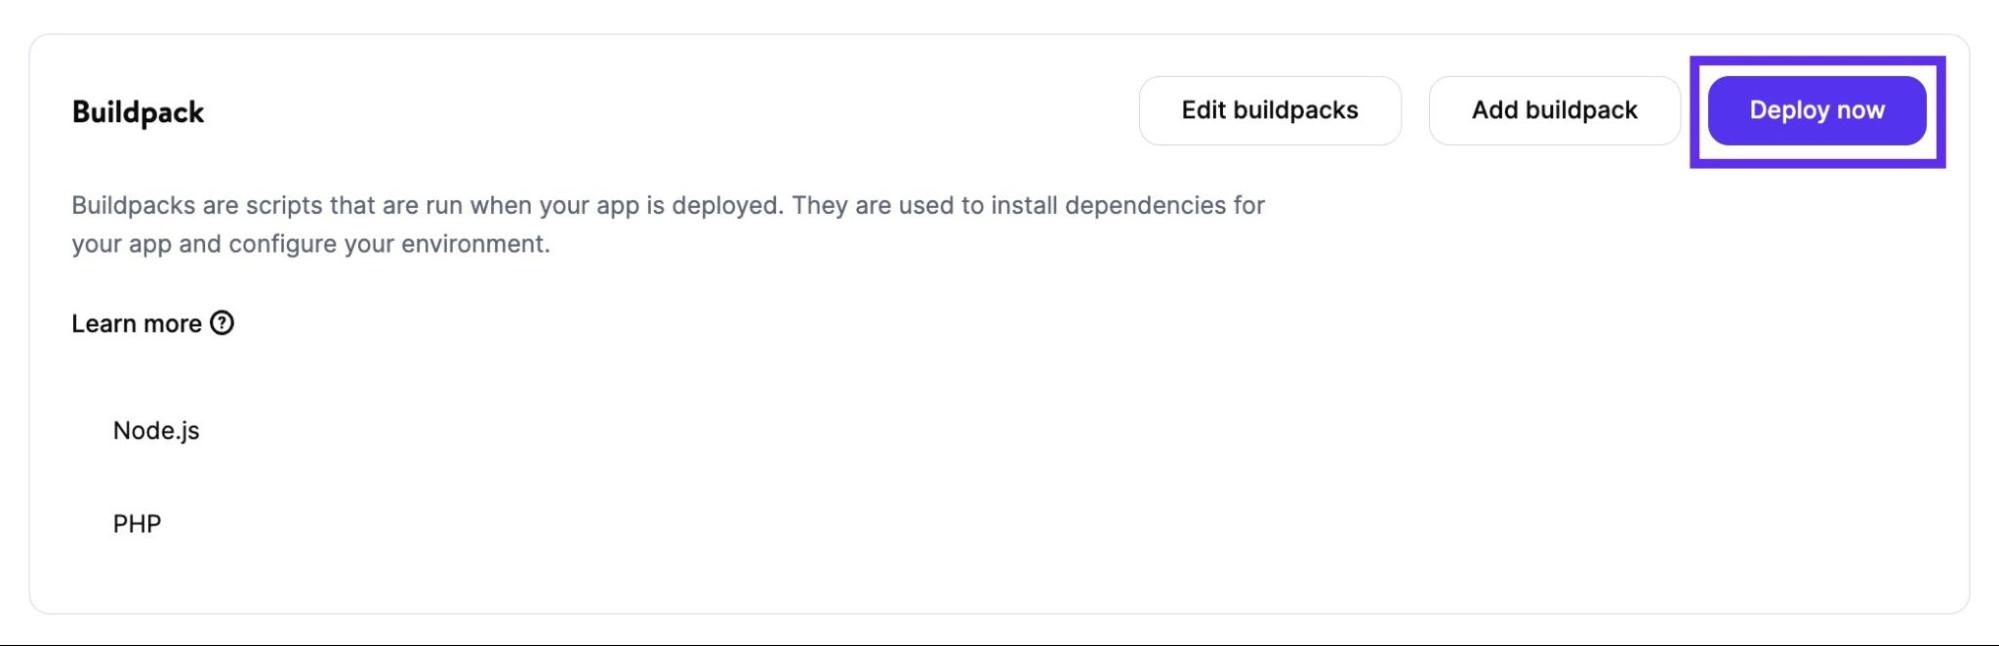
You need two build packs to run your application properly: PHP to run php commands, and Node.js, to run npm commands. To do so:
- Go to your application, and from the left-side navigation, click Settings.
- Click Add buildpack and add the build packs for Node.js and PHP. However, ensure the PHP build pack is added last in the sequence, as this is a PHP-based application.
- Click the Deploy Now button that appears after adding the new build packs, as illustrated in the image below.
- Finally, go to your application’s Processes tab, edit the default Web process, and replace its Start command with the following:
npm run build && heroku-php-apache2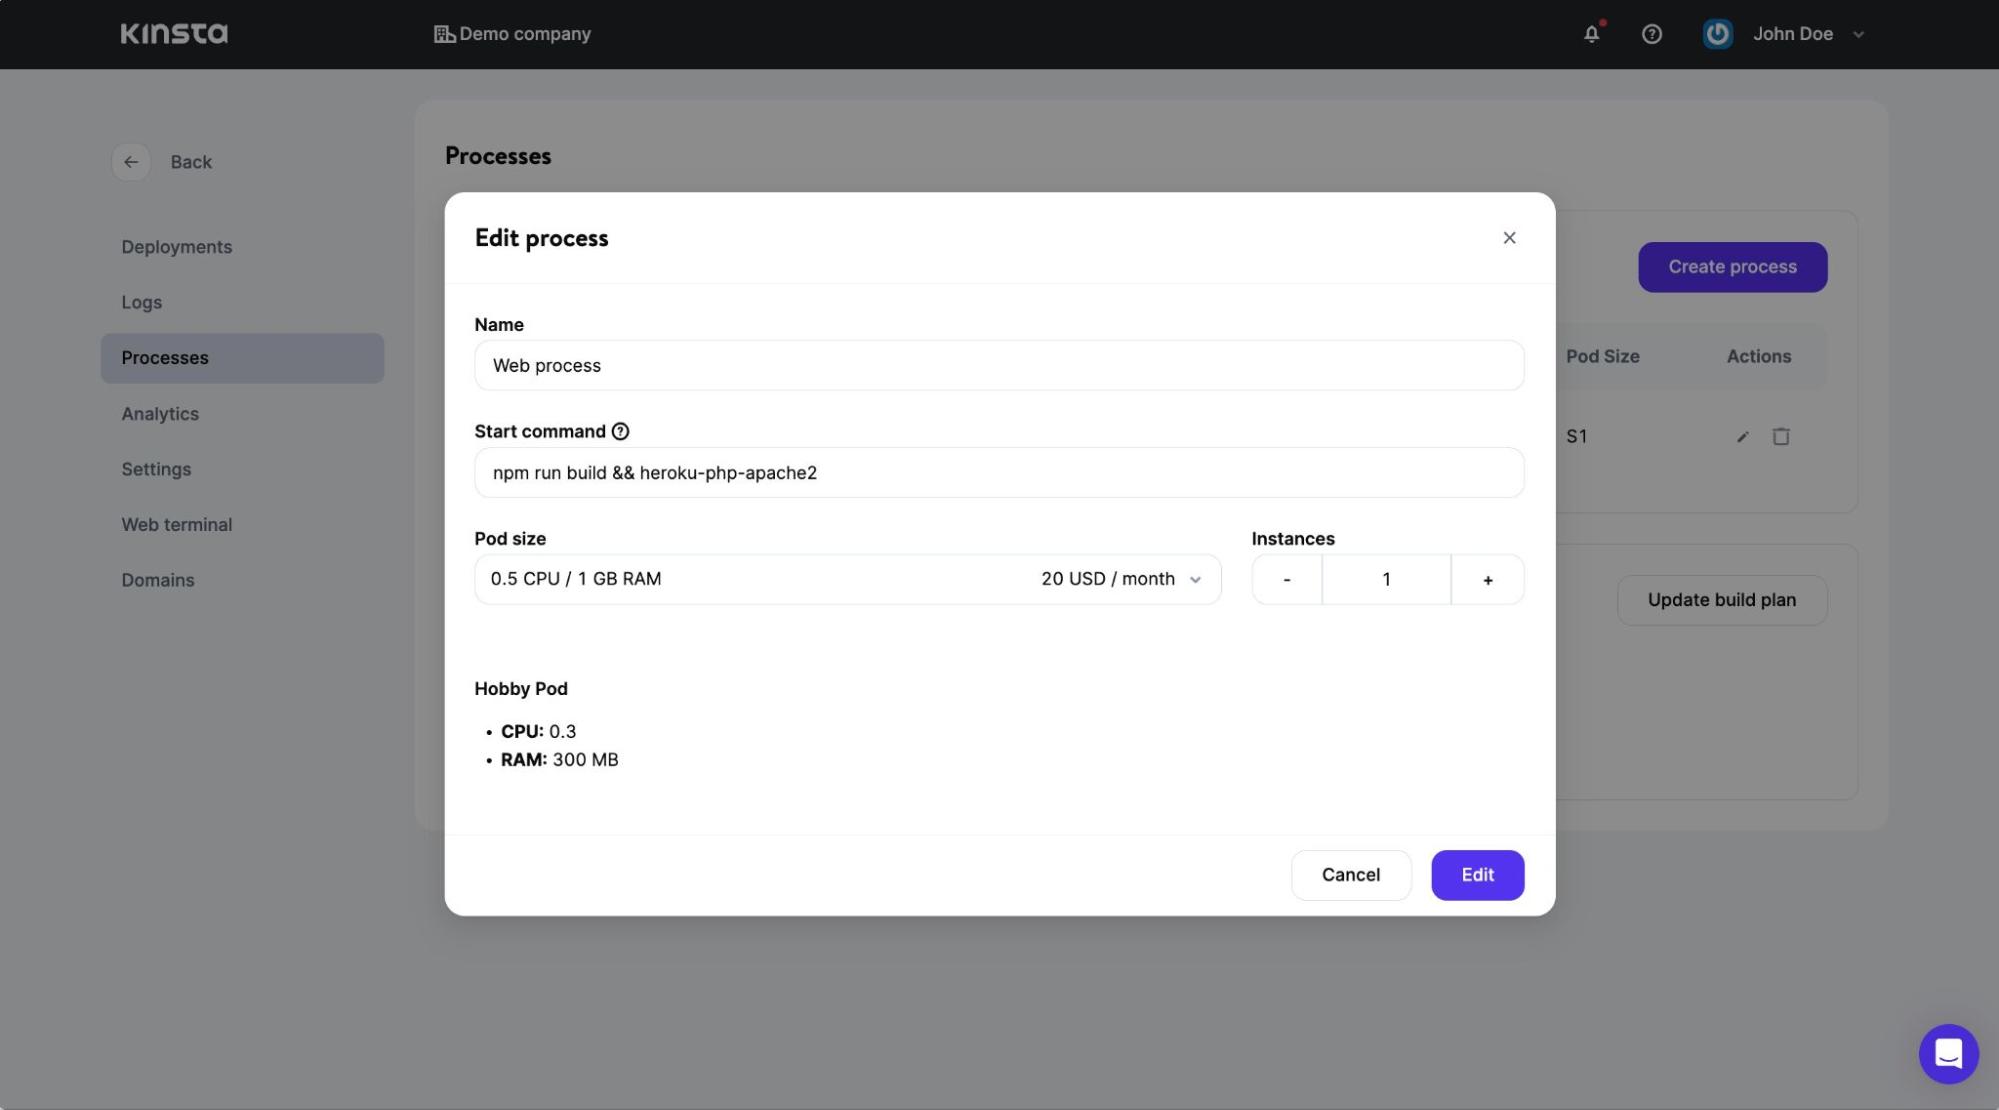
After updating the start command, your app will automatically redeploy with the new command. Once the deployment is successful, you can visit the domain to see the beautiful card component you created and start testing and developing your application.
Summary
Tailwind helps elevate your Laravel project from simply basic to perfectly stunning. It’s easy to use, saving you from typing massive piles of code just to get the look you want.
Now that you know the basics, explore Tailwind’s capabilities to enhance your application’s look with fancy fonts and enchanting effects. Then, deploy it using MyKinsta to let the world enjoy your application, too.

I'm the Editorial Team Lead at Kinsta. I'm a open source enthusiast and I love coding. With more than 10 years of technical writing and editing for the tech industry, I love collaborating with people to create clear and concise pieces of content and improve workflows.

