
MariaDB is a free database server that provides data access using a structured query language (SQL). It offers security features like passwords, role-based access control, and much more to safeguard your data.
To deploy MariaDB and grant data access to your users, you need to host the database server. You can opt for a cloud provider or use managed or shared hosting services.
This article will teach you how to run MariaDB using a Docker container, configure and run the database server, and connect it to a WordPress website.
What Is Docker?
Docker is a free developer tool that enables you to run applications in a controlled environment called a container. Containers have application code, dependencies, and critical system tools for running your app. This allows you to deliver robust applications throughout the software development lifecycle.
Usually, containers use your operating system as the host. This means the host machine’s kernel provides access to resources like CPUs, memory, and the file system. As a result, this does not require traditional virtualization like virtual machines. There are several advantages of using Docker to run a MariaDB instance:
- It has a small digital footprint, ensuring efficient use of system resources.
- It’s consistent, allowing developers to run apps in production and testing deployments with minimal changes.
- It provides a flexible mechanism for resource sharing.
- It’s scalable — you can run many containers in a single host.
How To Deploy MariaDB with Docker
In this section, you will create containerized environments to run MariaDB using Docker. You’ll learn about the container technology offered by Docker. Docker works on most versions of Windows, macOS, and Linux distributions. For this tutorial, you’ll need to have Windows 10/11, Ubuntu 20.04, or a macOS X machine to follow along.
1. Install Docker
One of Docker’s best features is its portability. It uses the host’s operating system, making it ideal for test and publish environments. This section will teach you how to install Docker on the three operating systems.
Ubuntu 20.04
First, update Ubuntu’s package list.
sudo apt-get updateThen, allow access to online repositories through HTTPS.
sudo apt-get install apt-transport-https ca-certificates curl gnupg-agent software-properties-common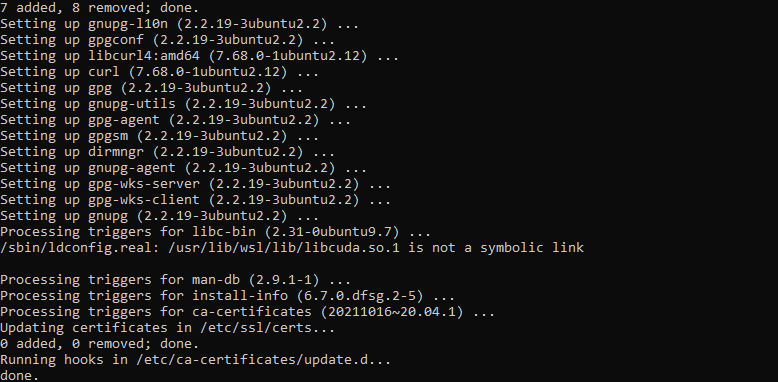
sudo mkdir -p /etc/apt/keyrings

curl -fsSL https://download.docker.com/linux/ubuntu/gpg | sudo gpg --dearmor -o /etc/apt/keyrings/docker.gpg
Now, add Docker’s repository.
echo deb [arch=$(dpkg --print-architecture) signed-by=/etc/apt/keyrings/docker.gpg] https://download.docker.com/linux/ubuntu $(lsb_release -cs) stable" | sudo tee /etc/apt/sources.list.d/docker.list > /dev/nullThen, update Ubuntu’s packages to include Docker’s repository.
sudo apt-get updateFinally, install Docker Engine.
sudo apt-get install docker-ceIf you’re using a different Linux distribution like Debian or Fedora, follow the official documentation for Installing Docker in Linux.
Windows 10/11
Docker is available on Windows 10 or 11 using Windows Subsystem for Linux version 2 (WSL 2) as the back end. Use the following steps to install Docker.
First, enable the Virtual Machine Platform feature on your Windows system. This enables you to install WSL 2 and install and run a virtualized Linux instance on your Windows machine.
Next, install WSL.
Then, visit the Microsoft Store to download Ubuntu 20.04.
Finally, download Docker Desktop for Windows. Open the downloaded file to kickstart the installation process.
After the installation, search “Docker Desktop” from your taskbar and open it.
(Note: You’ll need to use PowerShell as your terminal to use Docker commands.)
macOS X
Docker is available on macOS machines via the Apple App Store. There are two installers available that target both Intel and Apple chips.
First, download the appropriate installer from one of the links above. Then, double-click to open the downloaded .dmg file.
Next, drag and drop the Docker icon into the Applications folder.
Now, open the Docker app from the Applications folder and follow the prompts to complete the configuration.
Once the installation process completes, double-click the Docker icon in your desktop status bar to open it.
Use the default terminal to run Docker commands.
2. Download a MariaDB Image
A Docker image provides a collection of commands and configurations to create a Docker container. It’s responsible for installing everything needed to run an application. You can find the MariaDB official image from Docker Hub.
To download MariaDB’s image from Docker Hub, you’ll need to use the docker pull command:
docker pull mariadbYou can also view a list of downloaded Docker images by running the following:
docker imagesThis is the command output:

3. Create a Container
A container is a software unit with all the code, dependencies, and system tools required to run a process or program. You will use the image downloaded before to create a MariaDB container.
docker create mariadb --name mariadb-wp -i –tThis creates a MariaDB container called mariadb-wp. The –i flag allows for an interactive session, and the –t option creates a pseudo-terminal. The official documentation provides information about all available variables.
4. Run, Pause, and Stop the Container
Docker gives developers the flexibility of configurable environments. In this section, we will configure MariaDB’s container with environment variables to set up specific system properties for your container.
MariaDB has many variables you can set, like database names, passwords, and database users. For a broader list of supported environment variables, refer to Docker’s documentation for MariaDB.
docker run -d --name mariadb-wp -p 3306:3306 -v '/path/on/host/:/var/lib/mysql' -e "MARIADB_ROOT_PASSWORD=" -e "MARIADB_DATABASE=wordpress" -e "MARIADB_USER=wordpress" -e "MARIADB_PASSWORD=" mariadbThe command above configures MariaDB’s root password, database user, and associated password. It then runs MariaDB on port 3306. You can decide to pause a container’s application from running with the following command:
docker pause mariadb-wpFinally, you can also stop an application running inside a container by using the following command:
docker stop mariadb-wp5. Connect the Containerized MariaDB to a WordPress Site
Now, we need to connect MariaDB to an external WordPress website. You can learn more about creating a WordPress website locally here.
In the root directory of the WordPress website, open the wp-config.php file in your code editor. Locate the code section that defines the variables for the database and edit it, as shown below. Make sure you use the database name, password, and port number when creating the MariaDB container.
define('DB_NAME', 'wordpress');

define('DB_USER', 'wordpress’);

define('DB_PASSWORD', '');

define('DB_HOST', 'http://localhost:3306’);
Next, you need to import a database dump of your WordPress website into the containerized MariaDB. First, make sure you have exported the current database for the website. To learn more, check out our MySQL database backup tutorial.
After exporting your database, install the database dump inside the container.
docker exec -i mariadb-wp sh -c 'exec mysql -u root -p "$MARIADB_ROOT_PASSWORD" < /some/path/on/your/host/all-databases.sql'The docker exec command allows developers to run shell commands inside the container. We imported a database into MariaDB using an exported file in the above command.
6. Add a New Post to Your WordPress Site
We will create a sample post using the WordPress admin account to test this integration.
First, log in to WordPress and click Posts > Add New. Fill in the details as shown below, then click Publish. After creating the post, click View Post to view the newly added post.
And that’s all there is to it!
7. MariaDB and Docker with DevKinsta
Kinsta’s free application, DevKinsta, enables developers to create containerized WordPress sites efficiently. The app uses Docker to configure PHP versions, database servers, and web servers. The DevKinsta App supports developers using macOS, Windows, and Ubuntu/Linux.
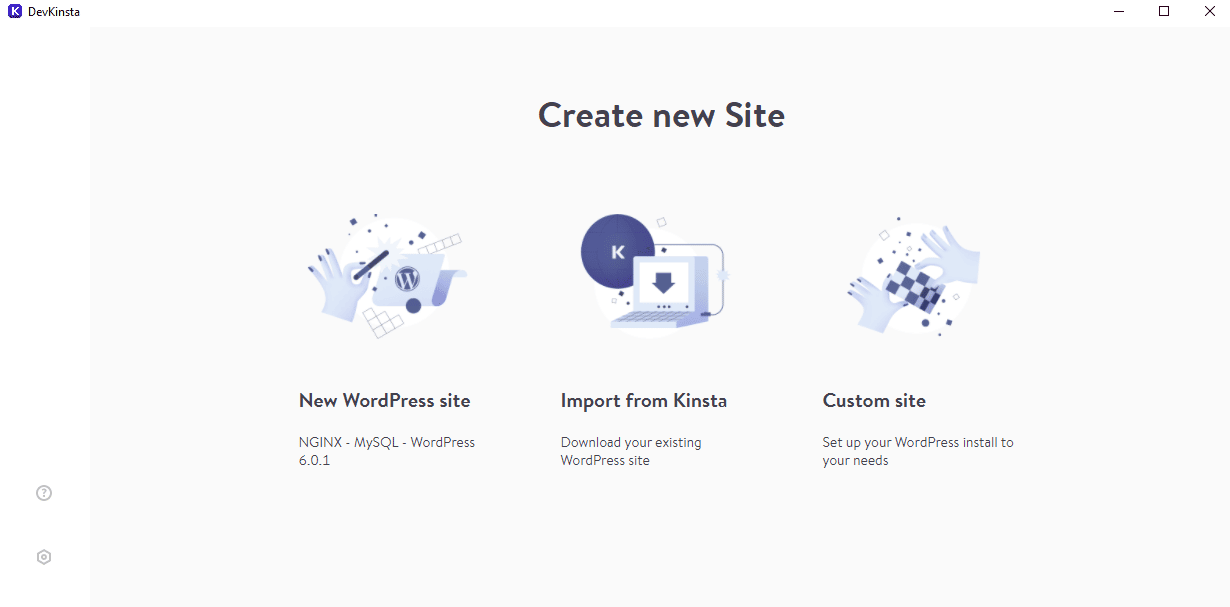
To get started, download, install, and launch DevKinsta on your local machine. The app gives you three options: create a new WordPress site, import an existing one from Kinsta, or create a custom site.
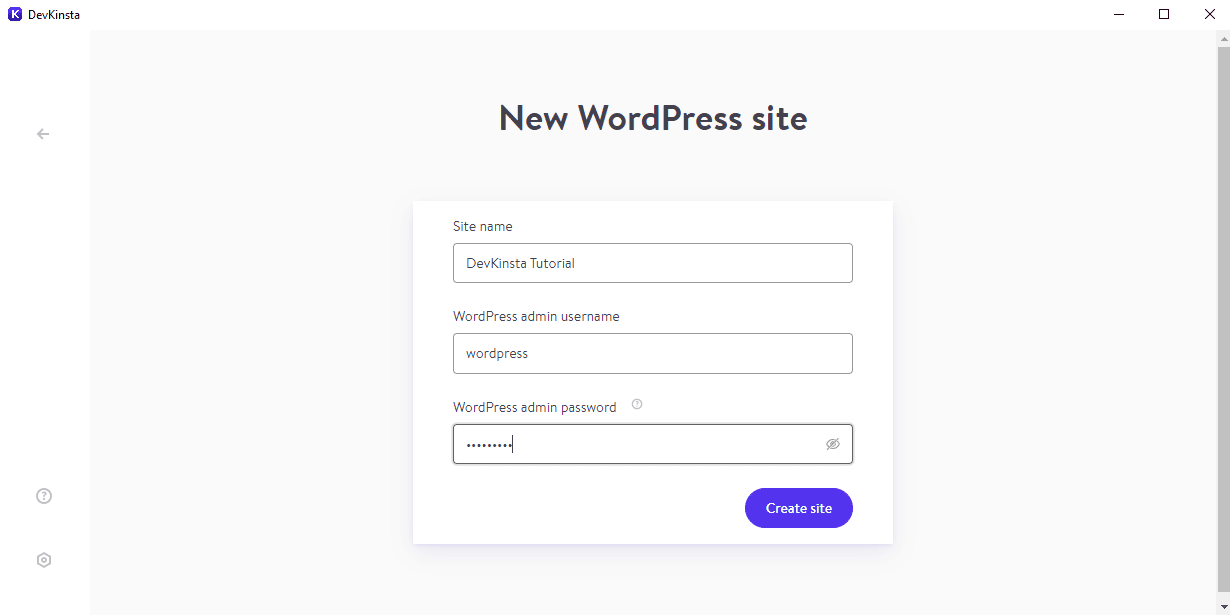
Creating a new WordPress site is as easy as filling out a simple form and clicking Create site.
Congratulations — you have now created a containerized WordPress website using DevKinsta!
Summary
Docker is a developer-friendly tool for containerizing software that runs database servers like MariaDB. Its minimalistic environments help maintain system resources’ efficiency without sacrificing functionality.
This tutorial taught you how to install Docker, set up MariaDB, and connect a WordPress site with your containerized MariaDB database. Plus, you learned how to use DevKinsta to create a fully containerized WordPress website.
There is plenty more to explore with WordPress site creation and its numerous hosting solutions. If you’re looking to discover how easy your site management can be, Kinsta’s WordPress hosting has you covered.


