
The Vue framework for JavaScript has become popular for building user interfaces and single-page applications (SPAs). To ensure your large apps function optimally, you need a firm grasp of state management — the process of managing and centralizing an application’s reactive data (state) across multiple components.
In Vue, state management has long relied on Vuex, a library with a centralized store for all an application’s components. However, recent advancements in the Vue ecosystem have given rise to Vuex’s successor, Pinia.
Pinia offers a more lightweight, modular, and intuitive management approach. It integrates seamlessly with Vue’s reactivity system and Composition API, making it painless for developers to manage and access shared state in a scalable and maintainable way.
Setting the scene: Pinia vs Vuex
As a go-to library for state management in Vue applications, Vuex provided a centralized store for all an application’s components. However, with the advancement of Vue, Pinia represents a more modern solution. Let’s explore how it differs from Vuex.
- API differences — Pinia’s Composition API offers a more fundamental and intuitive API than Vuex, making it more straightforward to manage the application state. Moreover, its structure greatly resembles Vue’s Options API, familiar to most Vue developers.
- Typing support — Historically, many Vue developers have struggled with Vuex’s limited type support. In contrast, Pinia is a fully typed state management library that eliminates these concerns. Its type safety helps prevent potential runtime errors, contributes to code readability, and facilitates smoother scaling capabilities.
- Reactivity system — Both libraries leverage Vue’s reactivity system, but Pinia’s approach aligns more closely with Vue 3’s Composition API. While the reactivity API is powerful, managing complex states in large applications can be challenging. Fortunately, Pinia’s straightforward and flexible architecture eases the hassle of state management in your Vue 3 applications. Pinia’s store pattern lets you define a store for managing a specific portion of the application state, simplifying its organization and sharing it across components.
- Lightweight nature — At just 1 KB, Pinia integrates seamlessly into your dev environment, and its lightweight nature may improve your application performance and load times.
How to set up a Vue project with Pinia
To integrate Pinia in a Vue project, initialize your project with Vue CLI or Vite. After project initialization, you can install Pinia via npm or yarn as a dependency.
- Create a new Vue project using Vue CLI or Vite. Then, follow the prompts to set up your project.
// Using Vue CLI vue create my-vue-ap // Using Vite npm create vite@latest my-vue-app -- --template vue - Change your directory to the newly created project folder:
cd my-vue-app - Install Pinia as a dependency in your project.
// Using npm npm install pinia // Using yarn yarn add pinia - In your main entry file (usually main.js or main.ts), import Pinia and tell Vue to use it:
import { createApp } from 'vue';
import { createPinia } from 'pinia';
import App from './App.vue';

const app = createApp(App);

app.use(createPinia());
app.mount('#app');
With Pinia installed and set up in your Vue project, you’re ready to define and use stores for state management.
How to create a store in Pinia
The store is the backbone of state management in your Pinia-powered Vue application. It helps you manage application-wide data in a cohesive and coordinated way. The store is where you define, store, and manage the data to share across your application’s various components.
This centralization is critical, as it structures and organizes your app’s state changes, making data flow more predictable and straightforward to debug.
Moreover, a store in Pinia does more than hold the state: Pinia’s included functionalities let you update the state via actions and compute derived states via getters. These built-in capabilities contribute to a more efficient and maintainable codebase.
The following example illustrates creating a basic Pinia store in a project’s src/store.js file.
import { defineStore } from 'pinia';
export const useStore = defineStore('main', {
    state: () => ({
        count: 0,
    }),
    actions: {
        increment() {
            this.count++;
        },
    },
    getters: {
        doubleCount: (state) => state.count * 2,
    },
});
How to access store state in components
Compared to Vuex, Pinia’s approach to state access and management is more intuitive, especially if you’re familiar with Vue 3’s Composition API. This API is a set of several that enable the inclusion of reactive and composable logic in your components.
Consider the following code.
<template>
	<div>{{ store.count }}</div>
</template>

<script>>
import { useStore } from './store';

export default {
	setup() {
	const store = useStore();
		return { store };
	},
}
</script>
In the above snippet, the <template> tag contains your component’s defined HTML markup. To display the value of the count property from the Pinia store, you use Vue’s data binding syntax, expressed as {{ count }}.
The useStore function provides access to the Pinia store, so you import it from store.js using import { useStore } from './store';.
A feature of Vue 3’s Composition API, the setup function defines your component’s reactive state and logic. Within the function, you then call useStore() to access the Pinia store.
Next, const count = store.count accesses the store’s count property, making it available in the component.
Finally, setup returns the count, allowing the template to render it. Vue’s reactivity system means that your component’s template will update the value of count whenever it changes in the store.
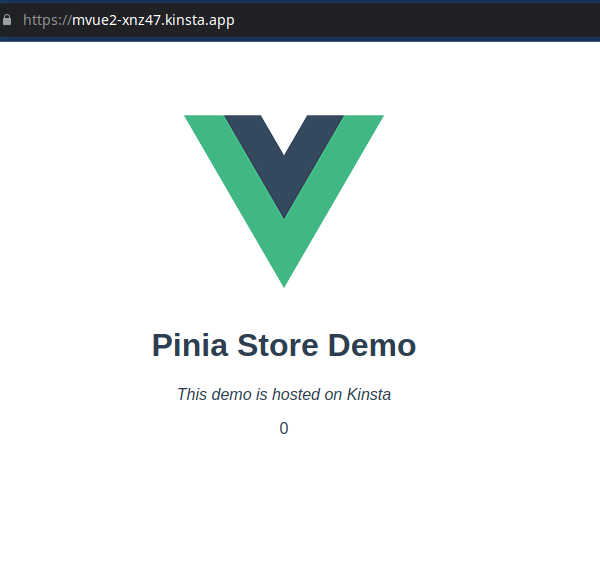
Below is a screenshot of the output.
This example illustrates Pinia’s advantages:
- Simplicity — Pinia allows direct access to the store’s state without mapping functions. In contrast, Vuex needs
mapState(or similar helpers) to achieve the same access. - Direct store access — Pinia lets you access state properties (like
store.count) directly, making your code more readable and comprehensible. Meanwhile, Vuex often requires getters to access even fundamental properties, adding complexity that diminishes readability. - Composition API compatibility — As the setup method demonstrates, Pinia’s integration with the Composition API aligns especially well with modern Vue development, providing a more uniform coding experience.
How to modify state with Pinia
In Pinia, you modify a store’s state using actions, which are more flexible than Vuex mutations. Consider the following function call, which increments the state’s count property:
store.increment(); // Increments the countOn the other hand, a Vuex equivalent involves defining a mutation in addition to at least one action:
mutations: {
	increment(state) {
	state.count++;
	},
},
actions: {
	increment({ commit }) {
	commit('increment');
	},
}
The Pinia action and its equivalent Vuex code exemplify a crucial difference between the libraries’ code complexity. Let’s explore these differences further:
- Direct versus indirect state mutation — As the
incrementaction demonstrates, Pinia actions directly mutate the store’s state. In Vuex, you can only change the state using mutations, which you must commit with actions. This process separation ensures your state changes are trackable, but it is more complex and rigid than comparable Pinia actions. - Asynchronous versus synchronous operations — Whereas Vuex mutations are always synchronous and can’t contain asynchronous processes, Pinia actions can contain synchronous and asynchronous code. As a result, you can perform API calls or other asynchronous operations directly within actions, making for a leaner and more concise codebase.
- Simplified syntax — Vuex often requires defining mutations and calling actions to commit them. Pinia does away with this need. The ability to mutate the state within actions reduces boilerplate code and keeps your existing code more straightforward. In Vuex, basic state updates require defining an action and a mutation, even if the action is just committing the mutation.
The transition from Vuex to Pinia
Transitioning to Pinia can provide numerous benefits in simplicity, flexibility, and maintainability, but it requires careful planning and consideration to ensure a successful implementation.
Before making the switch, ensure that you:
- Familiarize yourself with the differences between Pinia’s and Vuex’s architecture, state management patterns, and APIs. Understanding these differences is crucial to effectively refactor your code and take full advantage of Pinia’s features.
- Analyze and refactor your Vuex state, actions, mutations, and getters to fit into Pinia’s structure. Remember, in Pinia, you define state as a function. You can directly mutate states with actions and can implement getters more smoothly.
- Plan how to transition your Vuex store modules. Pinia doesn’t use modules in the same way as Vuex, but you can still structure your stores to serve similar purposes.
- Leverage Pinia’s improved TypeScript support. If your project uses TypeScript, consider Pinia’s enhanced type inference and typing capabilities for better type safety and developer experience.
- Revise your testing strategies to accommodate changes in state management. This process might involve updating how you mock stores or actions in your unit and integration tests.
- Consider how the transition affects your project’s structure and organization. Account for factors like naming conventions and how you import and use stores across components.
- Ensure compatibility with other libraries. Check for any required updates or dependency changes that the changeover might affect.
- Evaluate any performance changes. Pinia is generally more lightweight than Vuex, but continue monitoring your application’s performance during and after the transition to ensure there are no issues.
Converting a store from Vuex to Pinia involves several steps to accommodate differences in their structures and APIs. Consider the Pinia store from earlier.
The same store in a Vuex store.js file appears as follows.
import Vue from 'vue';
import Vuex from 'vuex';
Vue.use(Vuex);

export default new Vuex.Store({
    state: {
        count: 0,
    },
    mutations: {
        increment(state) {
            state.count++;
        },
    },
    actions: {
        increment(context) {
            context.commit('increment');
        },
    },
    getters: {
        doubleCount(state) {
            return state.count * 2;
        },
    },
});
As with the previous Pinia store, this Vuex example contains a state object with a single count property initialized to 0.
The mutations object contains methods to directly mutate the state, while the actions object’s methods commit the increment mutation.
Then, the getters object holds the doubleCount method, which multiplies the count state by 2 and returns the result.
As this code demonstrates, implementing a store in Pinia involves several noticeable differences to Vuex:
- Initialization — Pinia does not require
Vue.use(). - Structure — In Pinia, the state is a function returning an object, allowing for better TypeScript support and reactivity.
- Actions — Actions in Pinia are methods that directly mutate the state without needing mutations, simplifying the code.
- Getters — While similar to Vuex, Getters in Pinia are defined inside the store definition and can directly access the state.
How to use the store in components
With Vuex, you might use the store like this:
<template>
	<div>{{ doubleCount }}</div>
	<button @click="increment">Increment</button>
</template>

<script>
import { mapGetters, mapActions } from 'vuex';

export default {
	computed: {
	...mapGetters(['doubleCount']),
	},
	methods: {
	...mapActions(['increment']),
	},
};
</script>
For Pinia, the usage becomes:
<template>
	<div>{{ store.doubleCount }}</div>
	<button> @click="store.increment">Increment</button>
</template>

<script>>
import { useStore } from '/src/store';

export default {
	setup() {
	const store = useStore();
	return {
		store,
	};
	},
};
</script>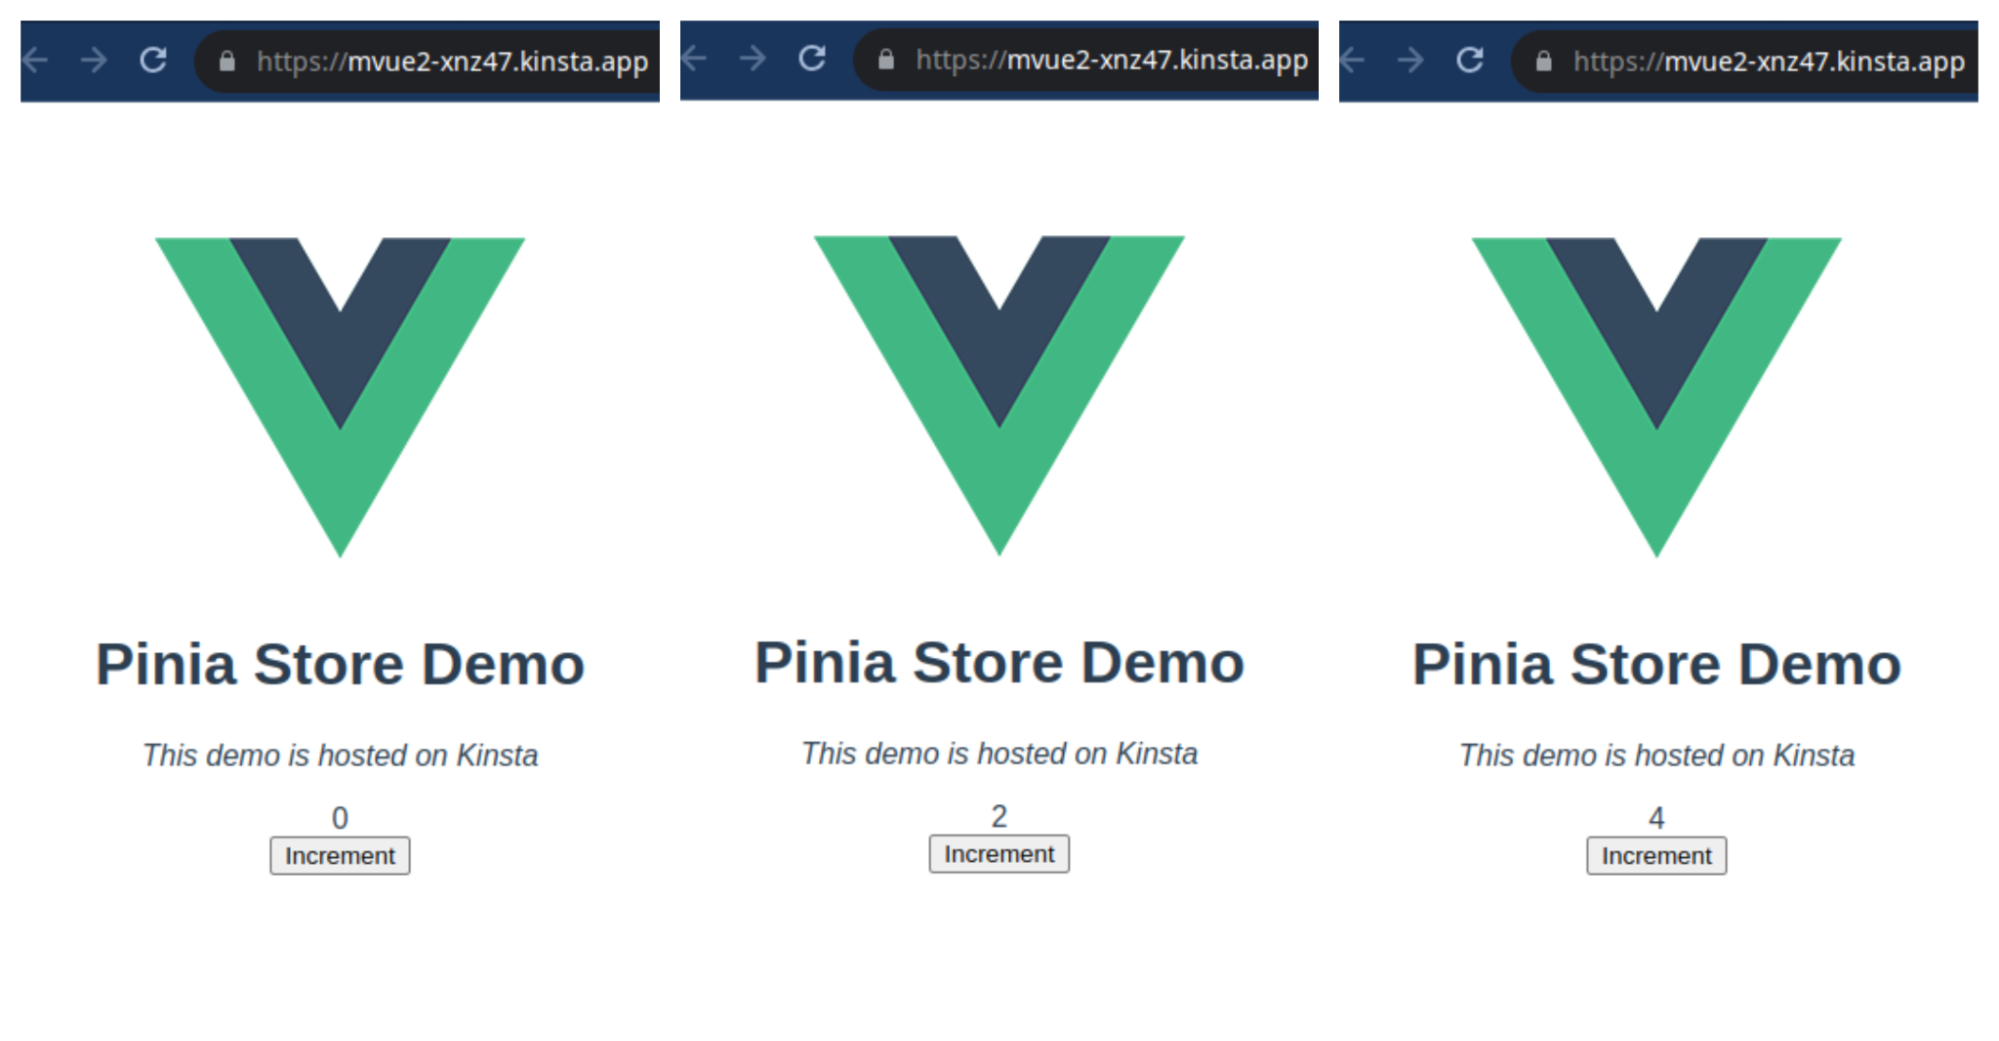
This example covers a basic conversion. For more complex Vuex stores, especially those using modules, the conversion would involve a more detailed restructuring to align with Pinia’s architecture.
Summary
The transition from Vuex to Pinia marks a significant evolution in state management within the Vue ecosystem. Pinia’s simplicity, improved TypeScript support, and alignment with Vue 3’s Composition API make it a compelling choice for modern Vue applications.
When you’re ready to host your Vue application, consider Sevalla, Kinsta’s PaaS platform.


