CRON jobs are used to schedule tasks at periodic fixed times, dates, or intervals on your WordPress site. Some examples of a WordPress cron job might involve scheduling a post to publish, checking for updates, or a backup plugin running on a predefined schedule.
In WordPress, this is handled by WP-Cron, which is used to simulate a system cron. However, depending on the amount of traffic to your site, using the built-in cron handler can actually start to impact your page load times. So today we’ll show you how to disable WP-Cron (wp-cron.php) and instead use a system cron for faster performance.
Performance Issues with WP-Cron
We deal with a lot of high-traffic and demanding sites at Kinsta. Because of this, we’ve seen a lot of performance issues with the WordPress built-in Cron handler: WP-Cron. First off, it’s important to understand that WP-Cron is not a real cron job, it’s simply what WordPress has created to mimic what a system cron does.
WP-Cron does not run continuously. By default, the wp-cron.php fires on every page load, which on high-traffic sites can cause problems. If a site doesn’t have enough PHP threads, sometimes a request will come in, WordPress will spawn the cron, but the cron has to wait for the worker, and therefore just sits there.
The reverse scenario is also true. If a site doesn’t have a lot of traffic, schedules could be missed due to the fact that no one has loaded a page.
A better approach is to disable WP-Cron and use the system cron instead. This runs on a pre-defined schedule and is even recommended in the official Plugin handbook.
How to Disable WP-Cron
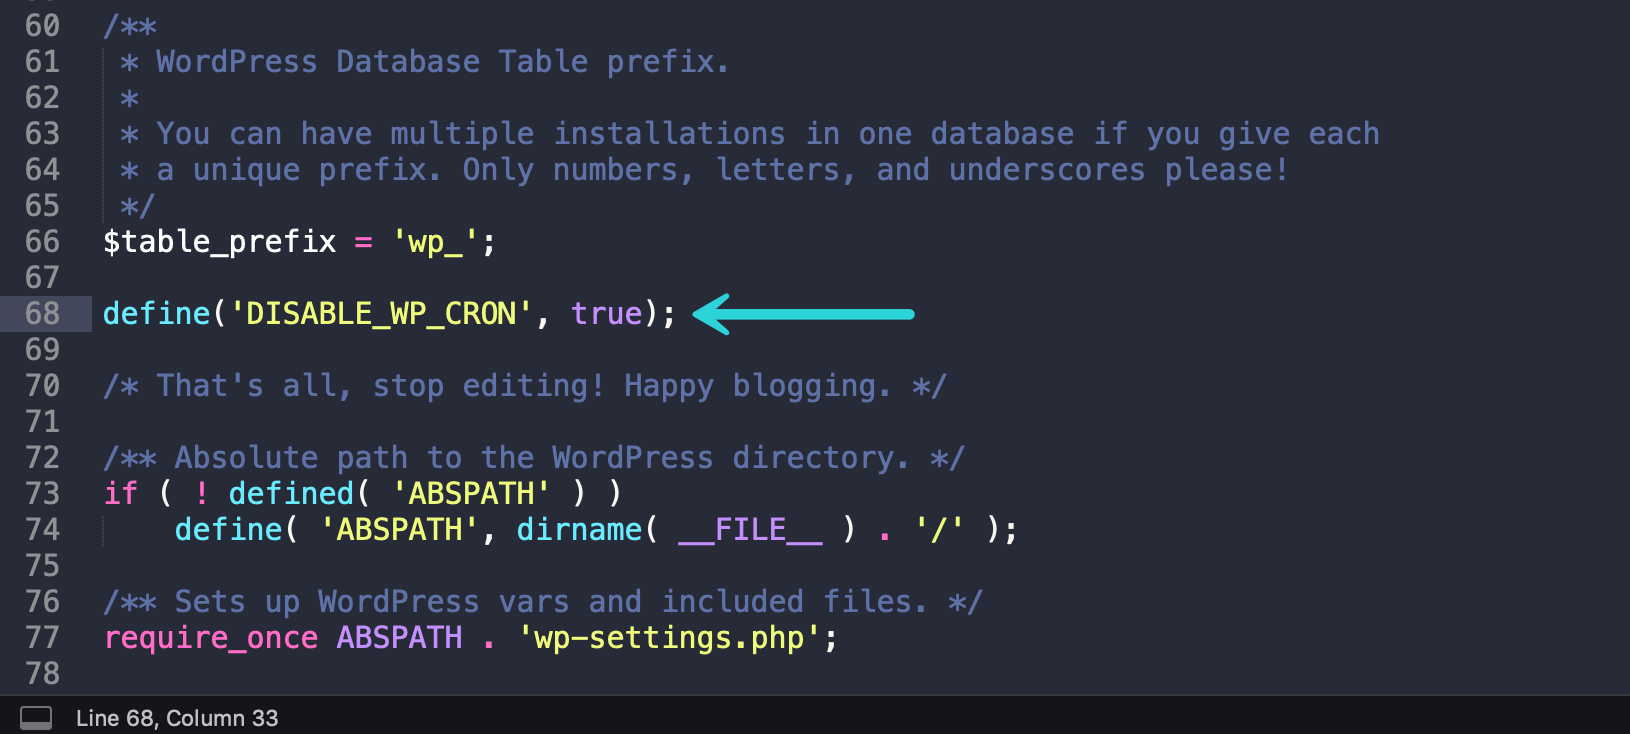
To disable WP-Cron, add the following to your wp-config.php file, just before the line that says “That’s all, stop editing! Happy blogging.” Note: This disables it from running on page load, not when you call it directly via wp-cron.php.
define('DISABLE_WP_CRON', true);
How to Schedule System Cron
You will then need to schedule wp-cron.php from your server.
If your site is a multisite, there are some extra setup steps you’ll need to take so cron jobs will run for your subsites. Here are a couple of resources we can recommend for that:
For single site WordPress, the great news is that if you’re a Kinsta customer, our server-side cron triggers wp-cron.php every 15 minutes by default. 💪 This will execute any scheduled WordPress crons. And if needed, you can increase the frequency by reaching out to our support team.
If you’re familiar with SSH, you can also follow our tutorial on how to manage server crons from the command line at Kinsta. All of our hosting plans include SSH access.
If you’re not a Kinsta client, we recommend checking out Properly Setting Up WordPress Cron Jobs to learn how to set up system crons.
Create Cron Job in cPanel
If you’re using a host with cPanel, you can also create a system cron from their control panel. Note: make sure you disable the default WP-Cron above first.
Step 1
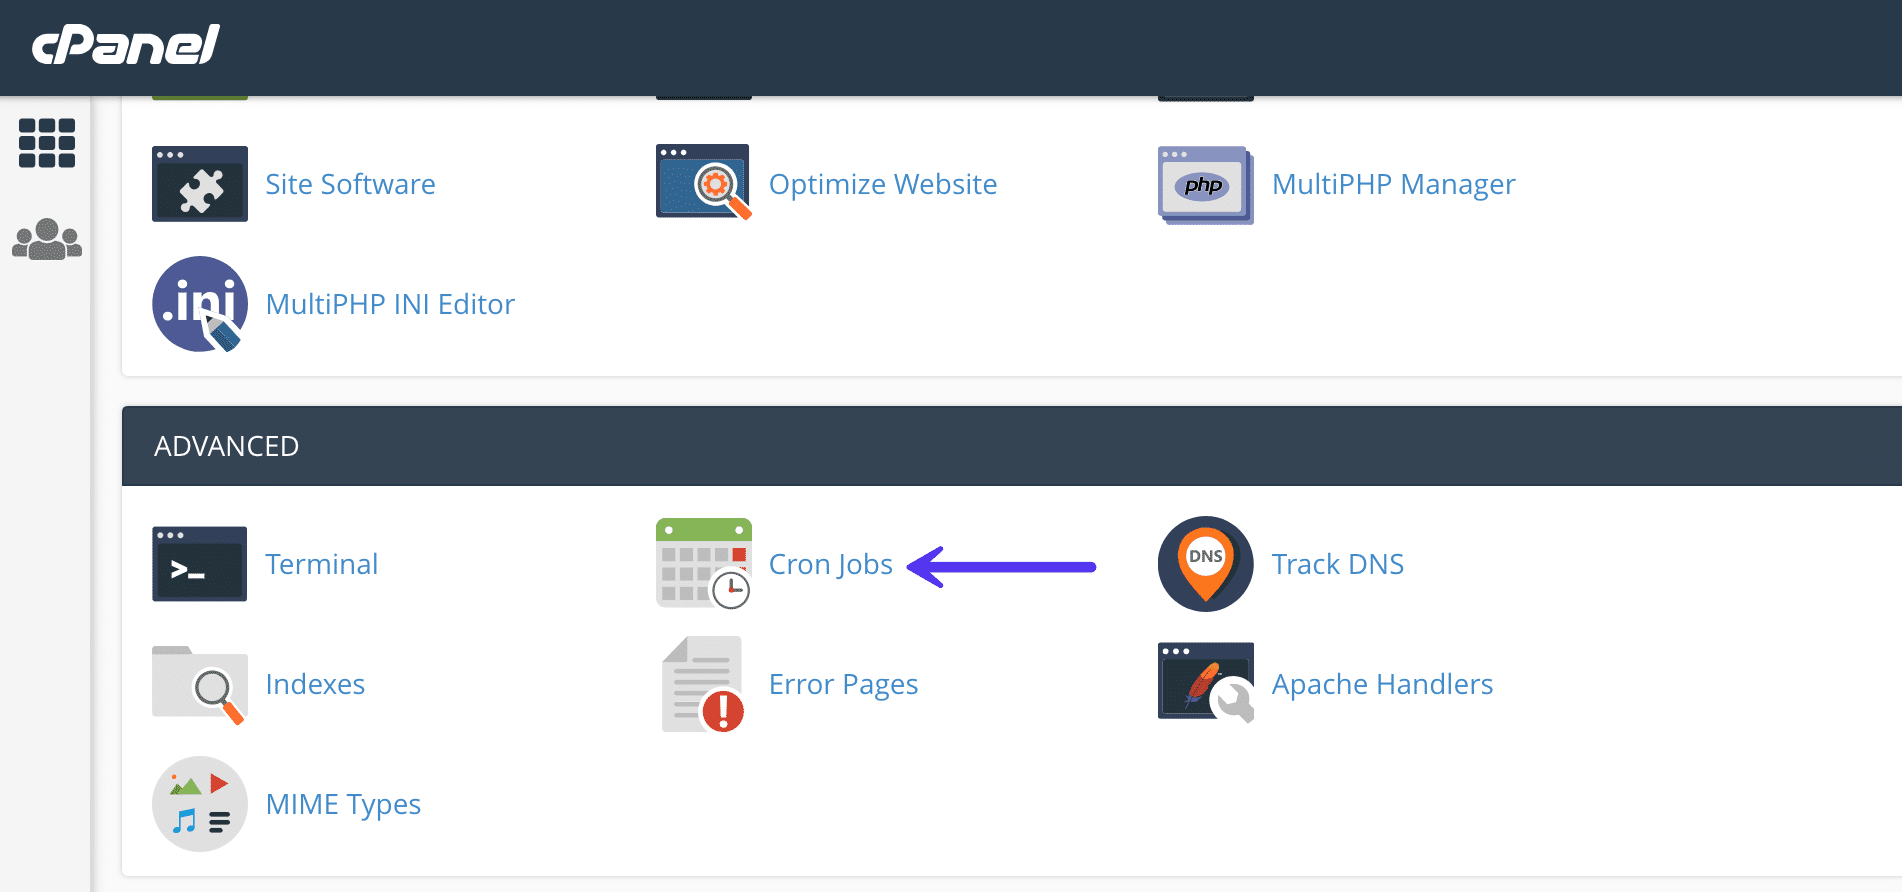
Log in to cPanel. In the Advanced section, click on Cron Jobs.

Step 2
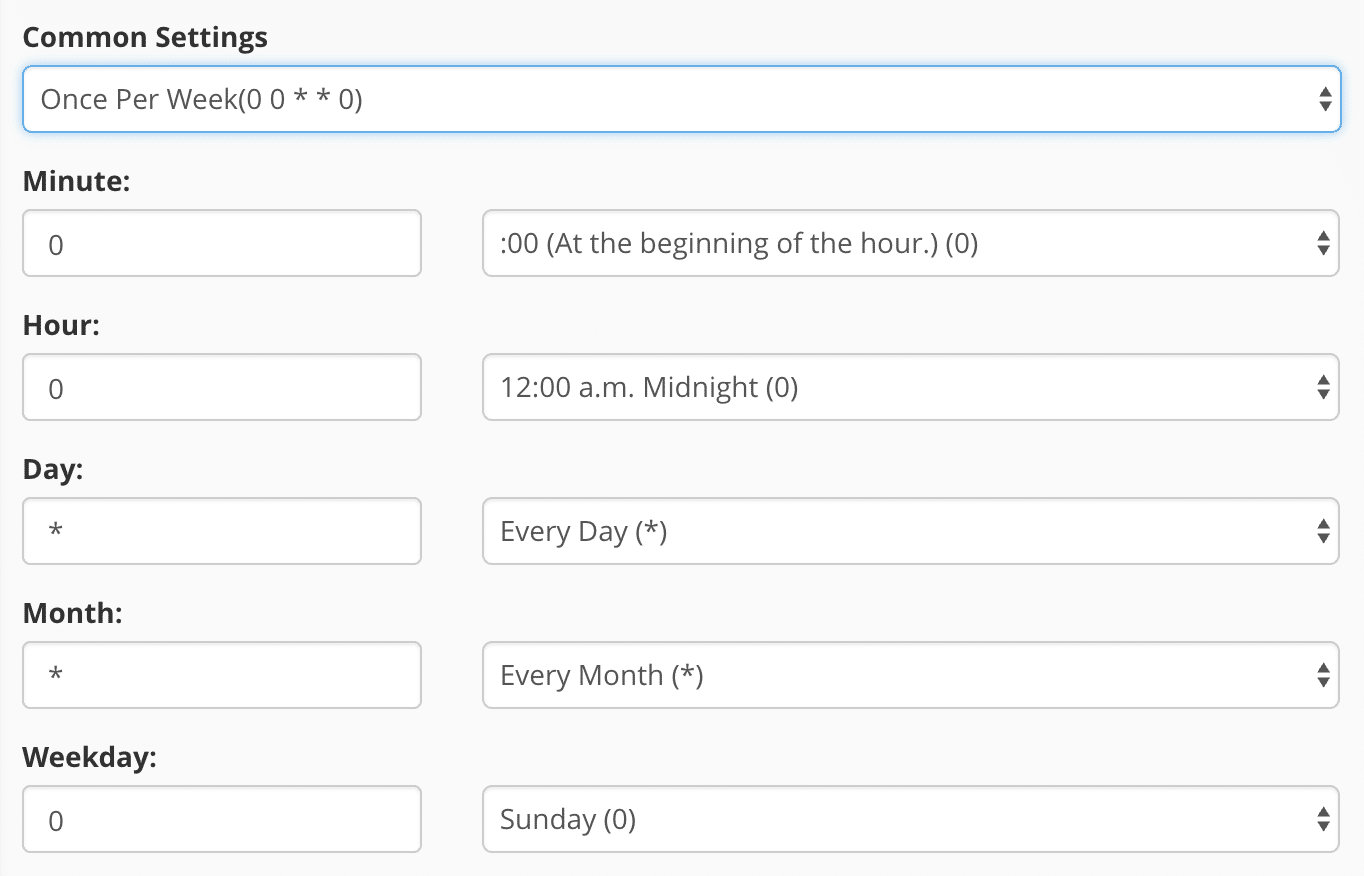
Under the Add New Cron Job section, you can choose from a number of different pre-defined schedules, such as twice per hour or once per week. Your hosting provider most likely has a limit on how often they allow cron jobs to be run. Twice per hour is a common setting for shared hosts.

Step 3
Add the following command. Replace https://domain.com with your domain name. This command might vary slightly based on how your hosting is configured. Then click on “Add New Cron Job.”
wget -q -O - https://domain.com/wp-cron.php?doing_wp_cron >/dev/null 2>&1

The >/dev/null 2>&1 part of the command above disables email notifications.
Schedule Crons with Third-Party Solution
If you’re not comfortable with setting up cron jobs on your server or your hosting provider doesn’t provide access, you can also use a third-party solution like EasyCron.


