
Laravel, a powerful PHP framework, and Inertia.js, a dynamic JavaScript library, seamlessly collaborate to streamline app development. Laravel simplifies server-side tasks, while Inertia.js facilitates client-side interactions. Together, they support smooth data flow and real-time updates, helping you build responsive web applications quickly.
Deploying a Laravel-Inertia application using Kinsta’s Application Hosting service involves a few steps:
- Set up the database using Kinsta’s Database Hosting.
- Host your application and configure buildpacks for Node.js and PHP, integrating the database.
- Configure Node.js to install Inertia and PHP dependencies for the Inertia environment.
This tutorial walks you through this process step-by-step.
Understanding the deployment requirements
To follow along, ensure you have the following prerequisites:
- Fundamental knowledge of Laravel and Vue.js
- Database familiarity
- A Kinsta account. Start a free trial today.
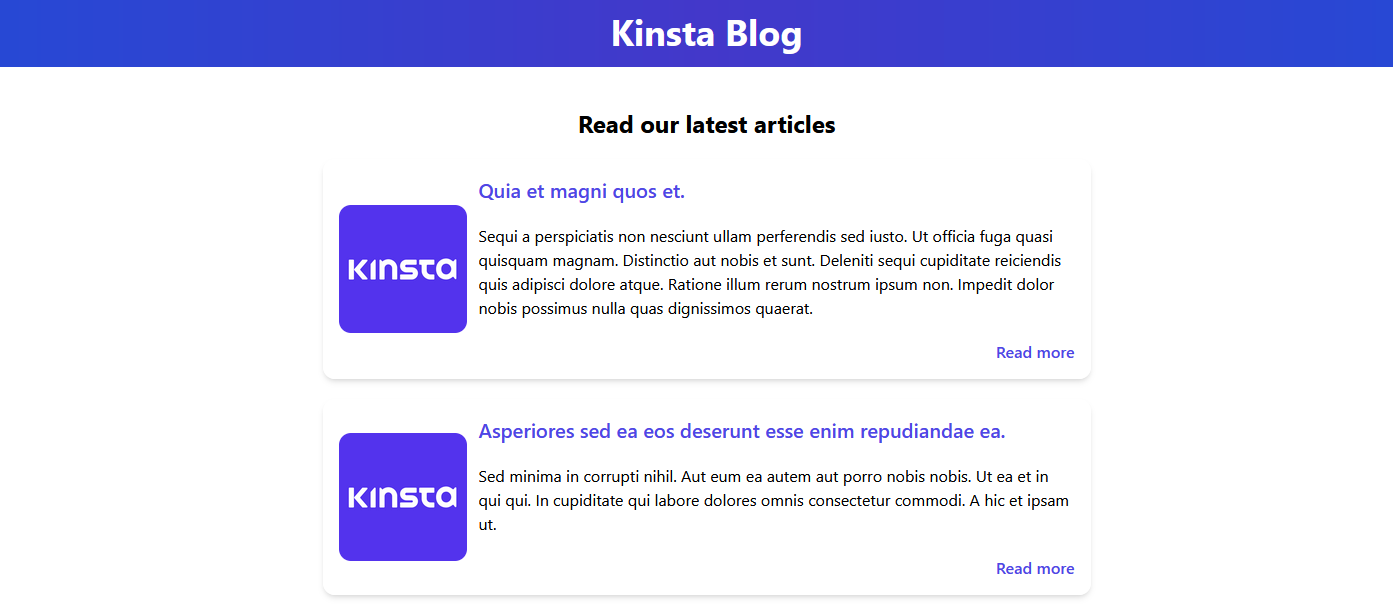
In this article, you’ll deploy a blog application that serves a list of articles and lets the reader view a specific post. The application was styled using Tailwind CSS and built using Laravel and Vue.js.
The Node.js JavaScript runtime environment handles server-side rendering. It coordinates communication between the Inertia.js frontend application’s components and the Laravel backend for dynamic frontend updates from the server side.
For more information about how to build this application, read How to use Inertia.js in your Laravel projects. You can also download the app’s full source code.
How to deploy the application on Kinsta
Start by setting up a database for your application on Kinsta’s Database Hosting. This can be done by following these steps:
- Log in or create an account to view your MyKinsta dashboard.
- Click Databases on the left sidebar, then click Add database.
- In the Basic details section, enter your database’s details. This includes the Database type (MySQL) and Version (8.0). Then click Continue.
- The Summary section shows the service’s invoice details and your billing information. Confirm and click Create database.
How to configure the Laravel environment
To configure the Laravel environment on Kinsta’s Application Hosting. Follow these steps:
- Click Applications on the left sidebar of MyKinsta, then click Add application.
- Choose your application’s repository, enable automatic deployment on commit, enter the Application name, and select the Data center location. Your application and database must be in the same region.
- Next, enter your Environment variables. Type
APP_KEYin the Key 1 field. Use the Laravel online generator to create a key for Value 1. Click Continue. - On the Build environment tab, select Use Buildpacks to set up container image. This option lets you choose the buildpacks later.
- On the Resources tab, specify your application’s start command. Since this is a Laravel application, it uses the following command:
php artisan serve --host 0.0.0.0 --port 8080 - The Summary tab shows the invoice with your pod and payment method. Confirm all information and click Create application.
Your application deployment starts. But it fails because you still need to add the buildpacks required during your Laravel-Inertia application’s build.
Add Buildpacks
- In the left-side menu of your application, click Settings.
- Next, click the build tab and Add buildpack to add the Node.js and PHP buildpacks. Add the buildpacks containing the primary language last to the buildpack list to ensure that the language-specific buildpack has precedence over the application environment’s general configuration.
- Click Add buildpack and add the Node.js and PHP buildpacks. Ensure that the primary language buildpack (PHP) is added last.

Adding buildpacks for the Laravel-Inertia application. - Click Deployment on the sidebar and click Redeploy.
Set up the Node.js environment
- The Laravel-Inertia application needs the Vite script for the page to update without reloading. So, in your Kinsta account’s left-side menu, click Processes.
- In the Runtime Processes section, click Create process. Choose Background worker as the process Type and add the following commands:
npm install && npm start
Creating Node.js start commands for the Laravel-Inertia application. Name the process whatever you want to identify it within Kinsta, like “Node”. Also, select the Pod Size and Instance count based on your application’s needs and budget. This tutorial uses 2 CPUs with 8GB of RAM.
- Click Continue to create your process. This action triggers a redeployment.
Set up the database environment
- On the Settings page, in the Connections tab, you should see Allowed applications. Click Add connection to add the database as a connection.
- Select the database. Below it, check Add environment variables to access the database. This action automatically populates all the database environment variables.
- Edit the variable keys to match your application’s database.php file, which is in the config folder at your application’s root.
- Modify the Laravel keys DB_DATABASE, DB_USERNAME, and DATABASE_URL, like in the following screenshot:

Adding environment variables and modifying the keys. - Add another environment variable called APP_URL. Its value is your application deployment URL. Get this information from Domains in the side menu.
Migrating the database
- In the side menu, click Processes.
- In the Runtime processes section, click Create process.
- Name the process “Migration”. Select the type Background worker. Paste the following command in the Start command field:
php artisan migrate:fresh --seed --forceThis command migrates the Article table and adds ten articles to the application. Your processes should look like the following screenshot, with Node, Migration, and Web process and their details.
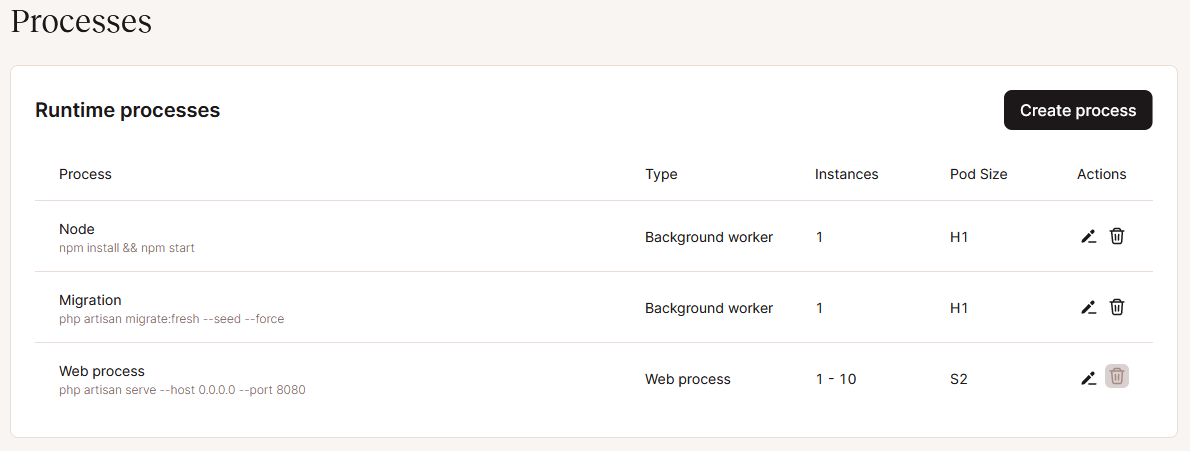
Runtime processes when deploying the Laravel-Inertia application. - In the side menu, select Deployments. Click Latest deployment. You should see a page like the following, with a title and a list of articles with placeholder text and images.

The Laravel-Inertia application is successfully deployed to Kinsta.
How to monitor and maintain the application post-deployment
After deploying your application, you may experience issues as its requests surge. Kinsta’s application analytics helps you monitor these changes and maintain your application’s health.
Analytics shows resources, performance, and HTTP requests to give you an idea of how your application operates. You can quickly observe when your application needs more resources in your performance tab’s monitor boards, then scale up or down as needed.
The runtime logs also help your team swiftly debug issues. You can find the source of the problem in the log entries, making it straightforward to maintain your application.
How to troubleshoot common deployment issues
You might encounter a couple of issues when deploying your Laravel-Inertia application to Kinsta. Let’s discuss what these issues are — and how to troubleshoot them.
First, Kinsta adds a special character to the generated password when you create a database. It can cause rollback errors when you connect the database to your Laravel-Inertia application. To troubleshoot this issue, use your password instead of relying on the generated passwords.
Auto-commit deployment failures are another typical issue. The deployment might fail if you specify the incorrect start command. To fix this issue, check if your processes have typos or are incorrectly assigned to a process type.
Summary
You now know how to deploy a Laravel and Inertia application to Kinsta. It involves setting Buildpacks and start commands to configure the application, creating a database, and then connecting and migrating the database to serve data to the application.
Combining Laravel and Inertial lets you connect your app and database without manually setting up an API, saving time and energy that you can use instead to create exciting new app features.
Kinsta hosts your application and its database. You can also use your database’s external connections to connect to an application running outside of Kinsta. 29 data centers help you offer services closer to your application’s users, reducing lag while offering a reliable, secure deployment infrastructure.
Use what you’ve learned in this tutorial to deploy your dynamic web application — or your database — to Kinsta. Start your deployment journey with Kinsta today.


