
Redis is a highly available in-memory database. Its disk-persistent key-value data store is ideal for multiple high-availability uses.
On the other hand, Docker is a tool for containerizing applications and services, isolating their environments and allowing them to run separately. You can use Docker as a package manager for applications and services with all necessary dependencies, configurations, scripts, etc. A script called a Dockerfile is placed inside the Docker container and allows you to deploy the container as a single entity.
This article teaches you how to use these two open-source technologies effectively. It also touches on why running Redis clusters inside Docker containers is vital and the advantages and benefits of doing so compared to running Redis clusters on virtual machines or bare metal servers.
The Various Uses of Redis
Redis has several advantages. Its most popular uses include:
- Distributed, key-value database cache
- Message broker
- Persistent object caching server
Plus, Redis can support multiple data types and structures, making it suitable for use as both a primary and secondary database layer for applications. It also supports lists, streams, hashes, sets, etc.
However, you can push Redis’ benefits further by containerizing it.
Redis Is Best Inside a Container
Redis is one of the most popular Docker images in the Docker registry, with over one billion downloads. The reason for containerizing Redis applications is to get Docker’s benefits and community support for the most common Redis use cases.
The Redis Docker image has an open-source community that creates and maintains clear documentation. And to top it off, Docker is highly reliable and enables easy use and flexibility.
Ease of Use
Docker isolates the environments for both apps and services running inside containers. Isolation means you can package, build, and ship Redis images that work regardless of the host operating system, which makes developing and running Redis applications inside Docker easy. Furthermore, Docker Desktop simplifies setting up a consistent local development environment, which is especially useful for large teams.
Security:
You can scan for security vulnerabilities with Redis inside a container. Docker uses Snyk, a tool that provides visibility into the safety of Docker images. It scans Docker containers and provides details and remediation in case of corrupt images. Docker can also generate a software bill of material (SBOM) for scanning all the dependencies used in building container images, although it’s still experimental.
Flexibility
Docker is available for most Unix-based and Windows operating systems and applications. Since you use containers to isolate software from its environment to ensure it works with all systems, Redis apps, and services always run despite the infrastructure.
Reliability
Docker allows you to run any containerized workload in any environment reliably. Redis is reliable in Docker because Docker containers periodically take snapshots of the container image, allowing you to revert to these snapshots in case of a bad or corrupted database. You can also create a Docker volume by mounting a directory containing the Redis database file inside the container.
A Docker volume helps to keep the container safe from any form of accidental data loss. However, a caveat is that Docker volumes don’t include image snapshots. You must manually save or back up the data in your Redis database file periodically.
How To Use Redis With Docker
To put your Redis store inside a Docker container, you must have Docker in the target environment. The following instructions show you how to install Docker on Windows.
You can follow a guide on the Docker website for a Unix or Unix-based OS. After installation and configuration, you can create a network inside your Docker container. Then you can install Redis and create a database. Finally, you can perform operations on your Redis database.
First, install Docker on your operating system. Optionally, navigate to the Docker Hub and create an account. You need an account to create and publish your images.
After creating an account, sign in to Docker Hub and download your operating system’s latest version of Docker Desktop.
After the installation procedure, go to your terminal window to see if the Docker Engine is ready to run and enter the following command:
docker --version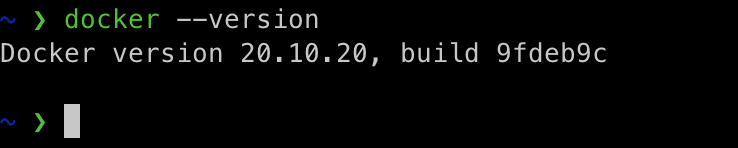
Then type: docker-compose --version.

Compose is a tool for defining and running multi-container Docker applications using YAML files, which you use to configure application services.
You can run a Dockerized Redis to validate that the Docker Engine is up and running using the code below. This example runs the Redis image from Docker Hub and names it my-redis-container.
docker run --name my-redis-container -d redis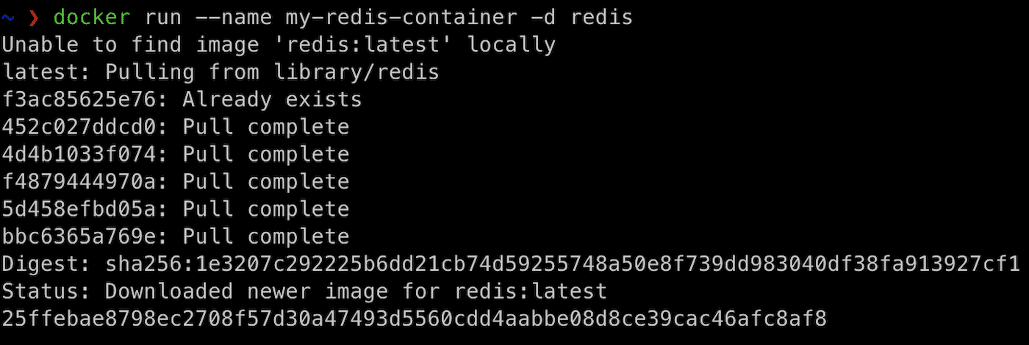
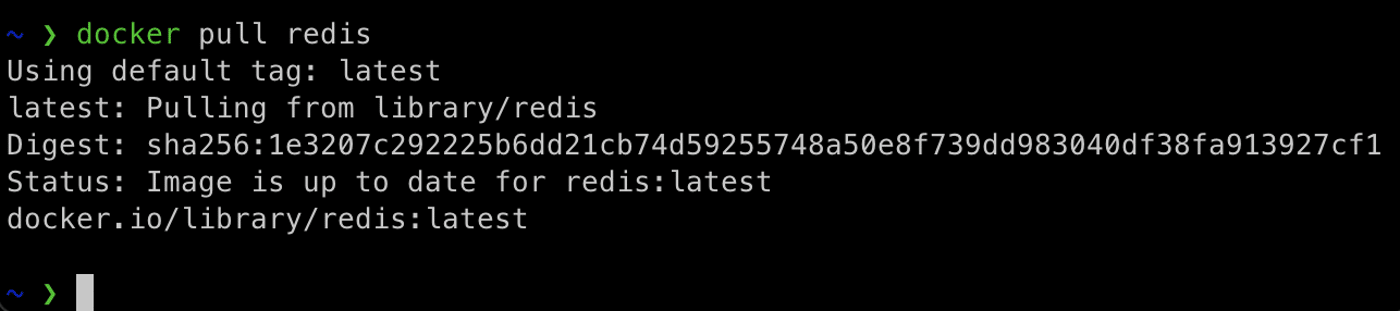
Because you don’t have the image locally, Docker pulls the Redis image from the Docker Hub.
Now, you can open Docker Desktop to confirm that it pulled the Redis image. On the Dashboard, click Images on the left-side panel.

Now, you can create a network. Note that the Docker driver uses the bridge or the overlay built-in network drivers to create a Docker network. You can also install and use a third-party network driver.
The difference is that bridge networks are isolated on a single Docker Engine installation, while overlay networks span multiple Docker hosts, each running an engine.
Type:
docker network create -d bridge kinsta-demo-network
If you don’t specify any drivers by default, Docker uses the bridge driver to create a new network since it automatically creates the bridge driver when you install the Docker Engine. However, if you run a Docker container with the Docker run command, it won’t use this network.
Now that you have a network, installing Redis inside the Docker container is next. To do so, type: docker pull redis.
To verify the Redis image is installed correctly, run one of the following commands:
docker imagesdocker image ls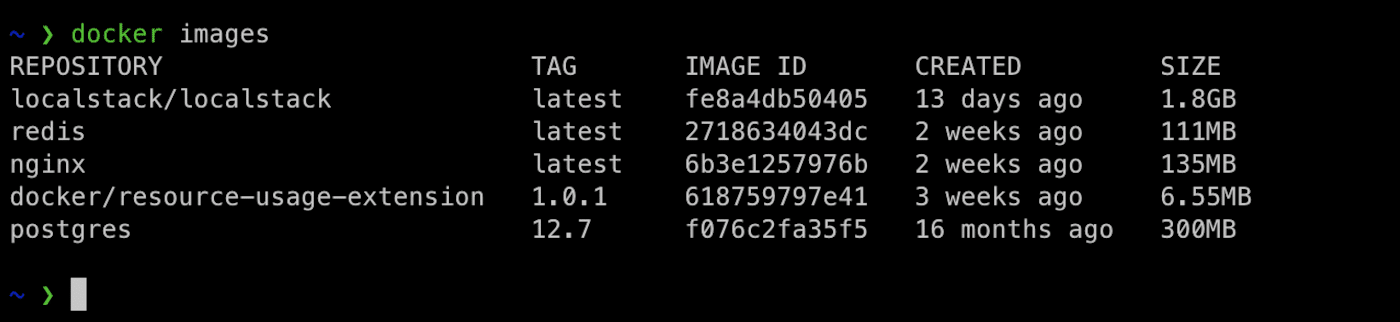
Next, you create and start the Redis container. To do so, run the following command:
docker run -it –name dev_kinsta_redis_container -d redis
Now verify that Redis is running in the container. To do so, type: docker ps.

Now that you have confirmed that your Docker container is up and running, you can add the container to the network. Type: docker network connect .

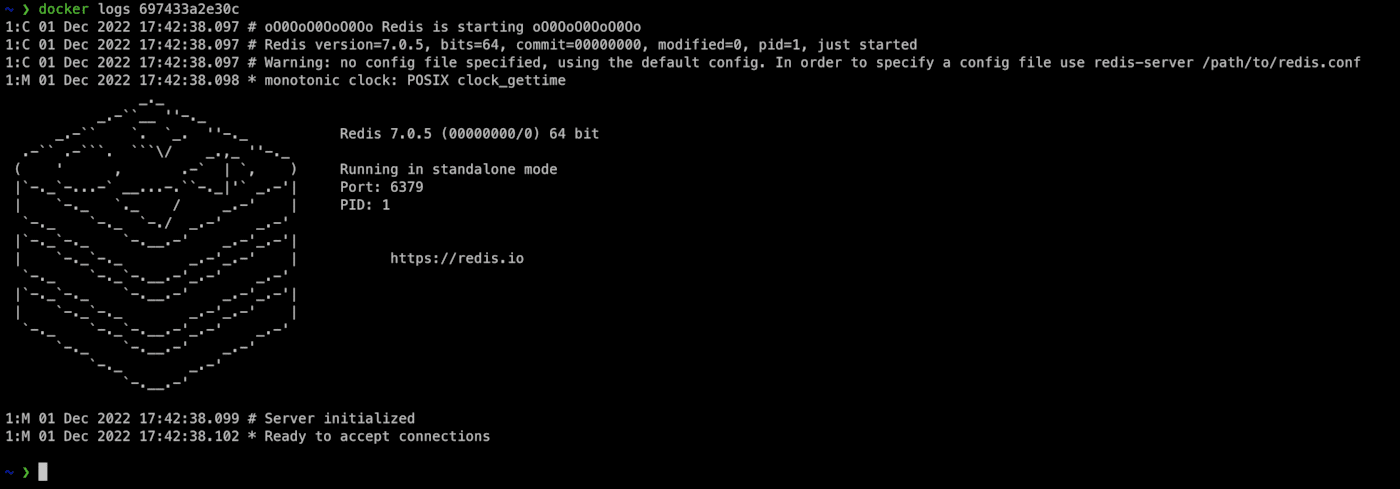
With everything working as expected, the next step is to verify your Redis server running inside Docker is ready to accept connections. To do so, use docker logs.
Next, you must create a database because you need a way to connect to the Redis container to run commands on the server. To do this, type: docker exec -it bash. You can use the container name and container ID interchangeably.

In the container, use the CLI to run commands. Note that Redis automatically installed Docker hosts. To use the Redis-CLI, type: redis-cli.

This connects you to the default port for Redis on the local host. Type: ping, and the response should be pong.

Next, select a database inside your Redis server by typing select. Although the default database is 0, select db 1.

Next, insert data into the database. Use the Redis SET command. To do so, type SET <key> <value>.
For example:
SET mykey "Hello"To get the same key, type:
get myKey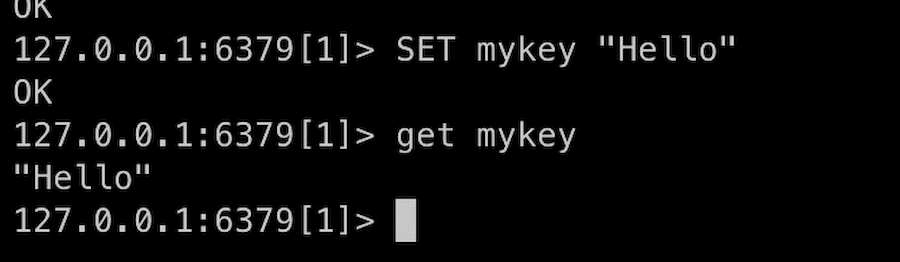
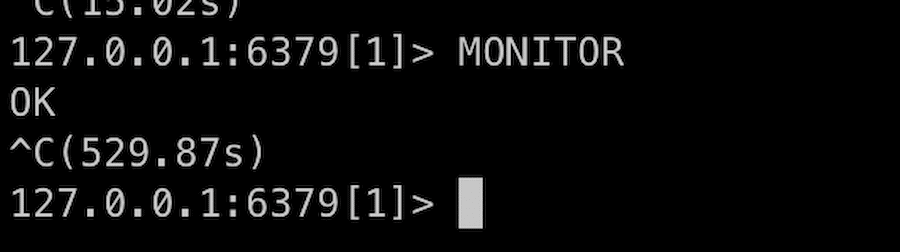
To get the value for the key, run get. This returns the value. Next, monitor your Redis database by typing MONITOR.
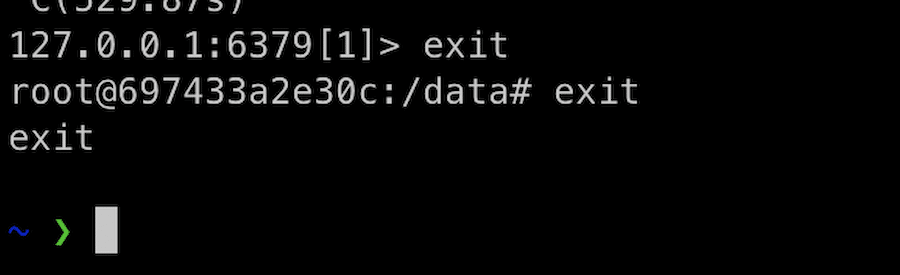
Finally, halt the Redis server by exiting from the CLI. Type exit twice to exit the CLI and Redis.
Finally, stop the Redis container from running by typing docker stop.

Redis With DevKinsta
DevKinsta lets you connect a WordPress site to a Redis database. With DevKinsta, the Redis add-on works seamlessly as an object cache to persist data across several page loads. This means that by using the Redis add-on, you can use the cache to reuse objects instead of constantly querying the MySQL database.
After downloading and setting up DevKinsta, install the Docker Desktop as a dependency, which it uses to create local environment files inside a container. With this setup, you can configure the Redis add-on in Devkinsta.
Therefore, the Redis add-on for DevKinsta can be used as a secondary source, reducing the load on the primary database, increasing response times, and making the application work faster.
This translates into the app handling more load and scaling efficiently. Check out our documentation on using Redis as a persistent object cache for your WordPress website.
Summary
There are many advantages to running Redis inside a Docker container. It offers a sandboxed environment for your applications, so you no longer have to care about the platform where you deploy your applications. Furthermore, Docker enables ease of use, flexibility, and high reliability.
Regarding security, you could check and scan for security vulnerabilities out of the box with Synk, a tool providing visibility into the safety of Docker images. And regarding flexibility, Docker works for most Unix-based and Windows operating systems and applications. This flexibility means that dockerized or containerized apps or services always run irrespective of the OS.
It’s easy to use Docker and the Redis add-on with DevKinsta, which spins up a dockerized WordPress site locally when you start it. Explore DevKinsta and the Redis add-on to get the power of Redis in Docker today.


