
As we roll into February, we have a few new features and updates to share. We are excited to announce that Authenticator-based 2FA is now available in the MyKinsta dashboard.
We’ve also pushed a few updates to MyKinsta to make managing your WordPress sites even more convenient. Without further ado, let’s dive in.
Two-Factor Authentication (2FA)
Compared to our previous SMS-based 2FA feature, the new Authenticator-based option has several advantages.
- Authenticator-based 2FA is more secure than SMS-based 2FA because it is not tied to your mobile phone number and doesn’t rely on legacy SMS technology. This makes Authenticator-based 2FA resistant to SIM swapping techniques.
- Authenticator-based 2FA can be used with password manager apps like 1Password for added convenience. By adding your 2FA details to a password manager, you won’t have to rely on an external device to log in to MyKinsta.
How to Set Up Authenticator-Based 2FA
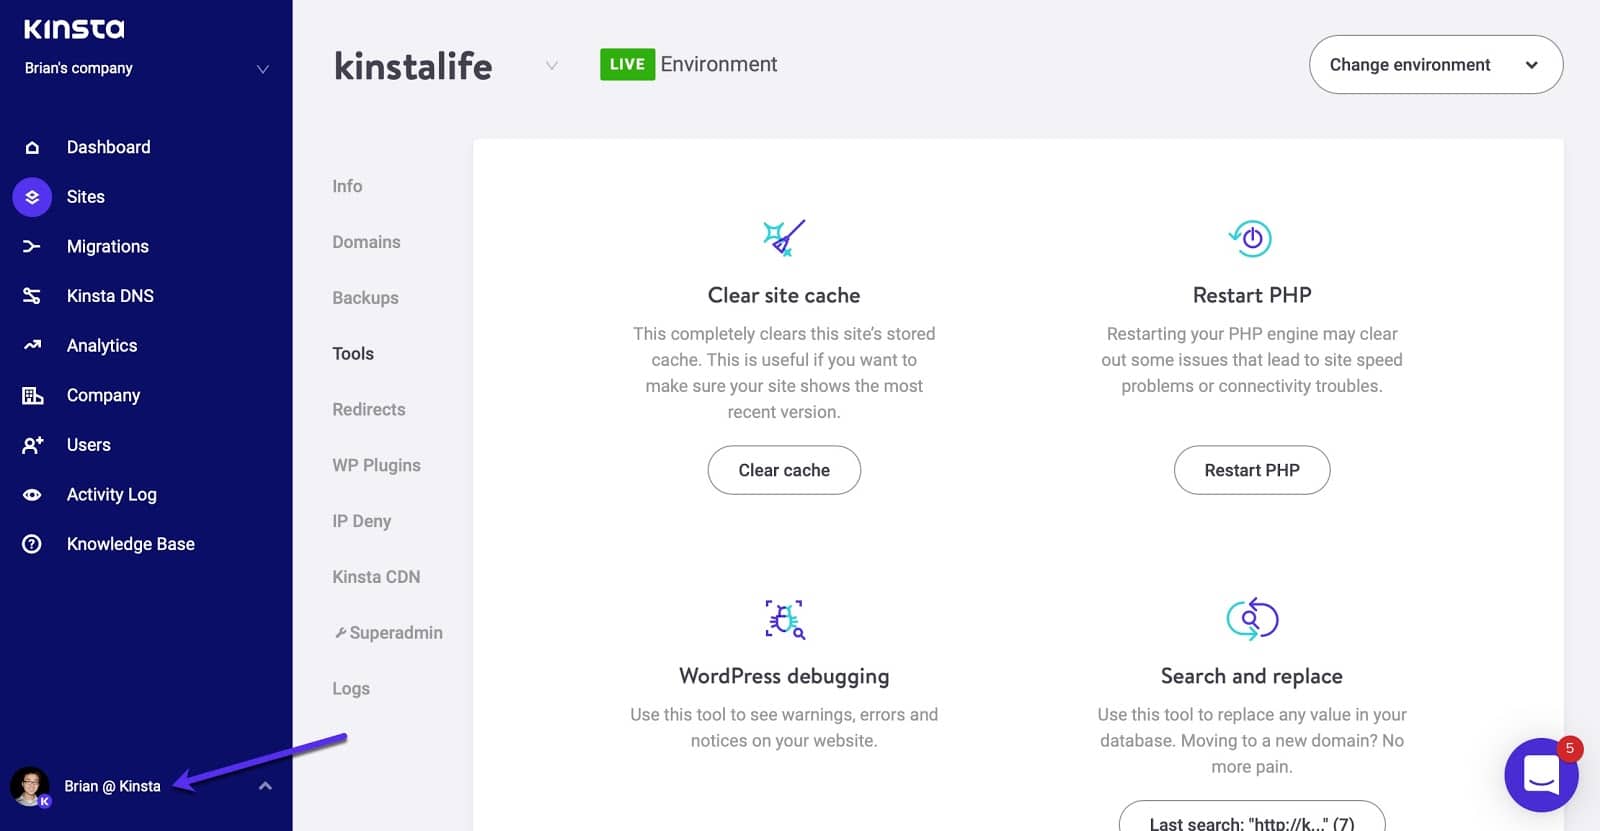
Log in to MyKinsta, click on the user dropdown in the lower-left corner, and select “User Settings”.
On the User Settings page, scroll down to the “two-factor authentication” section, and click on “Begin Setup”.

Next, you’ll see a popup like the one below. Scan the on-screen barcode with an Authenticator app like Google Authenticator or a password manager that supports OTP like 1Password.
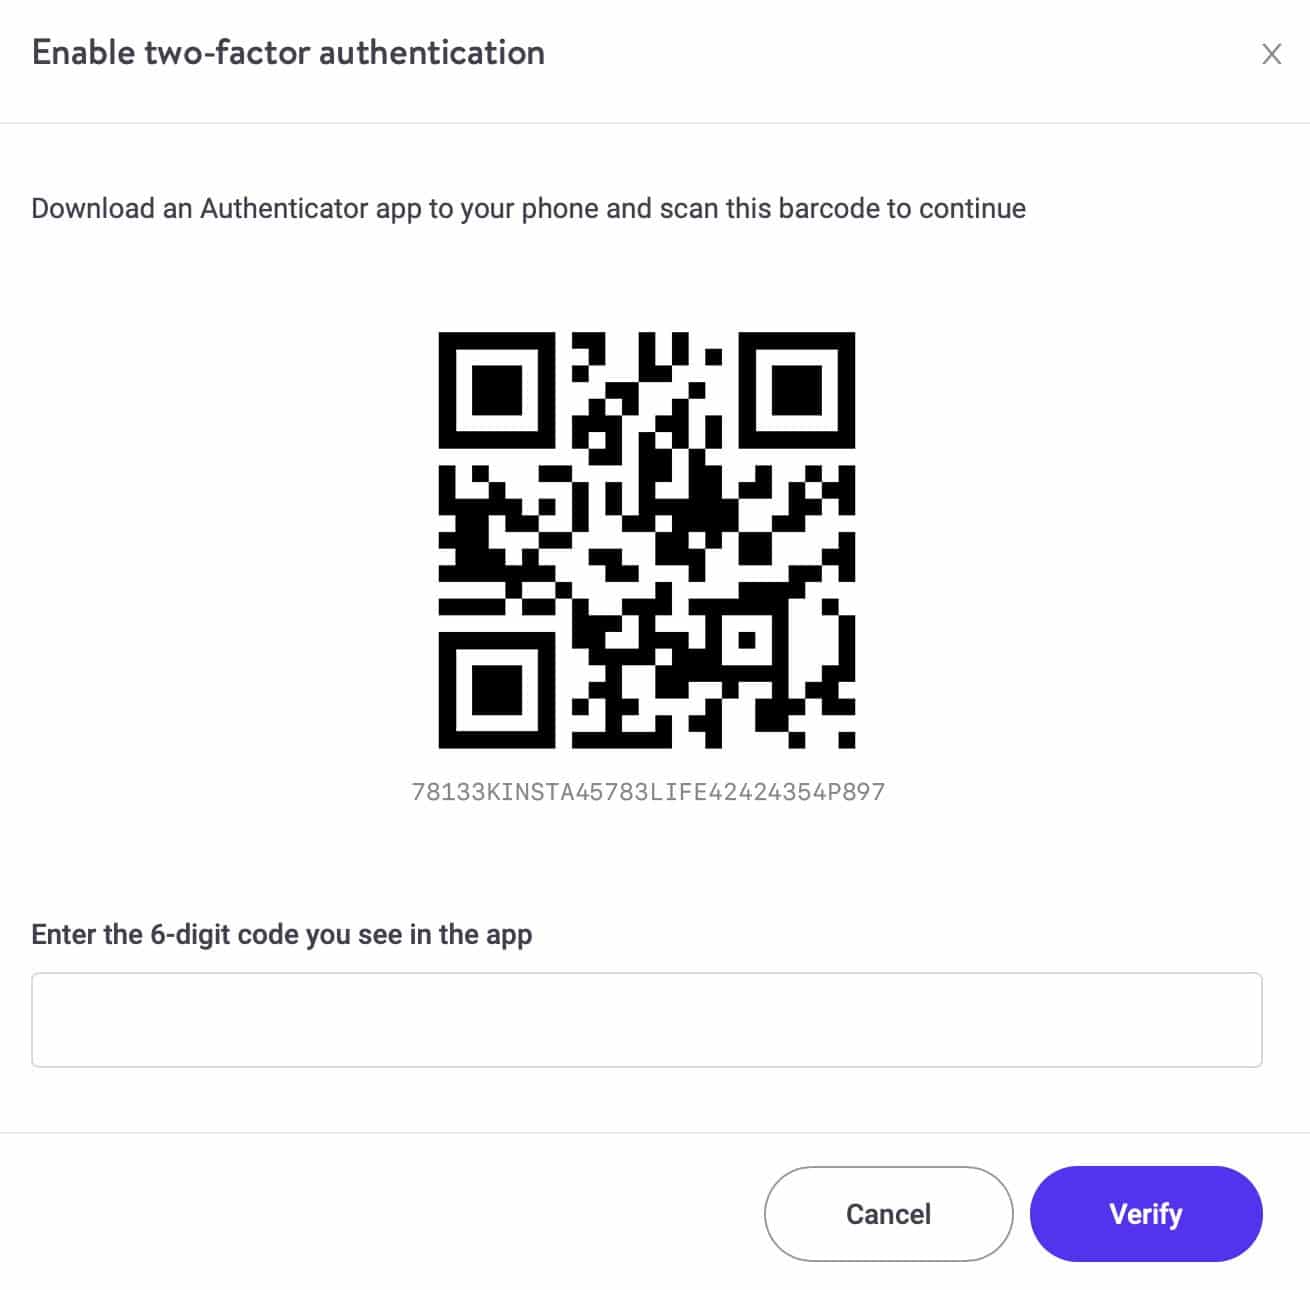
After scanning the barcode, type in the six-digit code you see in your Authenticator app and click on “Verify” to complete the setup process.
Search and Replace When Changing Primary Domain
When switching to a new primary domain in the MyKinsta dashboard, you now have the ability to run a search and replace on the WordPress database at the same time. Previously, switching to a new primary domain was a two-step process that required a manual search and replace after switching the primary domain in MyKinsta.
To take advantage of the automatic search and replace, just check the “run search and replace after change” option when assigning your new primary domain.

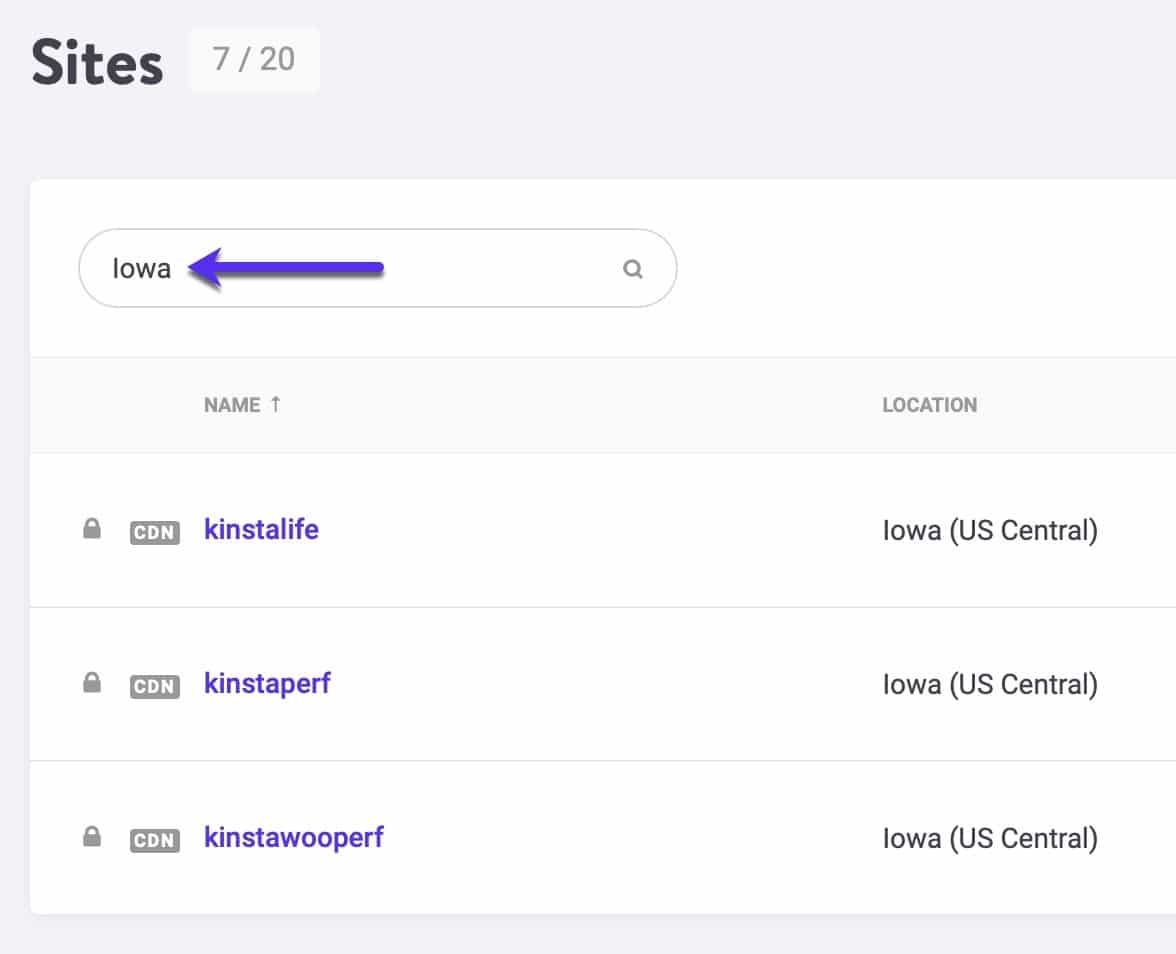
Filter Sites by Location
The search box on the MyKinsta “Sites” page now supports location. Filtering sites by server location is useful for identifying sites in a particular data center.
Overage Notifications
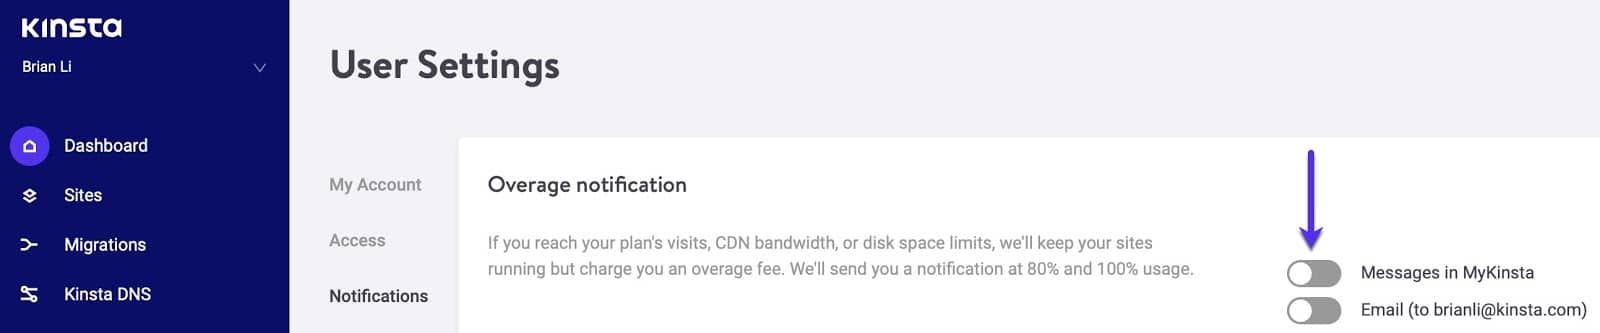
By default, overage notifications are sent to all company users who have billing access. It is now possible to disable overage notifications for specific users.
To disable overage notifications, click on the user dropdown in the lower-left corner, and select “User Settings”. Next, click on the “Notifications” tab. Under the “Overage notification” section, click on the two toggles labeled “Messages in MyKinsta” and “Email (your email address)” to disable overage notifications.
We’re always working on new features to improve the MyKinsta dashboard and our services. Make sure to subscribe to our newsletter to never miss one!