It just got a lot easier to add Redis caching to your managed WordPress Hosting environment at Kinsta.
Redis, the in-memory NoSQL database, provides robust storage for the WordPress native object cache, helping to reduce the need for repetitive and resource-intensive database queries. It’s popular with operators of websites like online stores and membership destinations where page caching of personalized content is an obstacle.
Kinsta has long offered Redis among our add-on solutions for WordPress hosting. However, until now, customers were asked to contact our Support team to have Redis installed and configured in their environments.
Customers can now install, configure, and remove Redis in their accounts with a few clicks in the MyKinsta dashboard.
Adding Redis to a WordPress site
Installing Redis for your WordPress site is simple:
- Navigate to WordPress sites > sitename > Add-ons in MyKinsta.
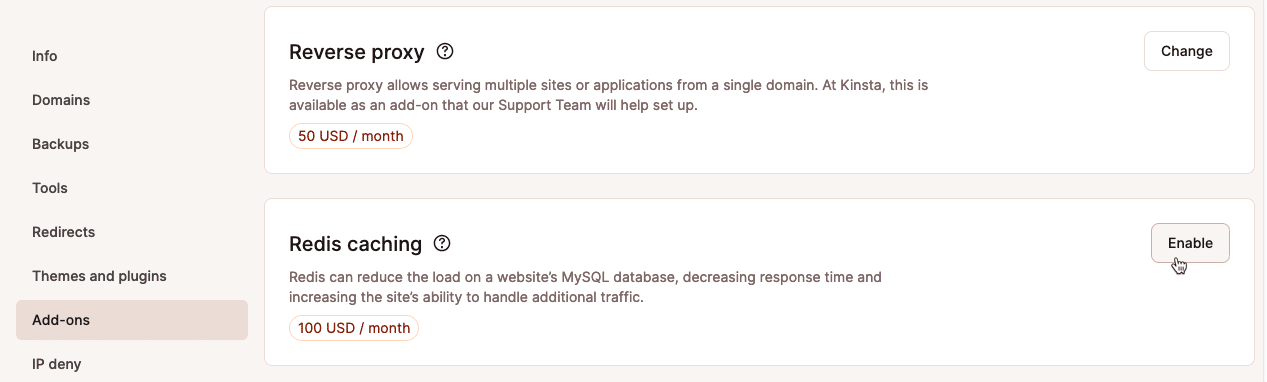
- Scroll to the Redis caching card.
- Click the Enable button:
- You’ll be asked to confirm your choice to install Redis:

Plugin support for Redis in WordPress
When you add Redis to a site in MyKinsta, we automatically install and configure the Redis Object Cache plugin, connecting your WordPress site to the cache:
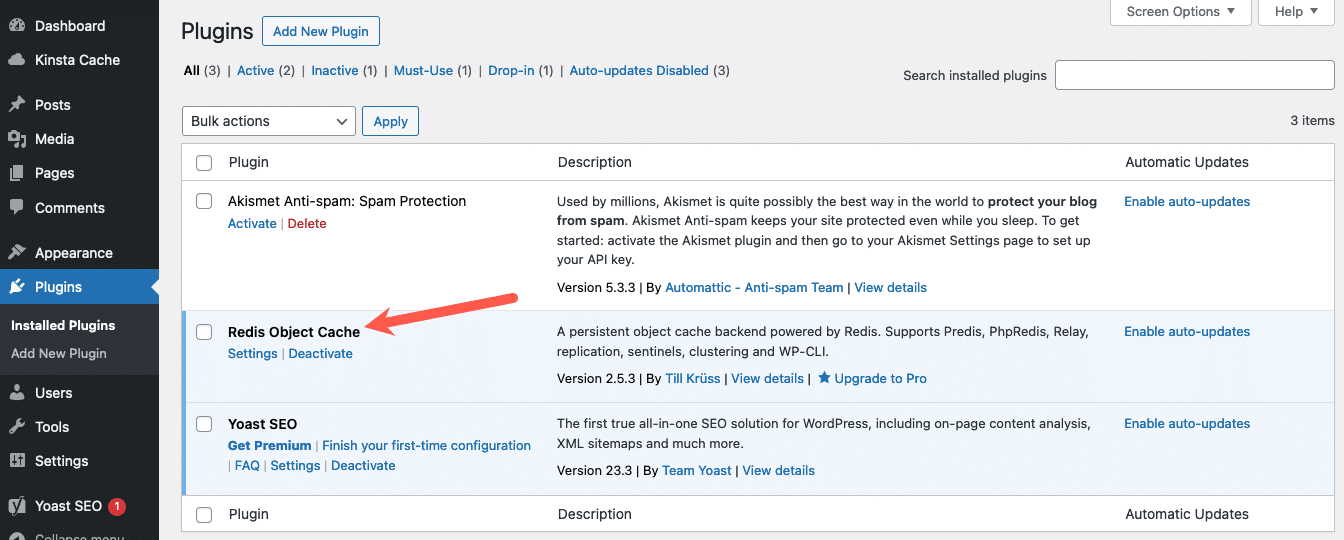
If you click on the Settings link for Redis Object Cache, you will see that the plugin is already configured and connected to your instance of Redis:
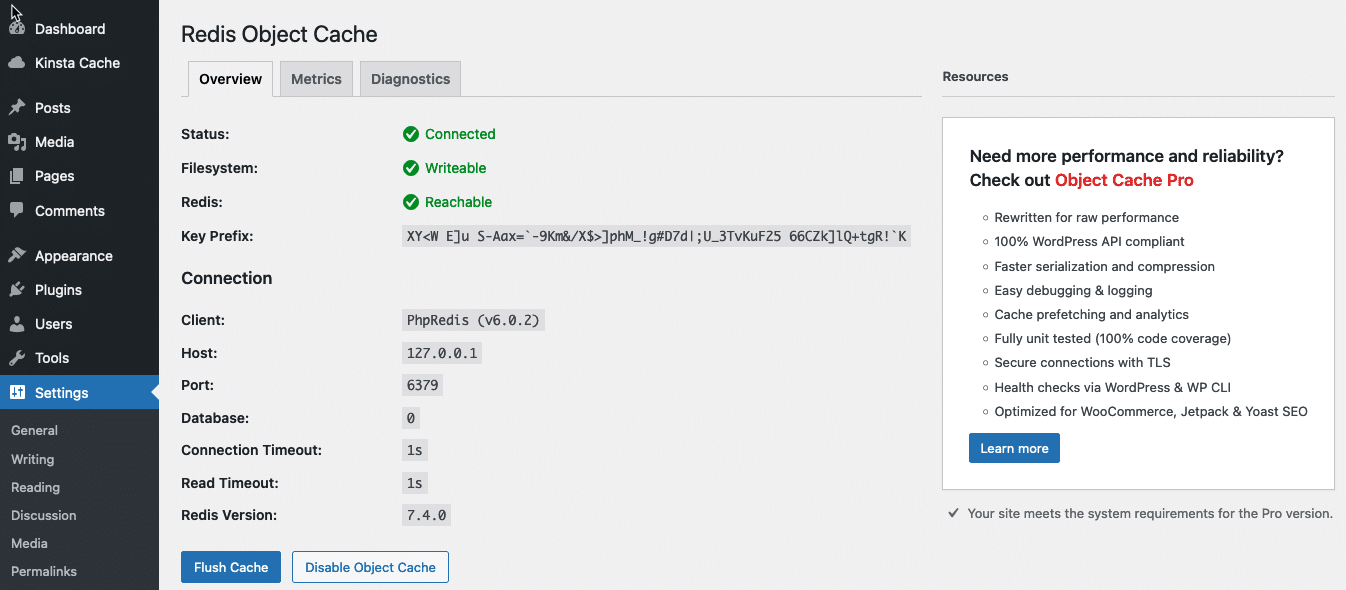
There are numerous plugins available to connect WordPress sites and Redis. If you prefer to use a plugin other than Redis Object Cache, you can do that by disabling or deleting the Kinsta-installed plugin and adding one you choose.
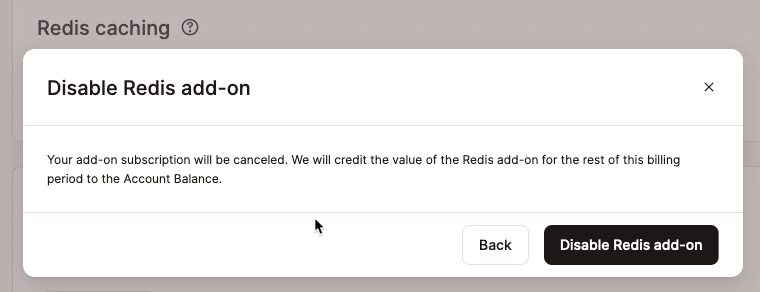
Removing Redis from a WordPress site
Removing Redis from your account is just as easy as installing it:
- Navigate to WordPress sites > sitename > Add-ons in MyKinsta.
- Scroll to the Redis caching card.
- Click the Disable button.
- You’ll be asked to confirm your request:
You’re in control of caching at Kinsta
In addition to Redis caching on the backend of WordPress websites, Kinsta also provides powerful on-server page caching and Cloudflare-powered Edge Caching and CDN. And all those tools can be managed on the Caching page in MyKinsta. (And, yes, you can also begin the install or uninstall of Redis from that area of the dashboard.)
What’s more, the Kinsta MU (Must Use) plugin offers cache management within the WordPress admin dashboard. Members of a publishing team who might not have access to MyKinsta can clear server-side caches, CDN, and edge caches within WordPress.
If you’re not already a Kinsta customer and want to take advantage of these powerful tools for your WordPress site, find a hosting plan that’s right for you.