Docker containers provide isolated environments for running applications, ensuring consistency and portability. When working with Docker containers, it’s crucial to be able to inspect and connect to their shells. Doing so enables you to execute commands, troubleshoot issues, and monitor the containers’ behavior in real time.
This article explores how to access local and remote Docker containers for maintenance and updates.
Why You Need To Reach Your Containers
Accessing containers is essential for effective management and troubleshooting in containerized environments. It allows you to analyze the container’s logs and runtime information and easily identify and resolve errors.
Container access also allows you to execute commands for quick configuration updates, package installations, and other administrative tasks. Without access, you’d have to rebuild the entire container image with the updated configuration, which can be time-consuming and inefficient.
Containers must also be able to communicate with each other in a distributed application ecosystem. So you need container access to diagnostic commands and ensure that connectivity between containers is healthy.
While it’s possible to access containers through a traditional Secure Shell (SSH) protocol, Docker provides several built-in methods to help you save time and increase efficiency. These include:
docker execdocker rundocker attachdocker compose execdocker compose run
Each method has its specific use cases and advantages. Knowing the right command for your use case can help you optimize your approach.
How and Why To Use docker exec
docker exec allows you to access a running container’s shell session and execute commands without needing to start a new instance. Note that this command isn’t persistent, meaning it won’t rerun if the container shuts down or restarts.
To access a running container, you need its name or ID (you can get it by running docker ps -a). Then, input it into the following command:
docker exec -it /bin/bash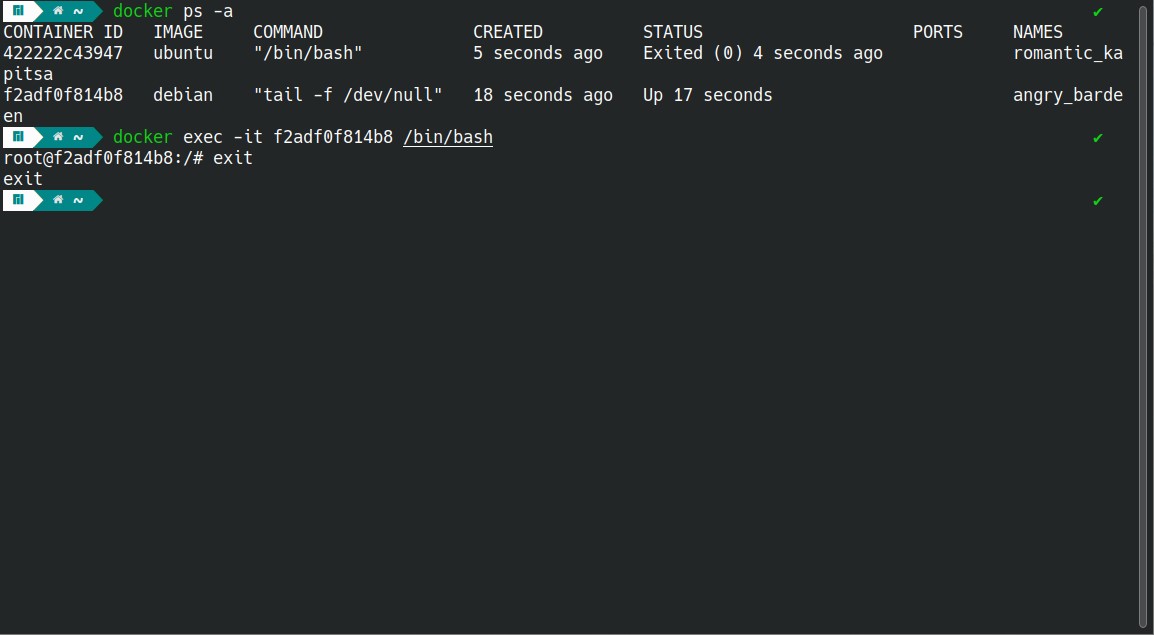
How and Why To Use docker run
The docker run command allows you to start a new container and immediately access its shell. This container isn’t attached to your current shell session by default, but you can attach it using the -it option.
The following command allows you to start a new container, attach it to your current shell session, and spawn a bash shell:
docker run -it /bin/bash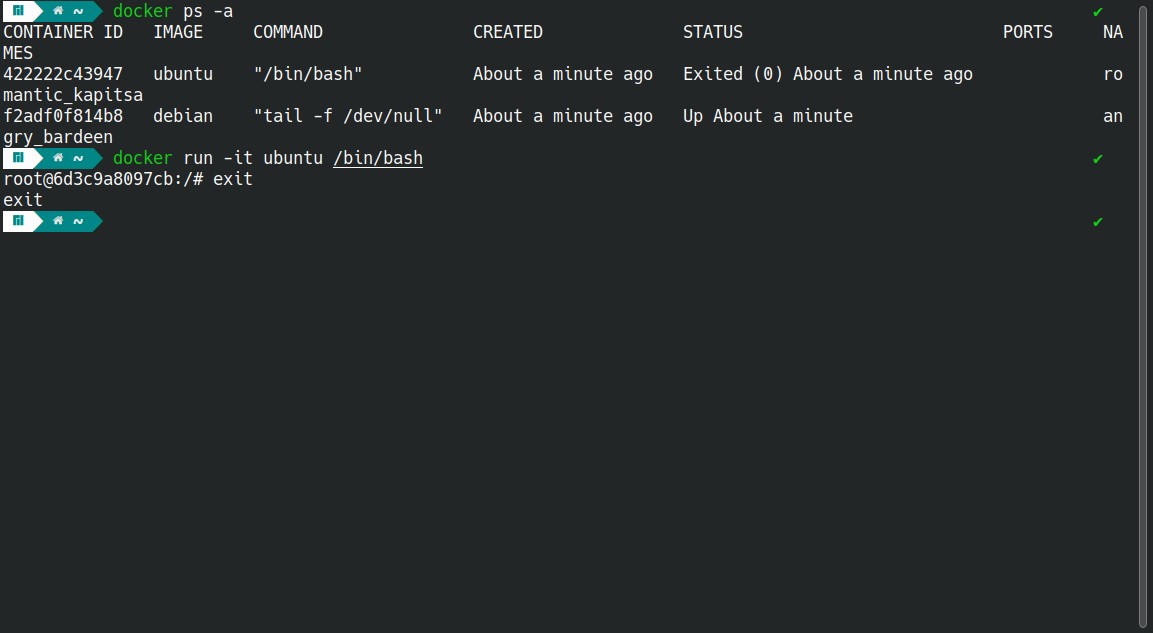
How and Why To Use docker attach
The docker attach command is useful for monitoring and debugging container operations. It allows you to connect to a running container and view its standard input, output, and error streams in real-time.
To use it, start your container using docker run. Then, detach from it by pressing Ctrl+P and Ctrl+Q. You can also supply the -d flag for that container instead.
Once you have your container running in the background, access it via the following command:
docker attach 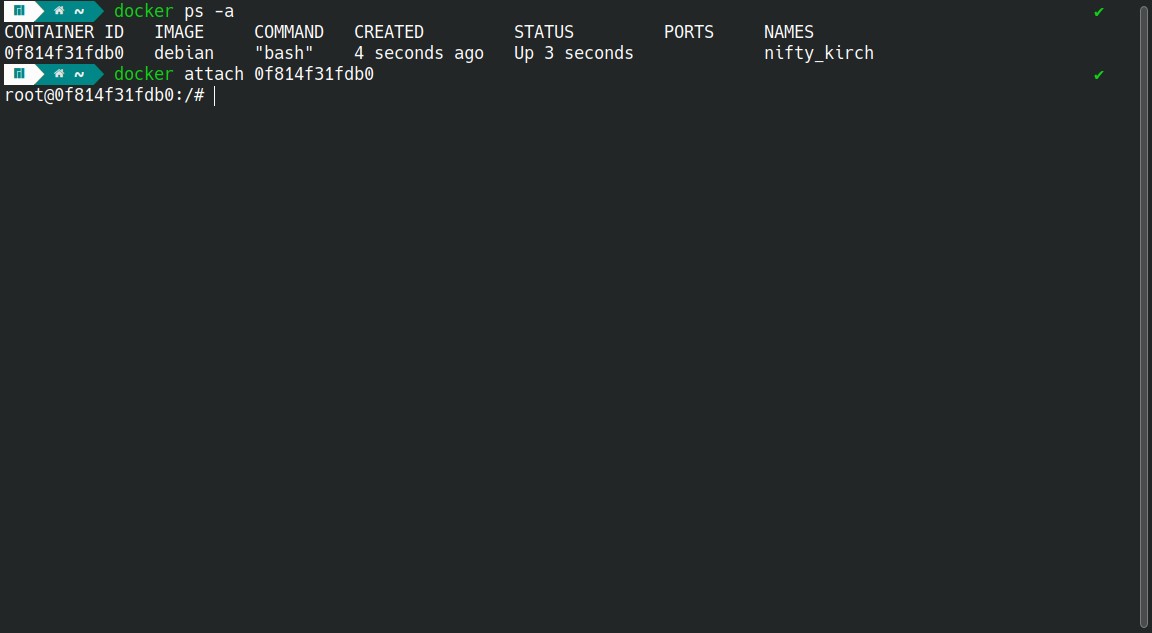
How and Why To Use Docker Compose
Docker Compose enables you to create and execute multi-container Docker applications. You can use it to define the services that comprise your application in a YAML file, then use that file to start up and manage all containers together. It’s suitable for development and testing environments where you need to spin up complex environments quickly.
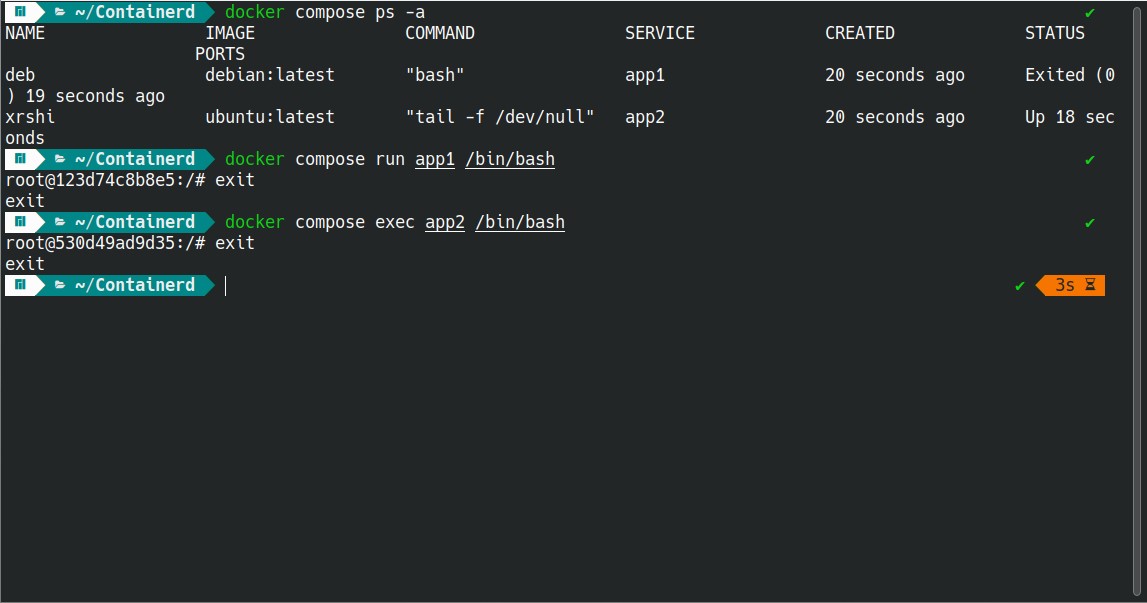
To access a specific running container that’s already running, run the following docker compose command, followed by the name of the service and the command you want to run:
docker compose exec app /bin/bashThis command starts a new process inside the container running the specified command. You can use it to run any command inside the container, including interactive shells like bash.
Similarly, if you want to start up a new container using Docker Compose and gain immediate access to it, run the following command:
docker compose run app /bin/bashNote that docker compose has two different syntaxes: docker-compose (version 1) and code>docker compose (version 2). The version 2 syntax is more flexible and powerful, so it’s recommended to use it whenever possible.
How To Add an SSH Server to Your Docker Container
Adding an SSH server to your Docker container helps you manage and troubleshoot your containerized applications. An SSH server allows you to remotely access and manage containers, execute commands, and inspect logs from anywhere.
You can add an SSH server by including it in your Dockerfile before building the container, then connecting it with an SSH client. Alternatively, you can add temporary SSH access by spawning a shell inside a running container and installing an SSH server in it.
Include an SSH Server when Building Your Docker Container
When building a Docker container, including an SSH server inside the container can be useful if you wish to persistently SSH into it. It allows for remote access and debugging of the container during development or troubleshooting. Including an SSH server inside also lets you securely transfer files to and from the container.
To incorporate an SSH server at build time, make a few changes to the container’s Dockerfile. Here’s an example Dockerfile that includes an SSH server:
FROM debian:latest

RUN apt-get update && apt-get install -y openssh-server
RUN mkdir /var/run/sshd
RUN echo 'root:root123' | chpasswd
RUN sed -i 's/#PermitRootLogin prohibit-password/PermitRootLogin yes/' /etc/ssh/sshd_config

EXPOSE 22

CMD ["/usr/sbin/sshd", "-D"]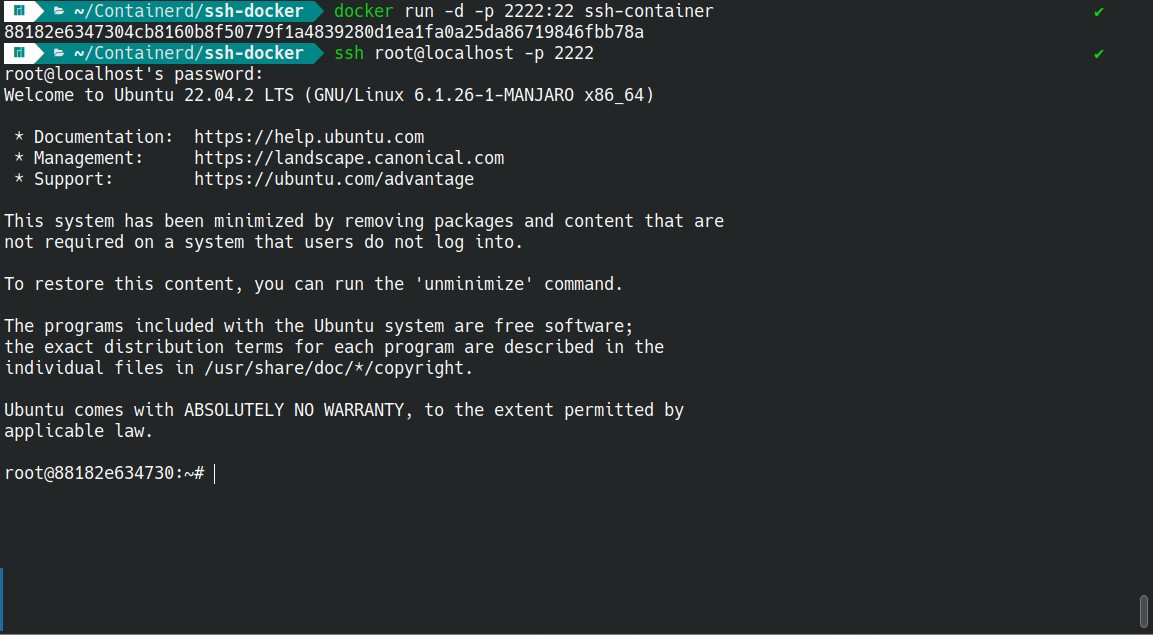
This code builds a container with the latest Debian image and installs the SSH server. It also creates a new directory for the SSH server and sets the root password and enables the root login via the SSH config.
Finally, it exposes port 22, SSH’s default port.
To use this Dockerfile, build the container using the docker build command, then run the container using docker run. Here’s an example:
docker build . -t ssh-container
docker run -d -p 2222:22 ssh-container
This command builds a container using the Dockerfile and tags it with the name ssh-container. Use -d to run the container in detached mode. Next, map port 22 inside the container to port 2222 on the host machine with -p.
Once the container is running, you can SSH into it using the ssh command:
ssh root@localhost-p 2222When prompted for the password, type in the password you set in the YAML file. In this case, it’s “root123.” You’re now connected to the SSH server running inside the container. This means you can perform remote debugging or transfer files to and from the container.
Temporarily Add an SSH Server to a Running Docker Container
You can also add an SSH server to a running container using the docker exec command:
docker exec <container_name_or_id> /bin/bashOnce you’ve gained access to the container, install the OpenSSH server and start the SSH daemon:
apt update && apt install openssh-server && /usr/sbin/openssh -DThis opens a new instance of the SSH server inside the container. You’re now ready to connect to it using an SSH client on your local machine.
Note that you can only connect to the container via SSH if you or your team exposed the SSH port during the execution or building phase.
Connect to Your Container’s SSH Server
Start by identifying the container’s IP address or hostname from your container management platform or service.
To connect to the IP address, use the ssh command:
ssh [username]@[container-ip-address]Once prompted, enter the password for the specified username. Instead of a password, some SSH servers may use key-based security.
You should now have a remote terminal session connected to the container.
Summary
As Docker becomes increasingly popular, it’s important to be able to inspect the containers running in your environment. This functionality allows you to diagnose and resolve issues during development.
Docker also provides a versatile set of built-in commands for various development tasks. You can use these commands to streamline your workflow without needing to rely on traditional SSH methods.
Check out Kinsta to host your applications, WordPress websites, or databases. With Kinsta, you have a fast and secure host, with your projects deployed on infrastructure built on optimized server environments.
Choose between 24 data centers and an HTTP/3-enabled CDN for your apps and databases. Stay secure with isolated container technology, two strong firewalls, and advanced Cloudflare-powered DDoS protection. And you can integrate apps or automate workflows with the Kinsta API.


