
Installing WordPress plugins might seem trivial to some, but we want to cover all the different ways you can go about doing this. This includes easy ways for beginners and more advanced methods; for those with a little more experience under their belt, like WordPress developers.
Today we will be diving into three different methods on how to install WordPress plugins on your website. This includes searching from within your WordPress dashboard, manually uploading a plugin via SFTP, and installing a plugin via WP-CLI. In these following examples, we are going to use the popular free Yoast SEO plugin, which is currently installed on more than 1 million WordPress sites.
- Install via WordPress Dashboard (easy/beginner)
- Install via SFTP (intermediate)
- Install via WP-CLI (advanced)
1. How to Install WordPress Plugins via Dashboard
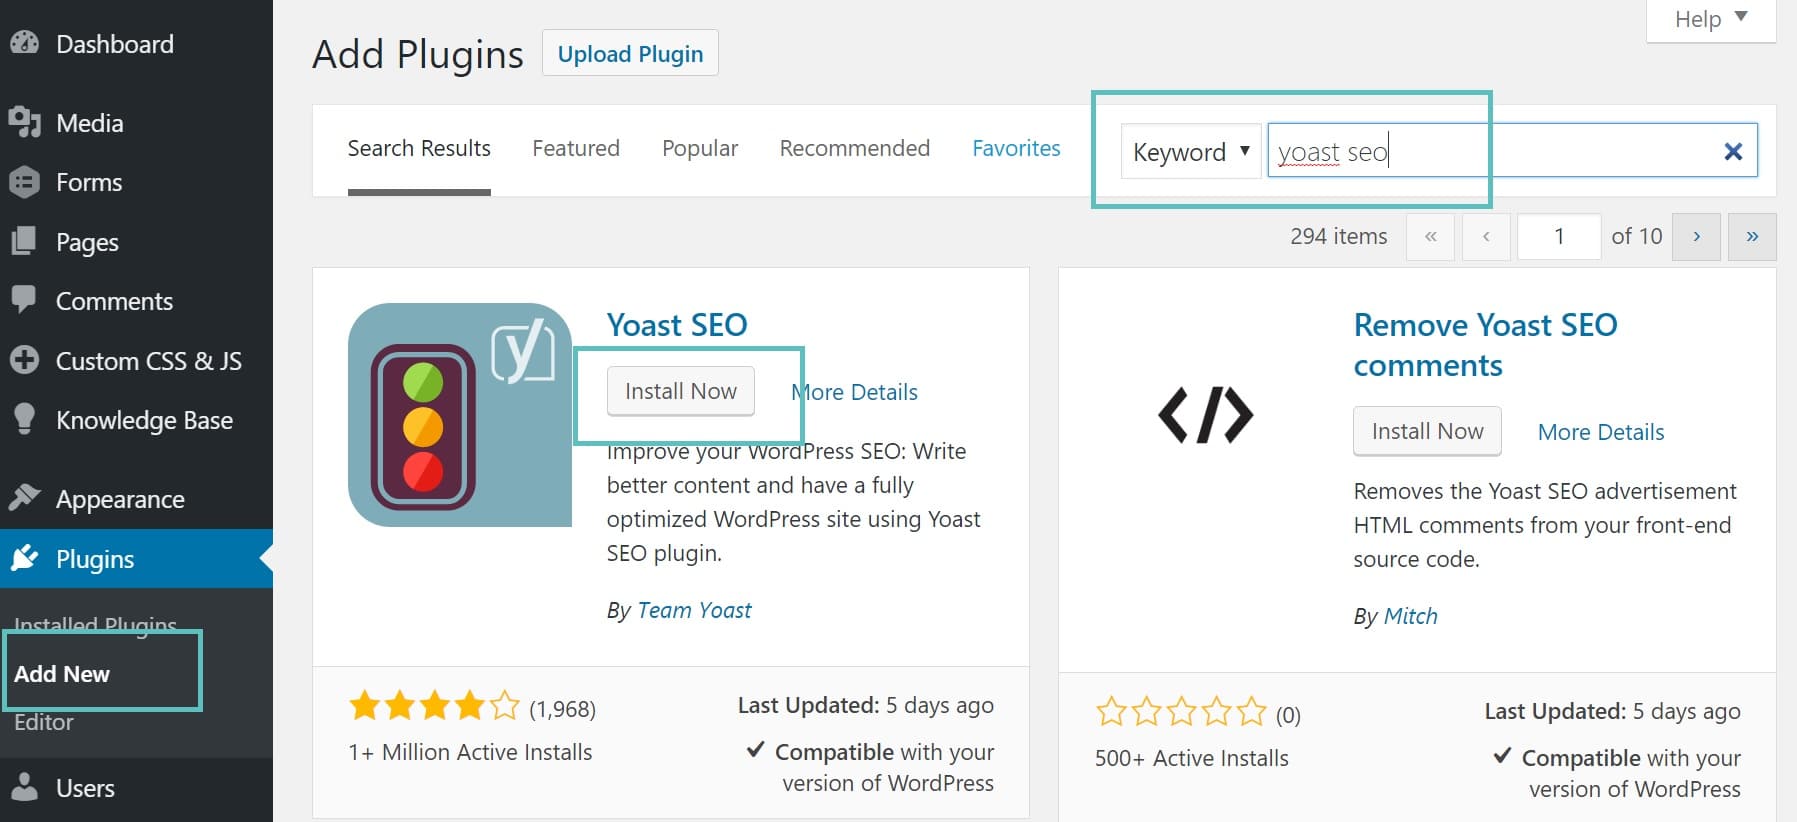
Installing a WordPress plugin from within your dashboard is one of the easiest ways to get a plugin up and running fast. The first thing you do is under the plugins section of your WordPress dashboard click on “Add New.” You can then search for the plugin you want to install. In our example, we type Yoast SEO. You can also browse the featured, popular, and recommended plugins. Then click on “Install Now.”
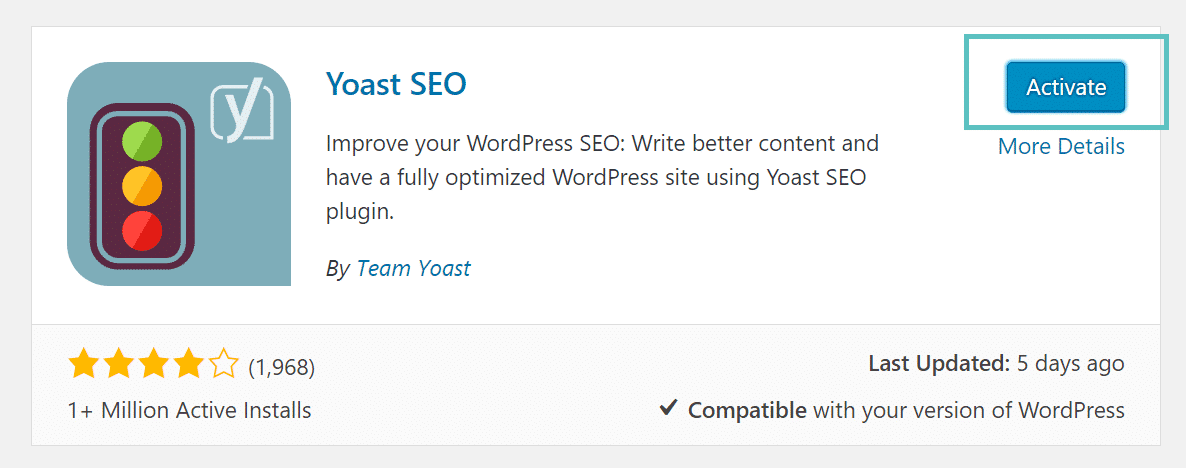
Then click on “Activate.”
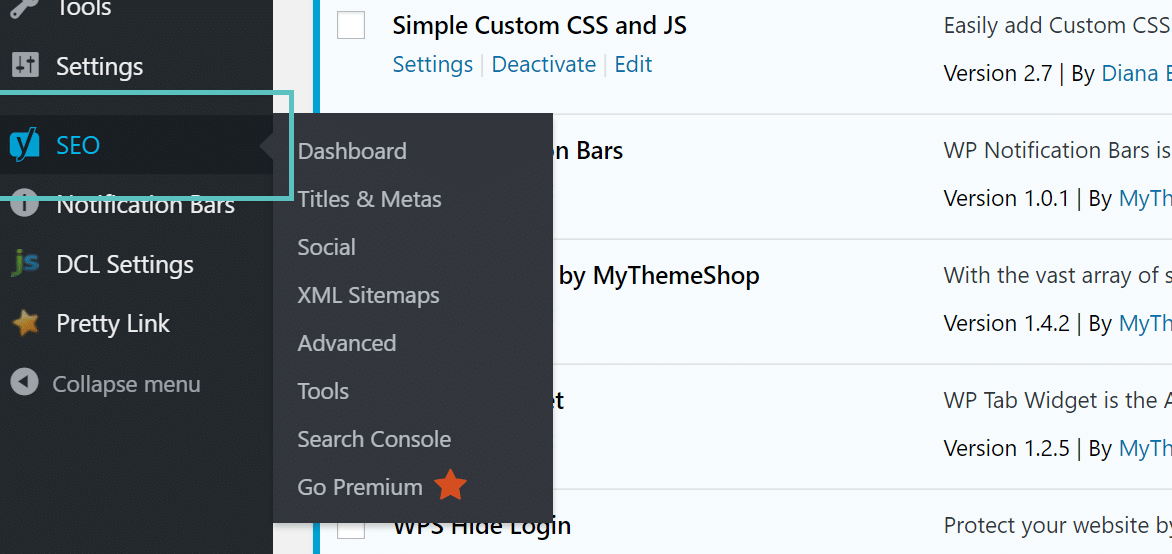
And that is it! Your plugin is now installed, activated, and ready to use. Most plugins, especially the bigger ones will have an options menu that might appear on the left-hand side of your WordPress dashboard. For example, with the Yoast SEO plugin we now have an “SEO” menu in which we can now dig into the settings of the plugin.
After installing plugins, the real work is keeping them updated without breaking your site. Kinsta Automatic Updates handles updates for you, runs visual tests, and rolls back changes if anything goes wrong — so you don’t have to worry about surprises.
2. How to Install WordPress Plugins via SFTP
The 2nd way to install WordPress plugins is to do it manually via SFTP (secure FTP). In this example, we will be using the free Filezilla FTP client to upload the Yoast SEO plugin to our WordPress website. You can see our tutorial here on how to connect via SFTP. Depending upon who you host with the instructions will vary. You can refer to your provider’s documentation on how to connect to your site via SFTP.
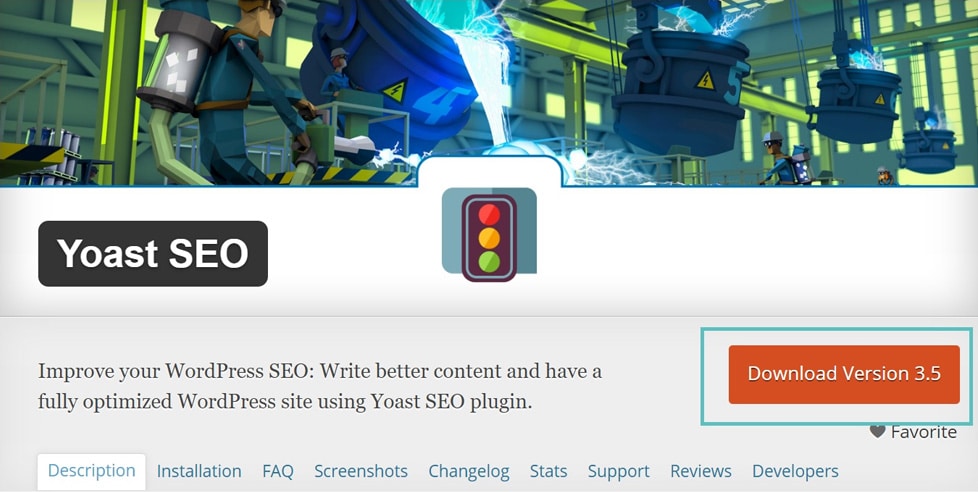
The first step is to go to the WordPress repository and manually download the plugin. You can search for the plugin and then click into it.
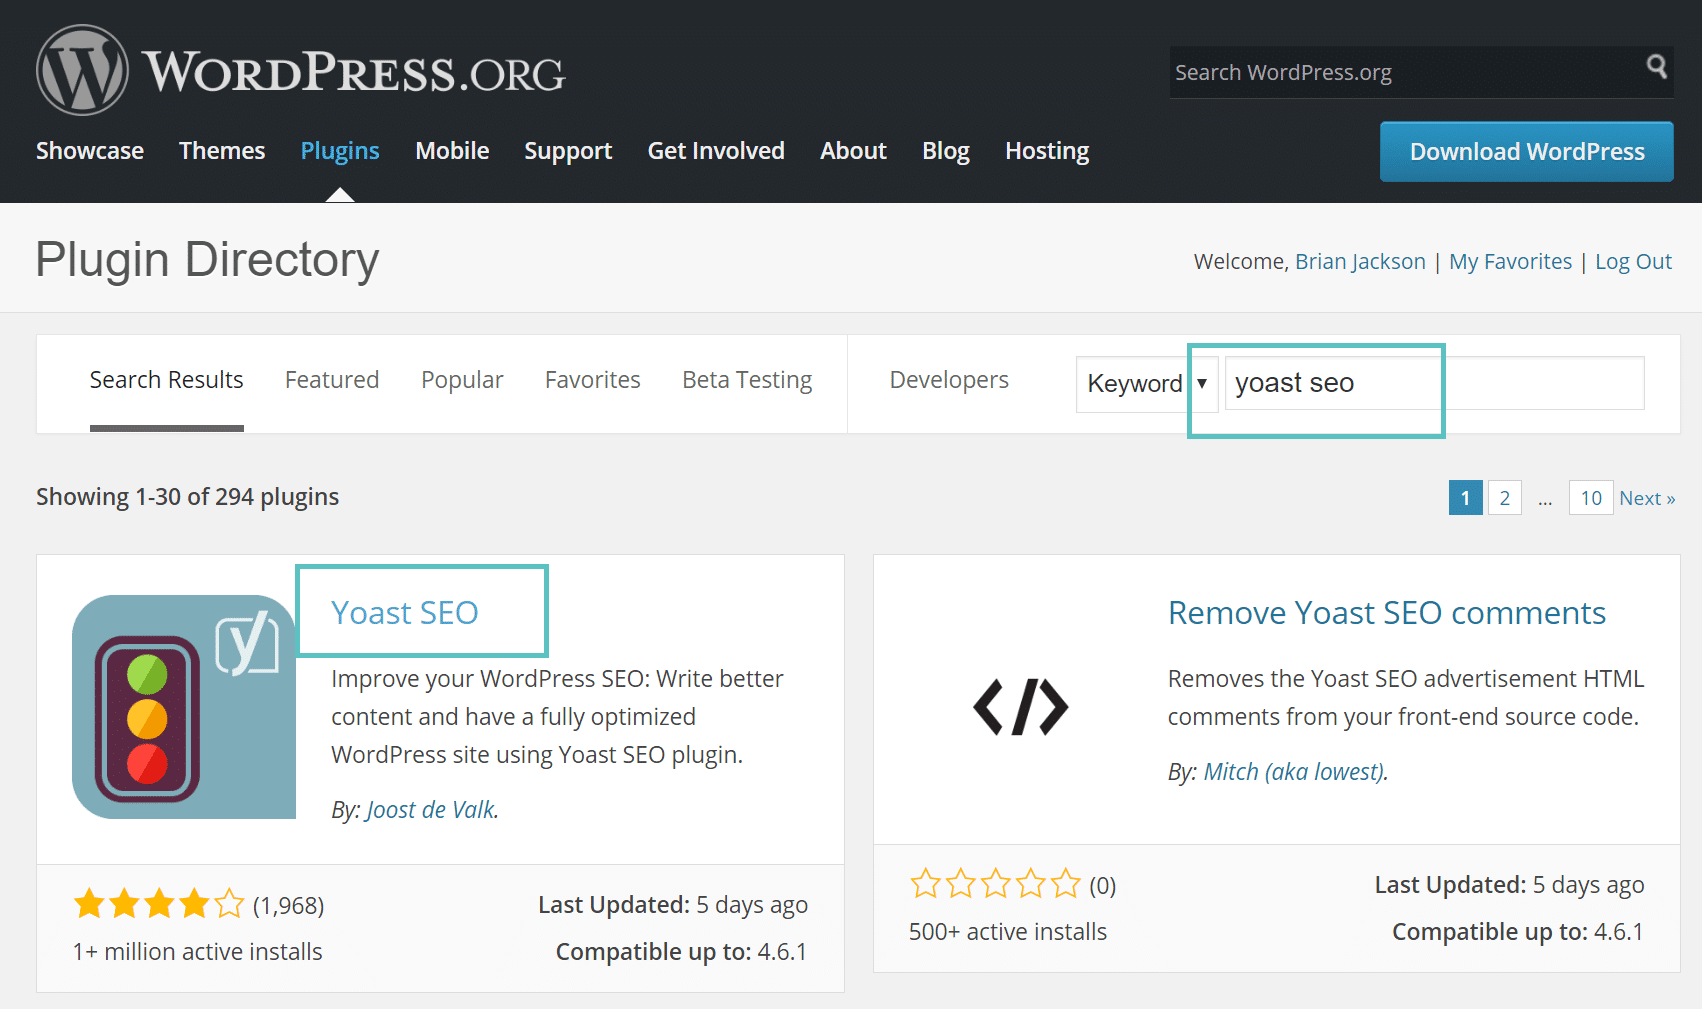
Then click on the “Download Version xx” button. This will download the latest .zip version of the plugin to your computer.
You will then want to unzip the plugin (you can unzip it through SSH as well).

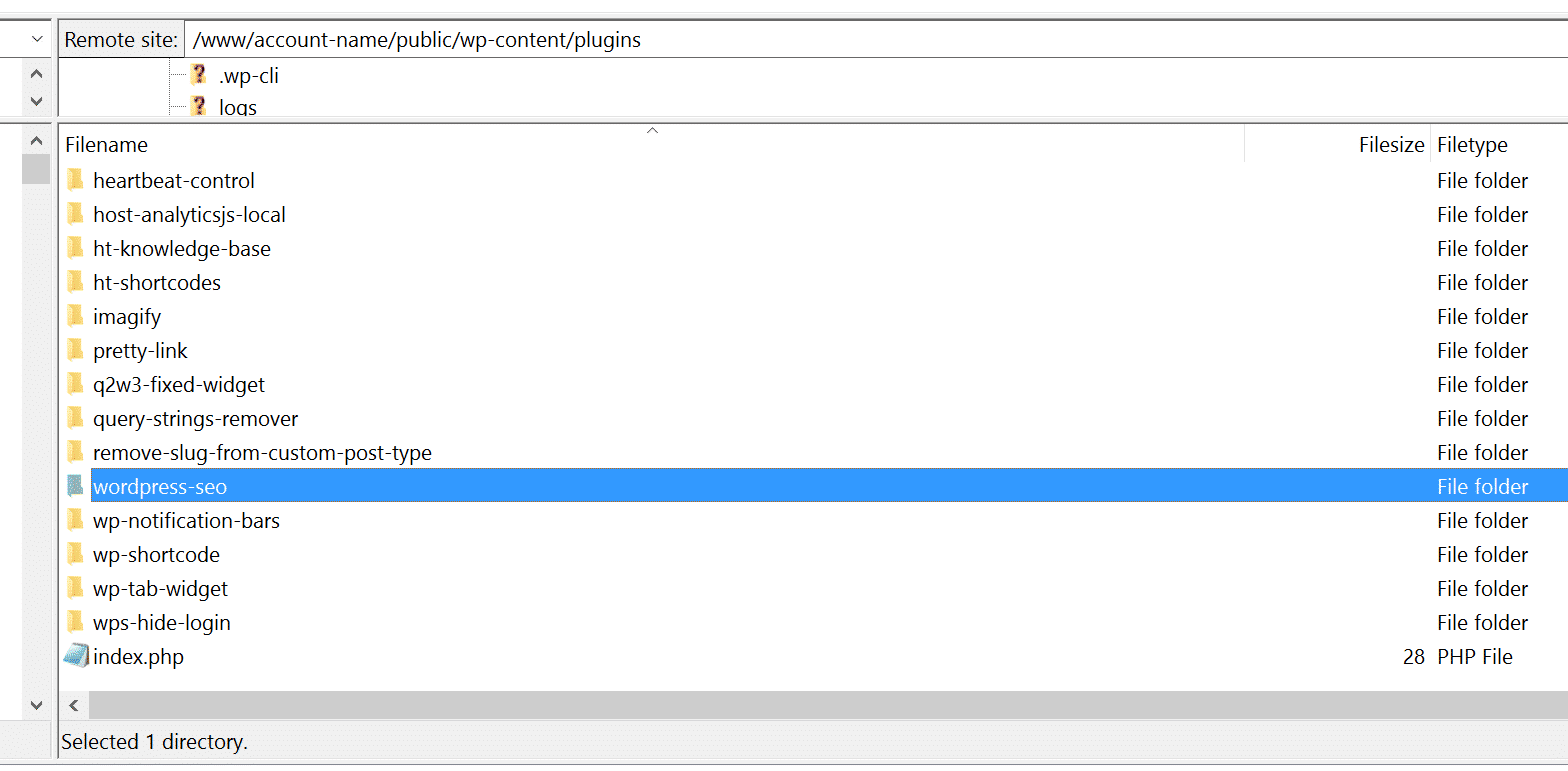
Then via your FTP client, upload the plugin to your /public/wp-content/plugins directory. Note: You will need to grab the plugin folder within the named plugin folder. For example, under the wordpress-seo.3.5 folder there is another folder called wordpress seo. That is the folder you want to move over.
Then to activate the plugin, go to “Installed Plugins” under the plugin section in your WordPress dashboard and click on “Activate” under the plugin you just uploaded via SFTP.

3. How to Install WordPress Plugins via WP-CLI
The third and final way to upload a plugin to WordPress is via WP-CLI, which is a command line tool for managing WordPress. You can check out our more in-depth guide on using WP-CLI to get it installed. Once you launch WP-CLI you can run the following commands to install a plugin. First though, you will need to know the name. The name of the plugin you use for WP-CLI is simply the folder name on the repository or Git. So in this example, it is “wordpress-seo.”

So from the command line, we enter the following:
wp plugin install wordpress-seo

Then we run the following command to activate it.
wp plugin activate wordpress-seo

And that is it! As you can see WP-CLI is pretty fast and once you get used to it, can be a great way to manage your WordPress installations, plugins, and installs. Make sure to also check out the official WP-CLI documentation for additional commands and examples.

Brian has a huge passion for WordPress, has been using it for over a decade, and even develops a couple of premium plugins. Brian enjoys blogging, movies, and hiking. Connect with Brian on Twitter.

