
Having a dependable and fast web server is crucial for delivering content efficiently and promptly. It’s no wonder then why Nginx is one of the most popular web servers currently around. Nginx is an open-source web server and reverse proxy server known for its high performance, stability, and ability to handle a large number of simultaneous connections.
It’s also become an essential tool for web developers and system administrators, as it provides an efficient and scalable solution for serving web content and managing network traffic.
Since Nginx has gained popularity for its performance and flexibility, today we’re guiding you through the process of installing Nginx on Windows, macOS, and Linux.
But first, let’s provide some helpful definitions and background info on this server.
What Is Nginx?

Nginx is an open-source web server and reverse proxy server that was developed by Igor Sysoev in 2004. Nginx became very popular because it is fast, versatile, and can be used as a web server and reverse proxy. This popularity has developed since it was first released.
One of the key design goals of Nginx is to provide high performance and handle a large number of simultaneous connections with minimal resource usage. Nginx achieves this by using an event-driven architecture, which allows it to efficiently manage connections without the need for a large number of dedicated worker processes.
It also serves as an excellent choice for serving static content, such as HTML, CSS, and JavaScript files, as well as images and other media files. Nginx can be used as a load balancer as well, distributing incoming network traffic across multiple backend servers to ensure that no single server becomes overwhelmed.
Lastly, Nginx supports a wide range of protocols, including HTTP, HTTPS, WebSocket, and more. This flexibility allows Nginx to be used in a variety of applications, from serving traditional web content to managing real-time communication between clients and servers.
Who Uses Nginx?
Nginx is a popular choice among a wide range of professionals, including:
- Web developers: Nginx’s high performance and ability to handle large numbers of connections make it an ideal choice for web developers looking to serve static content or build dynamic web applications.
- System administrators: Its flexibility and extensive configuration options make it a powerful tool for system administrators tasked with managing web servers and network traffic.
- DevOps engineers: DevOps professionals use Nginx as part of their toolkit for deploying, scaling, and managing web applications and infrastructure.
In addition to individual professionals, many well-known companies rely on Nginx for their web server and reverse proxy needs, including:
- Netflix: The popular streaming service uses Nginx as part of its content delivery infrastructure, ensuring smooth and reliable streaming for millions of users.
- Cloudflare: The global content delivery network and web security provider uses Nginx to power its infrastructure, providing fast and secure web experiences for its customers.
- Airbnb: The popular home-sharing platform leverages Nginx to serve its web applications, allowing for efficient handling of high-traffic periods and improved performance for users.
- Zappos: The online fashion retailer uses Nginx to power its websites and keep them running fast and reliably.
These are just a few examples of the many companies that trust Nginx to meet their web server and reverse proxy needs, showcasing the versatility and performance of this powerful tool.
Advantages of Using Nginx
There are several key advantages to using Nginx, which contribute to its widespread adoption:
High Performance With Low Resource Consumption
Nginx’s event-driven architecture makes it so it can handle a large number of simultaneous connections with minimal resource usage. This makes it an excellent choice for serving web content on small and large-scale applications.
Scalable and Extensible
It’s also designed to be easily scalable, allowing it to grow alongside your application as your needs change. Nginx supports a wide range of modules, which can be used to extend its functionality and adapt it to specific use cases.
Flexible Configuration Options
Nginx offers extensive configuration options as well, allowing you to fine-tune its behavior and performance to suit your needs. This flexibility makes Nginx a powerful tool for managing web servers and network traffic.
Supports Reverse Proxy and Load Balancing
As we already mentioned, in addition to serving as a web server, Nginx can also function as a reverse proxy and load balancer. It distributes incoming network traffic across multiple backend servers to prevent the overload of any single server.
Strong Community Support and Documentation
Finally, Nginx has a large and active community, which contributes to its ongoing development and provides support to users.
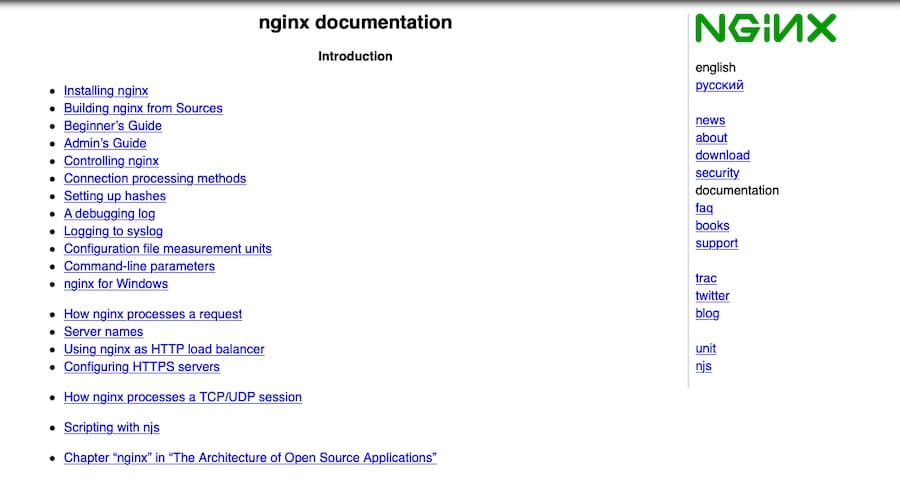
The official Nginx documentation is extensive and well-organized, making it easy to find the information you need to get started and troubleshoot any issues that arise.
Nginx Prerequisites
Before you install and start using Nginx, it’s helpful to have the following knowledge and skills:
- Basic knowledge of networking and web servers: Familiarity with networking concepts and web server technology will help you understand how Nginx works and how to configure it for your specific use case.
- Familiarity with command line/terminal: Many of the tasks related to installing and managing Nginx will require you to use the command line or terminal, so it’s important to feel comfortable navigating and executing commands in these environments.
System Requirements
Likewise, to install and run Nginx, your system should meet the following requirements:
- Supported operating systems: Nginx is available for a variety of operating systems, including Windows, macOS, and Linux. Be sure to use a supported version of your chosen operating system.
- Minimum hardware requirements: While Nginx is known for its low resource consumption, it’s important to ensure your system meets the minimum hardware requirements for running Nginx. At a minimum, you’ll need 512 MB of RAM and 50 MB of free disk space
These requirements may vary depending on your specific use case, so it’s important to consider your application’s needs when determining the appropriate hardware configuration.
Versions
Nginx is available in two primary release channels:
- Nginx stable release: The stable release channel provides a well-tested, production-ready version of Nginx. This version is recommended for most users, as it prioritizes stability and compatibility.
- Nginx mainline release: The mainline release channel includes the latest features and improvements to Nginx but may not have undergone the same level of testing as the stable release. This version is more suitable for users who require cutting-edge features or who want to participate in testing and providing feedback on new developments.
When choosing which version of Nginx to install, consider your specific needs and weigh the benefits of stability versus access to the latest features.
How To Install Nginx
Though the overall installation process is fairly similar across all platforms, we’ve broken up these instructions below to simplify things.
How To Install Nginx on Windows
This section will guide you through the process of installing Nginx on a Windows computer. Simply follow each step to successfully install and run Nginx.
Step 1: Download the Nginx Installer for Windows
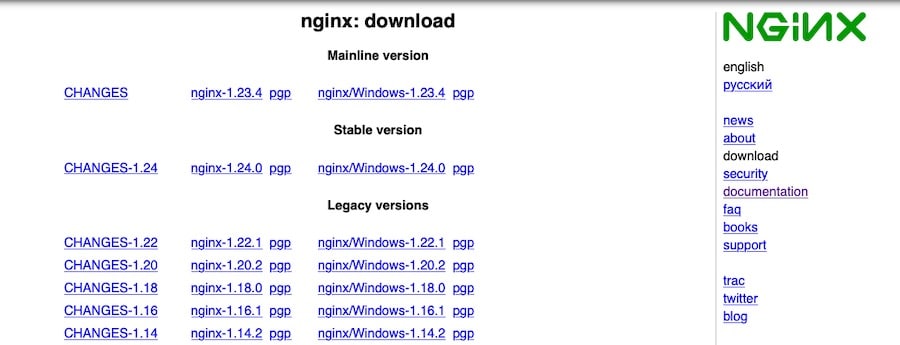
- Visit the Nginx download page.
- Choose either the stable release or the mainline release, depending on your preference for stability or access to the latest features.
- Under the selected release, click on the link for the Windows version to download the Nginx installer.
Step 2: Extract the Nginx Archive
- Locate the downloaded Nginx archive (usually in your Downloads folder), which should be a .zip file.
- Right-click on the archive and select Extract All.
- Choose a location for the extracted files (e.g., C:\nginx), and click Extract.
Step 3: Run Nginx
To open a command prompt with administrator privileges, please follow these steps:
- Click on the Start button.
- Type “cmd” without quotation marks.
- Right-click on the Command Prompt result.
- Select Run as administrator.
Then navigate to the directory where you extracted the Nginx files by entering:
cd C:\nginx(replace C:\nginx with the actual path where you extracted the files).
Finally, start Nginx by running the following command:
start nginxStep 4: Verify the Nginx Installation
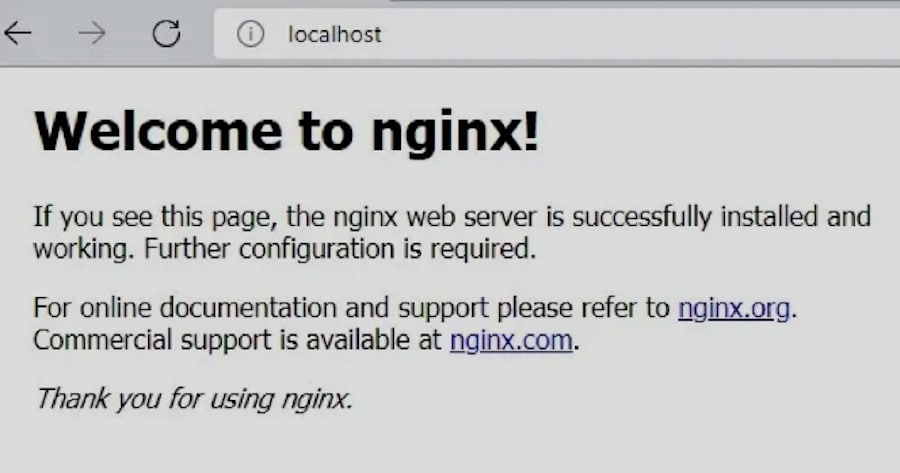
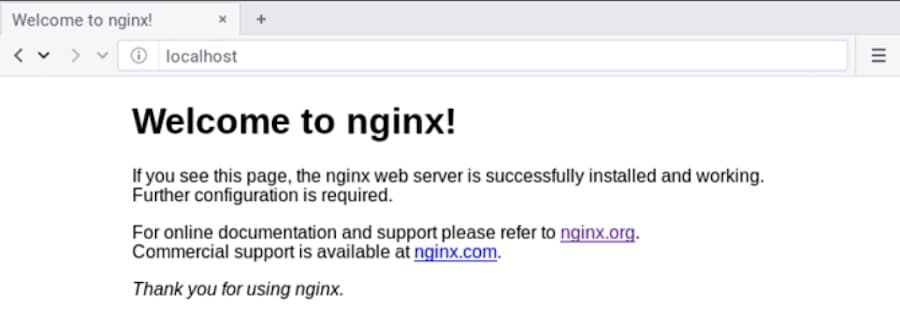
- Open your web browser and navigate to http://localhost.
- You should see the Nginx welcome page, which confirms that the installation was successful.
Step 5: Configure Nginx as a Windows Service (optional)
By default, Nginx does not run as a Windows service, which means it will not automatically start when your computer boots. If you’d like Nginx to run as a Windows service, you can use a third-party tool like NSSM – the Non-Sucking Service Manager.
- Download the NSSM utility and extract it to a folder on your computer.
- Open a command prompt with administrator privileges, as described in Step 3.
- Navigate to the folder where you extracted NSSM by entering cd C:\path\to\nssm (replace C:\path\to\nssm with the actual path).
- Run the following command to install Nginx as a service:
nssm install nginx C:\nginx\nginx.exe(replace C:\nginx\nginx.exe with the actual path to the nginx.exe file).
- Start the Nginx service by running
nssm start nginx.
With Nginx installed on your Windows machine, you’re now ready to start configuring it to serve your web applications and manage network traffic.
How To Install Nginx on macOS
This section will explain how to install Nginx on macOS. We’ll be using Homebrew, a popular package manager for macOS, to simplify the installation process.

If you don’t have Homebrew installed on your system, follow the Homebrew installation instructions before proceeding.
Step 1: Update Homebrew
Before installing Nginx, it’s a good idea to ensure your Homebrew installation is up to date.
Open a terminal window and run the following command:
brew updateThis command will update Homebrew and its package information to the latest versions.
Step 2: Install Nginx
To install Nginx using Homebrew, run the following command in your terminal:
brew install nginxHomebrew will download and install the latest stable version of Nginx, along with any required dependencies.
Step 3: Start Nginx
Once the installation is complete, you can start the Nginx server using the following command:
brew services start nginxThis command will start Nginx and configure it to run as a background service, automatically starting when your system boots.
Step 4: Verify the Nginx Installation
To verify that Nginx is running, open your web browser and navigate to http://localhost:8080. You should see the Nginx welcome page, indicating that the installation was successful.
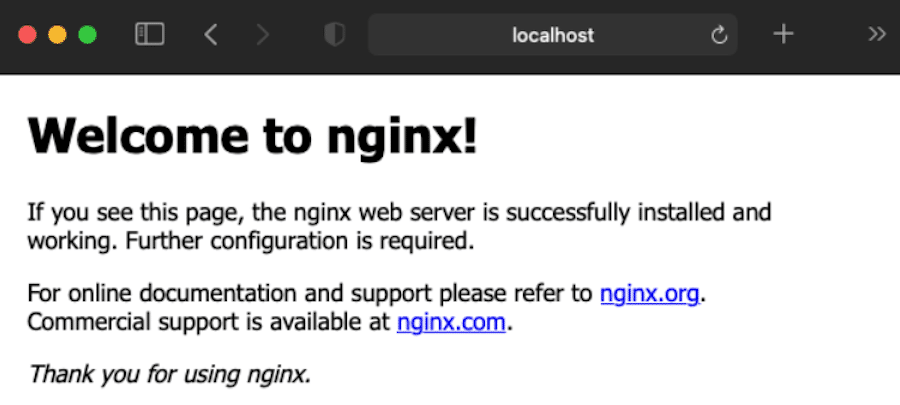
Note: By default, Nginx on macOS listens on port 8080, unlike the standard port 80 used by most web servers. You can change this by editing the Nginx configuration file located at /usr/local/etc/nginx/nginx.conf.
And that’s it! You’re now ready to start using Nginx.
How To Install Nginx on Linux
We’ll now walk you through the process of installing Nginx on a Linux machine. The specific steps may vary depending on your Linux distribution, but we’ll cover the most common distributions: Ubuntu, Debian, CentOS, and Fedora.
Ubuntu and Debian
CentOS and Fedora
Ubuntu and Debian
Step 1: Update Package Lists
Before installing Nginx, update the package lists for upgrades and new package installations. Open a terminal and run the following command:
sudo apt updateStep 2: Install Nginx
To install Nginx on Ubuntu or Debian, run the following command:
sudo apt install nginxThis command will install the latest stable version of Nginx from the default package repository.
Step 3: Start Nginx
After the installation is complete, start the Nginx service and enable it to start automatically at boot using the following commands:
sudo systemctl start nginx sudo systemctl enable nginxCentOS and Fedora
Step 1: Add the EPEL Repository (CentOS only)
For CentOS users, you’ll need to enable the EPEL (Extra Packages for Enterprise Linux) repository, which provides additional packages not included in the default CentOS repositories. To enable EPEL, run the following command:
sudo yum install epel-releaseStep 2: Install Nginx
To install Nginx on CentOS or Fedora, run the following command:
sudo yum install nginxThis command will install the latest stable version of Nginx from the package repository.
Step 3: Start Nginx
After the installation is complete, start the Nginx service and enable it to start automatically at boot using the following commands:
sudo systemctl start nginx sudo systemctl enable nginxStep 4: Verify the Nginx Installation (all distributions)
To verify that Nginx is running, open your web browser and navigate to http://localhost (or the IP address of your Linux machine if accessing remotely). You should see the Nginx welcome page, indicating that the installation was successful.
And with that, you’ve completed the Nginx installation process on Linux.
Summary
Today, we’ve covered the process of installing Nginx on Windows, macOS, and Linux operating systems. By following the steps outlined for your specific platform, you should now have a working Nginx installation ready to handle your web server and reverse proxy tasks.
We encourage you to start using Nginx for your web applications, as it offers excellent performance, scalability, and flexibility. As you continue to work with Nginx, you’ll find a wealth of resources available online to help you learn more and troubleshoot any issues you may encounter. The official Nginx documentation is a great place to start, as well as various community forums and blogs.
Finally, if you’re looking for a reliable hosting solution for your Nginx-powered applications, we recommend Kinsta Application Hosting. Kinsta provides a high-performance, managed hosting environment optimized for Nginx, ensuring your applications run smoothly and securely.
With your new Nginx installation in place, you’re on your way to building and managing powerful web applications and services.


