WordPress security keys are encryption protocols that protect your login credentials. They make it harder for hackers to gain access to your site. Although you can make your site more secure by changing these security keys regularly, it might seem tricky to do.
Fortunately, there are three straightforward ways that you can change your WordPress security keys. Better yet, there’s a method for every user level, from WordPress beginner to complete expert. By following this tutorial, you can make your site more resilient against security threats.
In this post, we’ll take a closer look at WordPress security keys. We’ll also discuss why you might want to update your security keys and show you three easy ways to do it. Let’s get started!
Check Out Our Video Guide On How To Change Your WordPress Security Keys
An Introduction to WordPress Security Keys
WordPress security keys are encryption tools that protect your login information. They work by locking and unlocking your passwords and other details. This way, your information is difficult for hackers to decode, helping you prevent fraud and other scams on your site.
When you log in to your WordPress site, cookies store your login information on your computer. This is why you don’t need to log in every time you reload the page or revisit your site.
All this information is stored in an encrypted form (generated by WordPress) using random strings of characters. As a result, your credentials are impossible to distinguish from characters, making them hard to steal.
The keys are automatically generated by WordPress and stored in your wp-config.php file. There are four security keys in total:
- AUTH_KEY
- SECURE_AUTH_KEY
- LOGGED_IN_KEY
- NONE_KEY
Each security key has a corresponding WordPress salt. Salts are cryptographic tools that help secure information in your cookies. Like keys, salts are also stored in the wp-config.php file:
- AUTH_SALT
- SECURE_AUTH_SALT
- LOGGED_IN_SALT
- NONE_SALT
Together, WordPress security keys and salts store your information securely and authenticate passwords on your site.
The Difference Between WordPress Security Keys and Salts
WordPress security keys are almost equivalent to passwords. They can encrypt a message using alpha-numeric and special characters. Then, you use the same key to de-encrypt the information back to plain text.
A salt is added to the encryption to make the password more difficult to reverse engineer. Therefore, they provide an extra layer of security.
Overall, salts and WordPress security keys are similar since both protocols make your website less vulnerable to security threats. It isn’t uncommon for WordPress sites to get hacked, especially using regular passwords with medium-level difficulty. However, a random string of characters is almost impossible to crack.
When To Change Your WordPress Security Keys
Since WordPress security keys are generated by WordPress, you don’t typically need to worry about them. However, there are some scenarios where it makes sense to change your security keys:
- A malicious actor may have viewed or accessed your site’s wp-config.php file (including a local backup).
- Your site has been infected by malware.
- You prefer regularly changing your passwords to make it harder for hackers to break into your site. You may choose to do this every six months or so.
If you find malware on your website, the first step is to scan your site to clear out the malware. However, ideally, you’d have a tool that detects and resolves issues before they become too problematic.
Kinsta APM is a performance monitoring tool designed explicitly for WordPress. It enables you to identify any issues on your site and get them fixed quickly:
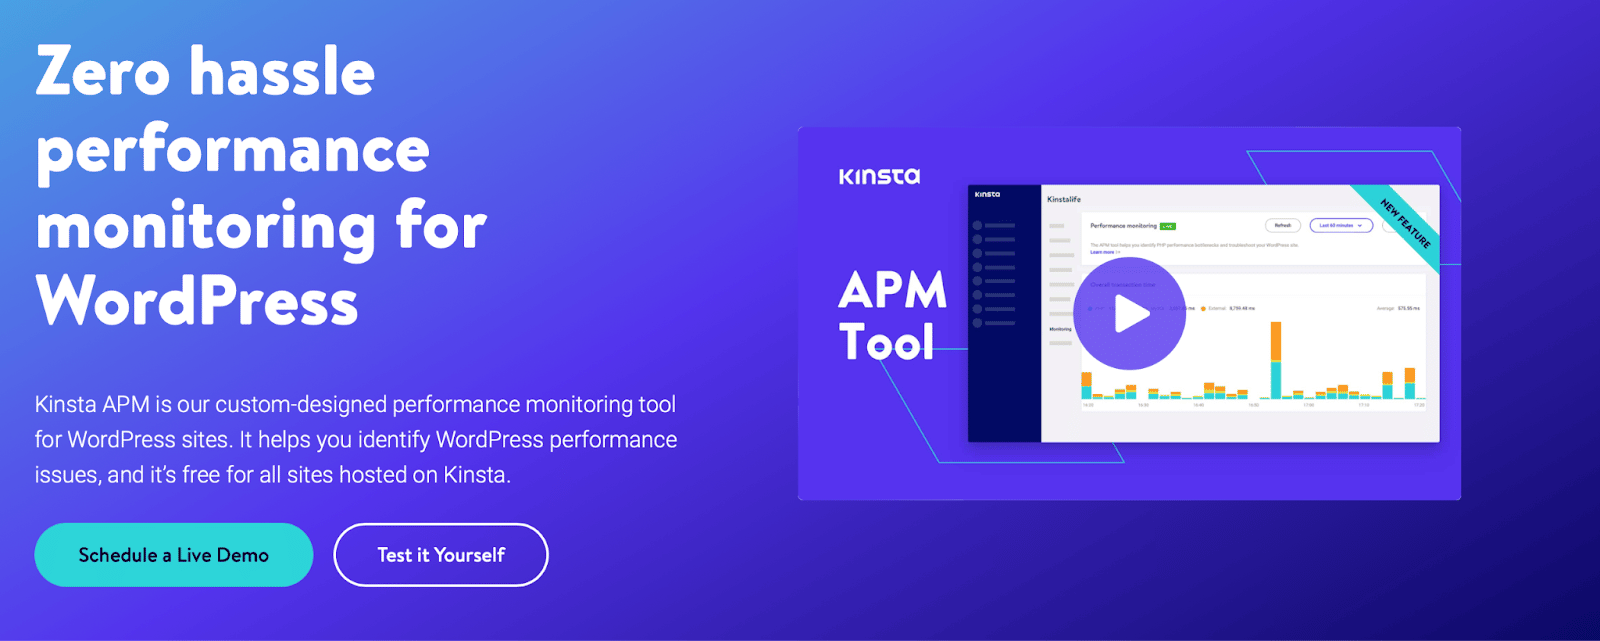
For instance, you will get time-stamped information about issues such as long API calls, slow database queries, and non-optimized code. Better yet, Kinsta APM comes free with all of our hosting plans.
How To Change WordPress Security Keys (3 Methods)
Now that you know more about WordPress security keys let’s look at three simple ways to change them!
1. Use a Dedicated Plugin
The easiest way to change your WordPress security keys is to use a quality plugin. The Salt Shaker plugin was designed for this exact purpose:

What’s more, you can use Salt Shaker to set up automated schedules for key and salt changes. Plus, you can easily set and forget passwords, knowing that the tool will take care of the rest.
To get started, all you need to do is install and activate the plugin in WordPress. Then, navigate to Tools > Salt Shaker:
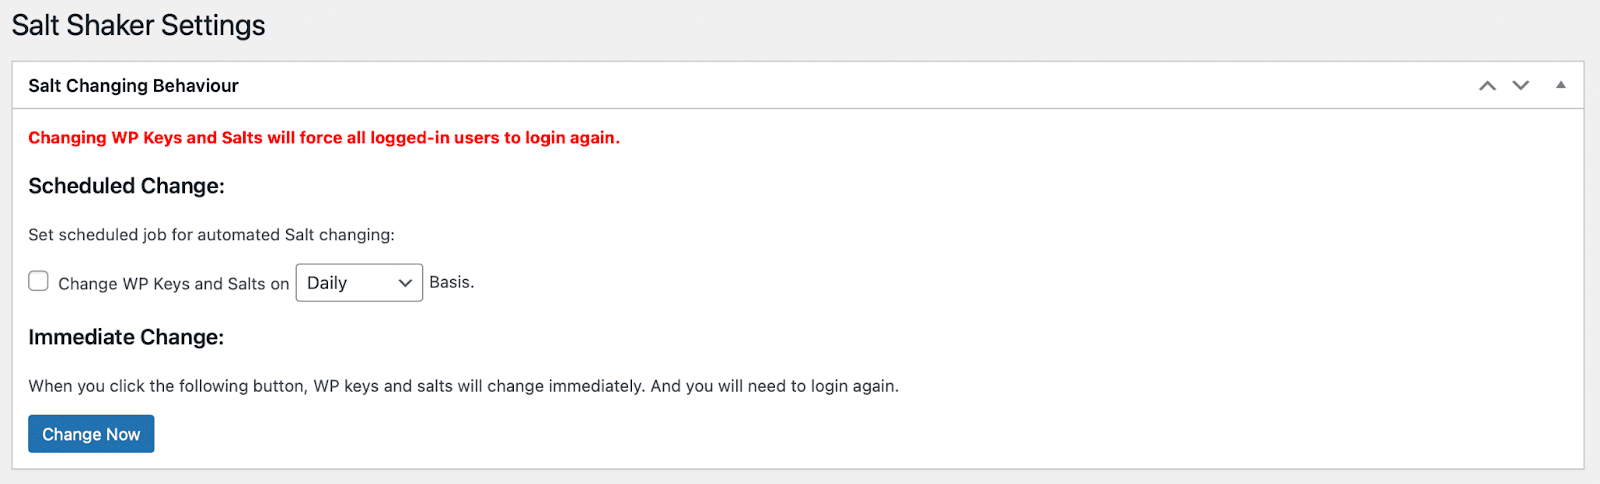
Here, you can set a schedule to change your security keys and salts regularly. You can also click on Change Now to update the values instantly.
2. Utilize a General Security Plugin
Security plugins are helpful since they typically automate many security tasks, such as backups and updates. Meanwhile, depending on your provider, you can generally benefit from additional security measures such as firewalls and malware scans.
Sucuri Security is an excellent choice, specializing in WordPress security. It’s free to use and offers a set of security features, including remote malware scanning, security activity auditing, and post-hack security actions:
Another great option is Wordfence Security which has over four million installations and specializes in firewall and malware scanning. If you’re unsure which WordPress security plugin to use, you can check out our post: Sucuri vs. Wordfence.
We’re going to show you how to change your WordPress security keys using Sucuri. First, install and activate the plugin. Then, head to Sucuri Security > Settings and switch to the Post-Hack tab:
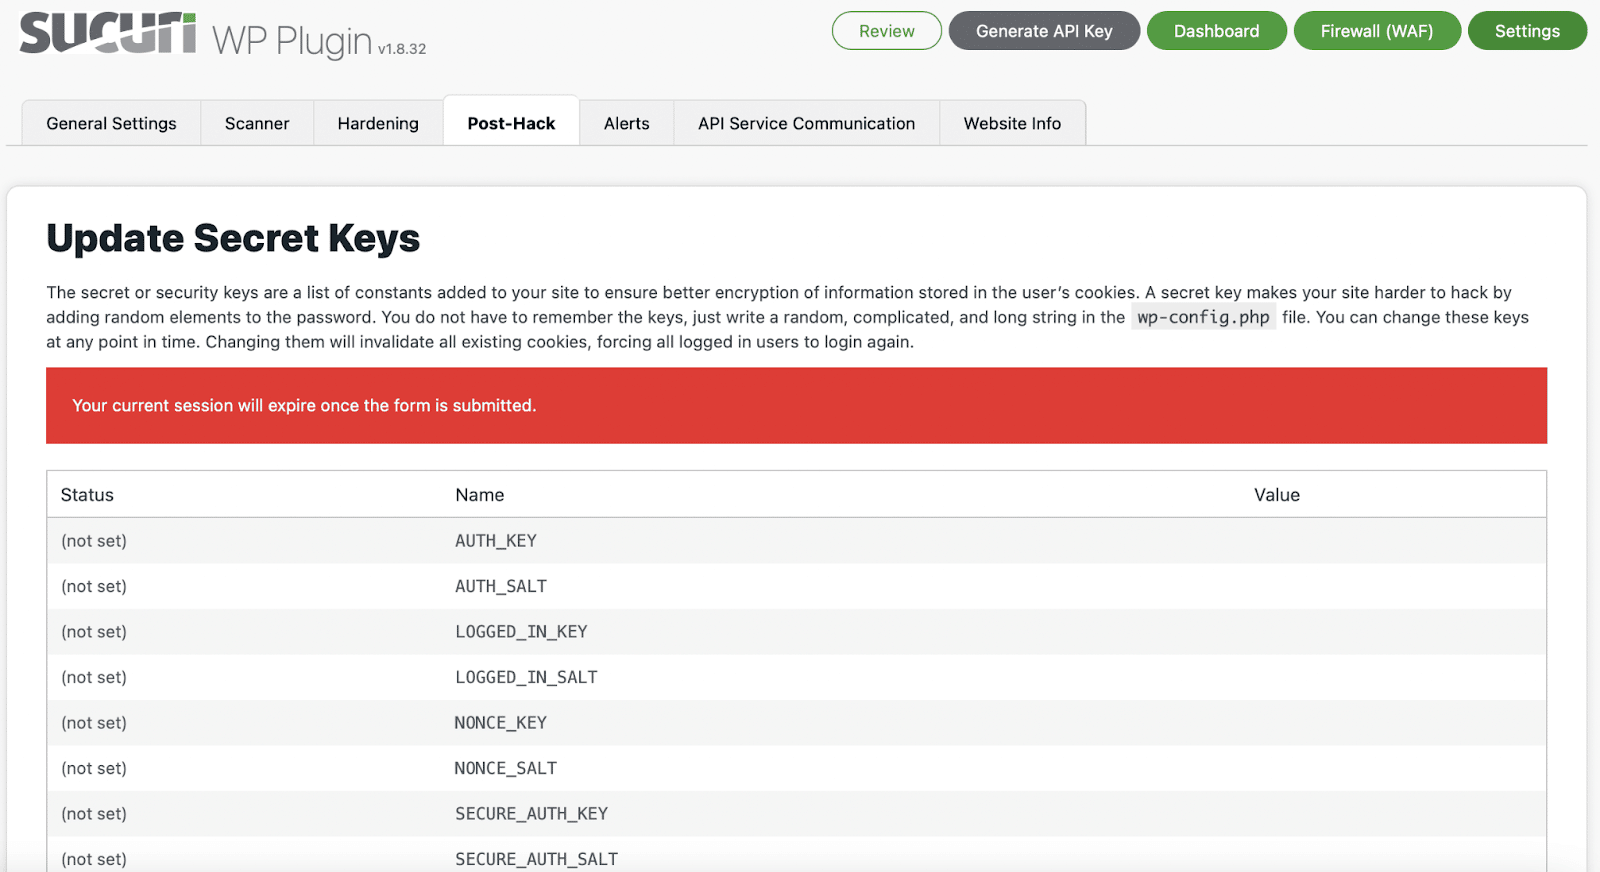
Next, scroll down and click on Generate New Security Keys:
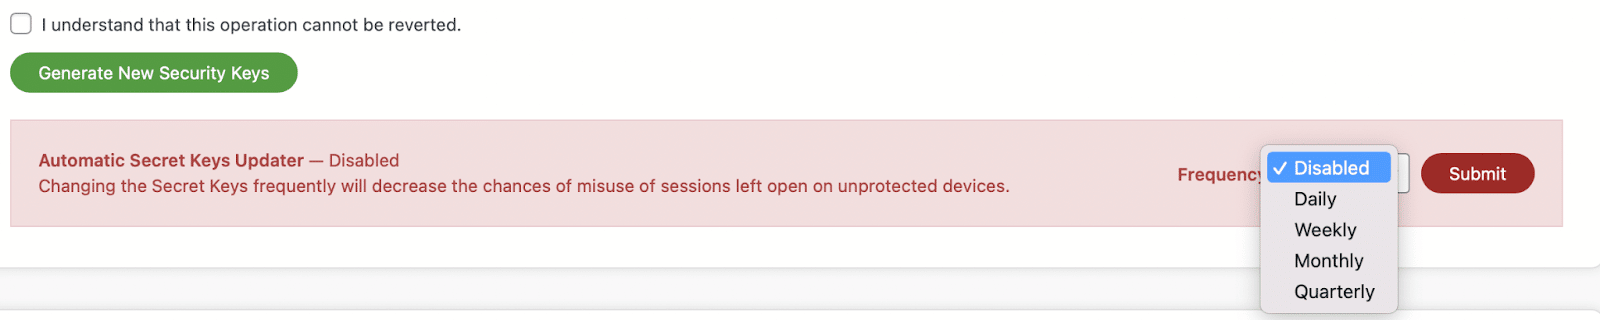
You can also set a schedule to update your keys. Simply use the dropdown menu to select the most appropriate timeframe for your website. Then, hit Submit
3. Change your WordPress Security Keys Manually
Changing your security keys manually is possible. However, it requires accessing your site files. Since you’ll need to edit an important core file, it’s important to feel confident doing so. The two previous methods might be more suitable if you’re a beginner.
To use this method, you’ll need to get new security key and salt values from the WordPress secret key generator:

Then, back up your website in case anything goes wrong. It can also be useful to set up a staging environment. You can do this with our premium staging environments add-on. This essentially creates a replica of your site where you can test out new software and run updates safely without worrying about breaking your site.
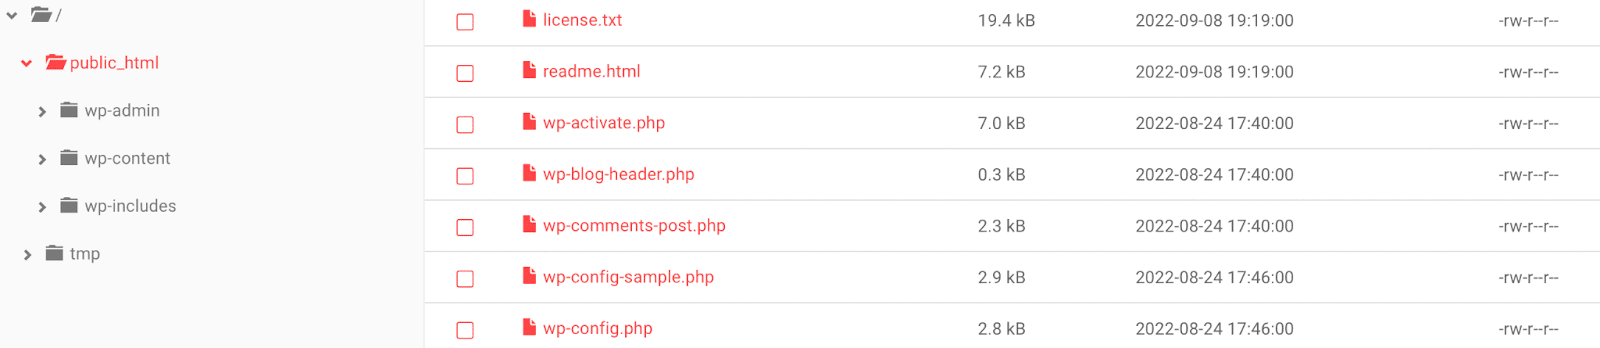
Next, you need to find and edit the wp-config.php file. You can download the file via FTP to edit and re-upload the file to WordPress. Alternatively, you can use File Manager to edit the file directly.
You can find the file in your public_html folder. At the bottom of the screenshot, you can see wp-config.php:
Open the file and scroll down until you see Authentication Unique Keys and Salts:
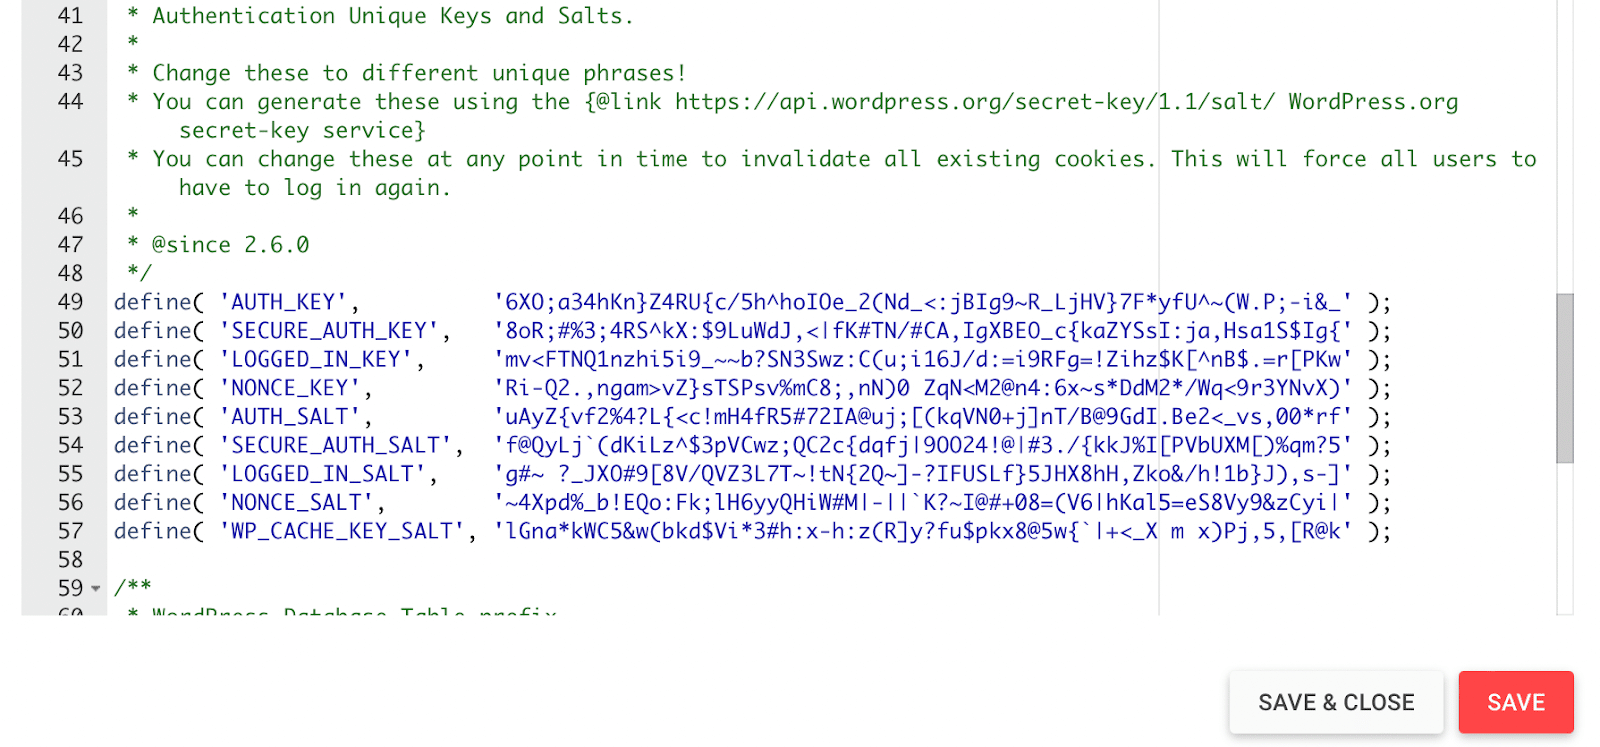
Then, simply replace the salts and keys with the new codes generated by WordPress. All logged-in users will have to log back into your site once this has been done. However, their usernames and passwords will remain the same.
When you’re finished, hit Save. There’s no need to write down these new values since you won’t need to know them again.
6 Other Ways to Protect Your WordPress Logins
While changing your WordPress security keys is a great way to boost security on your site, there are other ways to protect your login information. Here are six of our essential tips!
1. Encourage Strong, Unique Passwords
It’s all well and good setting up your own secure password. However, it’s also essential to ensure your other site users abide by the same standards.
In fact, only 4 percent of people use a password generator to create corporate passwords, with 76% of people choosing passwords for themselves.
This can result in weak, reused passwords that are easy to guess. Even today, the most common passwords found in leaks are “password” and “123456.” Therefore, consider creating unique, strong passwords to secure your website.
If you don’t use a password manager, bear in mind that the most secure passwords consist of lowercase and uppercase letters. Additionally, consider using special characters and numbers, and aim to make passwords as long as possible. We recommend steering clear of dictionary words or passwords that you’ve used before.
2. Use Two-Factor Authentication
Two-factor authentication requires two authentication methods to access your site. Typically, the first key is a password (as you’d normally use), and the second might be a real-time code sent via message or email. Since bots can’t create the second key, using two-factor authentication is a great way to improve cloud security.
You can set this authentication method up on your site using a plugin such as WP 2FA:
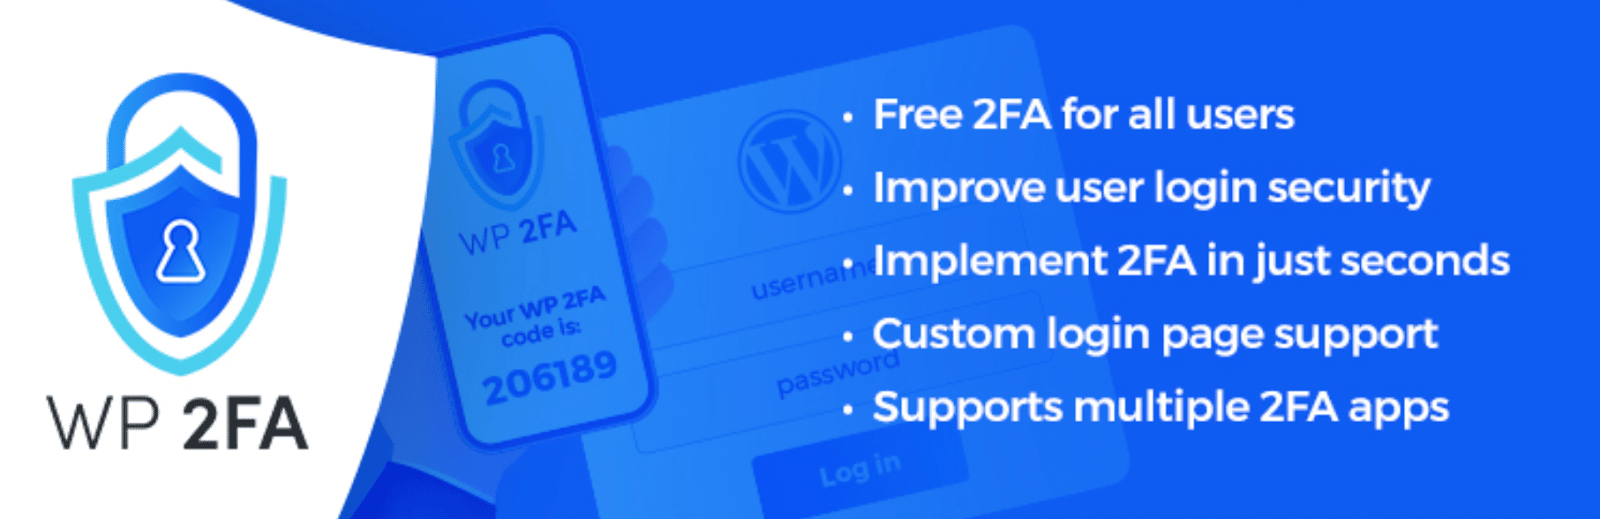
WP 2FA is a flexible tool that supports multiple authentication methods such as email OTP, email links, push notifications, voice authentication, Whatsapp, and more. With a simple installation process, you can instantly enable this functionality on your site, whether you run a WooCommerce store or even a membership website.
3. Limit Login Attempts
Even if hackers don’t know your passwords, they might use known password and username combinations to gain access to your website. These threats are known as brute force attacks, and they’re becoming more popular.
Therefore, installing a plugin that limits login attempts is a good idea. Limit Login Attempts Reloaded is an excellent option:
This plugin can prevent brute force attacks and optimize your site performance by limiting login attempts across WordPress, WooCommerce, and custom login pages. For extra peace of mind, you can also change your WordPress login page to make it more difficult for hackers to take control of your site.
4. Enable Auto-Logouts
Depending on your settings, WordPress will automatically log users out of your site after a certain period (usually between 48 hours and 14 days). However, if you leave your session open in a tab, hackers can take hold of your site through the cookies in your browser.
That’s why it can be helpful to install a plugin that will log users out of your site after a set amount of time. Inactive Logout automatically terminates idle user sessions:
You can determine the idle timeout time and enable a countdown of ten seconds to alert users to the logout. You can also create a custom popup message to notify users or redirect them to a timeout page. Better yet, the plugin provides a simple user interface (UI) and is quick and easy to set up.
5. Review User Roles
It’s important to ensure that your website’s users have the correct privileges. For instance, there may be times when you upgrade an Editor to an Administrator role for a specific purpose. However, if you forget to rescind this privilege, your site is more vulnerable to attacks since a hacker can access everything by breaking into the Administrator account.
Therefore, we recommend revoking permissions once tasks are completed. It can also be a good idea to review your user roles regularly and verify that users have the appropriate access levels. If you find that some users have undue privileges, you can easily change them by going to Users in your WordPress dashboard.
6. Disable XML-RPC
XML-RPC is a WordPress feature that lets you publish content remotely. While it is a secure feature, it can also be used by hackers to brute force access to your site.
Therefore, if you don’t need the feature, it’s best to disable XML-RPC to make your site more secure. You can do this with a plugin or by editing your .htaccess file.
Summary
Changing your WordPress security keys is a great way to protect your login details. Fortunately, it’s easy to do so by using a plugin or tweaking your site files. Then, you can make it near impossible for hackers to access your website.
The easiest way to change your security keys is with a dedicated plugin like Salt Shaker. However, you can also utilize a general security plugin like Sucuri. This tool includes other useful features, such as malware scanning and firewalls. Lastly, you can also change your keys manually by editing your wp-config.php file.
You can also improve your website’s security by choosing secure WordPress hosting. At Kinsta, we use two powerful firewalls to protect your site. Plus, we provide free SSH access, one-click SSL certificate installation, and a dedicated malware team. Check out our plans today to get started!

Head of Content at Kinsta and Content Marketing Consultant for WordPress plugin developers. Connect with Matteo on Twitter.