Web development is intrinsically related to collaboration. Most of the time you’ll be working with other developers, and even if you don’t, Git can help you in many other ways.
Git is the software that controls the version of the applications we make. It’s used by solo developers, big companies, and even Linux, the biggest open source project in the world.
As a web developer, it’s extremely important to know how to use Git for web development properly. We’re not just talking about “git add”, “git commit”, and “git push”. You should know the whole workflow of creating a web project with Git.
Not convinced yet? Let’s start!
Why Use Git?
These are just some of the reasons to start using Git:
- Organization: Instead of managing your project in folders like v1, v2, v3, etc, you have one project with a special database that stores all the versions of the files
- Collaboration: Git lets you and other people work on the same project at the same time without creating conflicts.
- Open-source: Git is open-source, but it’s also the tool we use to collaborate and create great open-source software. Anyone can make pull requests to open-source projects on platforms like GitHub or Bitbucket.
- Platform flexibility: Nowadays, you have many different Git hosting services to choose from, such as Gitlab, GitHub, Bitbucket, and SourceForge. You can even use a self-hosted solution for all your projects.
- Easy backups: Undo mistakes with ease, and never lose your project codebase.
We’ve mentioned the term GitHub once or twice now, so what’s the difference between Git and GitHub?
This may confuse you if you’re totally new to Git. To put it in simple words, Git and GitHub are related yet different tools.
Git is the version control system (VCS) we use to keep control of the changes of our files, while GitHub is a service we use to store our project files and their Git history online (located in the .git/ folder of your project).
Git is installed locally, on your machine, and without hosting services like GitHub or GitLab, it would be very difficult to collaborate with other developers.
GitHub supercharges Git by adding other features that improve collaboration, like cloning, forking, and merging. Together, these two tools combine to bring you a relatively friendly ecosystem to develop, manage, and show your project to other people.
Basic Git for Web Development Workflow
In the next sections, you’ll learn more about Git workflow for web development through hands-on practice.
Installation Requirements
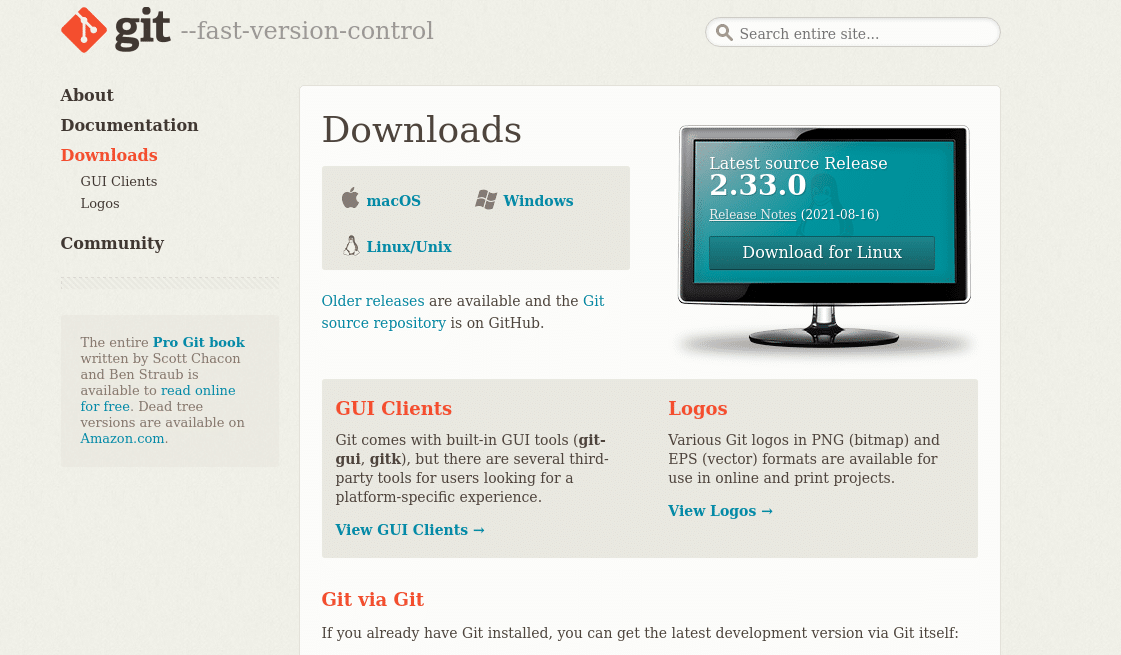
If you’ve not installed Git yet, this is a perfect time. It’s easy to install and available on most operating systems.
Download it from the official downloads page, or install it with a package manager if you’re using Linux or macOS:
To test that everything went fine with the installation, fire up a terminal on Linux or macOS by searching for “Terminal” in your applications menu, or by opening Git bash on Windows (which comes installed with Git by default).
Then type:
git --version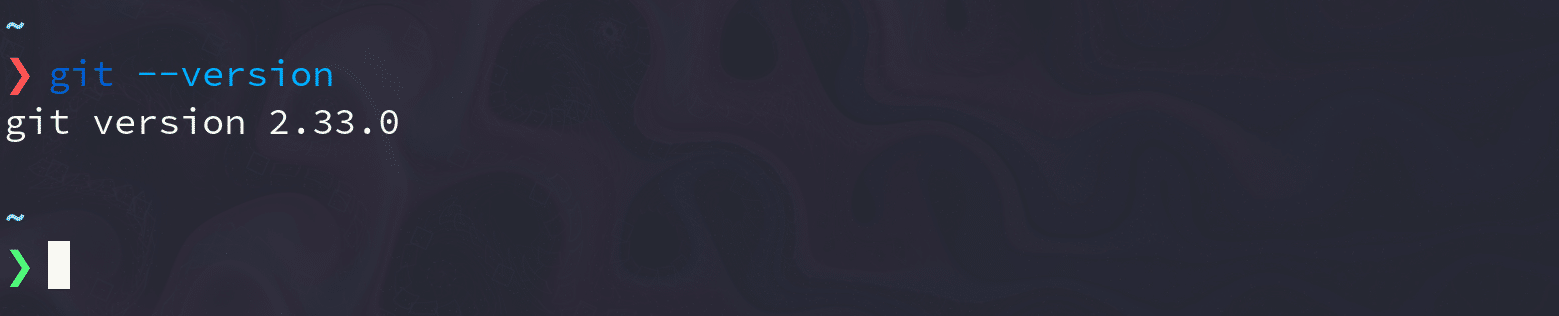
If you get a Git version as a response, you’re good to go.
We’ll also need a GitHub account, so make sure to sign up or log in to GitHub:
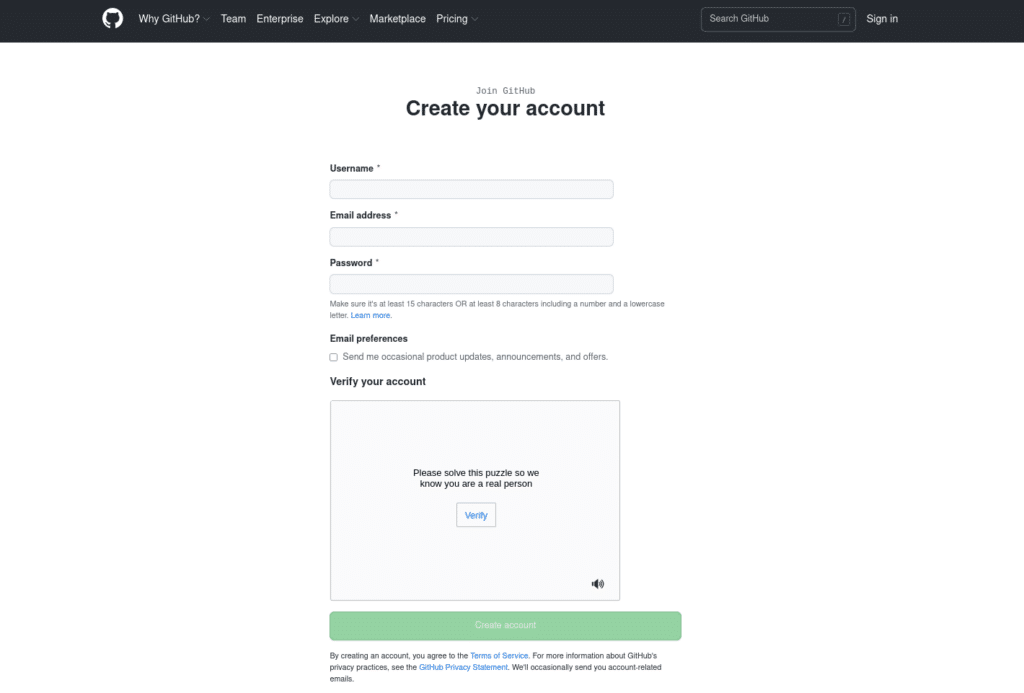
Once you have Git installed and have logged into your GitHub account, you can move on to the next section.
Basic Git Workflow for Collaborative Projects
As mentioned earlier, most of the time you won’t be developing solo projects. Collaborating is a key skill, and Git and GitHub help us to make it a simple yet effective process.
The typical workflow of a Git project looks like this:
- Get a local copy of the project by cloning a repository, or repo. If you’re collaborating, you should fork the repo first.
- Create a branch with a representative name of the feature you’ll be working on.
- Edit the project.
- Commit the changes to your local machine.
- Push the changes to the remote repo.
- Create a pull request to the original repo.
- Merge and solve conflicts in the main branch of the original repo.
Tutorial
Now it’s time to get our hands dirty!
In this guide, you’re going to create a simple HTML website. For practical purposes, you’ll fork the base project from the HTML site repository to your GitHub account. This can be done for all public available repositories.
To fork the HTML site, go to this GitHub repository and click on the Fork button located at the top right of the page:
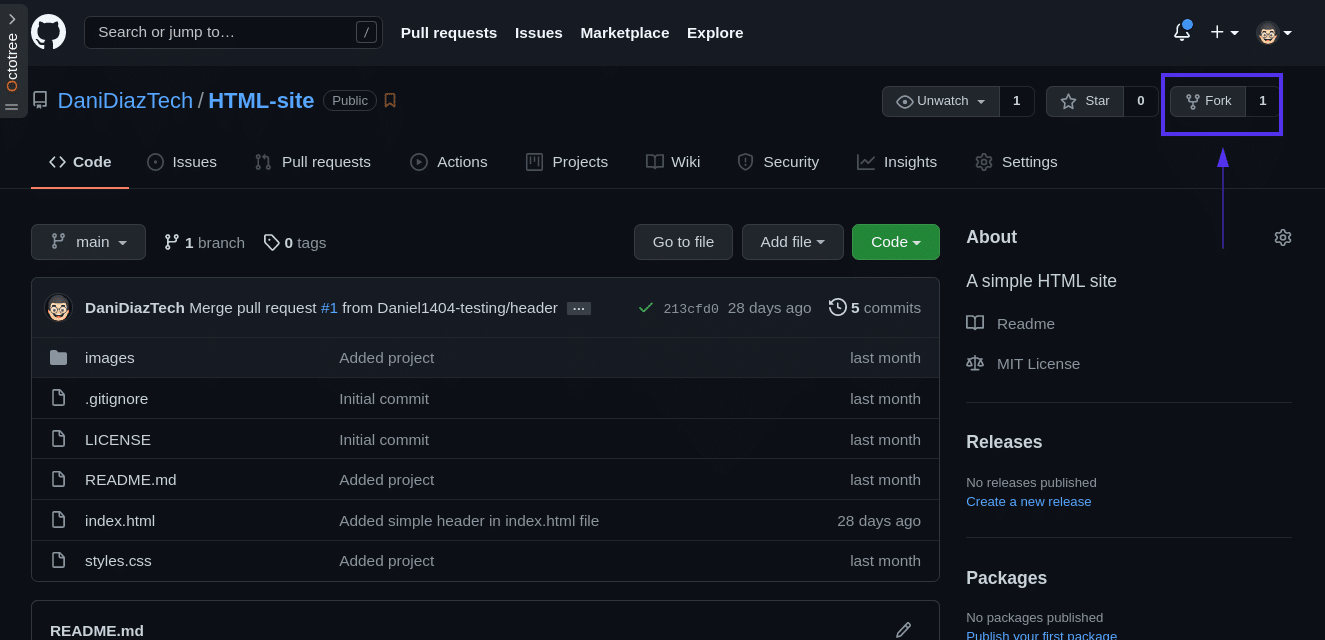
Now you have a fork of the original repo that’s only available on your GitHub account. It’s the exact same repo — until you start to commit changes.
As you can see, forking a public repo takes just a couple of seconds. This is great for open-source projects, but bear in mind that if your organization has a private repo, you’ll need to be included as a contributor before trying to fork it.
It’s time to bring your fork to your local machine. To do this, you need to clone it with the command git clone, which retrieves the Git repository from the remote server:
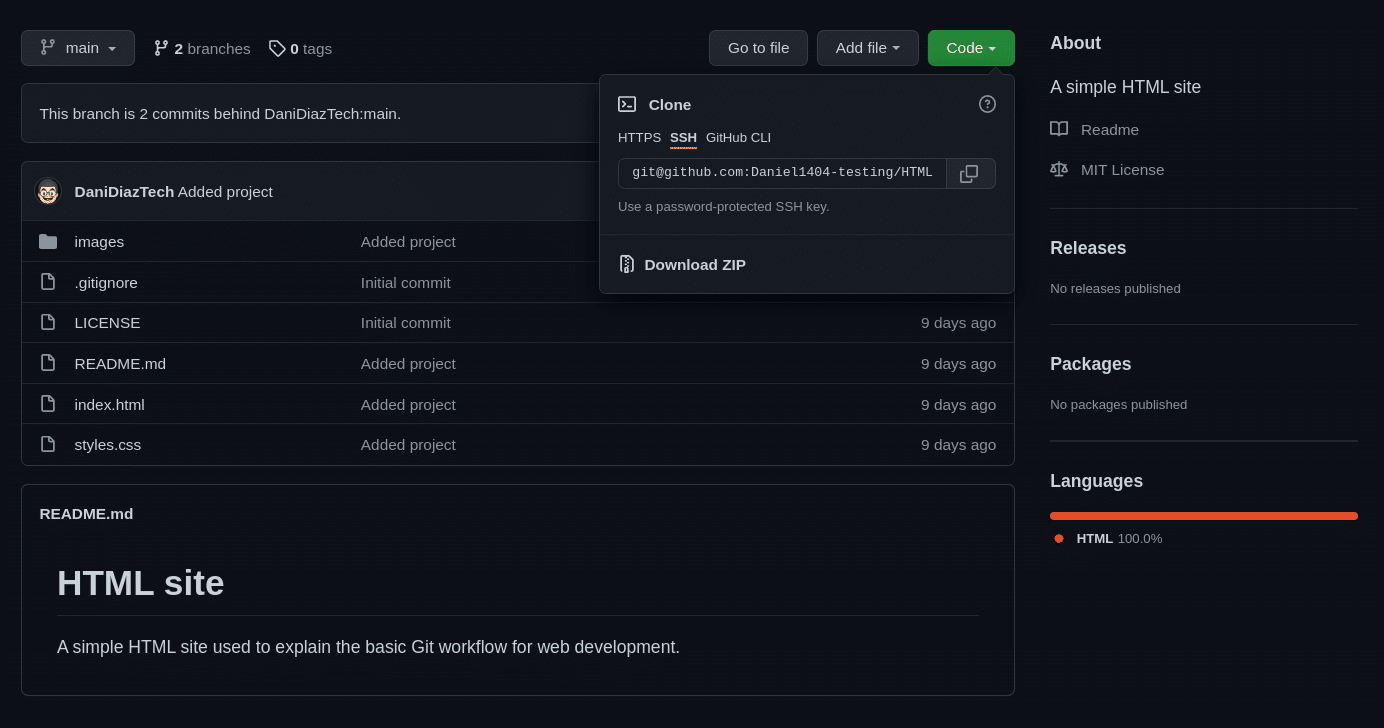
git clone remote_urlYou need to replace remote_url with your fork’s URL. To get the exact URL of a GitHub repo, go to its page and click on Code. Then choose SSH, and copy the link it gives you:
The command you would run to clone the forked repo is:
git clone [email protected]:yourusername/HTML-site.gitWhen you clone a repo, you get a folder with its name. Inside of that folder is the project’s source code (in this case, the HTML site) and the Git repo, which is located inside of a folder named .git.
You can see the list of files inside the new directory by opening the new folder in a graphical file manager, or by listing them directly from the terminal with the ls or dircommands:
# Linux/macOS
ls HTML-site/
# Windows
dir HTML-site\
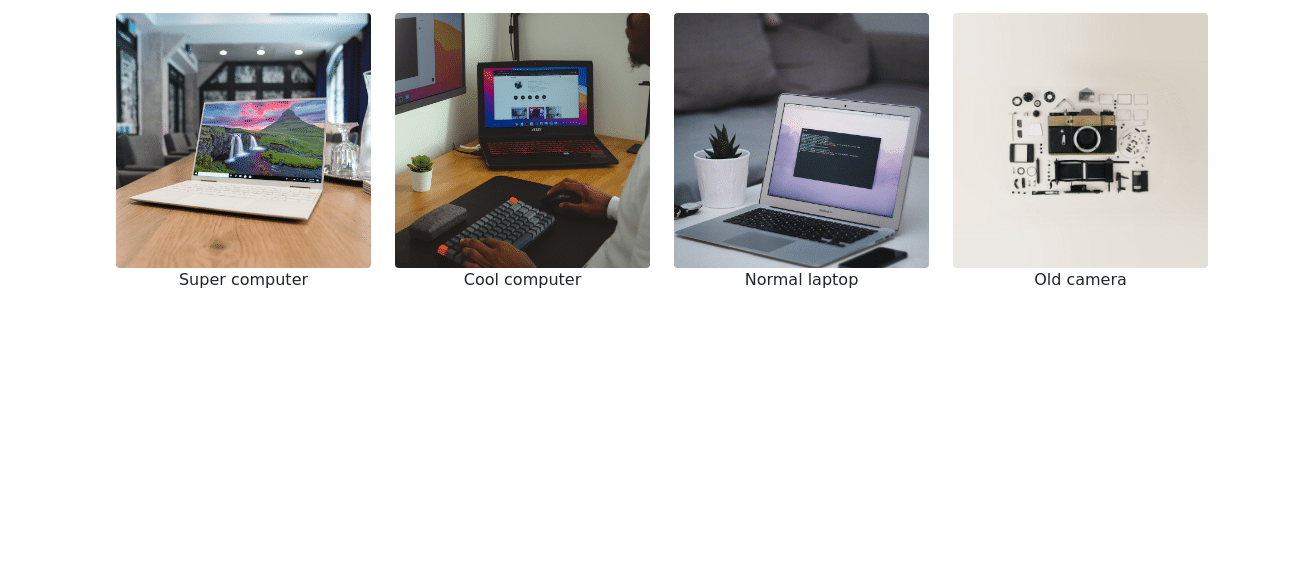
.git images .gitignore index.html LICENSE README.md styles.cssThis HTML site is very simple. It uses Bootstrap for practical purposes and a few pictures from Unsplash, where you can download free images for your site.
If you open the index.html file in your browser, you’ll see a simple page with a few images:
It’s time to play around with this project. It feels very empty, and maybe a header with the name of the site could enhance the user experience.
To do that, enter the HTML-site directory and create a branch named header. In this new branch, we can edit all the files and implement as much code as we want because it won’t affect the main (original) branch.
Run the following command:
git checkout -b header
This will create a branch named “header” and switch you over to it right after this. It’s equivalent to:
git branch header
git checkout header
To confirm everything went fine, run:
git status
# On branch header
# nothing to commit, working tree clean
You’ll see that you’ve been shifted from the “main” branch to the “header” branch, but the working tree is still clean since we haven’t edited any files.
In your favorite code editor, open the index.html file in your branched project. This file includes some links to Bootstrap 5, so we can take advantage of the framework’s ready-to-use components.
Add the following code to the index.html file inside the <body> tag and above the image container:
<header>
  <nav class="navbar navbar-light bg-light">
    <div class="container-fluid">
      <span class="navbar-brand mb-0 h1">HTML site</span>
    </div>
  </nav>
</header>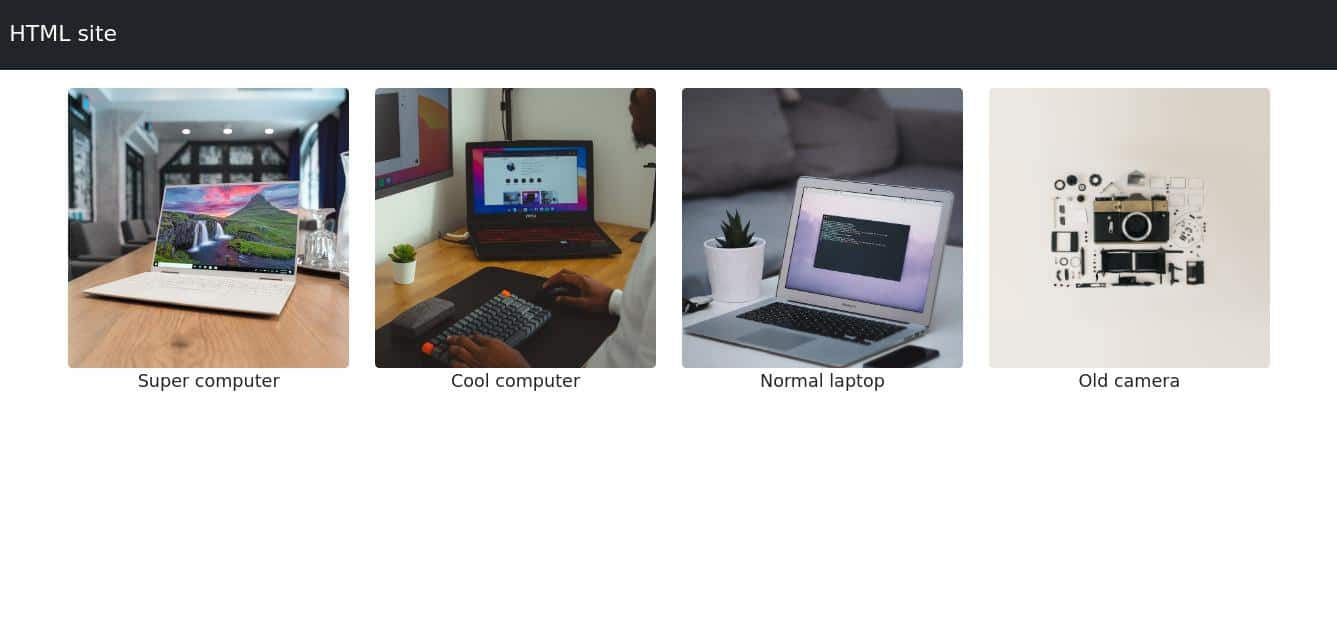
Much better-looking! Feel free to make other branches and changes you wish.
Once you’re done editing the project, it’s time to commit all the changes to your local repo. Inside the project directory, type the following into your terminal:
git add --all
git commit -m "Added simple header in index.html file"When you first start a project, it’s common to have descriptive commit messages, but with time and shifted focus, the messages’ quality tends to go down. Make sure to keep up with good naming practice.
Now you’ve made a commit to your local repo (which is still only available on your computer), it’s time to push it to the remote repository.
If you try to push the commit as normal, it won’t work because you’re currently working on the header branch. You need to set the upstream branch for header:
git push --set-upstream origin headerStarting from August 13, 2021, GitHub requires the use of SSH authentication, so make sure you have your keys correctly set up.
After this, you should be able to see a new branch named header in your forked repository (e.g. https://github.com/yourusername/HTML-site/branches):

To create a pull request to the original repo, click on Compare, down in the Active branches section.
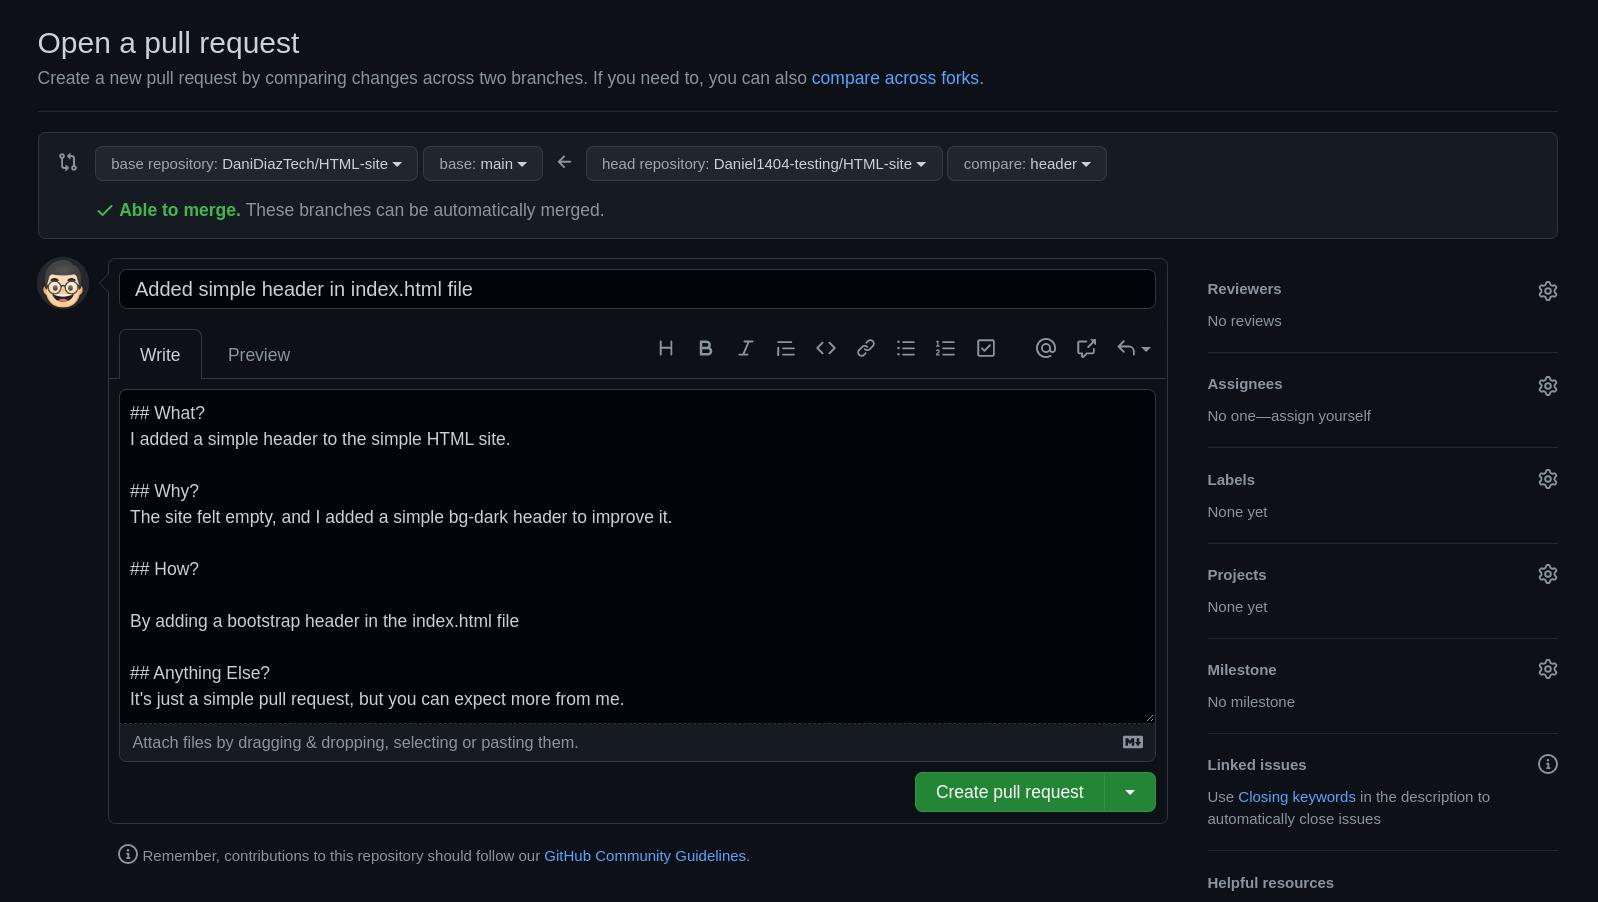
This will guide you to a pull request, where you’ll need to choose what branch (the original or your fork) you want to merge with. By default, it shows the option to merge with the base repository:

Once you click on the pull request option, you’ll need to write a short description of the changes made, just as with your earlier commits. Once again, try to be concise yet descriptive:
Click on the Create pull request button and wait for the base repository owner to accept or give you feedback on your changes.
Congratulations — you’ve just completed all the steps of a common Git workflow for web development!
This was a really basic example, but the logic extends across projects of all sizes. Make sure you implement this workflow closely in bigger collaborative projects as well.
How to Use Git at Kinsta
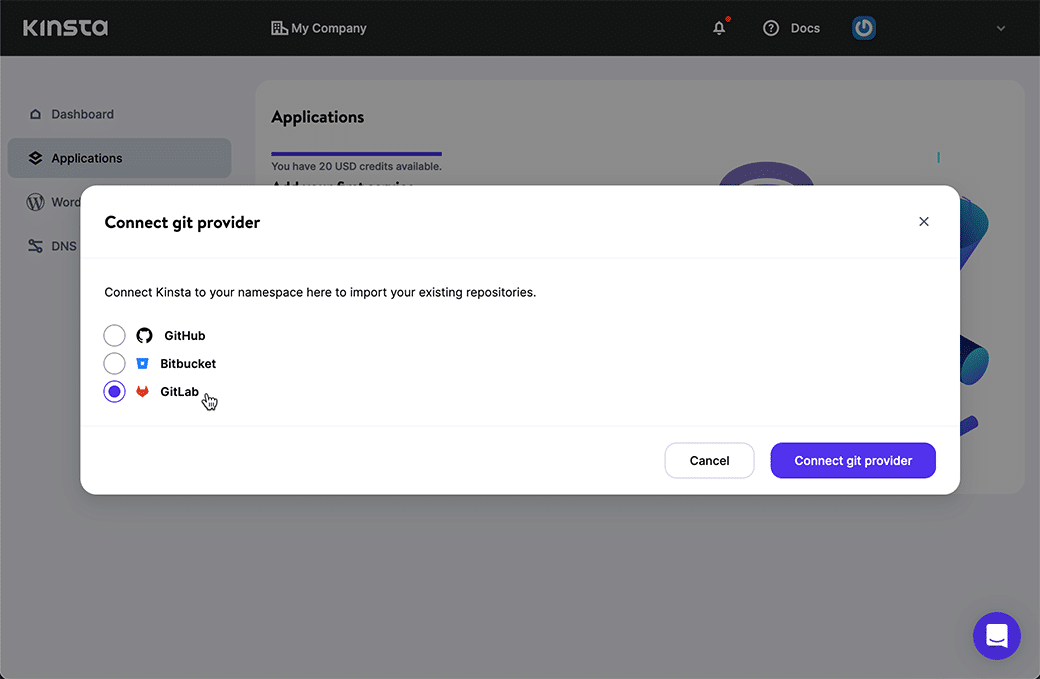
Git is fundamental to deployment on Kinsta’s Application Hosting platform. Users of the service connect their accounts to GitHub, Bitbucket, or GitLab, and manage deployments through their MyKinsta dashboards:
If you’re a customer of Kinsta’s WordPress Hosting, you can incorporate Git into a deployment workflow by logging into your server using SSH from a terminal and pulling from a repository on any Git-hosting provider.
We’ve documented using Git at Kinsta for WordPress customers. After following those instructions to prepare for an SSH connection to a WordPress server, you could pull down a Git repo with a command like this:
ssh [email protected] -p PORT "cd /www/my_site/public && git pull https://github.com/user/repo.git"Using Git and Kinsta can be a powerful combination.
Summary
Nowadays, Git is a must-learn tool for web development, since most of the time you’ll be collaborating with others to create the best project you can.
In this article, we’ve discussed some important reasons to use Git in your projects, and we’ve shown you the basic workflow of collaborating in a Git repo.
And Git is a powerful tool that is essential to Kinsta’s Application Hosting platform and often useful for customers of Kinsta’s Managed WordPress Hosting service.
It’s worth the effort to learn Git and implement it as part of your web development skills arsenal.
Do you have any other suggestions for improving this basic Git workflow for web development? Let us know in the comments section!

Daniel is a self-taught Python Developer, Technical Writer, and long-life learner. He enjoys creating software from scratch and explaining this process through stunning articles. Follow him on Twitter: @DaniDiazTech