
Are you looking to get started with Git, the powerful version control system that developers all around the world love? You’ve come to the right place! In this article, we’ll walk you through the process of installing Git on your Windows, macOS, or Linux machine, so you can join the ranks of programmers who rely on this amazing tool for version control and collaboration.
But first, a few introductions are warranted.
What Is Git?
Before diving into the installation steps, let’s take a brief moment to understand what Git is all about. Created by Linus Torvalds in 2005, Git is a distributed version control system that helps you keep track of changes in your source code and allows for seamless collaboration among developers.
It is a powerful tool that stores your source code in repositories, which are just like folders where you can store files. When multiple developers are working on the same project, they can all “push” and “pull” changes to the repository to keep everyone’s version of the code up-to-date.
Who Uses Git?
Git is used by a wide range of individuals, including software developers, open-source project contributors, and system administrators. It’s an essential tool for managing large codebases, coordinating work among team members, and maintaining a project’s history.
Many well-known companies use Git, including:
- Microsoft: Git powers the version control behind many of Microsoft’s software projects, including the open-source .NET Core and Visual Studio Code.
- Google: Google relies on Git for managing the source code for Android, Chromium, and numerous other projects.
- Adobe: Adobe utilizes Git for version control and collaboration across their software development teams.
- Airbnb: Git is an integral part of Airbnb’s software development workflow, enabling their engineering teams to collaborate on various projects.
Advantages of Using Git
Git offers several advantages that make it the go-to choice for version control and collaboration. Some of these benefits include:
- Efficient and fast: Git’s fast and efficient operations make it ideal for managing large, complex codebases with many contributors. Its design prioritizes performance while minimizing resource usage.
- Distributed nature allows for offline work: Developers can work on their local Git repositories by making changes and committing them even when offline due to Git’s distributed nature. After reconnecting to the internet, the changes can be synchronized with the remote repository.
- Branching and merging capabilities: The use of Git branching and merging features allows developers to work on distinct features or bug fixes in separate branches to maintain stability in the main codebase. Merging changes back into the main branch is a simple process.
- Collaboration support: Git is built with collaboration in mind, allowing multiple developers to work on the same project simultaneously without conflicts. It also helps in tracking changes and attributing them to the correct contributor.
- Widely used and supported: The Git version control system is popular and widely used by many developers. Its extensive documentation and large community make it a versatile choice, with many tools and services built for integration.
Git Prerequisites
Before we jump into the installation process, let’s quickly go over some prerequisites to ensure you’re all set to get started with Git. Don’t worry, you won’t need much:
- Basic computer knowledge: Familiarity with using a computer is essential. You don’t need to be an expert, but knowing your way around your operating system and file management is helpful.
- Command line/terminal experience: Git relies heavily on the command line (or terminal) for its operation. If you haven’t used the command line before, you might want to brush up on some basics. Don’t stress, though – you’ll pick it up as you go along.
- Programming experience (optional): While having some programming background can be helpful when working with Git, it’s not mandatory. If you’re new to coding, Git can still be a valuable tool for managing your projects as you learn.
System Requirements
Git is compatible with a variety of operating systems, including:
- Windows 7, 8, 8.1, and 10.
- macOS 10.9 (Mavericks) or newer.
- Most Linux distributions, including Ubuntu, Fedora, Debian, and others. Ensure that your distribution is up-to-date and supports the latest Git version.
Git has modest hardware requirements, making it suitable for a wide range of systems. While there are no strict minimum requirements, it’s recommended to have:
- At least 1 GB of RAM, but 2 GB or more is preferred for optimal performance.
- A minimum of 50 MB of free disk space for the Git installation, but keep in mind that you’ll need additional storage for your repositories.
Versions
Git is under active development, with new features and improvements being released regularly. It’s essential to use a recent version of Git to take advantage of these enhancements and ensure compatibility with other tools and services. You can find the latest version and release notes on the official Git website. As of this writing, version 2.40.0 is the latest source release.
How To Install Git
In this section, we’ll guide you through the process of installing Git on your system. We’ll start with installing Git on Windows, followed by macOS and Linux.
How To Install Git on Windows
Installing Git on Windows is a fairly straightforward process and involves the following steps:
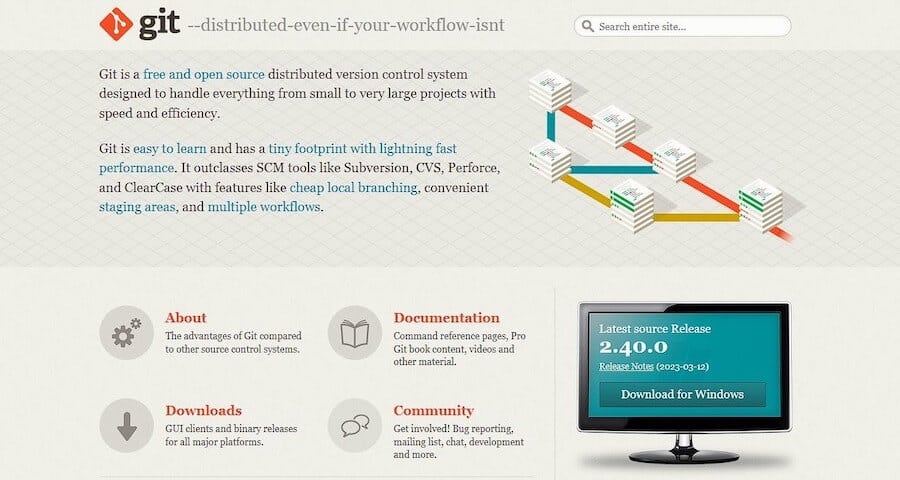
Step 1: Download the Windows Installer
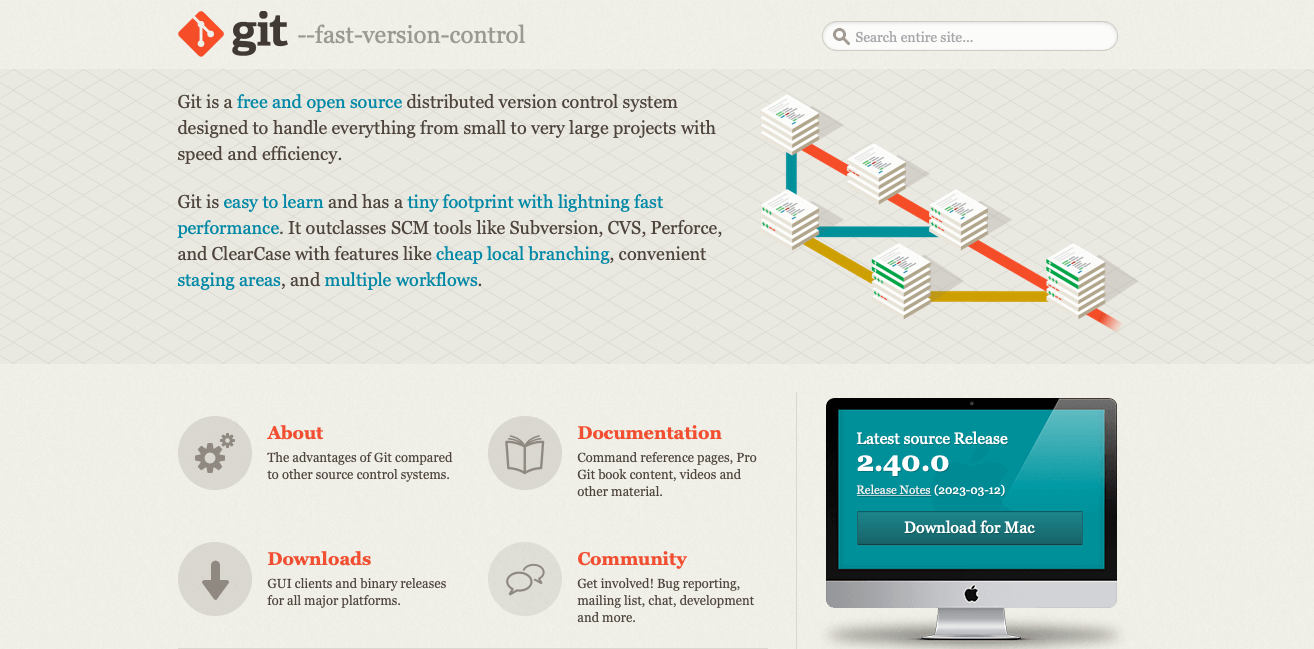
Visit the official Git website to download the latest version of the Git installer for Windows. The download should start automatically when you visit the page.
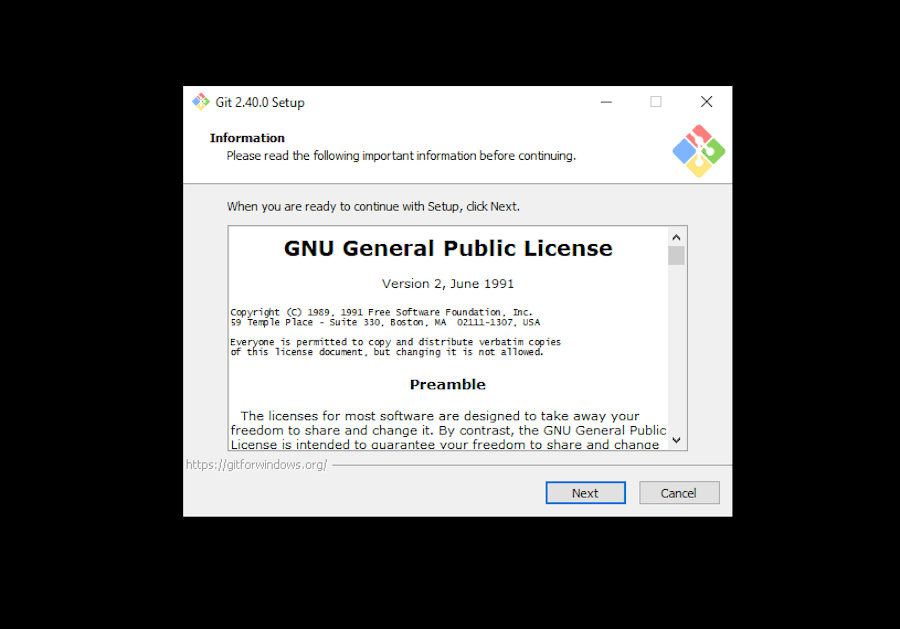
Step 2: Run the Installer and Select Options
Launch the downloaded installer and follow the installation wizard. Confirm that the app can make changes to your device by clicking Yes on the User Account Control dialog that appears.
Read the GNU General Public License, and when you’re prepared to install, click Next.
The installer will request an installation location. Keep the default unless you need to change it, and click Next.

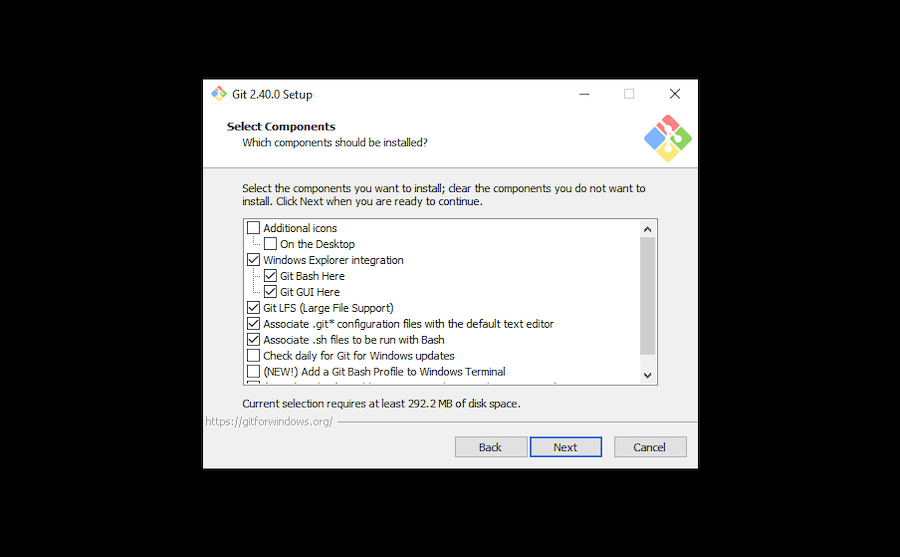
A component selection screen will be displayed. Keep the default settings unless you need to modify them, and click Next.
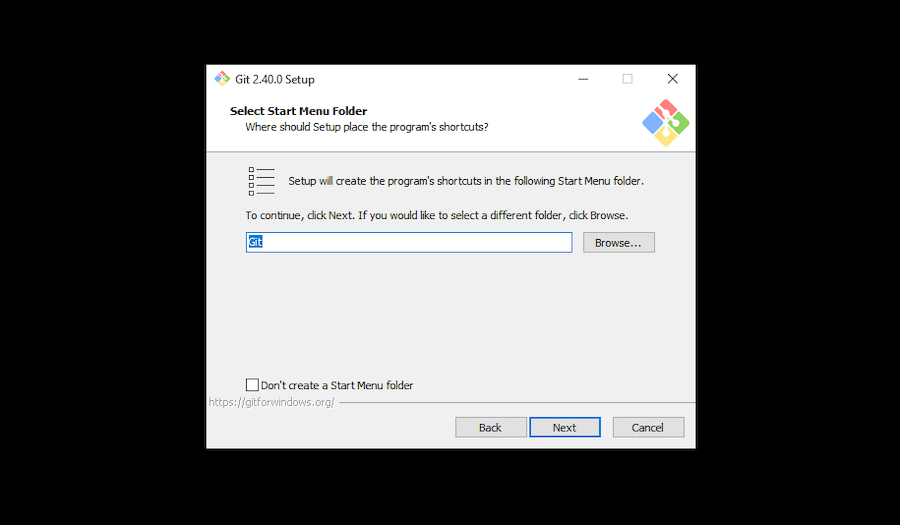
You’ll be prompted to create a start folder. Leave it as is and click Next.
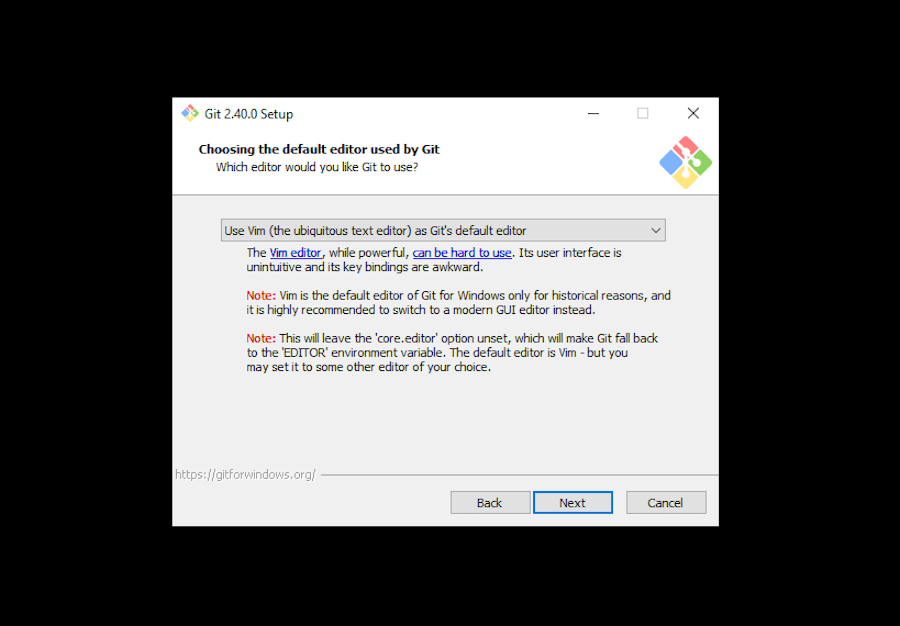
Choose a text editor to use with Git. Click on the drop-down menu to pick the text editor you like to use like Vim, Notepad++, etc and click Next.
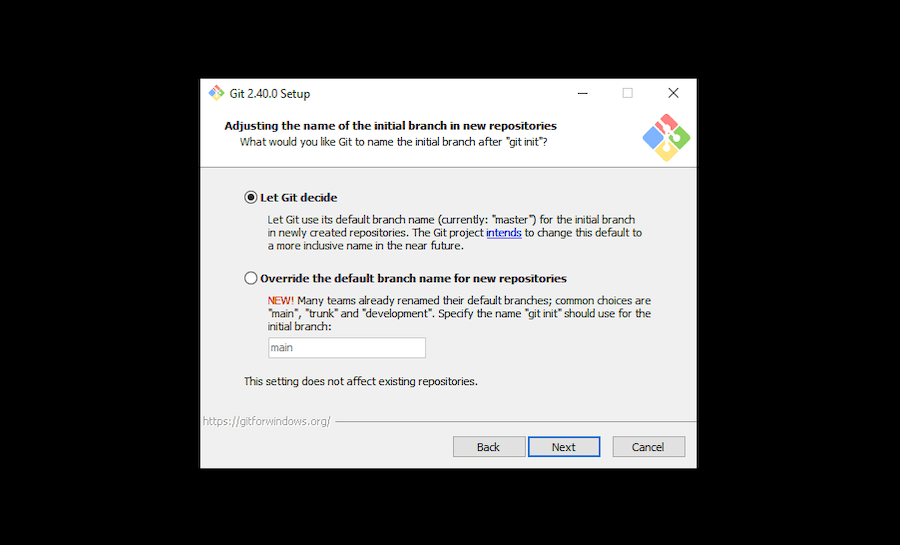
In this next step, you can opt to rename your initial branch. The default is master. Leave the default (unless you’d really like to change it) and click Next.
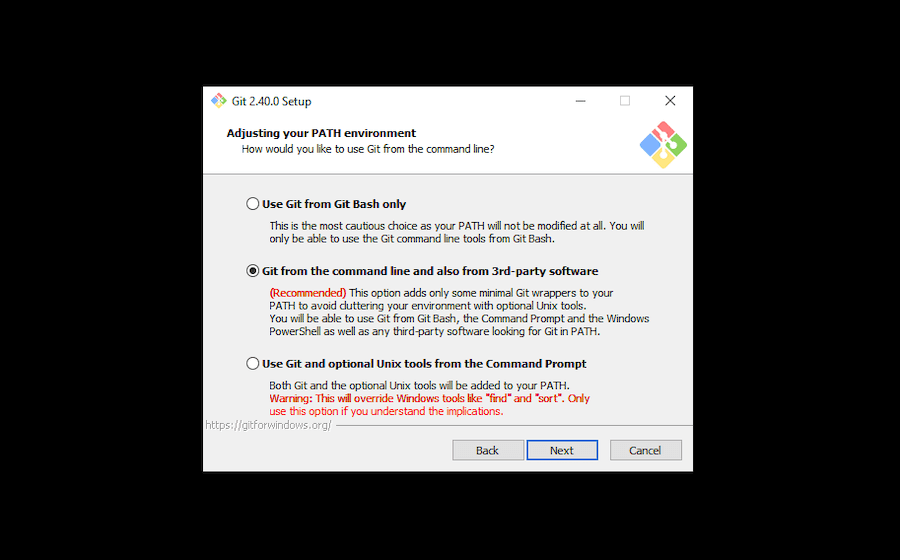
Now you’re on to modifying the PATH environment. Leave this on the recommended selection, Git from the command line and also from 3rd party software and click Next.
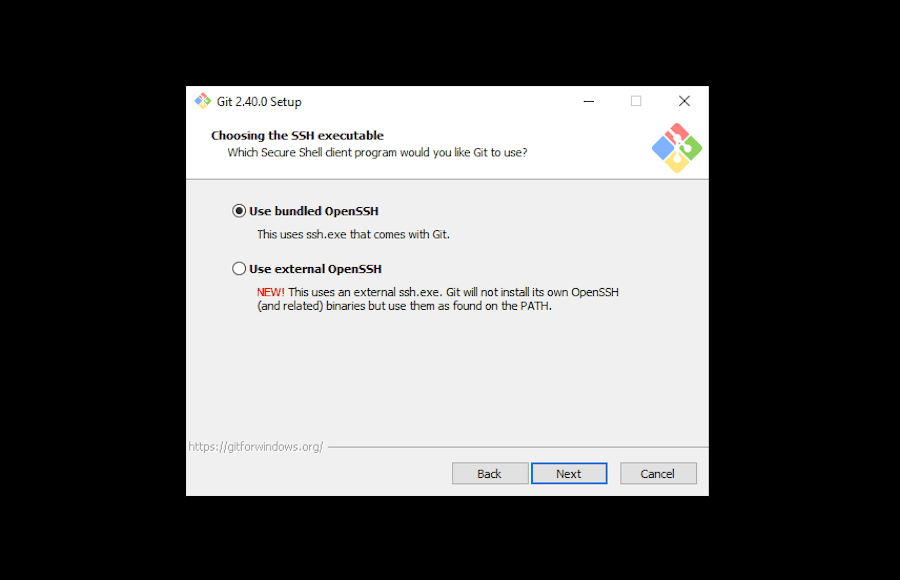
On the next screen, you need to pick the SSH program you want to use. Git does come with its own SSH client, so leaving the default settings checked is fine. Click Next.
The following option concerns server certificates. The majority of users should choose the default, Use the OpenSSL library. Click Next.

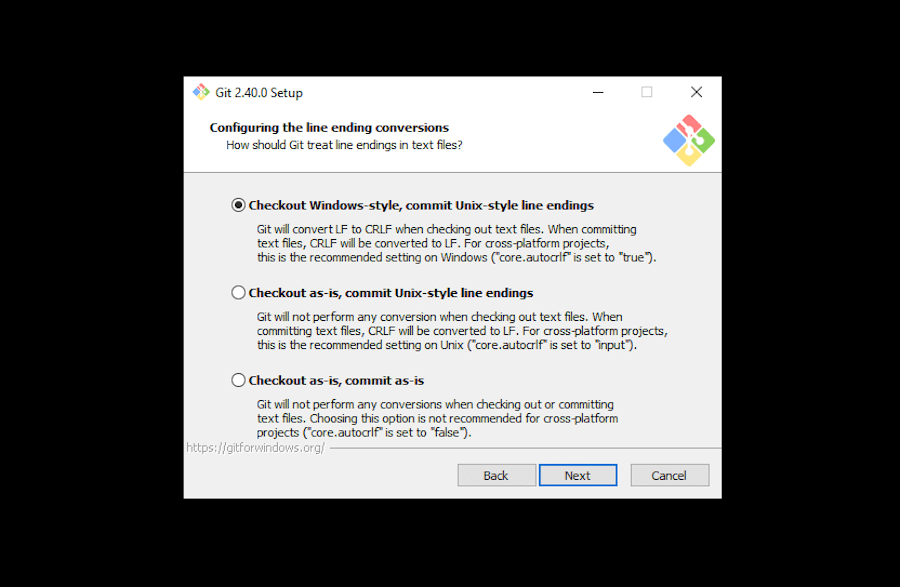
The next screen deals with line ending conversions. Leave it set to the default option, Checkout Windows-style, commit Unix-style line endings. Changing this option might cause issues. Click Next.
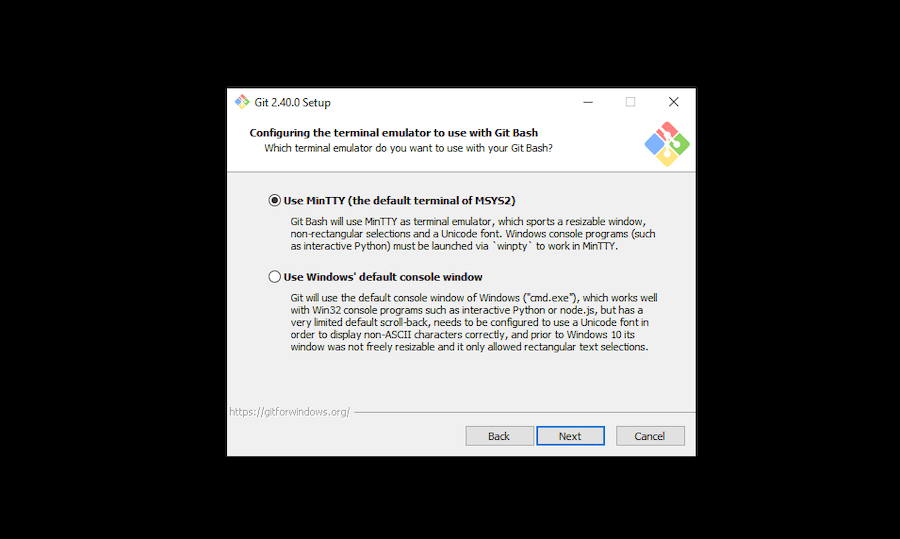
Next up, you’ll need to select the terminal emulator. The default MinTTY is recommended. Click Next.
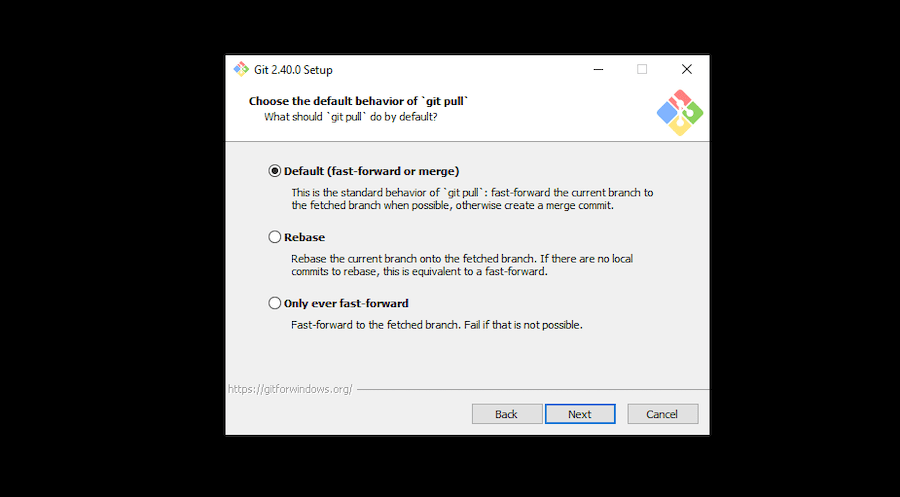
On the next screen, you’ll be asked what the git pull command should do. Again, the default option is recommended. Click Next.
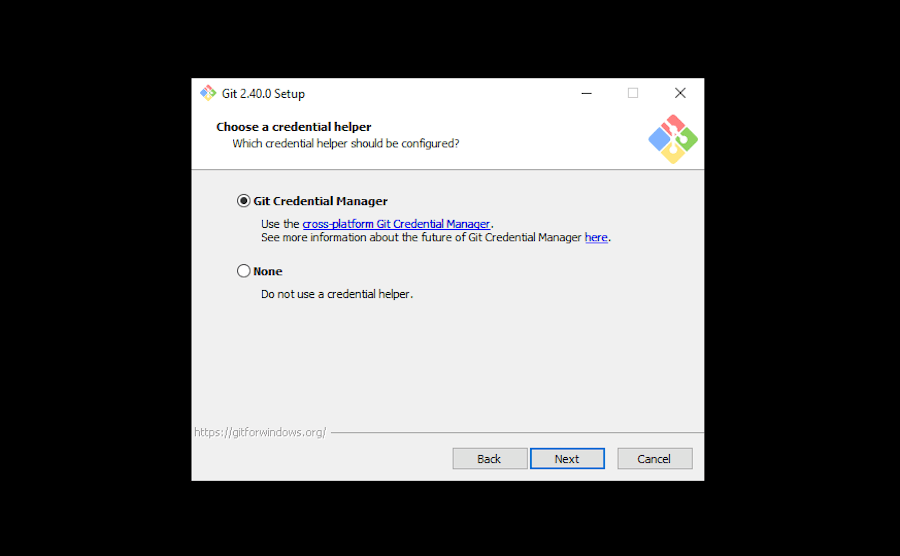
You’ll need to choose which credential helper to use next. Keep the default option selected and click Next.
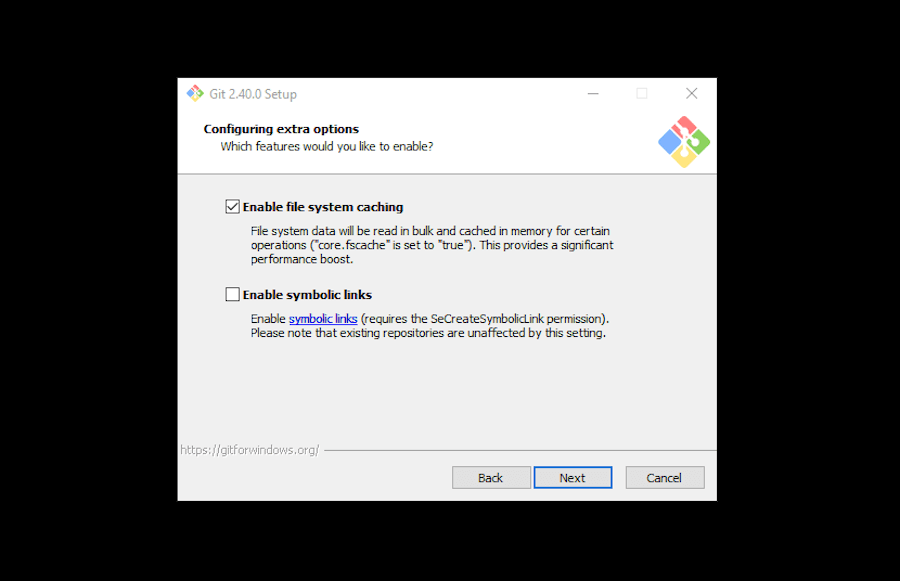
Next, you’ll be presented with some extra options to customize your installation, including:
- Enable file system caching
- Enable symbolic links
Once done making your selections, click Next.
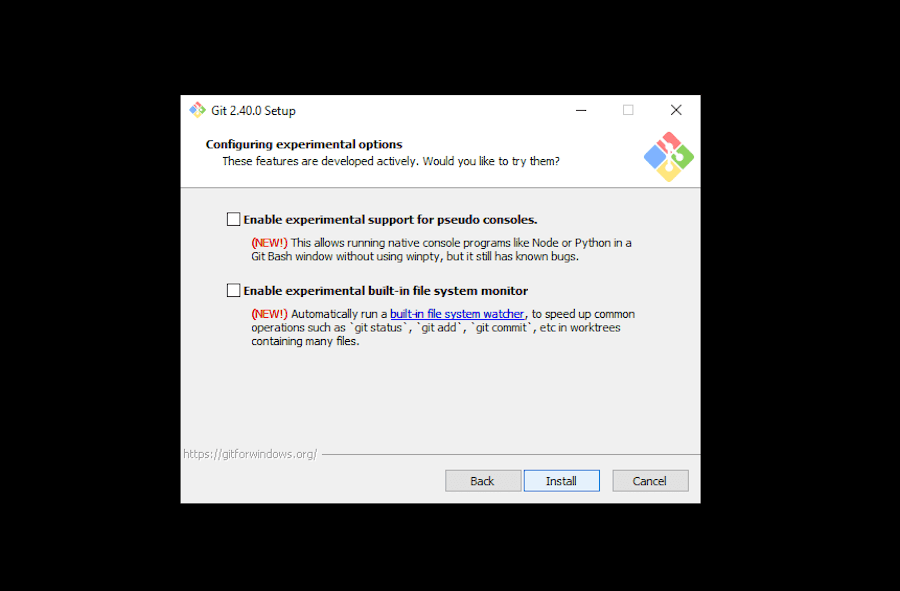
If you’re installing a newer version of Git, it’ll next prompt you to select experimental features. As of this writing, the options include:
- Support for pseudo consoles
- Built-in file system monitor
Check the boxes to whichever you’d like (or none), then click Install.
On the last screen of the installer, you can opt to view the Release Notes or Launch Git Bash. Check the boxes next to the options you prefer, then click Finish.
Step 3: Verify the installation with Git Bash
To ensure that Git has been installed correctly, open Git Bash and type the following command:
git --versionPress Enter, and the name of the version of Git you just installed should appear.
How To Install Git on macOS
Just as with the installation process for Windows, installing Git on a Mac is straightforward as well:
- Download the macOS installer
- Complete installation
- Install via Homebrew (optional)
- Verify installation through Terminal
Step 1: Download the macOS Installer
Visit the official Git website to download the latest version of the Git installer for macOS.
Step 2: Complete Installation Instructions
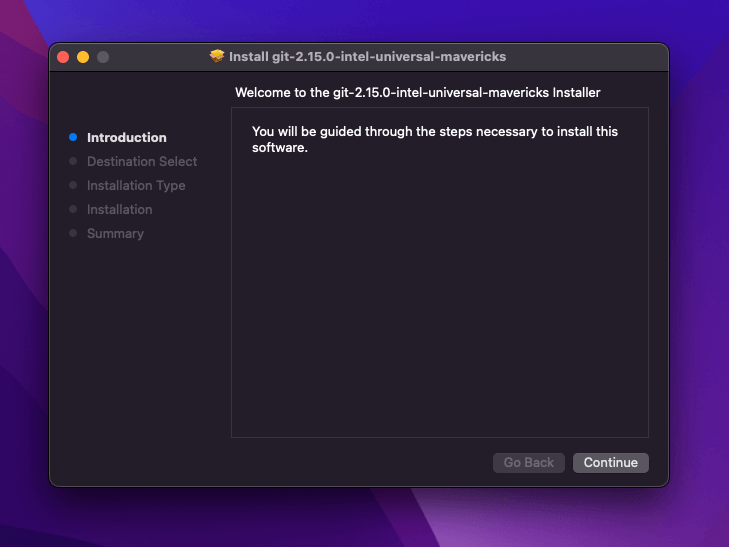
Once the installer is downloaded, open the .dmg file and follow the installation instructions. You will be guided through the process. On the first screen, click Continue.
Then select a destination for where you’d like Git to be located on your system. Confirm your selection by clicking Install. you’ll then be prompted to input your system password.
After a few moments, the installation will be complete and you’ll be presented with the following confirmation:

Step 3: Install via Homebrew (optional)
If you prefer, you can install Git using Homebrew, a popular package manager for macOS. If you haven’t already installed Homebrew, you can do so easily by first checking your macOS version.
You can check your macOS version by clicking on the Apple menu in the top-left corner of your screen and selecting About This Mac. You need to have 10.9 (Mavericks) or newer to install Homebrew.
Then open Terminal and install Xcode Command Line Tools. These are required for Homebrew to function properly. With the Terminal open, input the following:
xcode-select --installFollow the on-screen instructions to complete the installation.
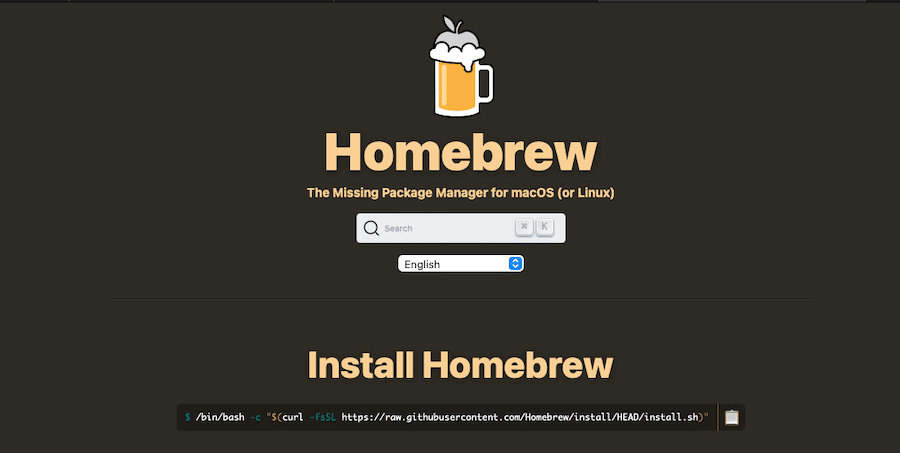
Then to install Homebrew, all you need to do is then paste the following command in Terminal:
/bin/bash -c "$(curl -fsSL https://raw.githubusercontent.com/Homebrew/install/HEAD/install.sh)”Press Enter to run the command. The installation script will download and install Homebrew on your system.
You can verify installation worked by running the following in Terminal:
brew --versionIf the installation was successful, you should see the Homebrew version number displayed.
Once you have Homebrew installed, you can install Git with the following command:
brew install gitHomebrew will download and install the latest version of Git on your system.
Step 4: Verify Installation With Terminal
To ensure that Git has been installed correctly, open Terminal and type the following command:
git --versionPress Enter, and you should see the version of Git you installed displayed on the next line.
How To Install Git on Linux
Installing Git on a Linux system looks a bit different than the other processes detailed here for Windows and macOS. To complete this process, you can expect to:
Step 1: Install Via Package Manager (apt, yum, etc.)
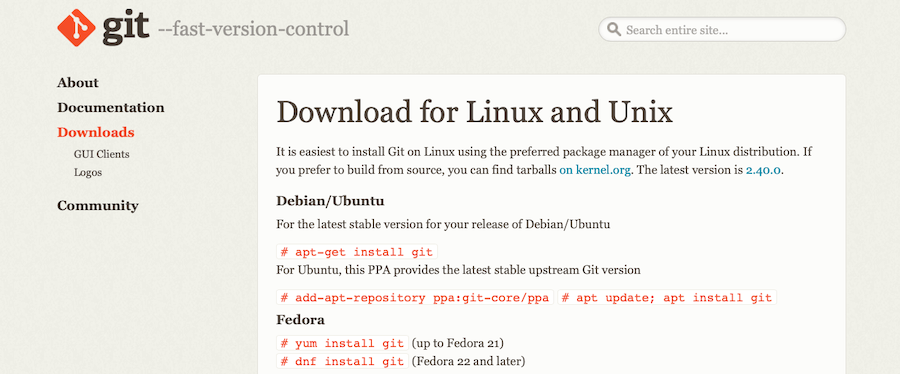
The easiest way to install Git on Linux is through the package manager for your distribution. For Debian-based distributions like Ubuntu, you can use the apt package manager:
sudo apt-get install gitFor Red Hat-based distributions like Fedora, you can use the yum or dnf package manager:
sudo yum install gitor
sudo dnf install gitStep 2: Verify the Installation
And as always, your last step in the installation process is to verify this. To do this, open Terminal and type in the following:
git --versionOn the next line, the Git version you just installed will be listed.
Git Configuration
After successfully installing Git on your system, it’s important to configure your Git settings to ensure a smooth and efficient workflow – and to ensure it can be used properly with GitHub. The following steps apply to all operating systems (Windows, macOS, and Linux).
Step 1: Set Your Name and Email Address
To set your name and email address for Git, open your terminal or Git Bash (for Windows users) and enter the following commands, replacing Your Name and [email protected] with your actual name and email address:
git config --global user.name "Your Name"git config --global user.email "[email protected]"These settings will be used to identify your commits in the Git history.
Step 2: Configure Line Endings (Optional)
Git can automatically handle line endings depending on your operating system. This is important because Windows and Unix-based systems (such as macOS and Linux) use different line ending characters.
To configure Git to handle line endings appropriately for your system, run the following command:
For Windows users:
git config --global core.autocrlf trueFor macOS and Linux users:
git config --global core.autocrlf inputStep 3: Verify Your Configuration
To verify that your Git configuration is set up correctly, run the following command:
git config --listThis command will display your current Git configuration settings. Ensure that your name, email address, text editor, and line ending settings are correct.
With your Git configuration complete, you’re now ready to start using Git for your projects.
Summary
Today, we’ve covered everything you need to know to install Git in Windows, macOS, or Linux successfully, as well as how to configure Git for your operating system. We covered the steps for downloading and installing Git from source, as well as configuring it after the fact.
If you’d like to secure high-quality application hosting, Sevalla, Kinsta’s PaaS product, has you covered you covered. Our cloud-based app hosting services ensure your full stack app is ready for primetime, in no time.
So with Git installed and configured on your system, you can start to use it for version control in your projects. And that’s where the real fun begins.
Good luck!


