
If you’ve ever sat down and read an article on SEO, you’ve probably come across the terms sitemap and/or XML sitemap. But while sitemaps are a fairly common SEO recommendation, there aren’t a ton of deep looks at how XML sitemaps specifically work with WordPress.
To fix that, we’re going to take a deep dive into WordPress sitemaps. Here’s everything that you’ll learn in this post:
- What an XML sitemap is
- The ways in which an XML sitemap benefits your WordPress site
- How to create an XML sitemap with a WordPress plugin
- How to create an XML sitemap with a cloud-based tool
- How to submit your sitemap to Google and other tools
- Why an HTML sitemap navigation is different (and how to create one on WordPress)
What Is An XML Sitemap?
An XML sitemap is basically just a list of URLs that you want to be publicly available. Like robots.txt, it helps search engines like Google and others better crawl your website by giving them a “map” of all your content. That’s it!
Beyond a raw list of URLs, you can also include other helpful “metadata” in your sitemap to further aid search engines in their attempts to index your site. These options are outlined in the Sitemaps protocol and let you specify things like:
- When a page was last modified
- What priority you’d like search engines to give to the page (though search engines won’t necessarily follow this)
- How often the page will change
Beyond those core pieces of metadata, it’s also possible to provide search engines with information on your video and image content.
What Does An XML Sitemap Look Like?
Wondering what an XML sitemap actually looks like? Here’s what our WordPress post sitemap looks like at Kinsta:
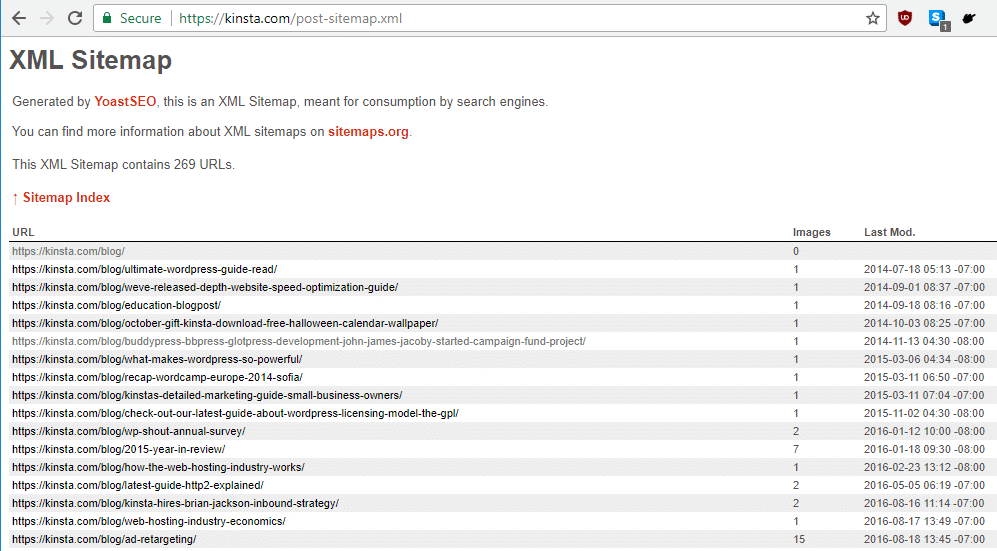
As you can see…it really is just a list of URLs with some extra metadata. It’s not especially helpful to humans!
Is There a Limit to How Many URLs You Can Include in an XML Sitemap?
Yes, there is a limit. But most WordPress websites will never sniff the limit.
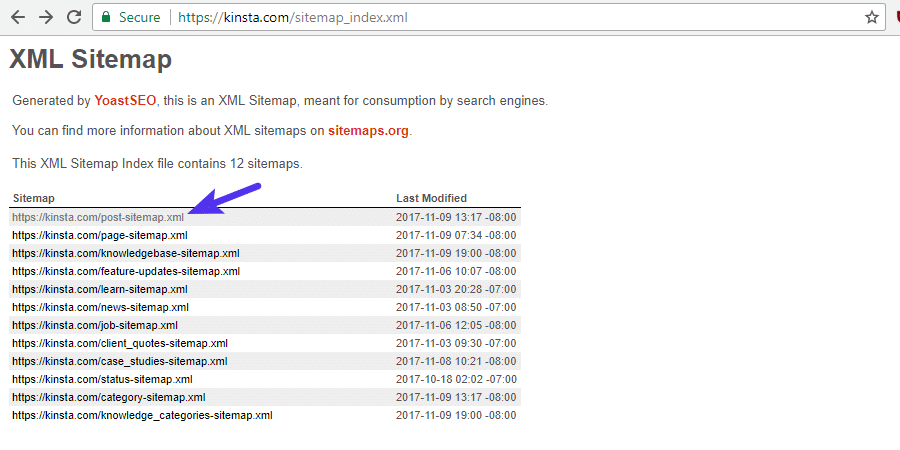
Technically, sitemap.xml files have a limit of 50,000 URLs. But even if your site includes more than 50,000 URLs, you can include a “sitemap of your sitemaps” to increase that number. That is, you can include one master sitemap that links to more specific sitemaps (each with its own separate 50,000 URL limit).
This is how we do things at Kinsta (and also how Yoast SEO does things by default – more on that later). The screenshot above was specifically for our WordPress posts. But if you go to our master sitemap file, you’ll see that it actually just links to other sitemap files:
How An XML Sitemap Benefits Your WordPress Site
The main benefit of an XML sitemap is improved crawlability. In Google’s own words, “search engine web crawlers like Googlebot read this file to more intelligently crawl your site.” Here are some specific ways in which XML sitemaps improve your site’s crawlability:
- Faster crawl times – Sitemaps can help search engine robots crawl your content faster than they would without a sitemap. This can also lead to your content getting indexed faster.
- Prioritized crawls – Sitemaps let you ask Google to prioritize crawling certain pages on your site by adding metadata.
- Rich media content – if you use lots of media like videos and images, “Google can take additional information from sitemaps into account for search, where appropriate.” (source)
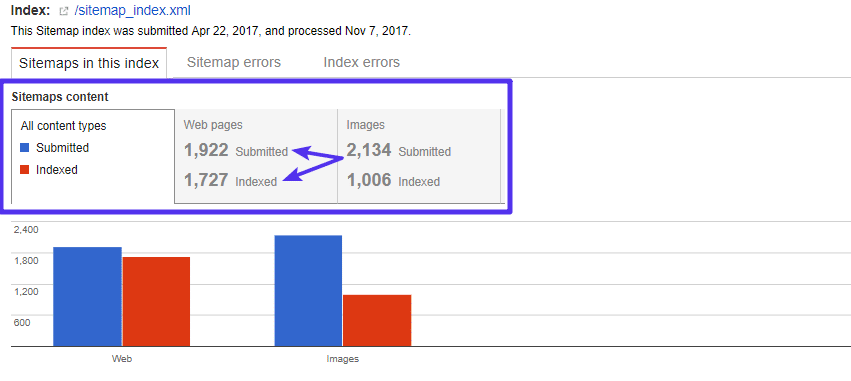
Beyond crawlability, there are also some backdoor ways in which sitemaps work to provide you with helpful information. Assuming you submit your sitemap to Google Search Console (you’ll learn how to do this later on!), you can use your sitemap to quickly ascertain how effective you are at getting your pages indexed in Google:
Can Adding an XML Sitemap Hurt Your Site?
Nope! Don’t worry. The worst case scenario is that you don’t see any positive results. Creating an XML sitemap will never hurt your site.
Don’t believe me? Here’s what Google itself says on the topic: “in most cases, your site will benefit from having a sitemap, and you’ll never be penalized for having one.”
A Sitemap Doesn’t Mean You Can Ignore Internal Link Structure, Though
While a sitemap is beneficial, here’s what it’s not: It’s not a replacement for creating a solid internal link structure, which among other things, increases your chances to get Google sitelinks also. That is, don’t assume that search engines will index your content simply because you included it in your sitemap. They might, but they also might not.
Google still wants to see that your content has internal or external links pointing towards it. As Google says, “Using a sitemap doesn’t guarantee that all the items in your sitemap will be crawled and indexed.”
So, while you should absolutely use a sitemap, you shouldn’t solely rely on a sitemap to get your content indexed.
How To Create An XML Sitemap For Your WordPress Site With Yoast SEO
Now that you know what an XML sitemap is and how it can benefit your site, how can you actually create a WordPress sitemap for all your content? The easiest way is using Yoast SEO, which is our recommended plugin.
To create an XML sitemap with Yoast SEO, you don’t actually need to do anything beyond installing and activating the free Yoast SEO plugin. By default, Yoast SEO creates a sitemap at:
yoursite.com/sitemap_index.xml
That’s easy enough! But what many people don’t know is that Yoast SEO also lets you customize how your XML sitemap functions. Here’s how to do it:
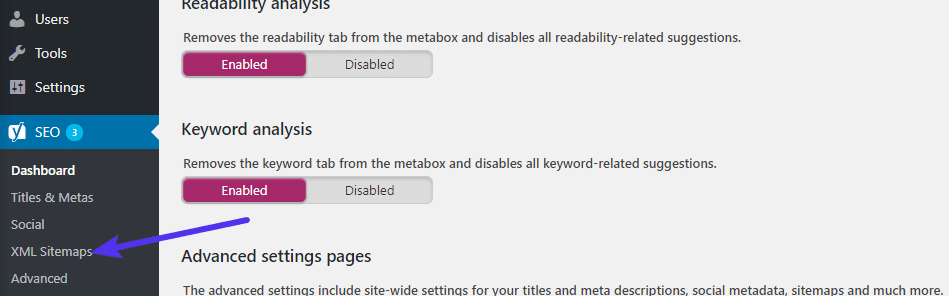
Go to SEO → Features and enable Advanced settings pages:
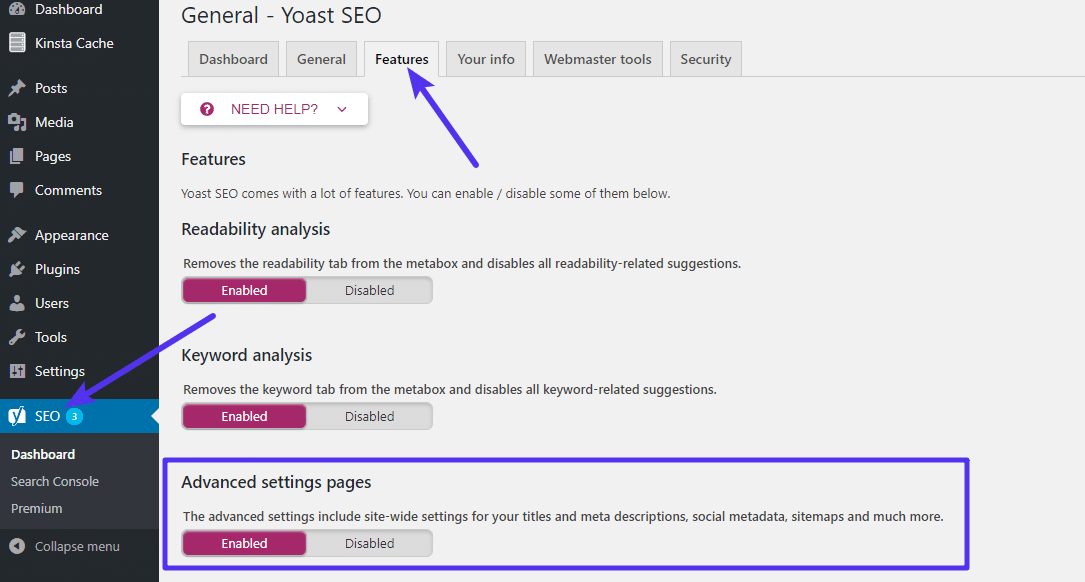
Make sure to save your changes. Once you do that, you can access the new XML Sitemaps option under the SEO menu in your dashboard sidebar:
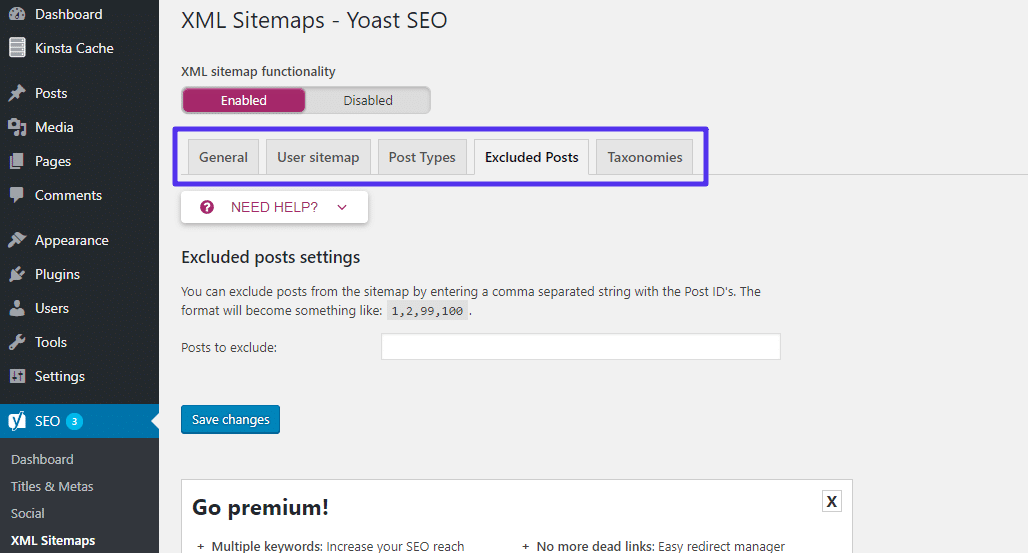
There, you can use the tabs at the top to:
- Choose whether or not to include a sitemap of your authors
- Choose which post types/taxonomies to include in your sitemap
- Manually exclude individual pieces of content from your sitemap via their Post ID – this is especially helpful if you’ve added a noindex tag to certain pieces of content.
Other WordPress Plugins To Help You Create An XML Sitemap
While Yoast SEO is our recommended tool to help you create an XML sitemap for WordPress, it’s by no means your only option.
Other quality plugins include:
- Google XML Sitemaps – a popular plugin dedicated specifically to XML sitemaps, rather than SEO in general.
- The SEO Framework – an up-and-coming SEO plugin that includes XML sitemap functionality.
How To Create A Sitemap For Your Website Using XML Sitemap Generator
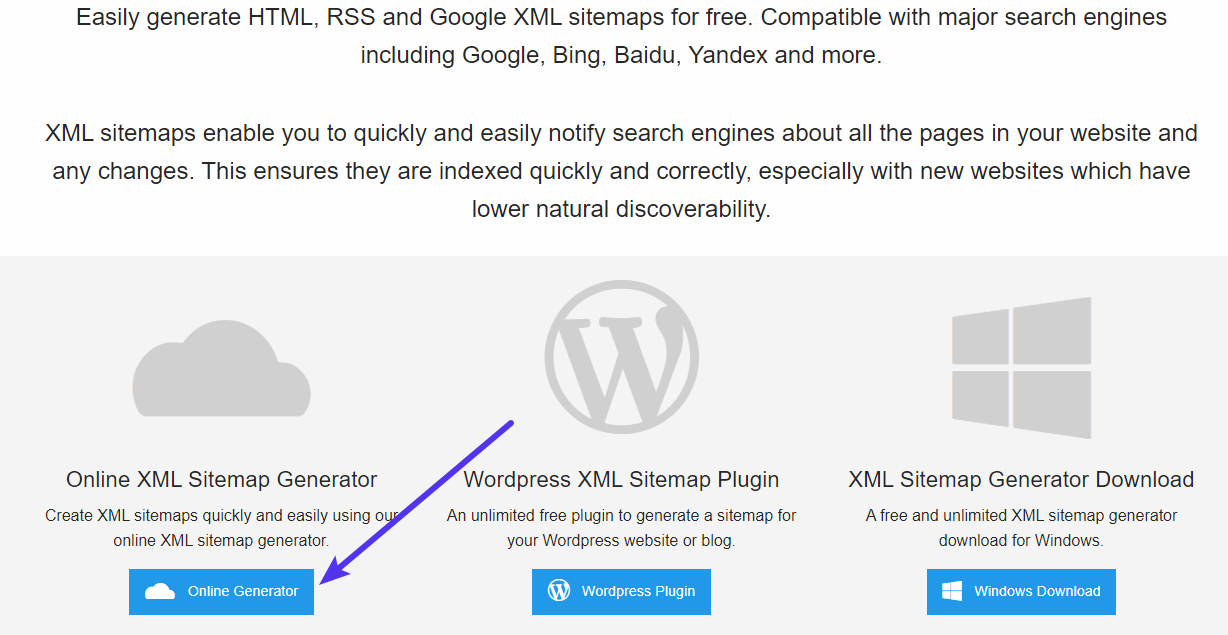
Not a fan of WordPress plugins? Or using something that’s not WordPress? No worries – you can also create an XML sitemap using a standalone tool called XML Sitemap Generator. The tool lets you create an XML sitemap for your site via:
- A cloud-based tool
- A desktop program (just for Windows)
- A WordPress plugin (if you changed your mind about not wanting to use a WordPress plugin!)
Here’s how to use the cloud tool to create your sitemap:
Head to XML Sitemap Generator, scroll down, and click on the Online Generator option:
On the next page…
- Enter the URL to your website’s homepage
- Choose how to calculate the last modified date
- Select the change frequency (how often your pages change)
- Choose the default crawl priority
- Enter your email address
- Click Generate sitemap
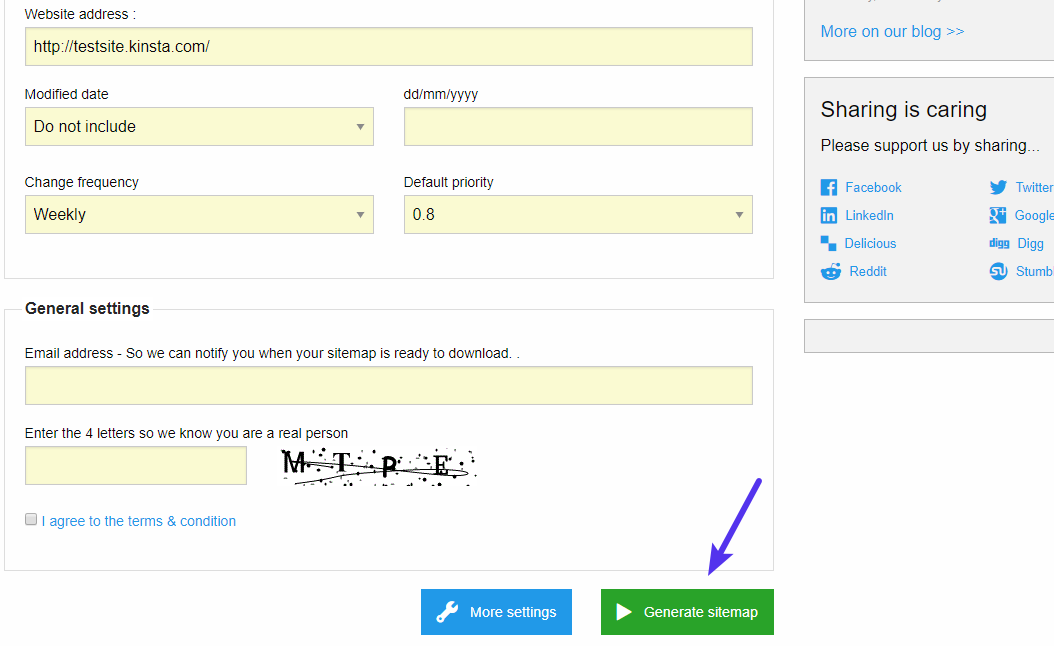
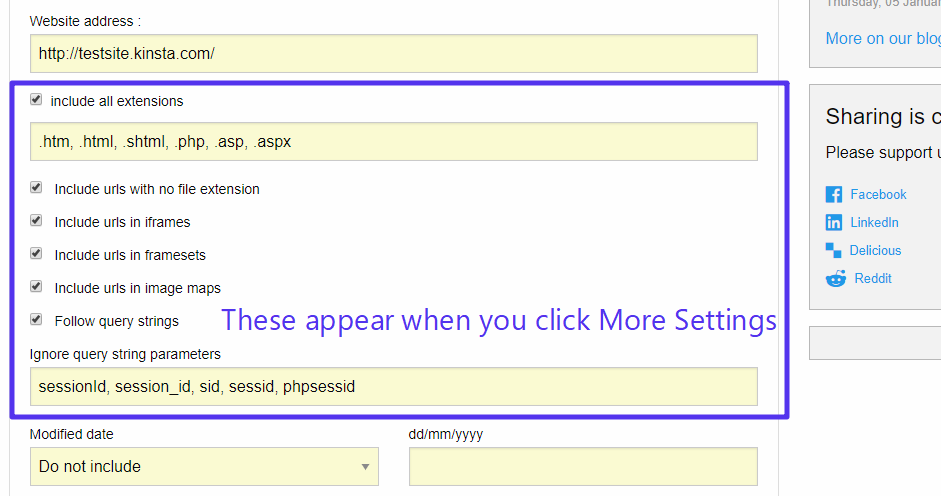
You can also click the More Settings button to configure more advanced options:
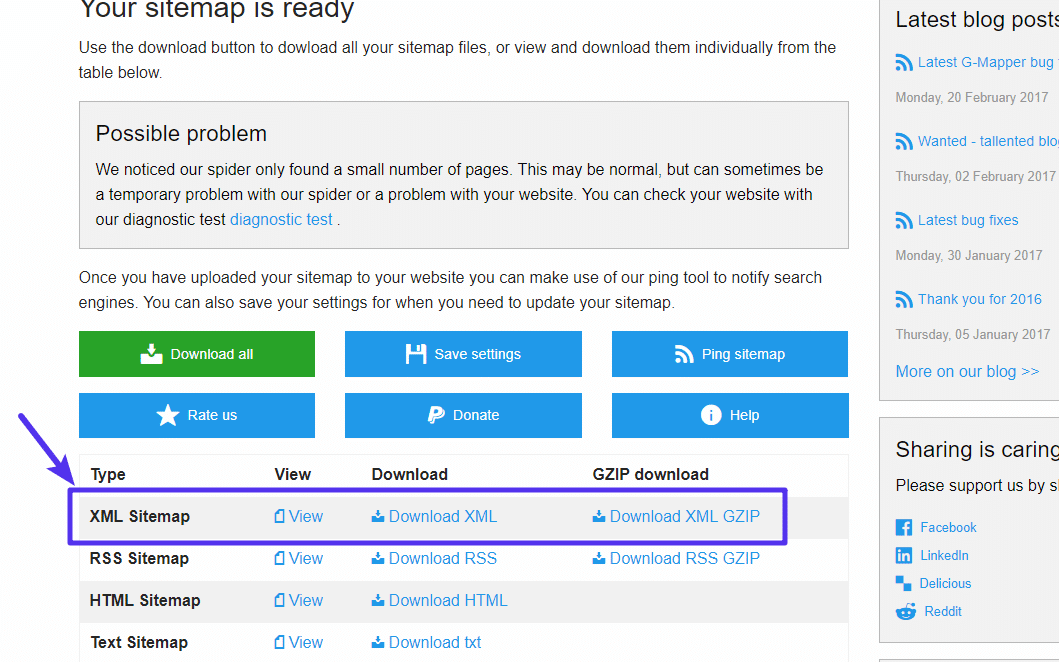
Once you click Generate sitemap, there will be a delay while XML Sitemap Generator crawls your site. If you have a small site, it will only take a little time, but large sites might take longer. Once it finishes, you’ll be able to download your various sitemaps:
Once you download the sitemap file, you’ll need to upload it to the root folder of your website.
How To Submit Your Sitemap To Google And Other Search Engines
Once you have a working XML sitemap, you’ll want to take things one step further and actually submit that sitemap to the major search engines. This:
- Ensures that Google knows where to find your sitemap
- Gives you helpful data about how many pages Google has indexed (I showed you this screenshot earlier)
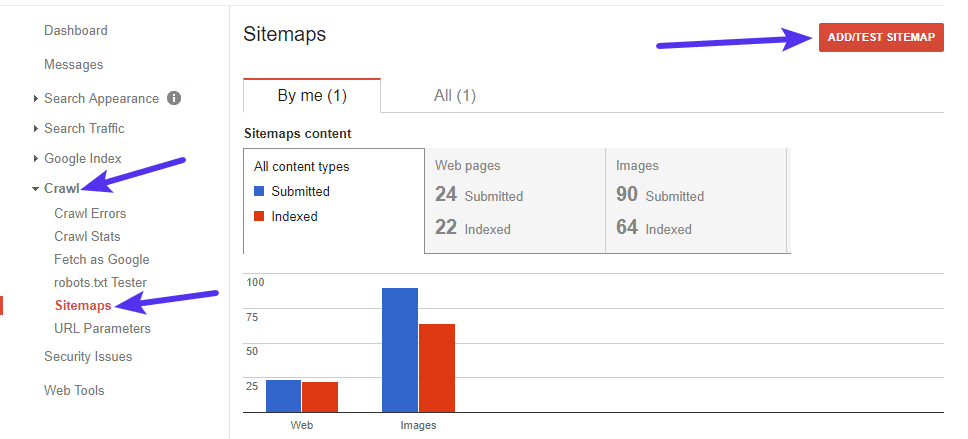
To submit your XML sitemap to Google, you’ll need a Google Search Console account. If you don’t already have one, here’s how to sign up and verify your website with Google Search Console. Once you have your Google Search Console account set up, you can submit a sitemap by going to Crawl → Sitemaps and clicking the ADD/TEST SITEMAP button:
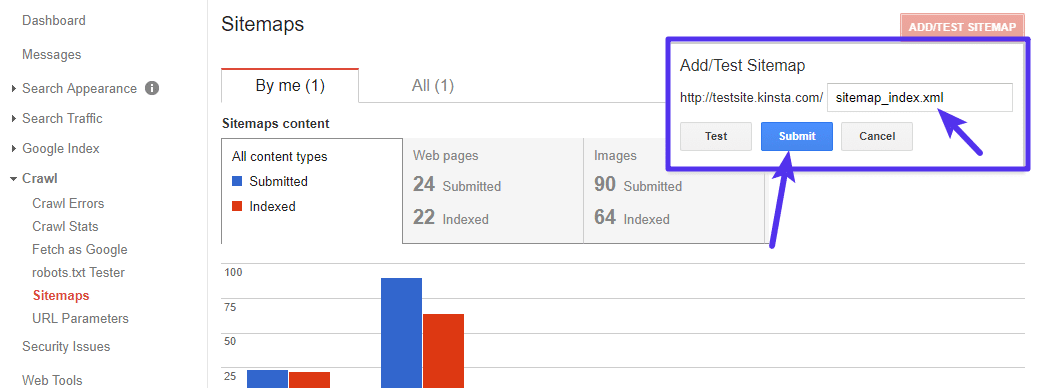
Then, add the location of your sitemap and click Submit. If you used Yoast SEO to create your sitemap, all you need to do is paste in “sitemap_index.xml”:
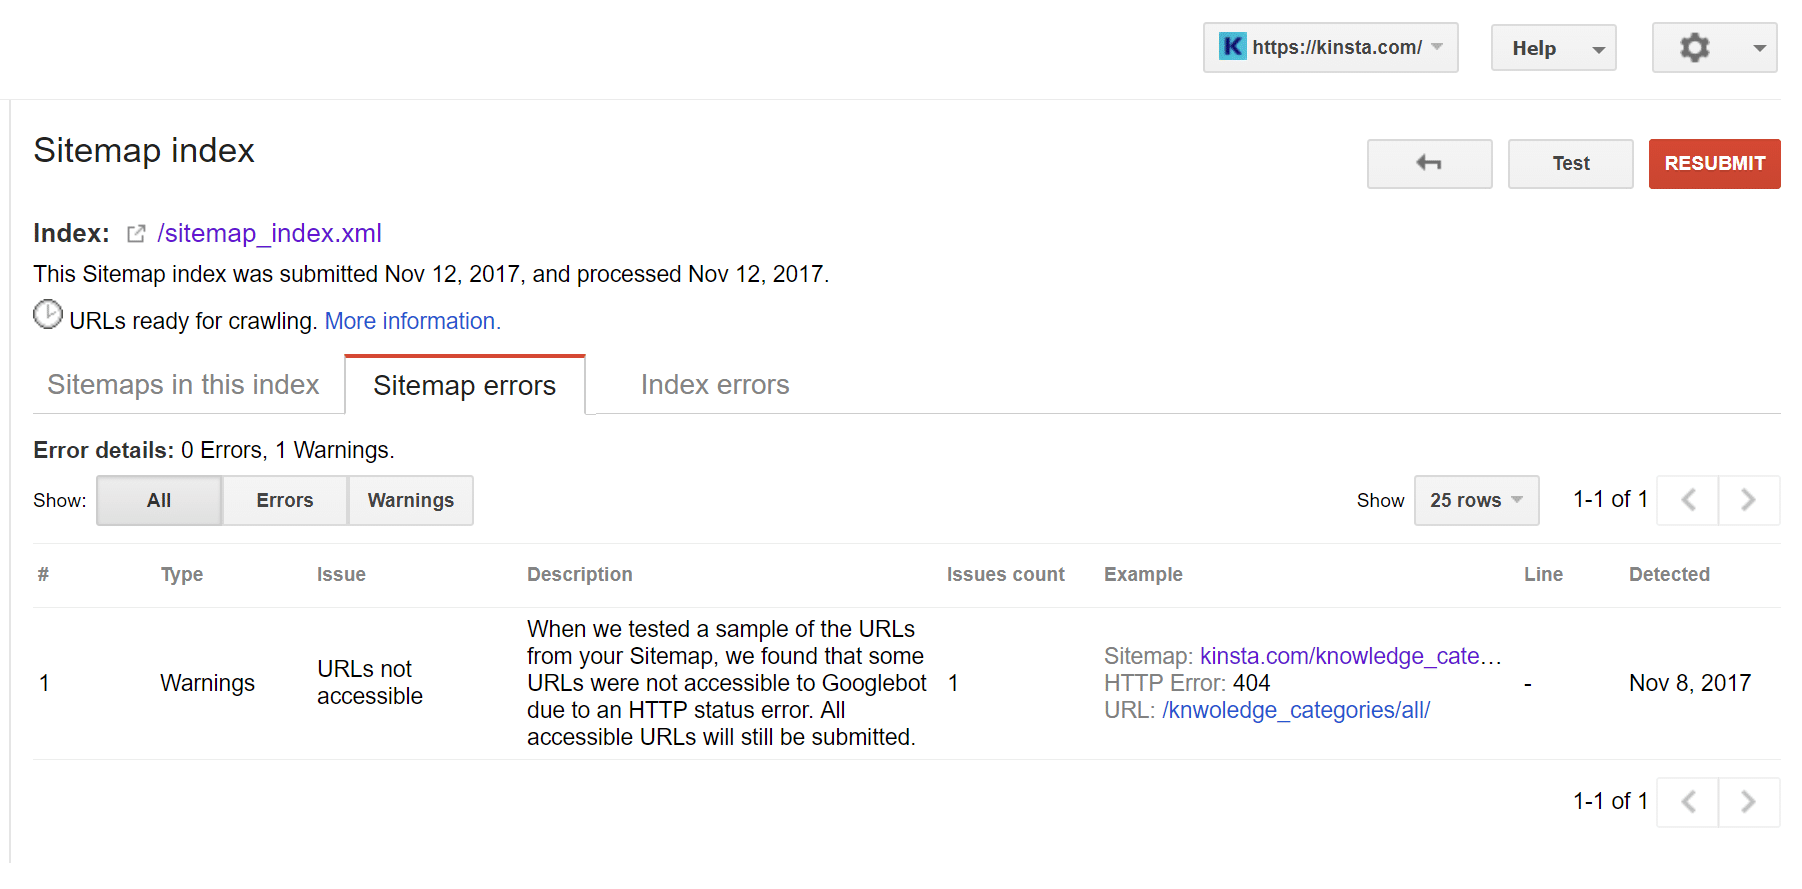
Once Google processes your sitemap, you’ll be able to view statistics in that same area. This includes helpful information about errors (such as 404 errors) that might be occurring on your site, such as in the example below.
When we tested a sample of the URLs from your Sitemap, we found that some URLs were not accessible to Googlebot due to an HTTP status error. All accessible URLs will still be submitted.
How To Submit Your Sitemap To Bing
While Google is king, Bing still does exist. So for more coverage, you might also want to submit your sitemap to Bing. Here’s Bing’s guide on how to do that. The process is pretty similar to Google – you’ll need to sign up for a Bing Webmaster Tools account. Then, you can submit your sitemap right from your dashboard.
How To Add An HTML Sitemap Navigation To WordPress
For all of this post, we’ve focused specifically on XML sitemaps. But that’s not the only kind of sitemap you might want to add to your WordPress site. HTML sitemaps are a more human-facing version of a sitemap. You’ve probably seen them before – they’re basically a bulleted list of links that help humans easily navigate around your site.
For example, here’s our (partial) sitemap at Kinsta:
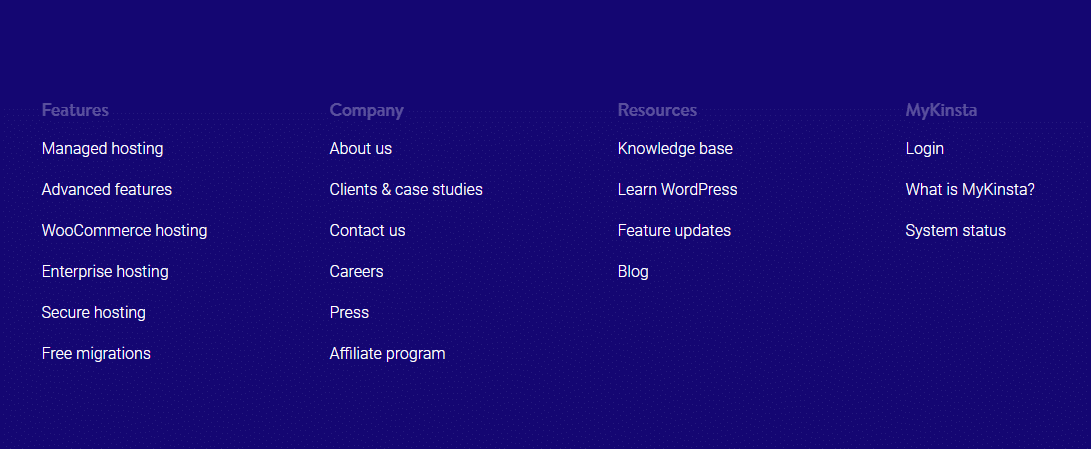
HTML sitemaps don’t necessarily include every single page on your site – but they do let visitors quickly navigate to all of your most important pages. While you can always manually create an HTML sitemap navigation area, a more automated approach is to use the Simple Sitemap plugin. This plugin lets you create a sitemap by:
- Only including certain post types
- Limiting the number of child pages that are shown
- Excluding specific post IDs
- Ordering your pages in different ways
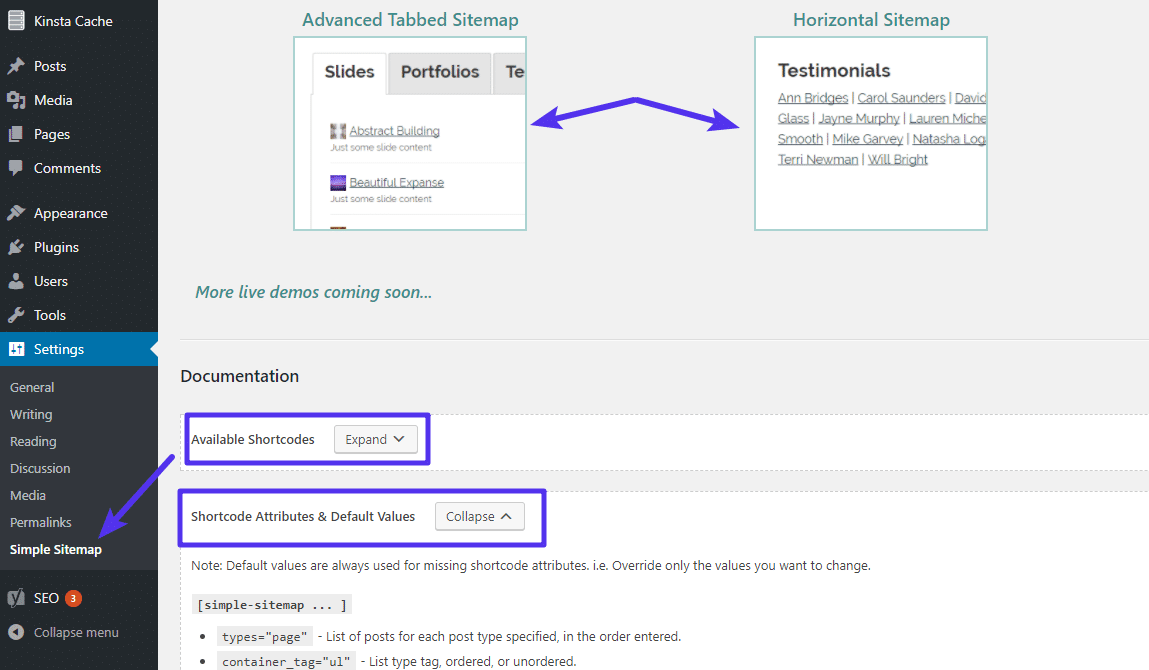
The plugin also includes pre-made templates to help you quickly create common types of sitemaps. Once you set your options, you can display your sitemap anywhere on your site with a simple shortcode.
To use it, install and activate the plugin. Then, head to Settings → Simple Sitemap. You can either click on one of the demos to get a pre-made shortcode or create your own shortcode using the various shortcode attributes:
Start Using Sitemaps For WordPress Today
An XML sitemap is one of those things that every single WordPress site needs. While it’s not going to rocket your site straight to the top of the SERPs, it is a great way to get your site crawled faster and more thoroughly. The easiest way to create an XML sitemap on WordPress is via the Yoast SEO plugin, but you can also find plenty of other plugins to help you do it.
Recommended tutorial: Best SEO Plugins for WordPress (And Must-Have SEO Tools)
And once you create your sitemap, you should submit it to Google Search Console to gain valuable insights about how Google indexes your site. We hope you enjoyed our guide and please leave a comment if you have any further questions about working with WordPress and sitemaps.

Brian has a huge passion for WordPress, has been using it for over a decade, and even develops a couple of premium plugins. Brian enjoys blogging, movies, and hiking. Connect with Brian on Twitter.

