
WordPress is one of the world’s most popular content management systems (CMSs), helping small and large businesses set up and create various forms of website content. But WordPress has evolved past just supporting traditional blog content — and that’s largely thanks to the WordPress REST API.
The WordPress REST API connects WordPress and other external web applications. It facilitates more accessible communication and helps you build immersive, engaging web experiences that integrate seamlessly with the CMS platform.
This API uses endpoints to retrieve and manipulate WordPress content as JSON objects. With these endpoints, you can create, read, update, and delete (CRUD) WordPress content remotely without logging into the WordPress Admin account, bringing flexibility and extending WordPress’s functionality beyond its core features.
This guide explores what the WordPress REST API is, its benefits, how it extends WordPress’s base capabilities, and how to create, register, and access a custom endpoint.
Prerequisites
To follow this tutorial, you need:
- Knowledge of REST API
- A WordPress site setup (you can set up one easily with the MyKinsta dashboard)
- Knowledge of using WordPress and PHP
Understanding the WordPress REST API
The WordPress REST API is a powerful interface that allows you to interact with WordPress sites programmatically using standard HTTP methods.
Its default capabilities include accessing and manipulating various types of WordPress data, such as posts, pages, comments, users, and taxonomies, in a structured JSON format. You can also remotely perform CRUD actions on content.
However, the WordPress REST API’s true value lies in its extensibility through custom endpoints. You can create custom endpoints to tailor the API to specific needs, such as integrating additional functionalities, third-party services, or unique data structures. This flexibility empowers you to build highly customized and feature-rich applications on top of WordPress.
How to plan your custom API endpoint
Planning the structure and purpose of your custom endpoints is key for efficient API development. Custom endpoints tailored to your specific needs require careful consideration to ensure optimal functionality. Strategic planning facilitates scalability and adaptability, future-proofing endpoints to accommodate evolving business requirements.
Planning your custom API endpoints before implementation supports:
- Clarity of endpoint function — Planning your endpoint clarifies the endpoint’s specific function, its expected data types, and usage.
- Consistency and development efficiency — Planning also ensures consistency in using the endpoints, response types, and formatting, which improves interaction with the API. Furthermore, knowing the API’s purpose enables proper implementation, reducing development time and the risk of errors.
- Scalability and adaptability — Defining the needs of your endpoint helps future-proof it to accommodate changing business needs and requirements without requiring a complete redesign.
- Security—Proper endpoint planning helps determine the need for authentication to access or manipulate data. Getting content via the API sometimes involves no user authentication. Still, for content containing sensitive or unauthorized data, it’s essential to define security requirements and implement measures like authorization and access controls to help ensure data security.
The hands-on sections that follow explain how you can create a custom endpoint that is available at site-domain/wp-json/custom/v2/testimonials to retrieve customer testimonials from a WordPress database site.
After sending a request, the endpoint returns a JSON object containing information about the testimonials on your WordPress site as defined in your callback function.
Let’s dive in!
Create a custom post type for your endpoint
First, you need to create a custom post type.
- Navigate to Theme File Editor from the Appearance section of your WordPress Admin dashboard.
- Open your theme’s function.php file and add the following code:
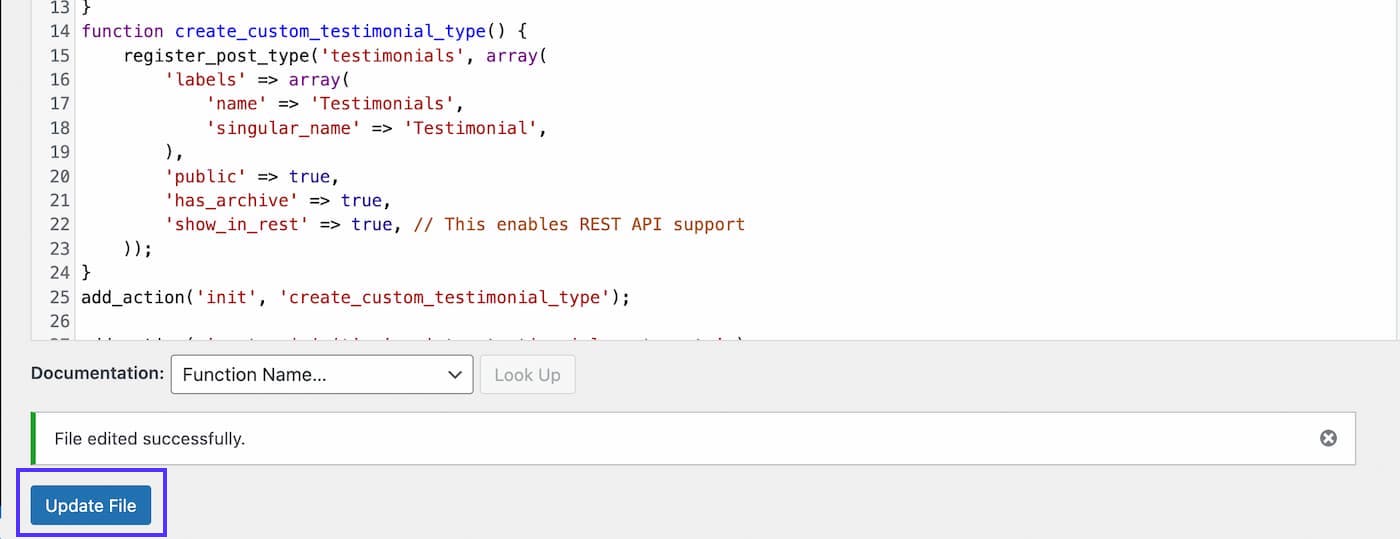
function create_custom_testimonial_type() {
    register_post_type('testimonials', array(
        'labels' => array(
            'name' => 'Testimonials',
            'singular_name' => 'Testimonial',
        ),
        'public' => true,
        'has_archive' => true,
        'show_in_rest' => true, // This enables REST API support
    ));
}
add_action('init', 'create_custom_testimonial_type');
This code creates a custom “testimonials” post type and enables the WordPress REST API support (
'show_in_rest' => true). Theadd_action hookcalls thecreate_testimonial_typecallback function and launches it during execution.You can customize the labels and arguments by removing or adding them to cater to your needs.
- Click Update file to save your changes.
Creating a custom_testimonialpost type.Refresh the dashboard to see the Testimonials option added to your WordPress dashboard.
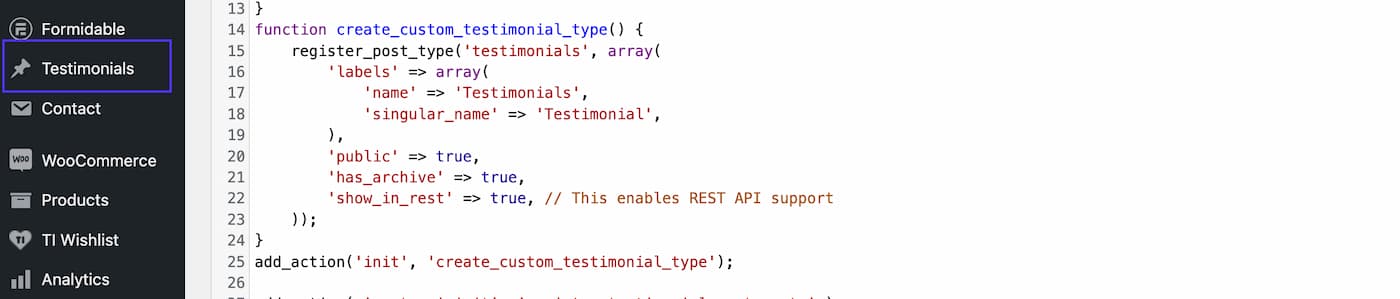
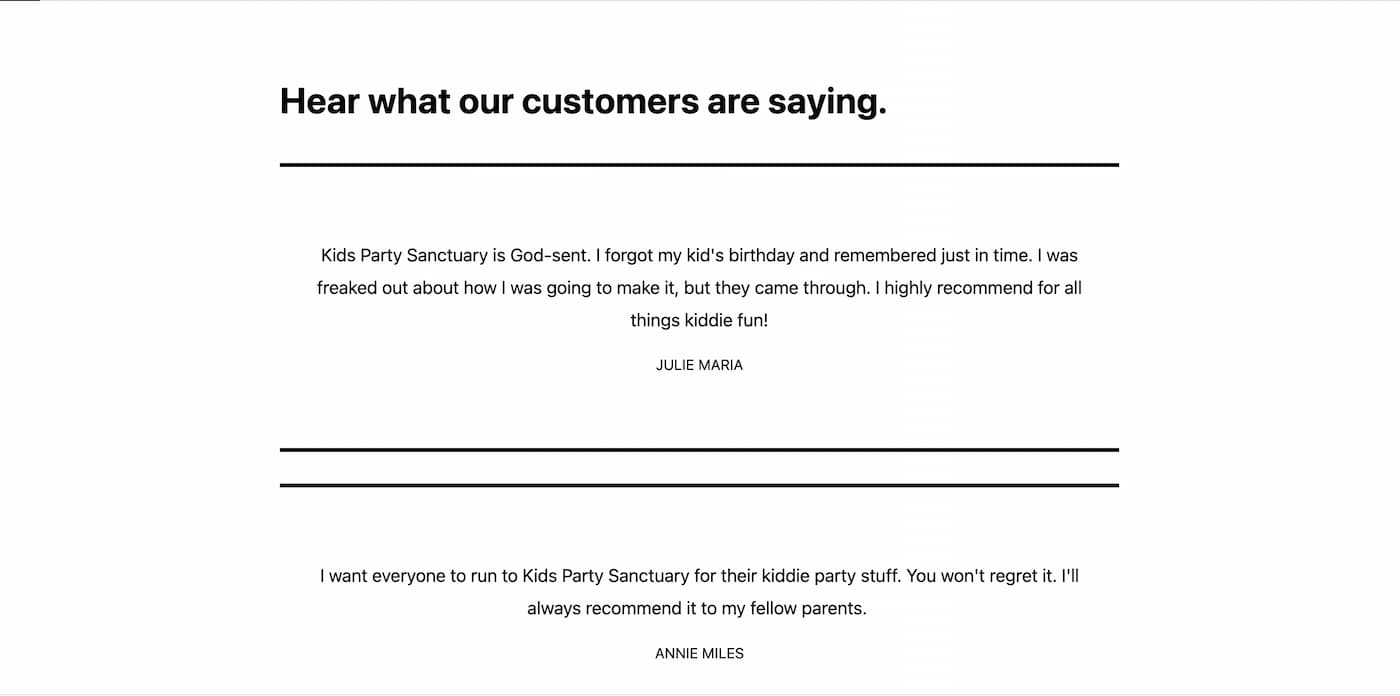
The newly created testimonial post type. - Create a new post containing testimonials by clicking Testimonials > Add New Post. You can use the Pullquote block. Depending on how you present your testimonial, you can also use other blocks.
Here are two sample testimonials created using the Pullquote blocks:
Register a custom endpoint in WordPress
Registering a custom endpoint makes it available for consumption via the REST API. This involves using the register_rest_route function, calling it on the rest_api_init hook, and providing a callback method that will be invoked when the route is called.
Paste the following code into your theme’s function.php file:
add_action( 'rest_api_init', 'register_testimonial_rest_route' );

function register_testimonial_rest_route(){
	register_rest_route(
		'custom/v2',
		'/testimonials',
		array(
			'methods' => 'GET',
			'callback' => 'get_testimonials',
		)
	);
}
This register_rest_route() takes in three parameters:
- Route Namespace (
$route_namespace) — This is the first part of the URL segment and should follow the vendor/version number pattern. The vendor represents the vendor or theme slug. The namespace helps differentiate endpoints and helps customers contact support for your custom endpoint. This tutorial uses thecustom/v2namespace. - The base URL (
$route) — This follows the namespace and is a URL mapped to a method. You can register more than one single endpoint for your route. For this tutorial, you use the/testimonialsroute, which tells the endpoint to retrieve testimonials. - The endpoint’s options (
$args) — Here, this is an array containing the HTTP method used when calling the route and the callback function the endpoint will invoke when you send a request. We’ll go over this callback function in the next section.
Finally, note your endpoint address. The format of an endpoint is site-address/wp-json/namespace/route. So, in this example, the endpoint will be https://www.staging.kidspartysanctuary.co.uk/wp-json/custom/v2/testimonials.
Implement the callback function for the endpoint
After creating the custom post type and registering your custom endpoint, the next step is to write your callback function. This callback function is invoked every time the endpoint is accessed.
- Declare your
get_testimonialscallback function using the code below:function get_testimonials(){ } - Initialize an empty testimonials array to store the retrieved WordPress testimonial data:
$testimonials = array(); - Set up an array named
$argswith query parameters for aWP_Querycall.$args = array( 'post_type' => 'testimonials', //specifies you want to query the custom post type 'testimonial', 'nopaging' => true, // no pagination, but retrieve all testimonials at once ), - Create an instance of the
WP_Queryclass that takes in the$argsarray, performs a query based on the specified parameters and stores the WordPress query’s results in the$queryvariable.$query = new WP_Query($args) - Write a conditional statement to check if there are any testimonial posts. Then, create a
whileloop to iterate through the posts and return the testimonials post’stitleandcontent.if ( $query->have_posts() ) { while ( $query->have_posts() ) { $query->the_post(); $testimonial_data = array( /*an array that stores the title and content of every post*/ 'title' => get_the_title(), 'content' => get_the_content(), // Add other fields as needed ); $testimonials[] = $testimonial_data; } wp_reset_postdata(); /* restores $post global to the current post to avoid any conflicts in subsequent queries*/ } return rest_ensure_response( $testimonials ); /*ensures response is correctly set as a response object for consistency*/Here’s the complete code:
function get_testimonials() { $testimonials = array(); $args = array( 'post_type' => 'testimonials', 'nopaging' => true, ); $query = new WP_Query( $args ); if ( $query->have_posts() ) { while ( $query->have_posts() ) { $query->the_post(); $testimonial_data = array( 'title' => get_the_title(), 'content' => get_the_content(), // Add other fields as needed ); $testimonials[] = $testimonial_data; } wp_reset_postdata(); } return rest_ensure_response( $testimonials ); } - Test your endpoint using Postman to verify if you can access your data.
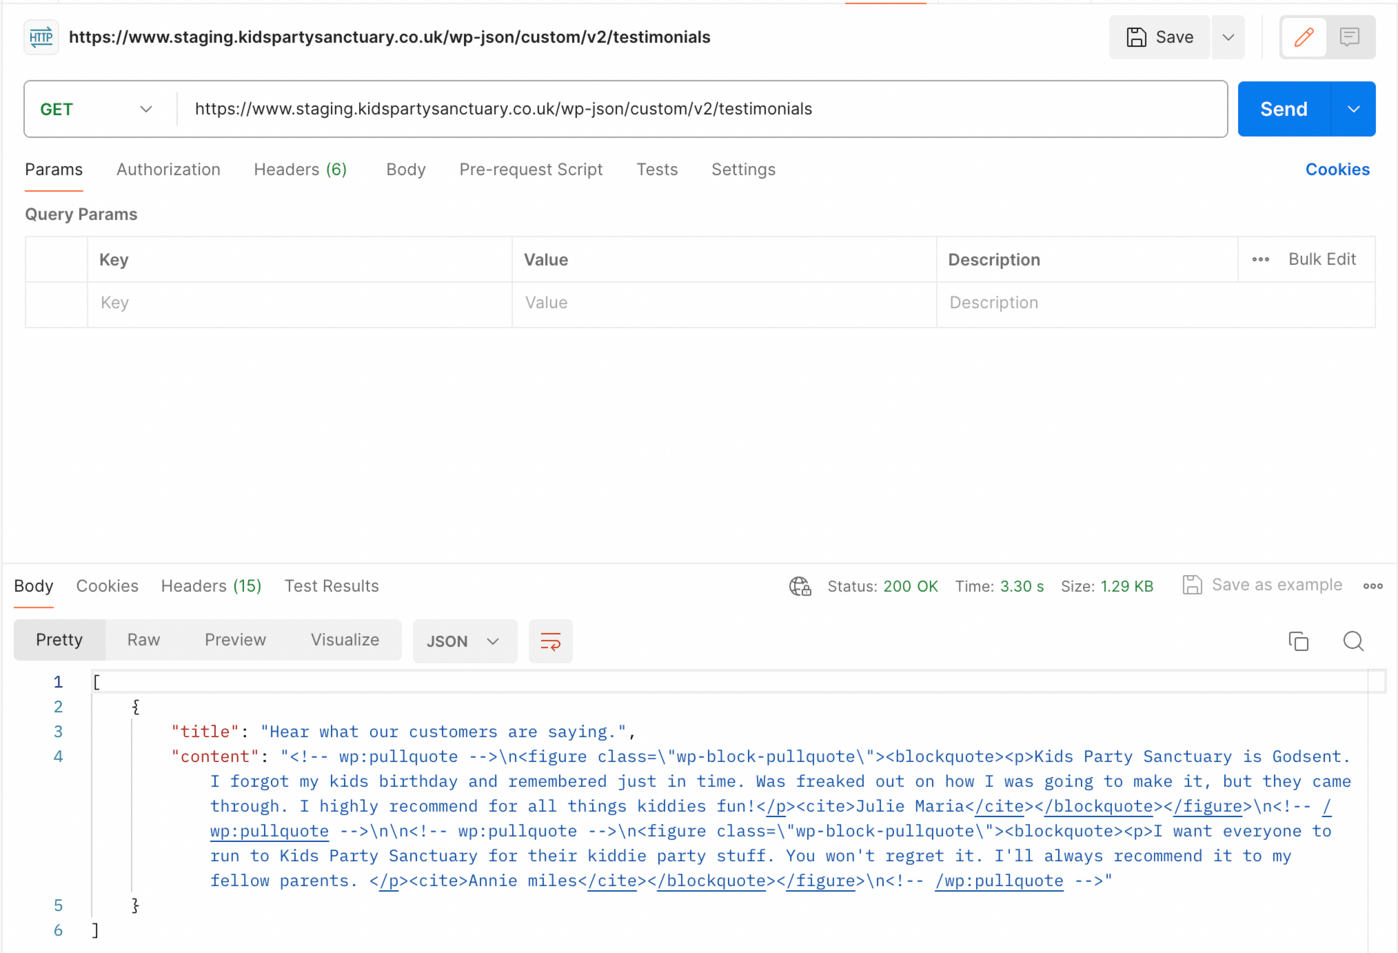
Postman showing a successful response. You can also test this using a browser. Access the endpoint by entering the URL
site-domain/wp-json/custom/v2/testimonialsin your browser’s address bar.
The browser result that appears when the endpoint is accessed.
Summary
This tutorial has explained how to implement a WordPress API custom endpoint. To enable users to access and interact with your WordPress database data, you just need to register the route that implements a callback function.
Want to know how to maximize WordPress for your business? Kinsta offers numerous advanced options as part of our managed WordPress Hosting service to help serve your unique business needs. A notable option is the Kinsta MU (must-use) plugin, which manages and implements caching for your site to reduce latency and improve performance. Try Kinsta today!
What are your views on developing custom WordPress API endpoints? Have you ever designed any? We’d love to hear about your experiences. Share them in the comments section below.


