Is your WordPress site stuck in maintenance mode? Don’t worry, it happens. Every CMS has it’s own little weird hiccups that happen and this is one unique to WordPress. In this article, we’ll show you a quick method for how you can manually pull WordPress out of maintenance mode in the event that your site gets stuck in maintenance mode. We’ll cover the following:
- Why you’re seeing the maintenance mode message
- How to fix the WordPress stuck in maintenance mode
- Some tips to prevent problems in the future
What Causes WordPress to Get Stuck in Maintenance Mode?
As part of its automatic update system, WordPress has a built-in maintenance mode that it activates whenever you update your software, themes, or plugins from the WordPress dashboard. You can see a message addressing this in the WordPress update interface whenever you run an update:
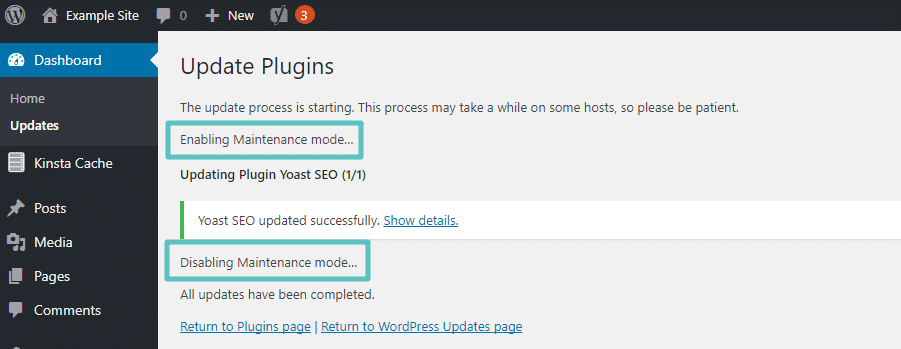
Most of the time, the handoff from “maintenance mode” to “working site” takes just a few seconds and you never even know your site was in maintenance mode.
But sometimes things do go wrong. Some potential causes are:
- You accidentally close your browser tab in the middle of an automatic update
- You’re trying to automatically update a huge number of plugins/themes at once
- There’s a compatibility problem that causes a glitch
As a result, you persistently see this message when you try to visit your site:
Briefly unavailable for scheduled maintenance. Check back in a minute.
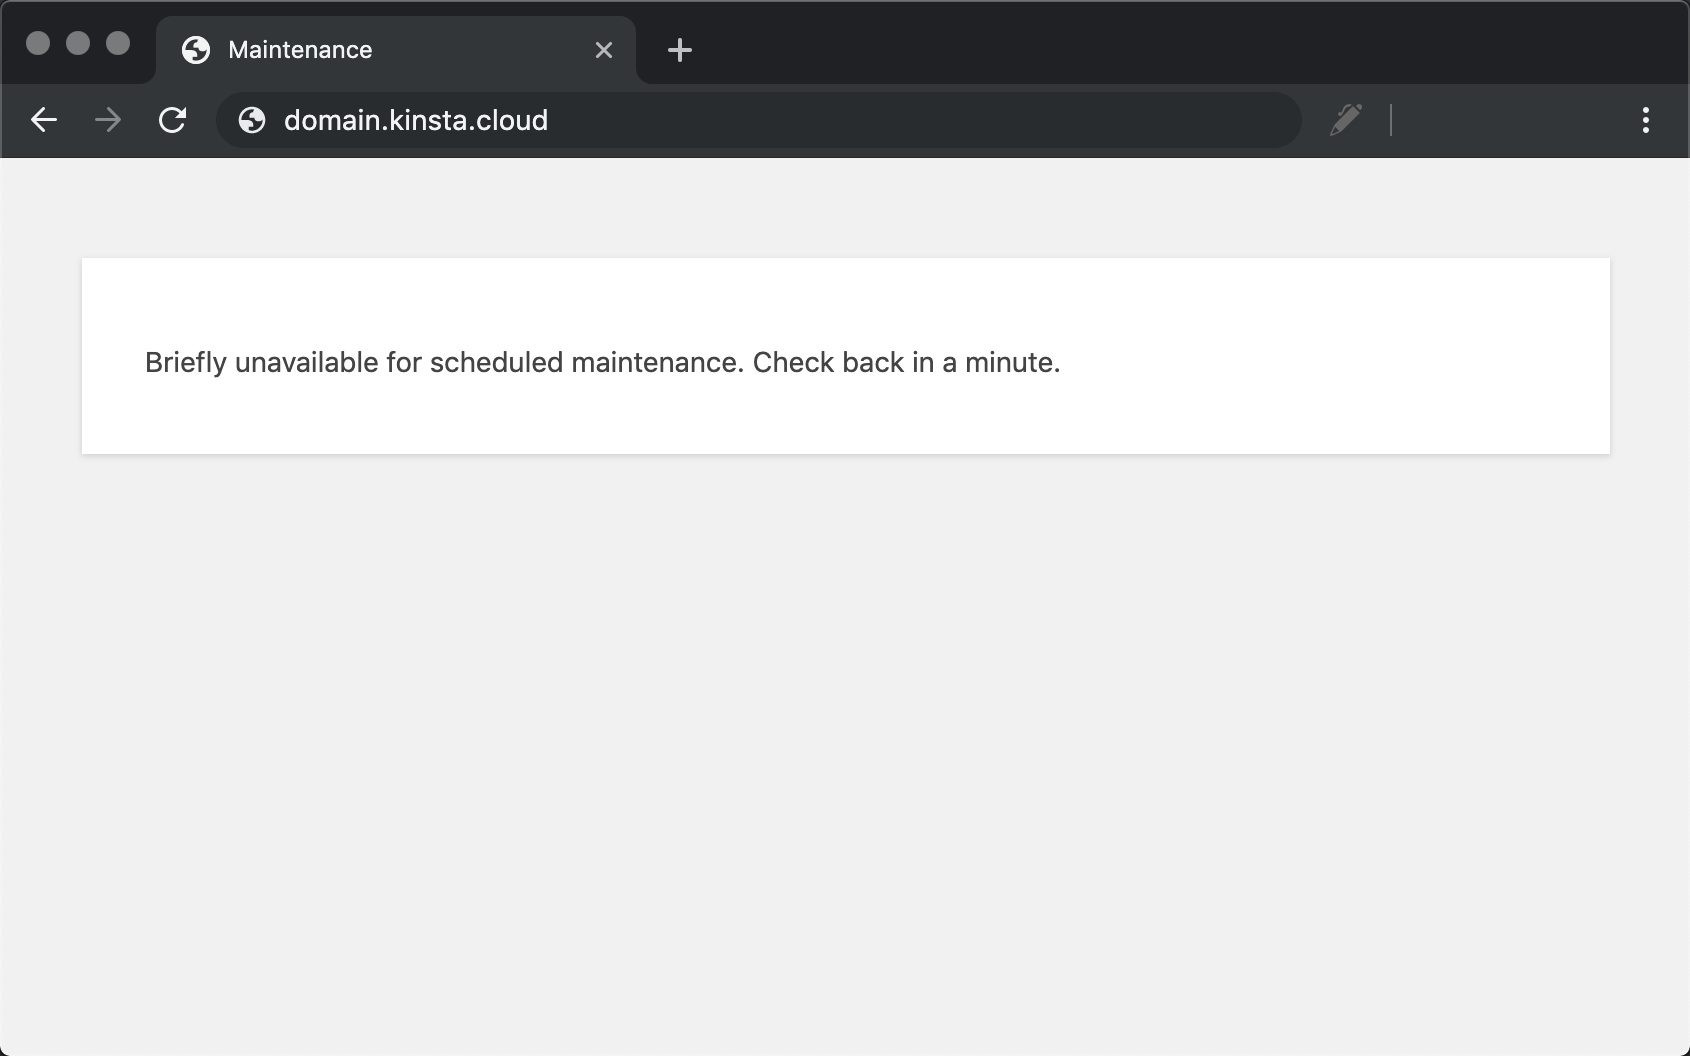
If you’re seeing that message, there’s an easy fix.
How to Fix WordPress Stuck In Maintenance Mode
When WordPress puts itself into maintenance mode, it does so by creating a file named “.maintenance” in the root folder of your WordPress site. This is the same folder that contains:
- wp-admin folder
- wp-config.php
To fix the WordPress stuck in maintenance mode problem, you’ll need to connect to your server via FTP and delete that file. If you’re hosting at Kinsta, you can read this article for how to connect to your site via SFTP. Once you’ve connected to your site via FTP, find the “.maintenance” file in your root folder and delete it:
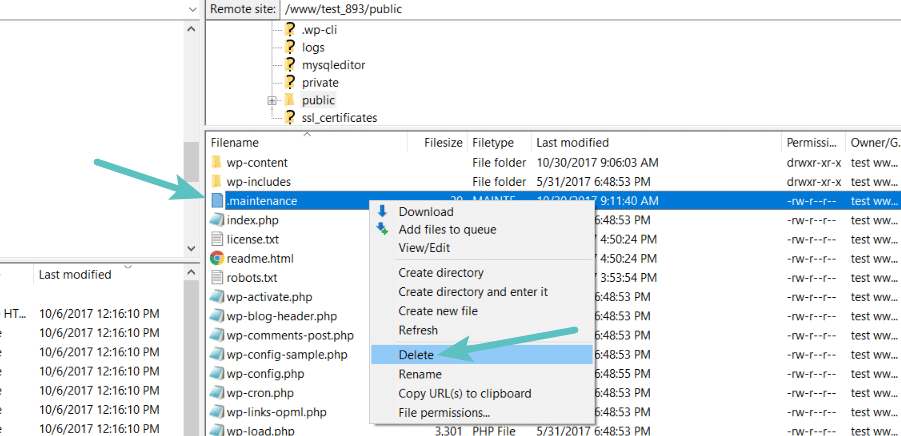
Once you delete that file, your site should function as normal. It is also recommended that you clear the cache on your WordPress site. If you are a Kinsta customer you can clear the cache right from within the MyKinsta dashboard or the admin toolbar of your WordPress dashboard (if you have access).
Assuming the failure wasn’t a result of a compatibility issue, you should run the upgrade again to ensure your site is running the latest version.
How To Prevent WordPress From Getting Stuck In Maintenance Mode
While the issue is fairly simple to fix, you can still take some positive steps to help decrease the likelihood of your site getting stuck in maintenance mode again.
1. Ensure Plugin/Themes are Compatible
Make sure plugins/themes are compatible with your version of WordPress before updating. You can check confirmed compatibility right from your WordPress dashboard:
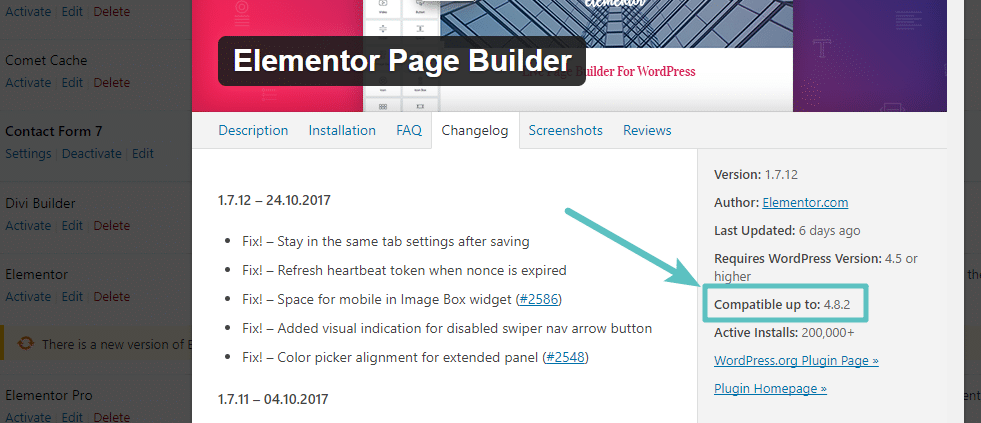
2. Avoid Updating all Plugins at Once
Try to avoid executing too many updates at one time. By updating themes/plugins as updates become available (instead of waiting to do them all at once), you can minimize the number of updates WordPress has to do each time.
If you want to keep your site in good shape, make sure to read our in-depth guide on WordPress maintenance.
If you are a Kinsta client, you can access the Kinsta Automatic Updates add-on inside the MyKinsta dashboard. This allows you to enable auto-updates for selected themes and plugins, making the process above quick and easy.


