
How does a typical dynamic website, like those based on WordPress, work? When a visitor enters the URL on a browser or visits your website through a link, a request is sent to your web server.
The server gathers the required data through necessary database queries and generates an HTML file for your browser to display. Static sites, on the other hand, store these responses into flat files on the server that are instantly delivered to a visitor.
Static site generators have been around for a long time, but they have grown in popularity recently. In this step-by-step guide, we look at the integration of WordPress with Gatsby, a static site generator.
What’s Gatsby?
WordPress creates dynamic websites, which need a stack of PHP, MySQL, and Apache or Nginx on the server to run. It is possible to create a static version of WordPress by generating a list of HTML pages for all the content on your site.
This static version of WordPress is called headless WordPress or serverless WordPress. This conversion process is done just once so that the same page can be served to visitors multiple times. How do you convert your WordPress site to a static version? This is where Gatsby comes into the picture.
Gatsby, or GatsbyJS, is a static site generator built with ReactJS and powered by GraphQL. Gatsby allows anyone to create feature-rich, engaging websites and applications. Gatsby fetches data for your site from a variety of sources, including existing websites, API calls, and flat files through GraphQL, and builds the static site based on configuration settings specified by you.
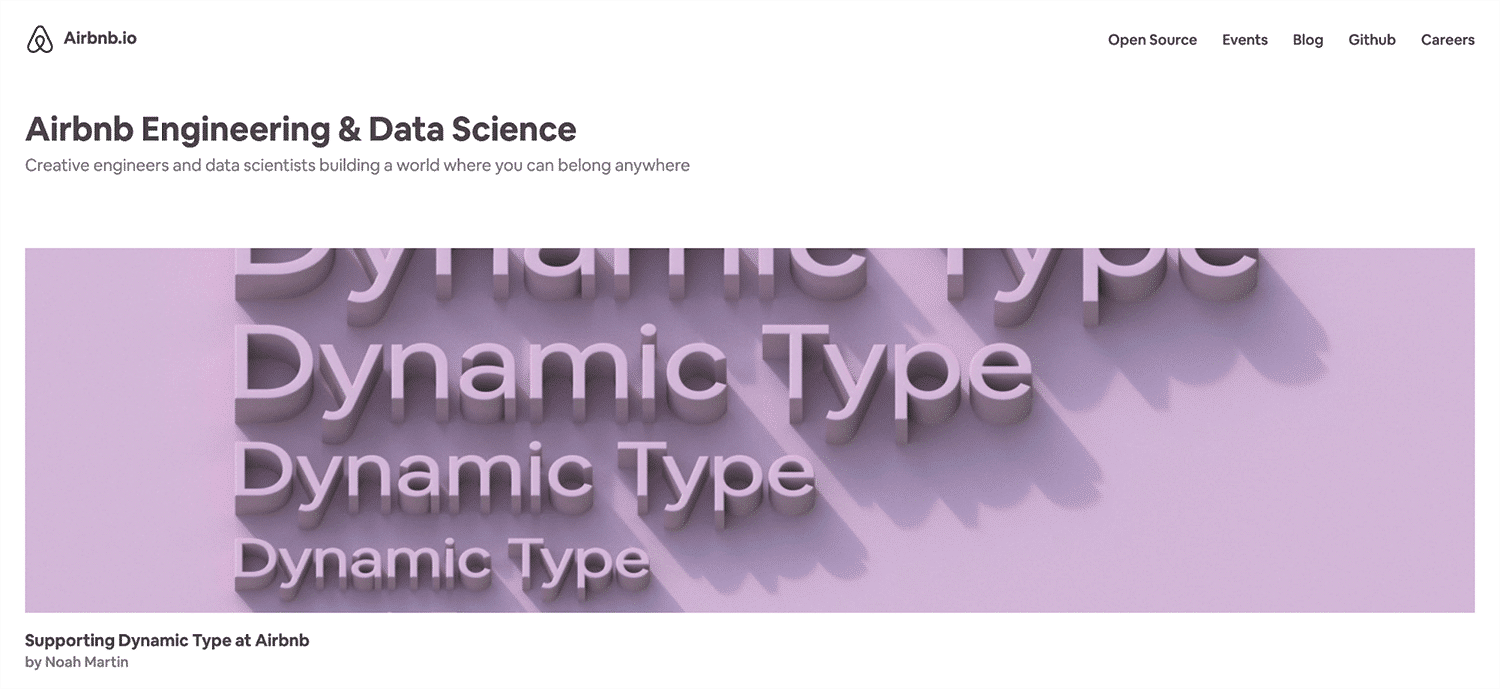
Gatsby was developed only a year ago, but a large number of users are giving Gatsby a try. Gatsby has found acceptance in a variety of settings. The home page of Airbnb’s Data Science and Engineering Blog is powered by Gatsby, though the actual blog posts are hosted on Medium.
Braun is a brand of the consumer goods company P&G. Its Canadian site is hosted with Gatsby, while the search function on the site is powered by React.

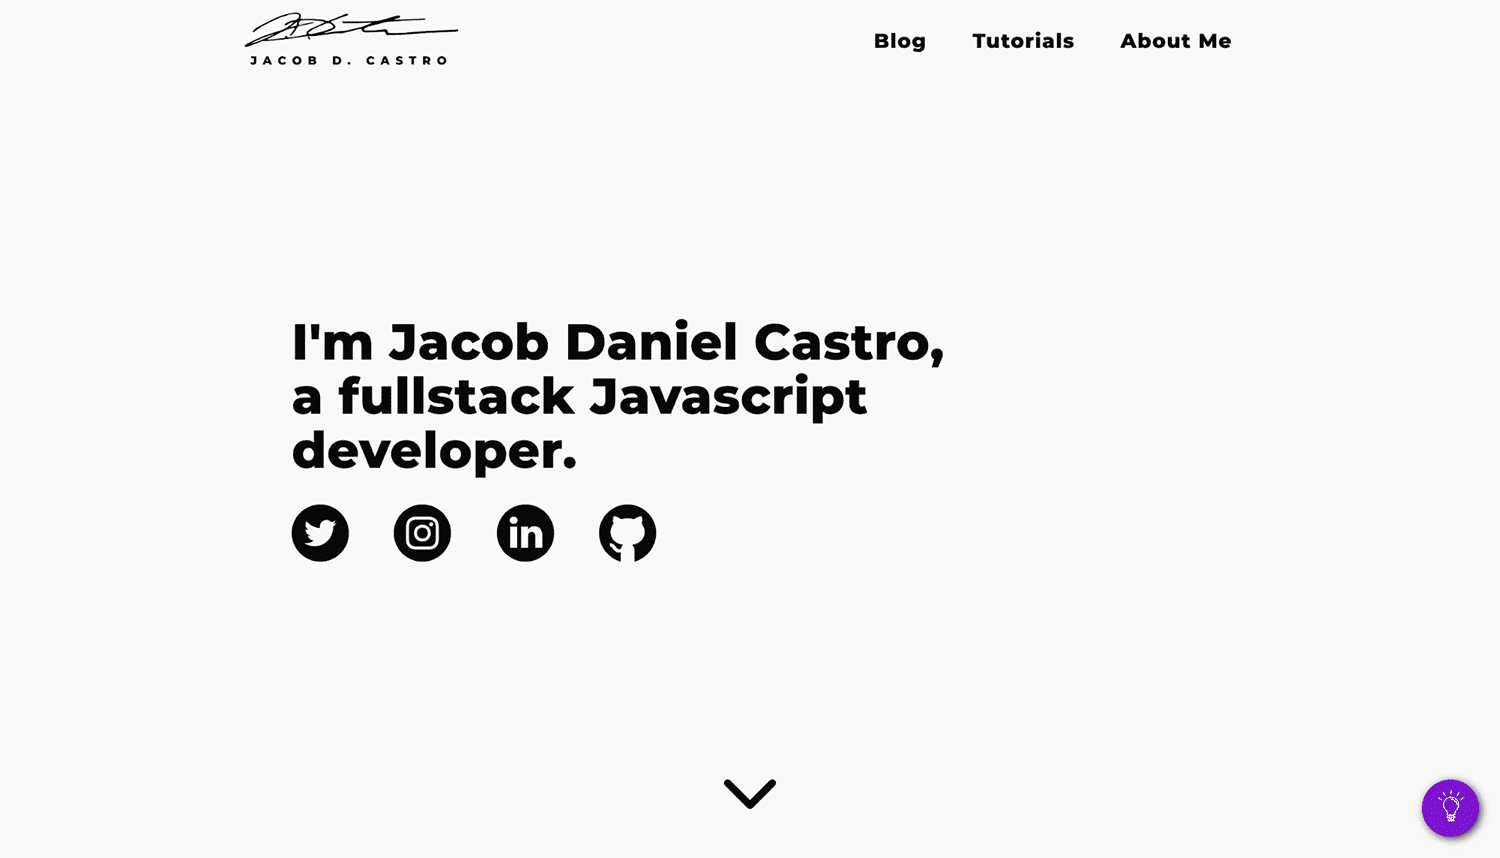
Additionally, Gatsby has tickled freelancer developers‘ interest in their portfolios too. Portfolios such as the one by Jacob Castro have primarily static content with links to works and contact through email, thus making a static site a perfect fit for his needs.
Why Choose Gatsby?
Fast Websites: The primary benefit of building a static site with Gatsby is speed, which webmasters have been trying to optimize since Google’s announcement of using site speed in web search ranking. Load times also affect page views and conversions. It has been estimated that a one-second delay in site load time can lead to 7% reduction in conversions.
Security: You also get added security with a static site. Since it’s a bunch of static files being served, there is nothing much to hack into. Additionally, you can always re-generate the static files if they are lost.
Server Costs: Hosting a dynamic site requires your server to be compatible with your technology stack. If you are working with a static site, you can host it on almost any server, which brings down the cost associated with hosting too.
Generating the static site with Gatsby on every change does need JavaScript, which may be also done on a local machine before transferring the static files to the site.
Why Avoid Gatsby?
No Dynamic Content Built-In: If you want to use Gatsby, you’ll need to re-think how to control and serve dynamic content, i.e. you’ll need to create a hybrid of static/dynamic to achieve that (more on this below).
For example, comments need to be hosted externally through a service like Disqus.
Contact forms would also need to be re-routed through an external partner like Google Forms. In short, you would lose direct control over such dynamic content, as their responses are not stored on your servers.
Frequent Builds are Inconvenient: Static sites have the issue of frequent reconverts too. Any change that you do on your site is only reflected once you have regenerated the pages and re-uploaded them on the server.
Technical Expertise: Gatsby is built on ReactJS and GraphQL. Some knowledge of JavaScript and a basic idea of GraphQL, therefore, is needed to work with and port a website to Gatsby.
Static websites are good for those who are looking for a low-cost solution with high security. Some use cases are portfolio websites for freelancers and product demo sites.
If you think the benefits outweigh the shortcomings, great! We will now try to set up Gatsby to integrate with our WordPress site.
The latest version of the Gatsby site that we built in this tutorial is available on GitHub for your use.
Step 1: Setting up Gatsby
In this section, we’ll look at how to install Gatsby and create a basic static site with Gatsby.
Prerequisites
The first step of getting started with Gatsby is to check its prerequisites. Gatsby is served through npm, the NodeJS package installer. Therefore, you need NodeJS and npm in your environment before installing Gatsby. Additionally, Gatsby requires you to install Git, the source code management system.
If you are running Windows, you can install NodeJS and Git through the installer on the download page. On a Mac, you can either download their installers or use homebrew.
brew install nodejs
brew install git
If you are running the Linux OS, you can install NodeJS through a package installer like apt.
sudo apt update
sudo apt install nodejs git
Install Gatsby
Once you successfully installed NodeJS and Git, you are ready to install Gatsby! The easiest way is to run the following command on the terminal (use the npm command line on Windows):
npm install -g gatsby-cliThe installer first installs the dependencies and then Gatsby. You are now ready to create your first Gatsby site.
Build and Deploy Your Gatsby Site
Run the following command to create a Gatsby site.
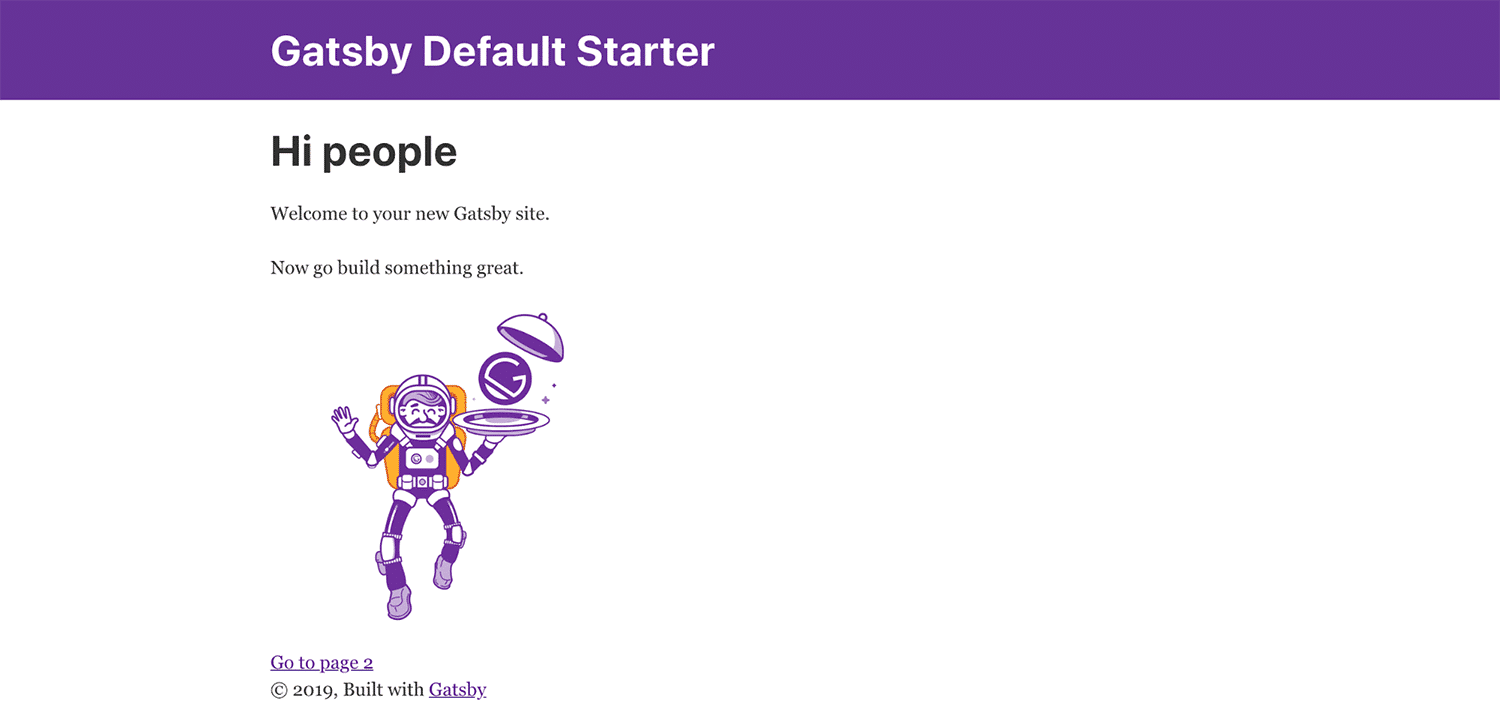
gatsby new gatsby-wordpressGatsby creates a site in the directory /gatsby-wordpress by cloning the Gatsby starter template. You can provide a different starter template to clone. Once the cloning is complete and the dependencies are installed, you can run a development version of the site with the following command.
cd gatsby-wordpress
gatsby develop
You can then visit the development version of the site at http://localhost:8000.
The final step is to build your static site. The following command creates the static files in the public directory. To upload it to a server, you can simply upload the contents of this directory to the server’s root directory. You may wish to add a path prefix like www.example.com/blog/ as a root URL for your builds.
gatsby buildTo start an HTML server locally to display this static form of your website, you need to use the serve command. Be aware that it only works after running the build command.
gatsby serveNow that you have successfully created a basic static site from Gatsby, let us try and integrate it with WordPress.
Step 2: How To Connect Gatsby to WordPress
In this section, you will integrate your WordPress site with Gatsby. You would point Gatsby to the address of your WordPress blog to enable it to pull the latest data when you run the development server or generate the static pages.
The process of connecting Gatsby to WordPress is to fetch your WordPress data, which is triggered by a build. Once Gatsby has fetched the WordPress data, it creates the static site based on the current template.
The process uses the WordPress site has a source for the posts on Gatsby. To facilitate this exchange, you need to install Gatsby’s plugin for WordPress through the following command:
npm install gatsby-source-wordpressConfigure Gatsby
Next, add this plugin to Gatsby’s configuration file gatsby-config.js.
Then, add the following code to the file to connect Gatsby to your WordPress source. In this example, we use a locally hosted WordPress site on MAMP. On a side note, you may wish to edit the title and description of the site in siteMetadata.
module.exports = {
  siteMetadata: {
    ...
  },
  plugins: [
    ...
    {
        resolve: `gatsby-source-wordpress`,
        options: {
            // Specify the URL of the WordPress source
            baseUrl: `localhost:8888/wordpress`,
            protocol: `http`,
            // Indicates if a site is hosted on WordPress.com
            hostingWPCOM: false,
            // Specify which URL structures to fetch
            includedRoutes: [
              '**/posts',
              '**/tags',
              '**/categories'
            ]
        }
    }
Fetch Posts With GraphQL
Once you have specified the source of the WordPress site in your configuration file, you need to specify what data needs to be extracted from the WordPress site. Gatsby uses GraphQL, an open source query language for APIs, to get WordPress posts in bulk.
Before you finalize the queries to be selected, you can interactively select the content you need to fetch from WordPress. Run the development server and go to the URL: http://localhost:8000/___graphql to open the GraphQL editor.

When you have finalized the content to be pulled, you can add the GraphQL queries to the file index.js.
Let us pull the title and excerpt only from each post for now. We can add further fields later.
import React from "react"
import { graphql } from "gatsby"
import Layout from "../components/layout"
import SEO from "../components/seo"

export default ({ data }) => {
  return (
    <Layout>
      <SEO title="home" />
      <h4>Posts</h4>
      {data.allWordpressPost.edges.map(({ node }) => (
        <div>
          <p>{node.title}</p>
          <div dangerouslySetInnerHTML={{ __html: node.excerpt }} />
        </div>
      ))}
    </Layout>
  )
}
export const pageQuery = graphql`
  query {
    allWordpressPost(sort: { fields: [date] }) {
      edges {
        node {
          title
          excerpt
        }
      }
    }
  }
When you check the development site, you will notice that all the posts from WordPress have been pulled with their headings and excerpts displayed:
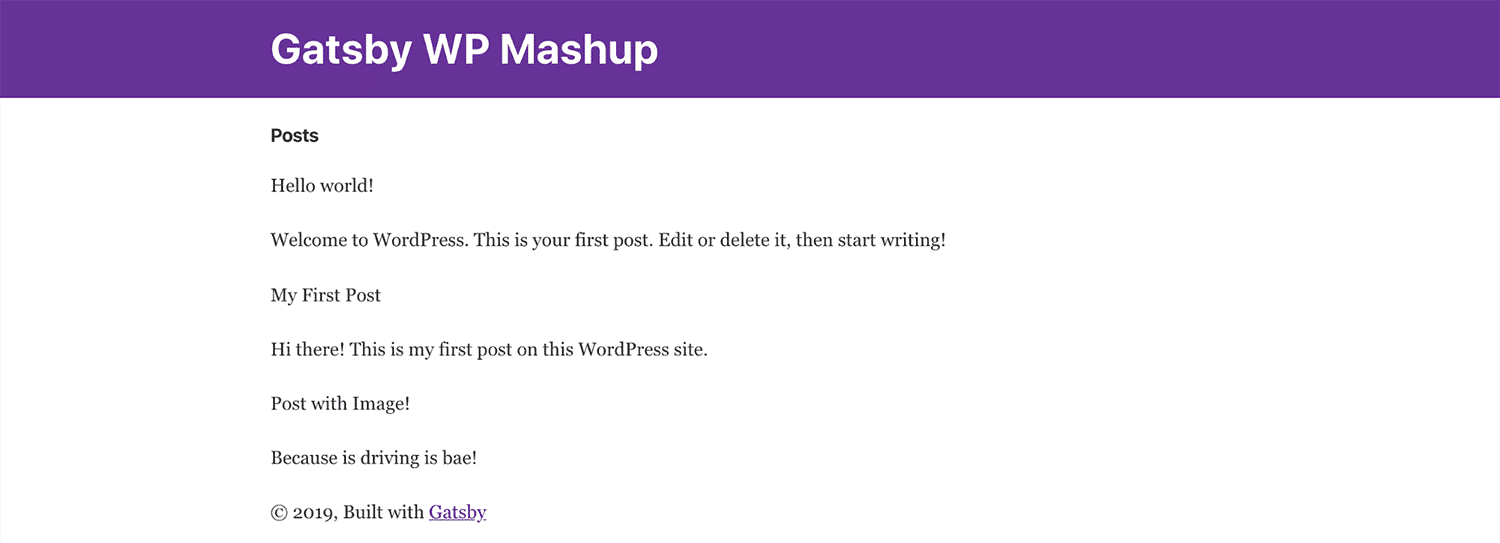
While this does not look pretty, you have successfully pulled the relevant data from WordPress. The next step is to create a new page for each post.
Step 3: Create a Basic Page Template
In this section, you will trigger Gatsby to create a post for every single page from your WordPress site and include links to these posts through the slug.
Create a Page for Each Post
The first step after pulling all posts from the WordPress source is to instruct Gatsby to create a page for each post. This is an action that is completed using the createPage action.
Add the following code to gatsby-node.js. Notice that we are additionally getting the content, author, date, and slug of each post:
const path = require(`path`)

exports.createPages = ({ graphql, actions }) => {
  const { createPage } = actions
  return graphql(`
    {
      allWordpressPost(sort: {fields: [date]}) {
        edges {
          node {
            title
            excerpt
            slug
            date(formatString: "MM-DD-YYYY")
            author {
              name
            }
          }
        }
      }
    }

  `).then(result => {
    result.data.allWordpressPost.edges.forEach(({ node }) => {
      createPage({
        // Decide URL structure
        path: node.slug,
        // path to template
        component: path.resolve(`./src/templates/blog-post.js`),
        context: {
          // This is the $slug variable
          // passed to blog-post.js
          slug: node.slug,
        },
      })
    })
  })
After pulling the data from GraphQL, the code creates a page for each post. Within the post, you can specify the URL structure of the page based on the slug using the path.
Alternatively, you can get the ID of the post and specify that in the URL. The component variable points to the template through which the post needs to be rendered. Finally, we pass the slug as the context of the template. This is required for the template to query for the right post from the list of posts fetched.
Ideally, you’d need to pass a variable that uniquely identifies a post as the context.
Restart the development server after you have made changes to the gatsby-node.js file for the changes to take effect.
Create a Template to Display a Post
Create a directory template in the src directory. Create a new file blog-post.js within the templates directory and enter the following code:
import React from "react"
import Layout from "../components/layout"
import { graphql } from "gatsby"

export default ({ data }) => {
  const post = data.allWordpressPost.edges[0].node
  console.log(post)
  return (
    <Layout>
      <div>
        <h1>{post.title}</h1>
        <div dangerouslySetInnerHTML={{ __html: post.content }} />
        <p> By: {post.author.name} </p>
        <p> On: {post.date} </p>
      </div>
    </Layout>
  )
}

export const query = graphql`
  query($slug: String!) {
    allWordpressPost(filter: { slug: { eq: $slug } }) {
      edges {
        node {
          title
          content
          slug
          date(formatString: "MM-DD-YYYY")
          author {
            name
          }
        }
      }
    }
  }
The GraphQL query gets the date and author names, which are displayed towards the end of the post. You can get additional fields using the GraphQL editor and display them on the post page.
Link To Pages in Index
You have created a new page for each post. However, you need to add a link to these posts from the Index page. Head over to index.js and modify the code to add a link to each post:
import React from "react"
import { Link, graphql } from "gatsby"
import Layout from "../components/layout"
import SEO from "../components/seo"
export default ({ data }) => {
return (
<Layout>
<SEO title="home" />
<h1>My WordPress Blog</h1>
<h4>Posts</h4>
{data.allWordpressPost.edges.map(({ node }) => (
<div>
<Link to={node.slug}>
<p>{node.title}</p>
</Link>
<div dangerouslySetInnerHTML={{ __html: node.excerpt }} />
</div>
))}
</Layout>
)
}
export const pageQuery = graphql`
query {
allWordpressPost(sort: { fields: [date] }) {
edges {
node {
title
excerpt
slug
}
}
}
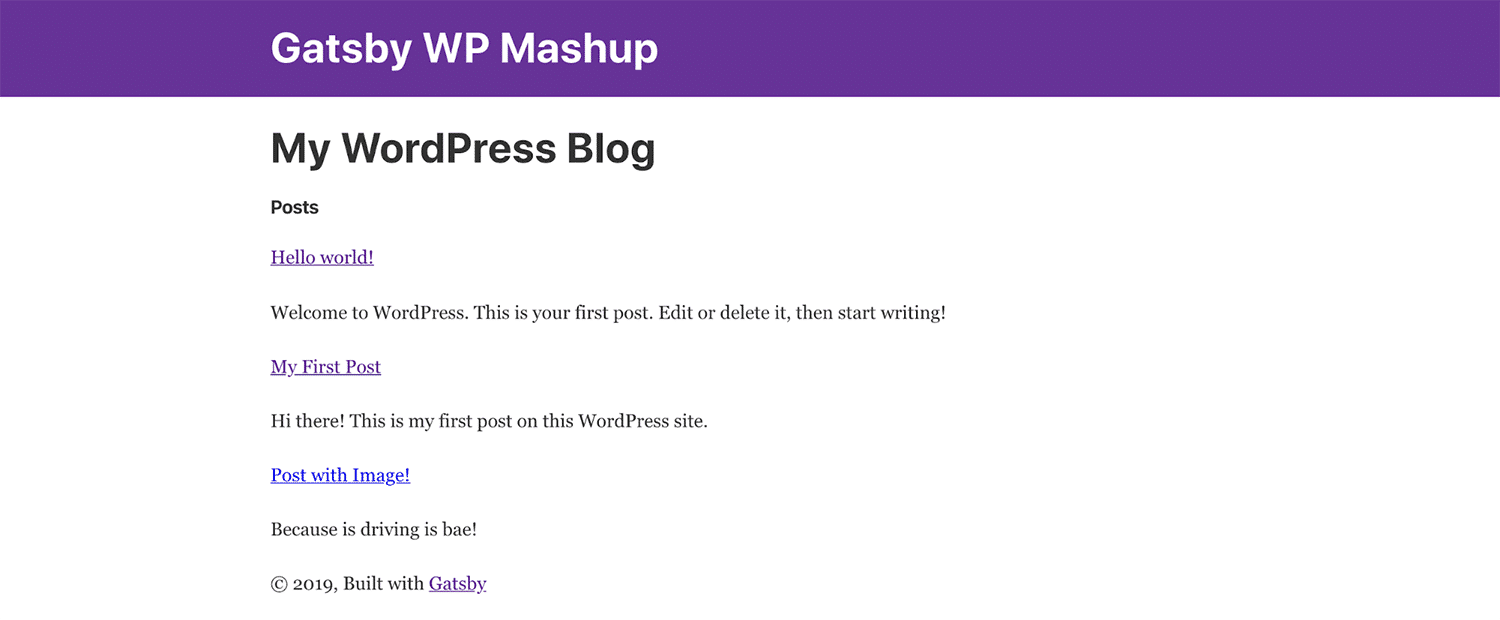
}Here’s the status of the index page:
When clicking on a link to a post, here is the blog post page, rendered by blog-post.js:

Step 4: Advanced Migration Tasks
While you may have successfully imported every WordPress post, let’s perform a few advanced tasks to make sure you do not face issues in the future. In this section, you can efficiently work with images and add the last modified date timestamp to your data.
Image Path Conversions
One of our original posts, “Post with Image!” had an image in it. If you move to the corresponding page on Gatsby, you will notice that the image is displayed, but the source of the image is the same as that of WordPress. In this example, it points to the locally hosted WordPress image.
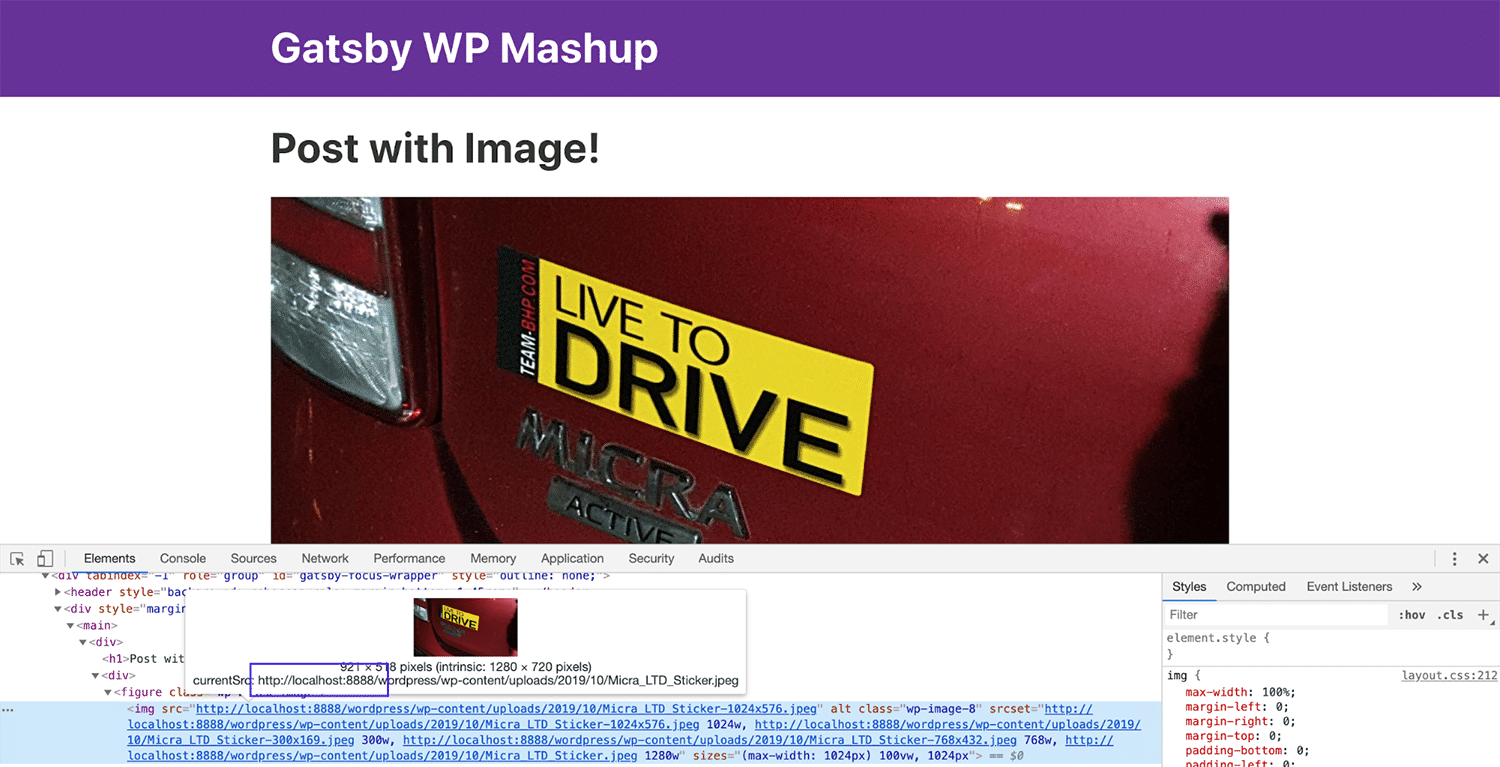
If you are hosting images externally, this will not pose an issue as you will continue pointing to your image server. However, if you store the images within your WordPress install, you will need to get the images with the posts too!
This is addressed by the inline images plugin. First, install the
gatsby-image and then the gatsby-wordpress-inline-images plugin.
npm install gatsby-image
npm install gatsby-wordpress-inline-images
Next, add the following lines to your gatsby-config.js file.
module.exports = {
  siteMetadata: {
    ...
  },
  plugins: [
    ...
    {
      resolve: `gatsby-source-wordpress`,
      options: {
        ...
        // If useACF is true, then the source plugin will try to import the WordPress ACF Plugin contents.
        // This feature is untested for sites hosted on WordPress.com
        useACF: true,
        plugins: [
          {
            resolve: `gatsby-wordpress-inline-images`,
            options:
            {
              baseUrl: `localhost:8888/wordpress`,
              protocol: `http`
            }
          }
        ]
      }
    }
  ],
}
Restarting the development server after making these changes will download the images from the WordPress site and store them locally. You can verify this from the path of the same image.
Display Last Modified Date
If you manage a blog where you regularly update your posts, you may wish to inform readers when a post was last updated. Although you pulled the “created date” in the GraphQL query earlier, this section tells you how to pull the “last modified” timestamp too.
To add the last modified timestamp from WordPress to your Gatsby post, you need to add the modified field to the list of items in your GraphQL query. It is a timestamp like date, so you also need to add the parameter formatString. Here is the modified blog-post.js file:
...
<Layout>
  <div>
    ...
    <p> On: {post.date} </p>
    <p> Last modified: {post.modified} </p>
  </div>
</Layout>
...

export const query = graphql`
  query($slug: String!) {
  {
    allWordpressPost {
      edges {
        node {
          ...
          modified(formatString: "MM-DD-YYYY")
        }
      }
    }
  }
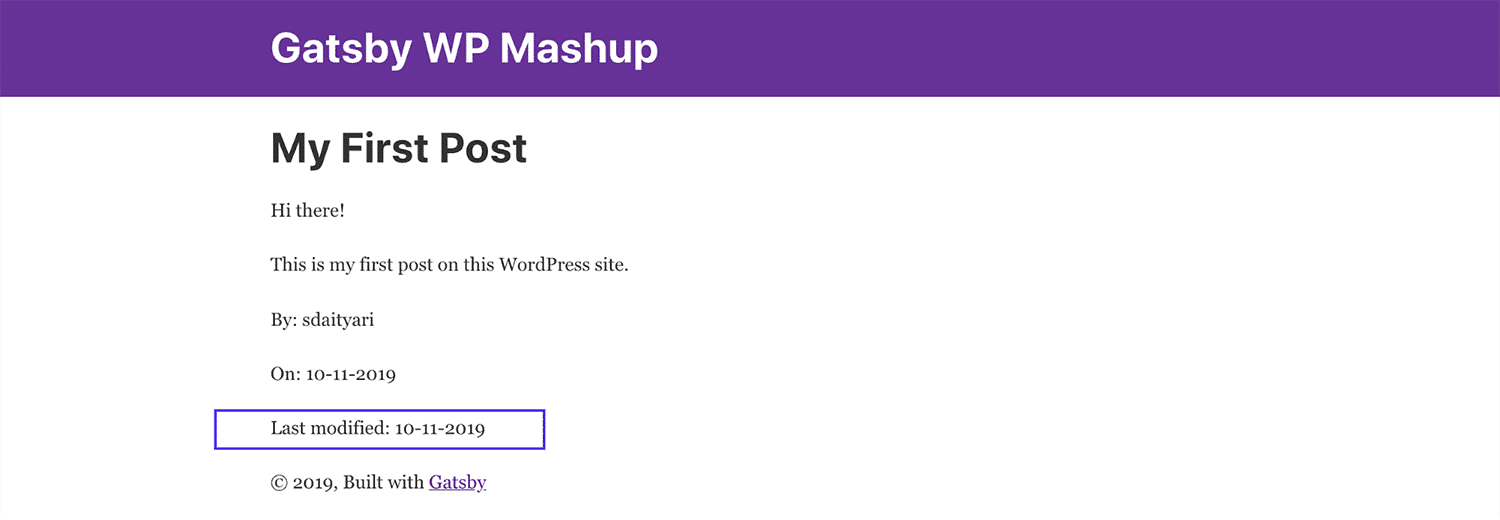
Once you have added this, you will be able to see the last modified timestamp on the blog post page on Gatsby:
Summary
Making the decision to convert your WordPress site to a static site and taking advantage of Gatsby can be a challenging task. To do so, you should execute the following steps:
- Install Gatsby to build a starter site
- Connect Gatsby to WordPress source through GraphQL
- Create templates for blog posts
- Import all your images from WordPress
- Display the last modified timestamp from WordPress

Shaumik is a data analyst by day, and a comic book enthusiast by night (or maybe, he's Batman?) Shaumik has been writing tutorials and creating screencasts for over five years. When not working, he's busy automating mundane daily tasks through meticulously written scripts!

