
Gone are the days when students had to visit a campus in person to get a feel for the environment. With virtual campus tours added to websites, universities and other schools can showcase their facilities, student life, and academic opportunities from anywhere in the world. These interactive experiences have surged in popularity, providing an engaging way for prospective students to explore campuses without travel barriers.
A well-crafted virtual campus tour helps you display images and videos, of course, but it also immerses students in your school’s culture, offering an in-depth look at classrooms, dorms, libraries, and recreational areas. Whether it’s a high school attracting local applicants or a university recruiting internationally, an interactive tour can be a deciding factor for students considering their options.
In this guide, we walk through the benefits of a virtual campus tour on your education website, the best WordPress tools to create one, and a step-by-step process for building an engaging and accessible tour.
Benefits of an interactive virtual campus tour
A virtual campus tour isn’t just about showing buildings and classrooms. It helps prospective students imagine what it’s like to be part of your school. Instead of flipping through brochures or scrolling through photos, visitors can explore key locations interactively, making the experience more engaging and memorable.
Here are some tangible benefits of using interactive campus tours on your website:
Increased reach
Not every student has the time or resources to visit in person. A virtual tour allows anyone, no matter where they are, to explore your campus. This makes it easier to connect with international students, out-of-region applicants, and those who might not be able to travel for a tour.
Engaging experience
An interactive tour keeps visitors interested longer than a gallery of photos or a promotional video. With 360-degree views, video walkthroughs, and clickable hotspots, students can explore at their own pace and dig deeper into what matters most to them. Adding student testimonials, faculty interviews, or narrated guides makes the tour even more immersive.
Cost-effective marketing
In-person tours require planning, staff, and resources. A virtual tour is a one-time investment that’s available 24/7. Instead of scheduling multiple guided visits, your admissions team can direct students to the online tour, freeing up time while still providing a rich, informative experience.
Accessibility
Some students can’t visit a campus due to financial constraints, travel restrictions, or disabilities. A well-built virtual tour ensures that everyone gets a chance to explore. Features like keyboard navigation, screen reader support, and detailed text descriptions make the experience more inclusive, giving every prospective student an equal opportunity to see what your school has to offer.
Planning your virtual campus tour
A successful virtual tour starts with careful planning. Instead of just uploading photos and videos, think about the story you want to tell. What makes your school unique? What do prospective students want to see? Defining your goals and gathering the right assets will help you create a tour that feels intentional, structured, and engaging rather than just a collection of images.
Planning involves three key steps: identifying your goals, mapping out a storyboard, and gathering high-quality assets. Let’s cover each of these steps now.
Identify your goals
Before you start creating your tour, consider:
- What experience do you want prospective students to have?
- What sets this school apart?
- Which locations or features are most important to highlight?
Your goals should align with what makes your institution stand out and the type of students you want to attract. Different schools will have different priorities:
- Universities might focus on research labs, dorms, and campus life to appeal to both domestic and international students.
- High schools may want to highlight extracurricular activities, teacher support, and college prep programs.
- Trade schools and specialized programs should emphasize hands-on learning spaces, industry partnerships, and job placement success.
Define these priorities early on to create a tour that effectively showcases the most compelling aspects of your school. Take the University of California, Berkeley as an example. It includes a dedicated virtual tours page that covers a variety of interactive experiences, including tours conducted over Zoom, YouTube campus tour videos, and interactive campus tours through YouVisit:
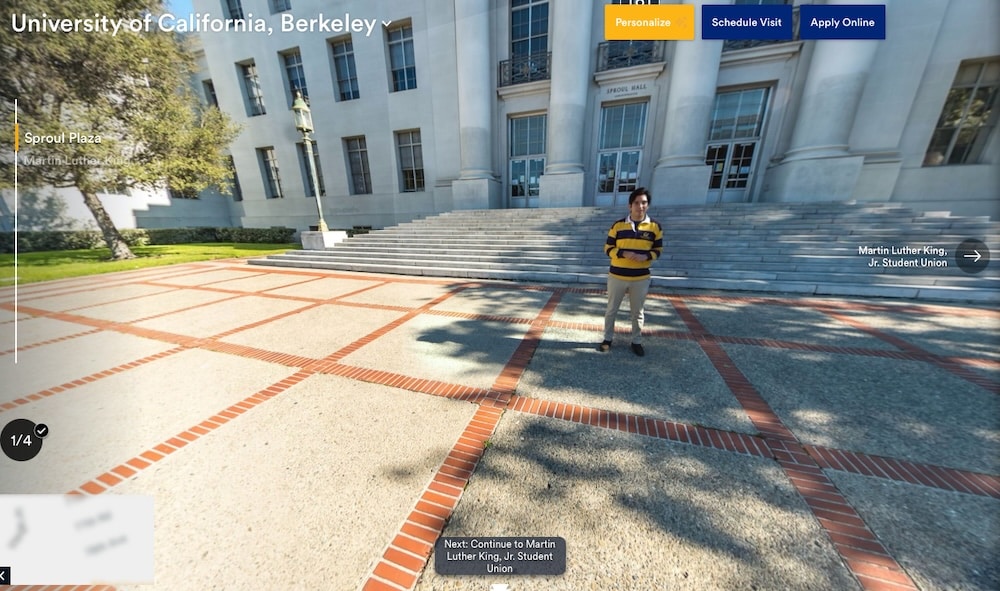
This tour includes videos, panoramic images, hotspots, notes, and the option to view it through VR.
Create a storyboard
A virtual tour should feel like a guided experience. Just as an in-person visit follows a planned route, your online tour should have a logical flow that keeps visitors “with you” every step of the way.
Here’s a sample structure to consider when putting your tour together. Use this as a starting point:
- Welcome and introduction. A short welcome video from a school representative or student ambassador to invite visitors in.
- Campus overview. Aerial views or an interactive map to help users navigate the tour.
- Academic buildings. Classrooms, labs, libraries, and lecture halls. Adding student testimonials about specific programs can make this more engaging.
- Student life. Dorms, dining halls, study spaces, and areas where students gather.
- Athletics and extracurriculars. Sports facilities, performing arts centers, and clubs. If your school has a strong athletics program, include game-day footage.
- Support services. Career centers, student support offices, and accessibility resources.
- Final call to action. Encourage students to apply, schedule a Q&A, or contact admissions.
Planning the tour ensures that everything flows naturally and prevents visitors from jumping around between locations without context.
Collect assets
The quality of your visuals can make or break your virtual tour. Blurry photos or shaky videos can make your school look unpolished, while crisp, well-lit images are more immersive.
Make sure to gather a mix of media, including:
- High-resolution photos. Clear, professional images of key locations.
- Short video clips. Student testimonials, faculty introductions, and moments from campus life.
- 360-degree images. Panoramic shots that let visitors explore spaces interactively.
- Aerial drone footage. If available, this can provide an impressive bird’s-eye view of the campus.
- Captions and descriptions. Text that adds context and explains key features.
If your budget allows, hiring a professional photographer or videographer can make a big difference. But if resources are limited, a smartphone with the right apps and accessories can capture high-quality 360-degree images and HD videos.
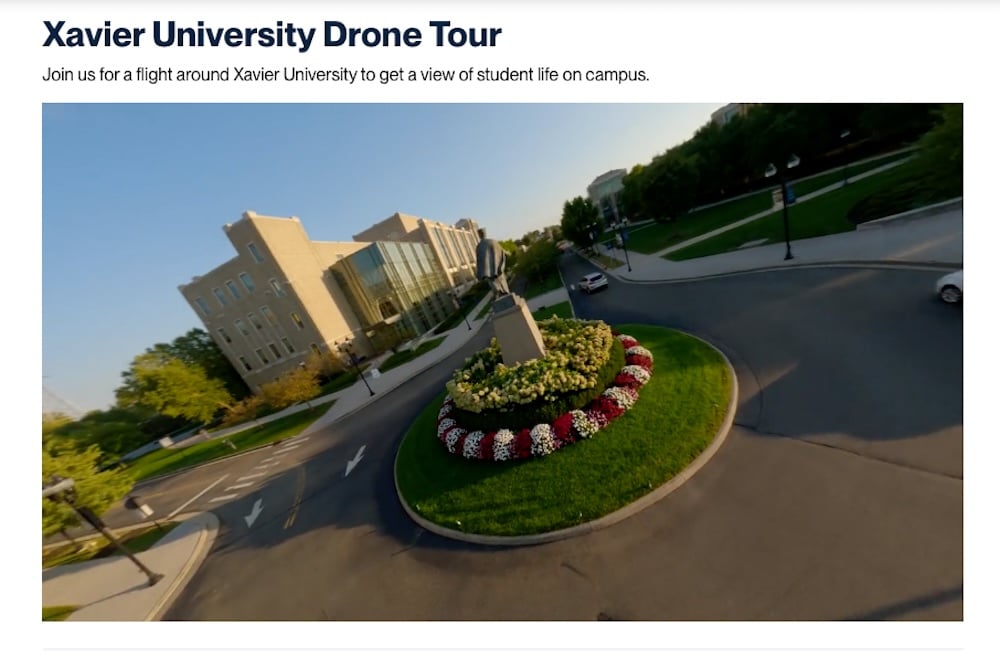
Xavier University includes a virtual tour page on its website that’s interactive and engaging as well as a filmed drone tour.
Tools and plugins for virtual campus tours on WordPress
Creating a virtual campus tour doesn’t require a massive budget or a professional film crew. At its most basic, a virtual tour can be a simple photo gallery with captions that guide visitors through key locations. But for a more immersive experience, you can use 360-degree images, interactive maps, and video walkthroughs to make the tour feel more lifelike.
WordPress offers a variety of themes and plugins that make it easy to build a virtual tour. This applies whether you’re starting with a basic slideshow or aiming for a full-fledged interactive 360-degree experience.
Choosing the right WordPress theme
Before exploring your plugin options, it’s important to choose a WordPress theme that supports rich media. The right theme ensures that your images, videos, and interactive elements load smoothly and display well across all devices. Here are a few themes that work particularly well for virtual campus tours:
- Astra. It’s lightweight and customizable and supports multimedia-rich layouts.
- OceanWP. This is another flexible theme with built-in video and image gallery support.
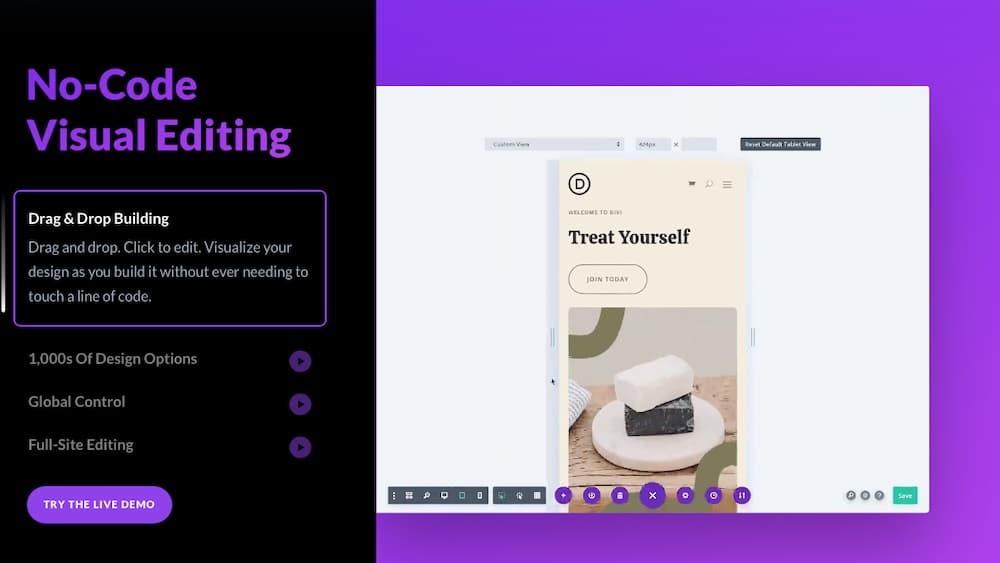
- Divi. This theme would work well, too, and includes a visual builder and strong support for interactive content.
- Blocksy. This theme is designed for speed and works well with 360-degree images and videos.
Each of these themes allows you to embed virtual tours, integrate photo galleries, and display full-screen images.
Best plugins for virtual campus tours
To take your virtual tour beyond a basic photo gallery, WordPress plugins can help you create interactive and immersive experiences. Here are some of the best options:
WP VR
WP VR makes it easy to create 360-degree virtual tours for your WordPress site. With its drag-and-drop interface, you can upload panoramic images and build an interactive experience in just a few steps.
Features include:
- A user-friendly tour builder for adding and organizing 360-degree images.
- Hotspots that provide extra details, guiding visitors through different areas.
- Lazy loading support to keep tours running smoothly without slowing down your site.
- Responsive design that ensures compatibility across desktops, tablets, and mobile devices.
This plugin is ideal for schools looking to offer an immersive virtual tour experience without needing specialized video editing skills.
Algori 360 Image

Algori 360 Image is a simple way to add interactive panoramic images to your WordPress site. Designed for ease of use, this plugin helps you showcase immersive visuals without the need for advanced setup.
Features offered here include:
- Support for 360-degree image uploads so site visitors can explore scenes by dragging or swiping.
- Full integration with the Gutenberg block editor for quick and easy setup.
- A lightweight and optimized design that keeps loading speeds fast.
- Mobile-friendly navigation.
If you want to add panoramic images to your site but don’t require a full virtual tour system, this plugin could do the job well.
iPanorama 360
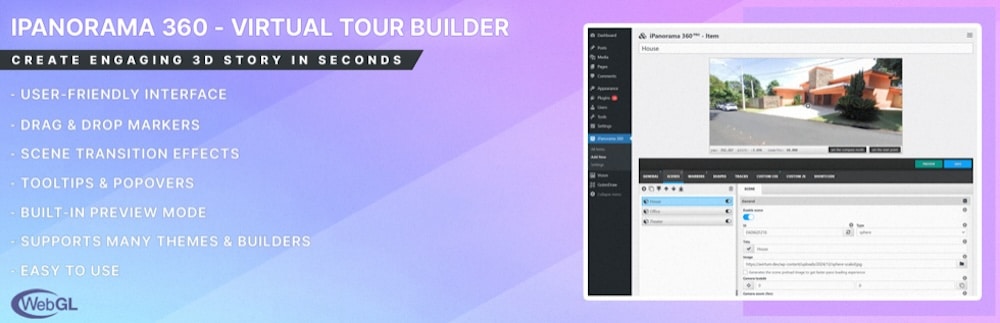
iPanorama 360 is a feature-rich virtual tour builder that lets you create engaging, multi-scene tours with interactive elements. This one’s designed for flexibility.
It lets you:
- Upload high-resolution 360-degree images and connect them to form a guided tour.
- Add hotspots with text, images, or embedded videos to provide additional context.
- Customize tours using a drag-and-drop editor. No coding is required to get the most out of the plugin.
- Works across multiple devices, including desktop, mobile, and VR headsets.
If your school requires a dynamic, interactive way to showcase its campus with detailed multimedia elements, you’ll get a lot out of this plugin.
Panorama Viewer
Panorama Viewer is a lightweight solution for displaying 360-degree images on WordPress sites. Unlike full virtual tour builders, this plugin focuses on providing a clean, interactive way to explore panoramic photos.
Some of the features on offer here include:
- The ability to upload and display panoramic images with intuitive swipe, drag, and zoom controls.
- Fullscreen viewing mode for a more immersive experience.
- Optimized performance with fast-loading, mobile-friendly functionality.
- Easy embedding with shortcodes, making setup quick and straightforward.
This plugin is a great choice for schools that want to showcase specific locations in a 360-degree format without the complexity of a full virtual tour system.
How to build a virtual campus tour
Once you’ve chosen the right tools and gathered your assets, it’s time to build your virtual campus tour. The process involves setting up your WordPress site, installing a plugin, uploading media, and customizing the experience to match your school’s branding.
Step 1: Set up your WordPress site
Before you start adding tour elements, ensure your WordPress site is optimized for speed and performance. A virtual tour involves high-resolution images, videos, and interactive elements, which can slow down a site if not properly managed.
If your school isn’t already using a reliable hosting provider, now is a good time to upgrade. Managed hosting for WordPress from Kinsta ensures your virtual tour loads quickly, with built-in caching and a high-performance CDN to handle large media files efficiently.
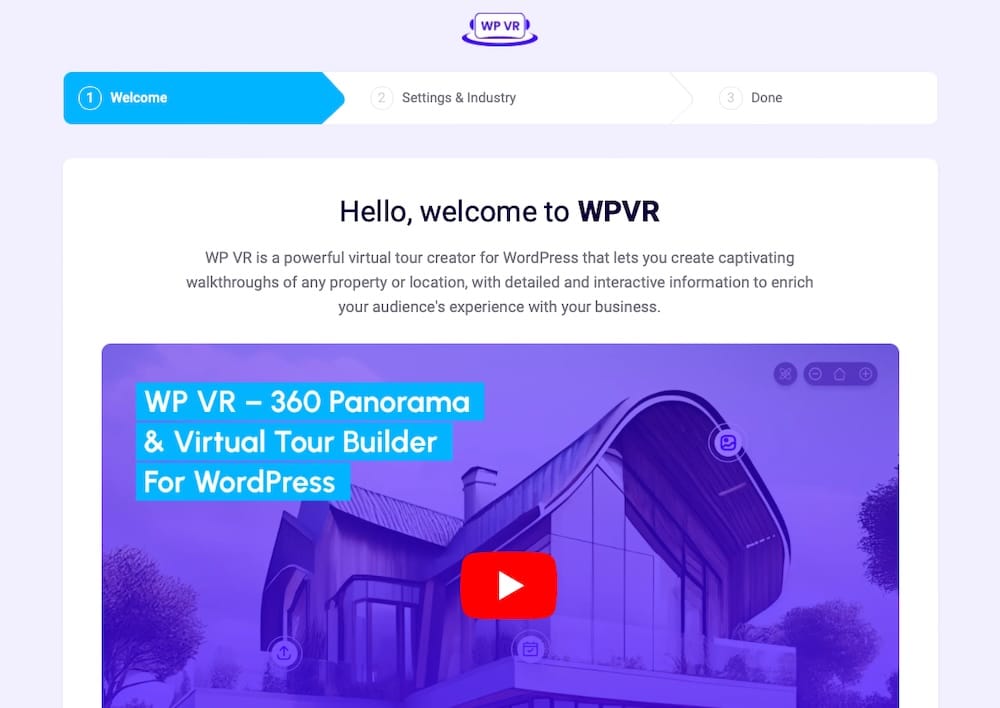
Step 2: Install and activate your virtual tour plugin
For this guide, we’ll use WP VR, one of the easiest plugins for adding a 360-degree virtual tour to your WordPress site. Here’s how to install it:
- Go to your WordPress dashboard and navigate to Plugins > Add New.
- Search for WP VR, then click Install Now and Activate the plugin.
- Once activated, you’ll see a new WP VR menu in your dashboard, where you can start creating your tour.
Step 3: Upload your media assets
To make your tour visually appealing and interactive, you’ll need high-quality images and videos. Here’s how to prepare and upload them:
- Resize and compress images. Large files can slow down your site. Use tools like TinyPNG to optimize images without sacrificing quality.
- Use the right format. For 360-degree images, ensure your files are equirectangular (aspect ratio 2:1) for proper display.
- Host large videos externally. Instead of uploading directly to WordPress, use YouTube, or Vimeo to avoid performance issues.
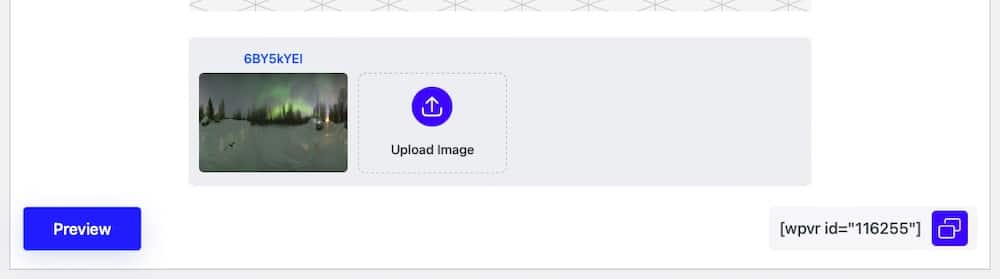
To upload your assets:
- Go to WP VR > Add New Tour in your WordPress dashboard.
- Upload your 360-degree images or videos to create a new virtual tour.
- Use the Preview mode to ensure everything displays correctly before publishing.
Step 4: Create your tour and add interactive features
Now that your images and videos are uploaded, it’s time to design the interactive experience:
- Add points of interest. Use hotspots to provide additional information, like pop-up descriptions or links to related pages.
- Allow guided or free exploration. Let people navigate freely or follow a structured tour.
- Use directional arrows. Help visitors move between locations naturally, just like they would on an in-person tour.
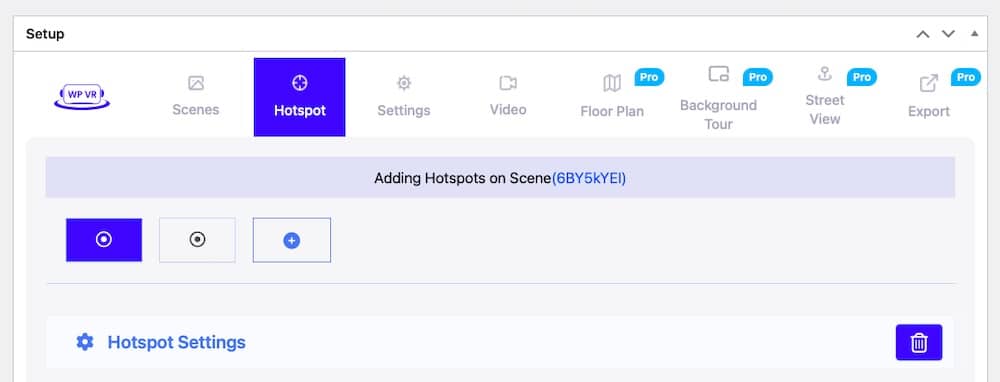
In WP VR, you can do this by:
- Selecting an uploaded 360-degree image and clicking Edit.
- Add hotspots by placing markers on different areas of the image.
- Link hotspots to other parts of the tour, videos, or informational pop-ups.
Step 5: Customize the design to match your branding
A good virtual campus tour should feel like an extension of your website. Take time to customize it so it matches your school’s colors, fonts, and other branding.
Also, be sure to embed it in a high-visibility location. Add the tour to your homepage, admissions page, or a dedicated “Visit Us” section to make it easy to find and interact with.
Step 6: Optimize for performance
Since virtual tours use large media files, optimization will play a key role in preventing slow load times. To keep performance in check, you can use a CDN. You can get services through something like Cloudflare, but high-quality hosting providers like Kinsta automatically serve media files from the closest data center to speed up load times.
You should also use tools like PageSpeed Insights to check your site’s speed after adding the tour and make improvements if needed.
Ways to enhance the tour experience
A virtual campus tour is a great way to showcase your school, but a few extra touches can make it even more engaging. Interactive features, real-time interactions, and clear calls to action help prospective students feel more connected and more likely to apply.
You can enhance your virtual tour experience by adding some of the following features:
Virtual guides or voice-overs
Not every visitor will interact with your tour the same way, but you can make the experience more personal by adding a virtual guide or voice narration.
Adding pre-recorded voice-overs can make for a nice touch. A narrated walkthrough can highlight key locations and share insights, just like an in-person guide would.
Or, you can include student or faculty video introductions. A short welcome message from a current student, professor, or admissions officer (like in the UC Berkeley example mentioned above) can help visitors feel more connected.
These additions create a more immersive and informative experience, giving students valuable insights without requiring them to read through long text descriptions.
Integrate live chat for real-time Q&A
One drawback of virtual tours is the lack of real-time interaction. However, live chat can bridge that gap.
To do this, you can embed a live chat widget so visitors can ask questions as they explore. Offer scheduled live Q&A sessions where admissions officers or student ambassadors are available to chat. Then, during off times, use automated chatbots to provide answers when staff members aren’t online.
Embed contact forms or call-to-action buttons
A virtual tour is actually a step in the admissions funnel. Make sure visitors know what to do next by strategically placing calls to action throughout the tour. Here are a few CTA ideas you can incorporate:
- “Schedule a campus visit.” This CTA encourages students who are interested to see the campus in person.
- “Apply now.” Direct serious prospects to the application page straight from the tour.
- “Request more information.” Capture leads by offering brochures, course details, or one-on-one consultations.
By placing clickable CTAs in key locations (like the end of the tour or major points of interest), you make it easy for students to take the next step toward enrollment.
Offer multiple viewing modes
A truly accessible and flexible virtual tour should work well on all devices and offer different ways to explore. It should be mobile-friendly, of course. But offering VR headset compatibility is a good idea, too. Or, include a self-guided option so visitors can explore on their own terms in addition to a structured, guided-tour format.
Including multiple options in this way caters to different audiences, ensuring every prospective student gets the best experience possible.
Summary
A virtual campus tour is one of the most effective ways to show off your school and engage prospective students without the limitations of location or scheduling. Starting with a simple photo gallery is perfectly acceptable. For some, building an interactive 360-degree experience makes more sense. Regardless, having the right WordPress tools available make it easy to create a tour that reflects your school’s unique environment.
To ensure a positive experience, your website needs fast, reliable hosting — especially when handling high-resolution images and videos. Moving your hosting to Kinsta means optimized performance, CDN support, and security features to keep your site running smoothly.
Ready to build a virtual tour that leaves a lasting impression? Explore WordPress hosting with Kinsta today.

Steve Bonisteel is a Technical Editor at Kinsta who began his writing career as a print journalist, chasing ambulances and fire trucks. He has been covering Internet-related technology since the late 1990s.

