Trying to access a site and being met with an error page is always inconvenient, whether that site is yours or someone else’s. As with many HTTP response codes, part of what makes a 401 error so frustrating is the lack of information it offers for diagnosing and resolving the issue.
The 401 error can happen with any browser, so it’s a pretty common issue people face. In most cases, this problem is relatively simple and straightforward to fix.
This post explains what 401 error messages are and why they happen. It then walks you through five methods you can use to fix them.
Let’s get started!
What is the 401 error code?
The Internet Engineering Task Force (IETF) defines the error 401 Unauthorized as:
The 401 (Unauthorized) status code indicates that the request has not been applied because it lacks valid authentication credentials for the target resource. The server generating a 401 response MUST send a WWW-Authenticate header field containing at least one challenge applicable to the target resource.
An introduction to the 401 error code
HTTP 400 status codes are encountered when there is a problem making a request. A 401 error, in particular, happens when your browser denies you access to the page you’re trying to visit.
As a result, instead of loading the web page, the browser will load an error message. 401 errors can happen within any browser so the message appearing may differ.
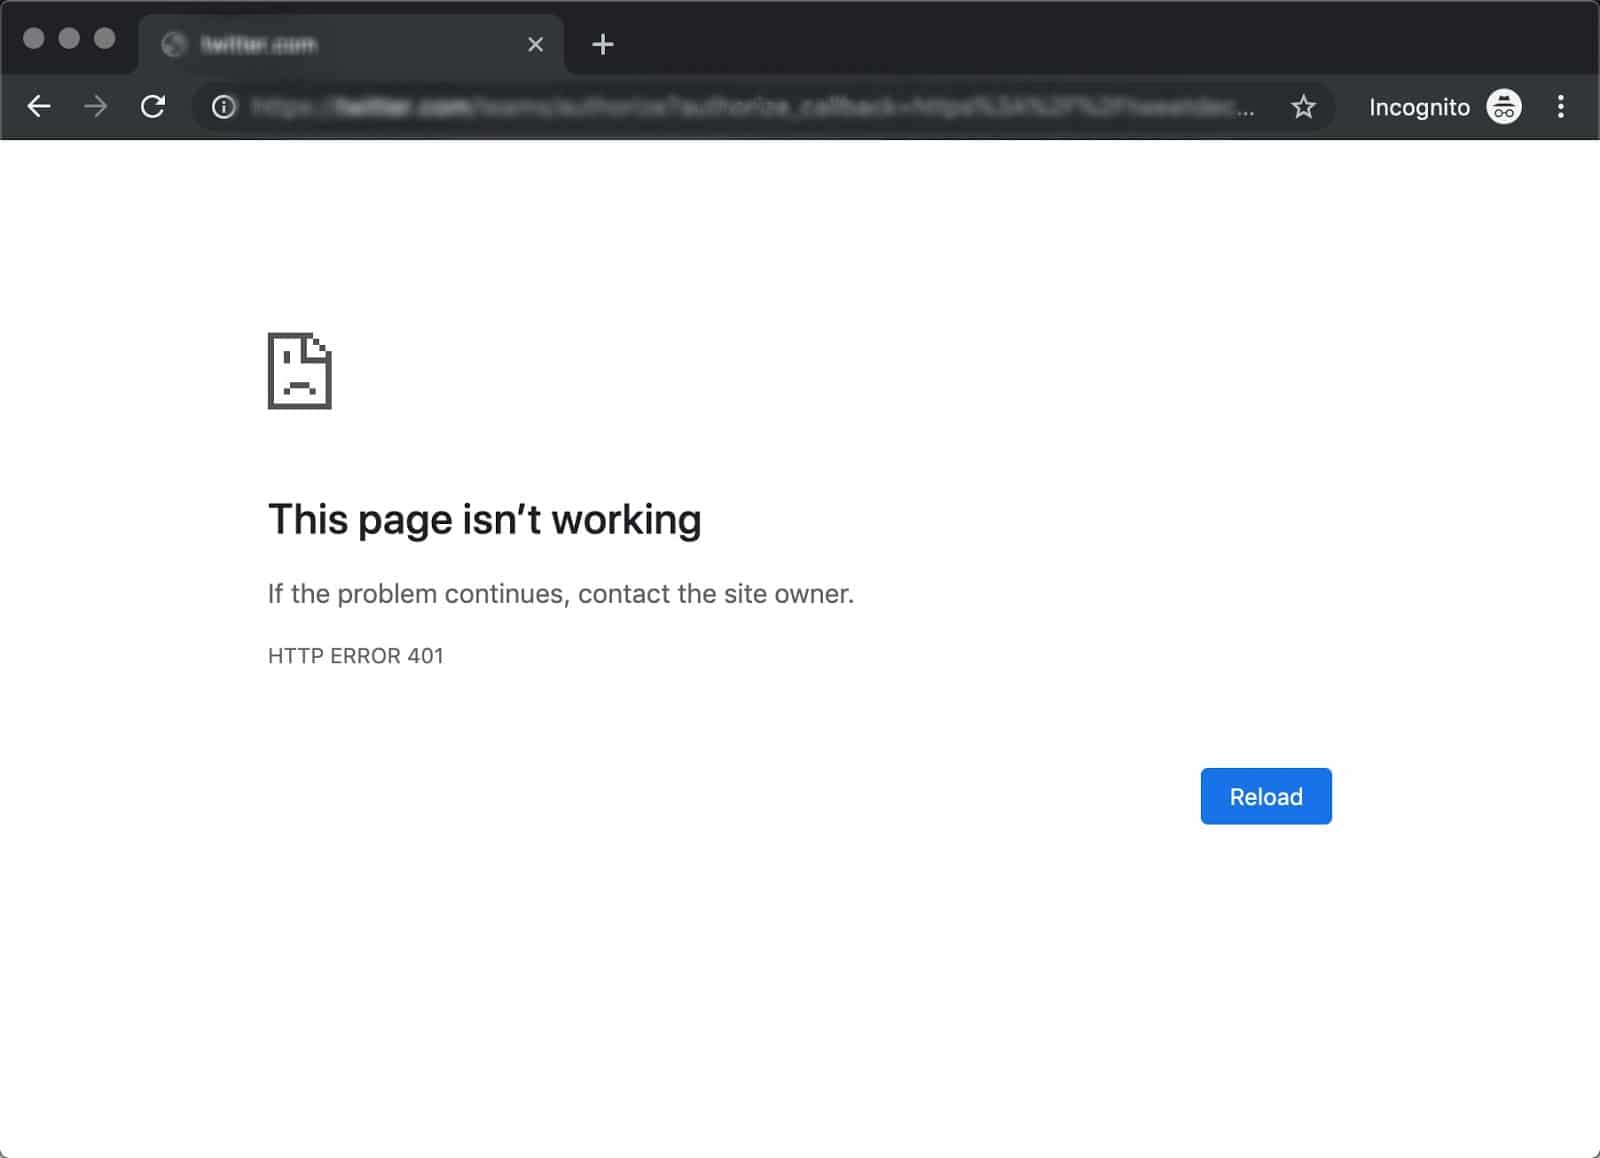
For example, in Chrome or Edge, you’ll likely see a paper icon along with a simple message telling you that the page in question isn’t working. It will include the phrase “HTTP Error 401” at the bottom, and instruct you to contact the site’s owner if the problem persists:
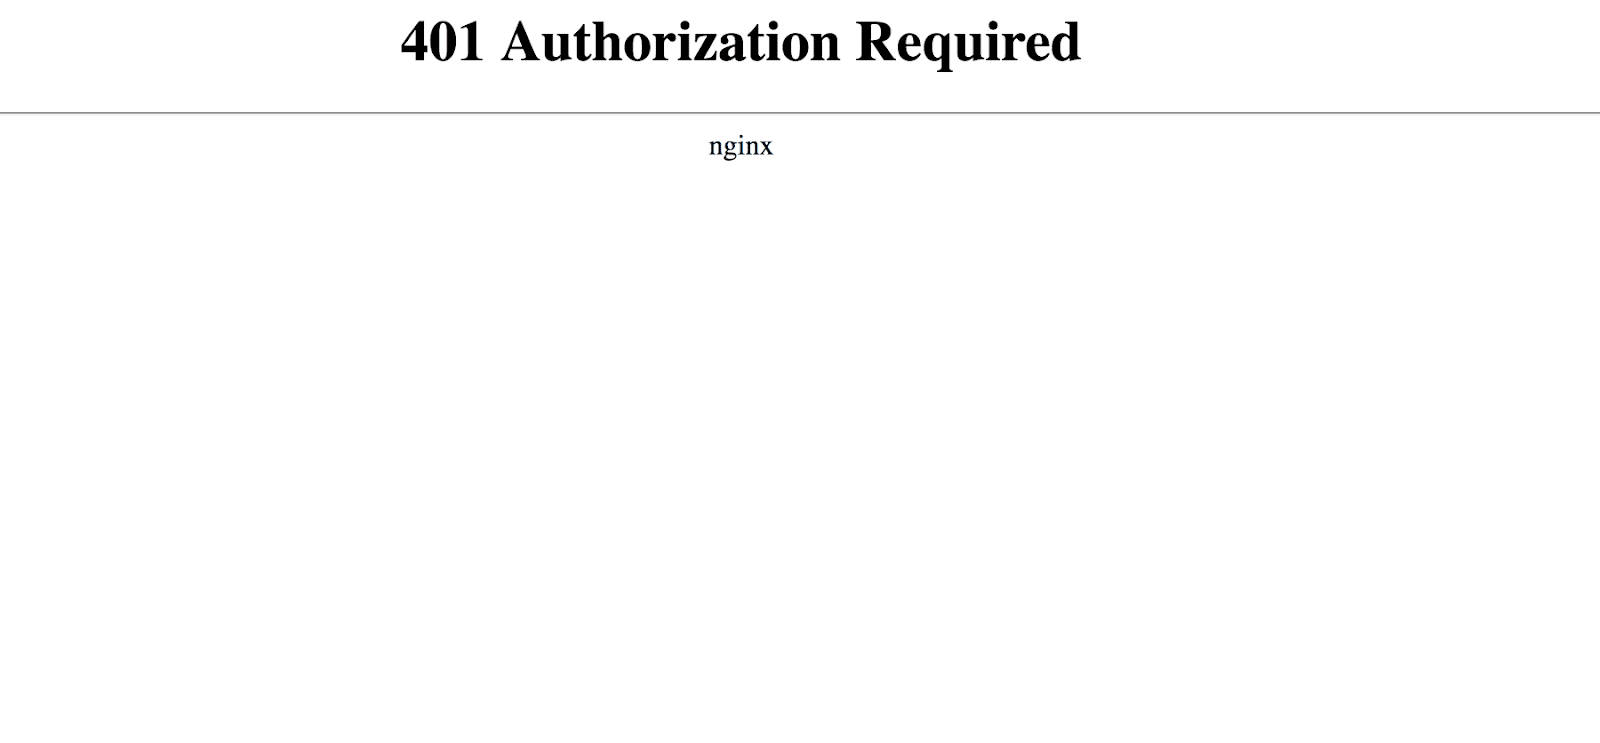
At other times and in other browsers, you might get a slightly less friendly warning that’s just a blank page with a “401 Authorization Required” message:
Other variations include:
- “HTTP 401 Error – Unauthorized”
- “401 Unauthorized”
- “Access Denied”
These errors occur on websites that require a login in order to access them. In most cases, it means that something is either wrong with the credentials or with the browser’s ability to read them as valid.
This is similar to HTTP 403 Forbidden Error, in that access isn’t permitted to the user. However, unlike with the 403 error, the 401 error message indicates that the authentication process failed.
The code is sent via the WWW-Authenticate header, which is responsible for identifying the authentication method used for granting access to a web page or resource.
| Error Code | HTTP 401 Unauthorized Error |
| Error Type | Commonly a client-side error |
| Error Variations | 401 Authorization Required 401 Unauthorized HTTP 401 Error – Unauthorized Access Denied |
| Error Causes | Outdated Browser Cache and Cookies Plugin Incompatibility Incorrect URL or Outdated Link |
What causes a 401 error?
If you encounter an error code in the 400s, you know you’re dealing with a client-side (or browser-side) issue. While the problem may be happening within your browser, however, it doesn’t necessarily always mean that’s the culprit, which we’ll explain in more detail later.
401 errors occur on restricted resources, such as password-protected pages of your WordPress site. So it’s safe to assume that the cause of the problem has something to do with the authentication credentials.
- Outdated browser cache and cookies — One of the most common reasons you might experience a 401 error is that your browser’s cache and cookies are out of date, preventing the authorization from successfully going through. If your browser isn’t using the valid authentication credentials (or any at all), the server will reject the request.
- Plugin incompatibility — At other times, this error is caused by plugin incompatibility or error. For example, a firewall or security plugin can mistake your login attempt as malicious activity, and return a 401 error to protect the page.
- Incorrect URL or outdated link — It’s also possible that the source of the problem can be attributed to a minor mistake. Common culprits in this category include an incorrectly-typed URL or an outdated link.
How to fix the 401 error
Now that we’ve gone through a bit of background on the 401 error, it’s time to discuss how you can resolve it.
Let’s take a look at five methods you can use:
1. Look for errors in the URL
Start off with the easiest potential fix: making sure you used the correct URL. This may sound simple, but 401 errors can sometimes appear if the URL wasn’t correctly entered in.
Another possibility is that the link you used to visit the page in question points to the wrong URL. For example, it might be outdated, or leading to a page that no longer exists (and no redirects are in place).
Therefore, it’s worth double-checking the URL you used. If you typed it in yourself, verify that you spelled everything correctly. If you clicked on a link, confirm that it’s pointing to the page you’re trying to access (or try to visit that page directly through the website).
2. Clear your browser’s cache
Your browser’s cache is designed to improve your online experience, by reducing page loading times. Unfortunately, sometimes it can also cause unwanted interruptions.
As mentioned earlier, one of the common causes of the 401 error is outdated or incorrect cache data or cookies. Therefore, if you don’t notice any issues with the page’s URL, the next step is to clear your browser’s cache.
This will clean out any invalid information that’s locally stored in your browser, which could be interrupting the authentication process. Similarly, your browser’s cookies might contain authentication data that simply needs to be refreshed.
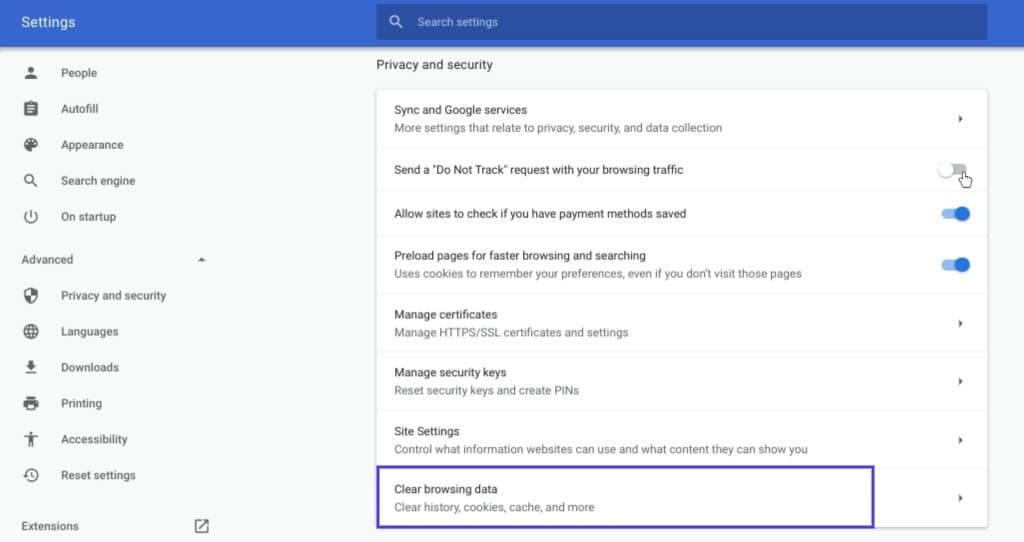
If you’re a Google Chrome user, you can do this by clicking on the menu icon in the top-right corner of the browser, and then going to Settings. Under the Privacy and security section, click on Clear browsing data:
A new window will open. Under the Basic tab, make sure all three boxes are selected, and then select Clear data:

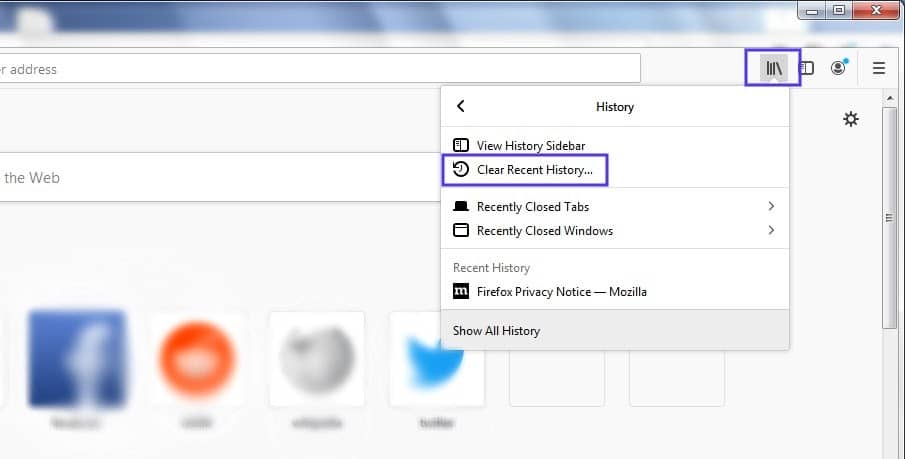
This process will look a little different in other browsers. For example, in Mozilla Firefox, you would click on the library icon in the top-right corner of the browser, followed by History > Clear Recent History:
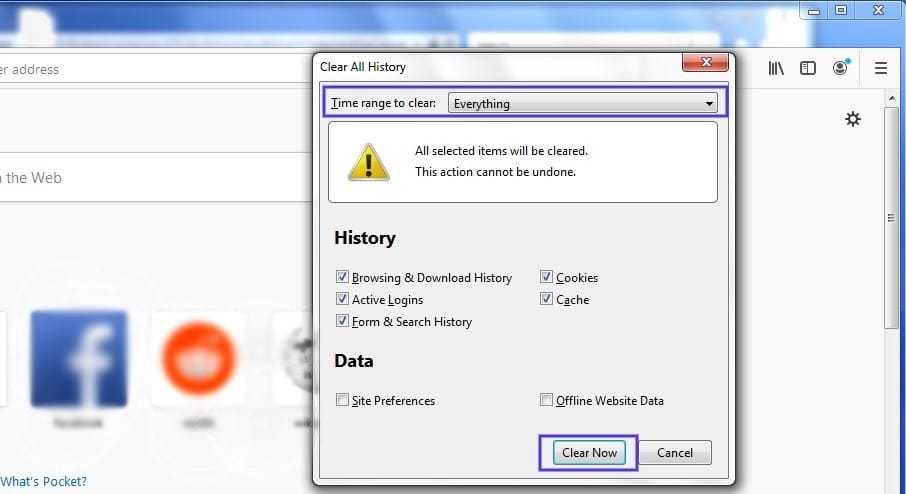
In the panel that opens next, select Everything in the drop-down menu at the top, make sure Cache is selected, and then click on the Clear Now button:
If you’re using a different browser, please refer to this guide for clearing the cache
3. Flush your DNS
Another method you can try to resolve the 401 error is flushing your Domain Name Server (DNS). While this is a rare issue, it can be a possible cause, so it’s worth giving it a try if the first two solutions don’t work.
To do this in Windows, click on the Start button and type cmd into the search bar. Hit Enter, and the Command Prompt will open. Copy and paste the command ipconfig/flushdns, and then hit Enter again:

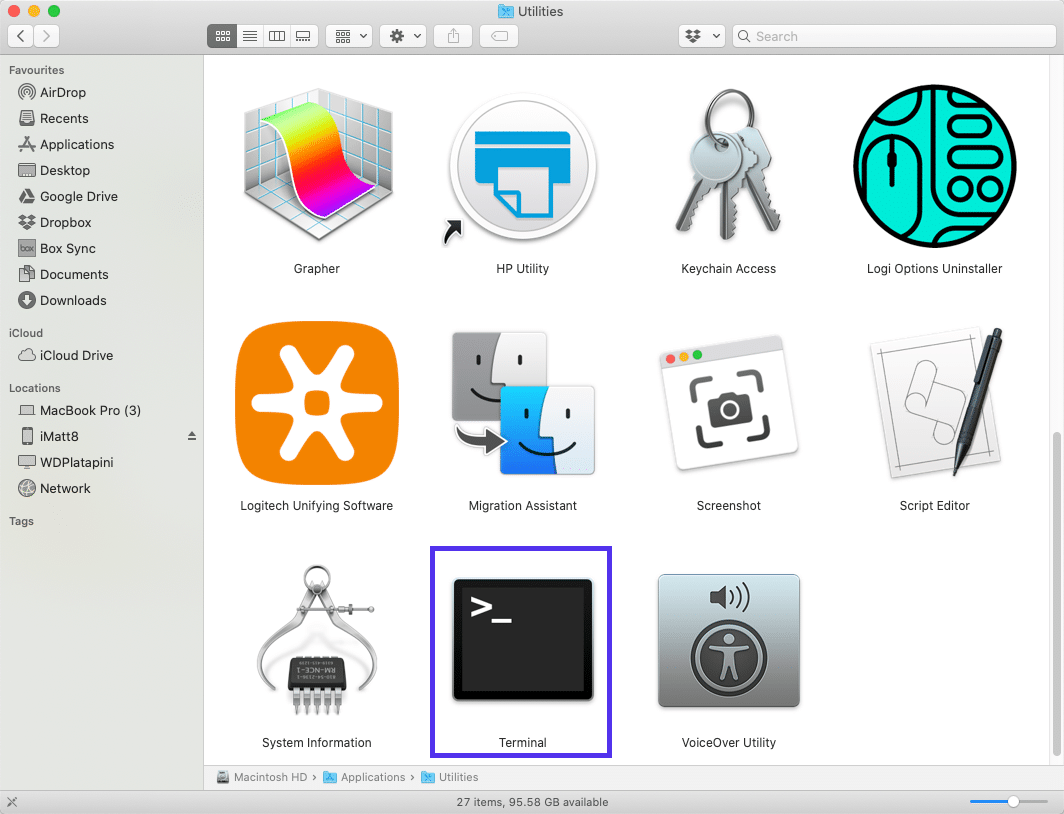
On a Mac, you can do this by going to Finder > Applications > Utilities > Terminal:
Input the command line sudo killall -HUP mDNSResponder and press Enter. Then, you can try refreshing the page you were trying to visit, to see if the 401 error has been resolved.
4. Deactivate your WordPress plugins
The problem causing your 401 error might not be due to your browser. If you’re having trouble accessing your WordPress site, it’s also possible that one or more plugins are to blame.
Some plugins, especially security-focused plugins, are configured to show a 401 error when they suspect suspicious login activity that might indicate an attack. Others might just be suffering from compatibility issues. Therefore, it’s a good idea to deactivate all of your WordPress plugins and see if that resolves the issue.
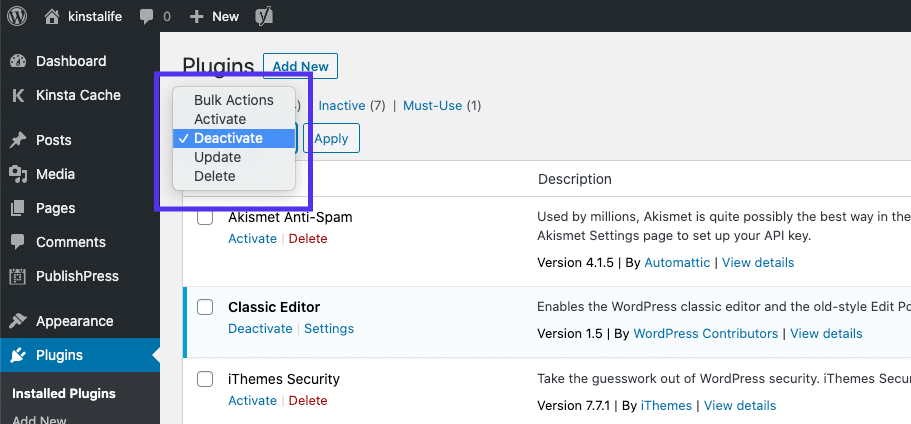
You can deactivate all your plugins at once from the MyKinsta dashboard using bulk actions, or from your WordPress dashboard by going to Plugins > Installed Plugins. Check the box at the top to select all, then choose Deactivate from the Bulk Actions dropdown and click Apply.
After that, try reloading the page that returned the 401 error to see if this has resolved the issue. If it has, you can manually activate each plugin one at a time, in order to determine which one is causing the problem.
Then you can remove that plugin, replace it with a new one, or contact its developer for assistance.
5. Check the WWW-Authenticate header response
At this point, if the issue hasn’t been fixed, it may be caused by a server-side problem. This means our last fix will be a bit more involved.
As we saw earlier, the 401 response is sent through the WWW-Authenticate header, which appears as WWW-Authenticate: <type> realm=<realm>. It includes ‘challenges’, or strings of data that indicate what type of authentication is required in order for access to be granted.
In a nutshell, you want to check and see if the header response was sent, and more specifically, what authentication scheme was used. At the very least, this can help narrow down the cause of the problem, and bring you one step closer to a solution.
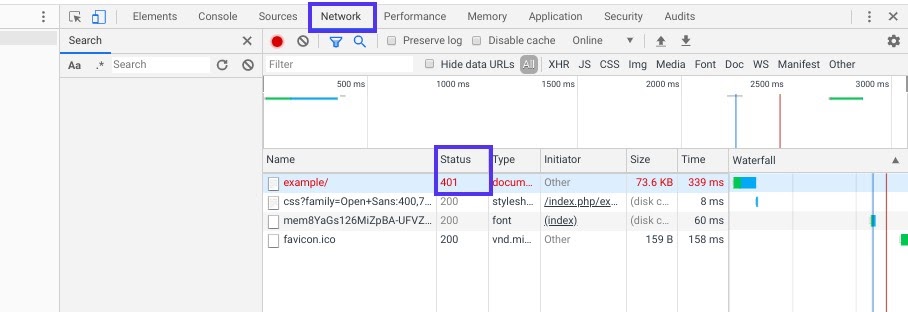
To do this, go to the web page that’s displaying the 401 error, and access the developer console in Chrome. You can right-click on the page and select Inspect, or use Ctrl+Shift+J.
Next, click on the Network tab and reload the page. This will generate a list of resources. Select the Status header to sort the table and locate the 401 status code:
Select that entry, and then click on the Headers tab. Under Response Headers, locate the WWW-Authenticate header:
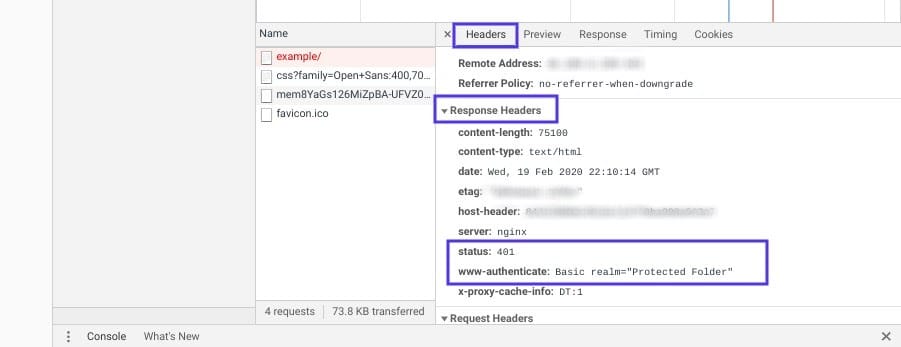
The information that is present in the response header, particularly the authentication schemes, can give you more information about what’s happening and point you towards a solution. It can help you understand what type of authentication the server is expecting.
For example, in the above example, we can see that the authentication scheme is “Basic”. This means the authentication request should only require an ID and password. For more detailed information and instructions on how to use this information, we recommend referring to the HTTP Authentication Scheme Registry.
Summary
When your browser and server have trouble communicating or authenticating requests, you’re sometimes forced to deal with errors such as the 401 error. While this problem is irritating, the message is usually temporary and fixable.

Head of Content at Kinsta and Content Marketing Consultant for WordPress plugin developers. Connect with Matteo on Twitter.

