
When managing and maintaining a website, there are a handful of HTTP status codes to be aware of. Some, such as the HTTP 499 error, can cause a timeout that interrupts your workflow. Therefore, you’ll need to ensure that your site is configured properly to avoid this issue.
Whether you’re seeing the HTTP 499 status code frequently or for the first time, it may indicate an issue with your website that needs to be addressed. The good news is that there are multiple steps you can take to resolve it.
Check Out Our Video Guide to Fixing the 499 Error
In this post, we’ll explain the HTTP 499 status code and what can cause the error. Then we’ll walk you through five potential solutions you can use to fix it. Let’s get started!
What the HTTP 499 Status Code Means
The HTTP 499 status code, also known as a “client closed request,” is a special case of the 502 Bad Gateway Error. It indicates that the client has closed the connection while the server is still processing the request.
HTTP 499 falls within the category of client-based errors. This means the issue is on the client side. Other common errors in this category include HTTP 400 Bad Request and HTTP 404 Not Found. With these errors, the problems are usually easy to define. However, HTTP 499 is more general.
The HTTP 499 error can happen on both Nginx and Apache servers. However, it is more common on Nginx servers because it was created by Nginx.
HTTP 499 is more common on Nginx because the server software handles client connections differently than Apache. With Nginx, each client connection is processed in a separate thread. Therefore, if one client connection takes a long time to process, it won’t slow down the other clients.
However, with Apache, all client connections are processed in the same thread. This can cause problems if one client connection takes a long time to process because it will slow down all other clients.
What Causes the HTTP 499 Error
Typically, the HTTP 499 error appears in Nginx logs. This can happen for several reasons, but most commonly, it’s due to either a browser timing out or a user canceling the request.
For example, a website may encounter an HTTP code 499 when it’s loaded with too much traffic. Alternatively, the error can happen when the request comes from algorithms that create issues within the site.
In some cases, this status code may also display when there is no response from the server, and the client has timed out waiting for a response. In these cases, it’s usually best to just try again later. However, if you are consistently getting this status code from a particular server, it may be worth investigating further to see if there is an overarching issue.
How To Fix the HTTP 499 Error (5 Potential Solutions)
Now that we understand more about the HTTP 499 error, let’s look at how to resolve it. Below are five potential solutions for the HTTP 499 status code!
1. Clear Your Browser Cache and Try Again
As we mentioned earlier, this error may be a temporary issue that can be resolved by simply trying to load the page again. It might be that your host or server is overloaded. Therefore, we recommend clearing your browser cache and trying again.
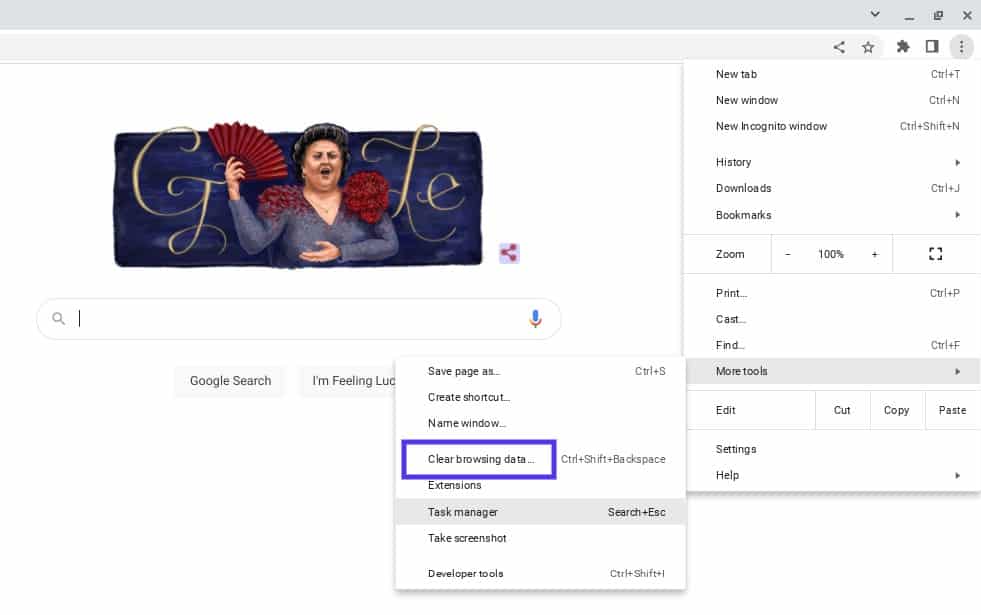
The process for clearing the cache will vary depending on your browser. If you’re using Google Chrome, you can navigate to the three vertical dots in the upper right-hand corner of the window, then go to More tools > Clear browsing data:
You’ll then be prompted to choose which data to clear from your browser cache:
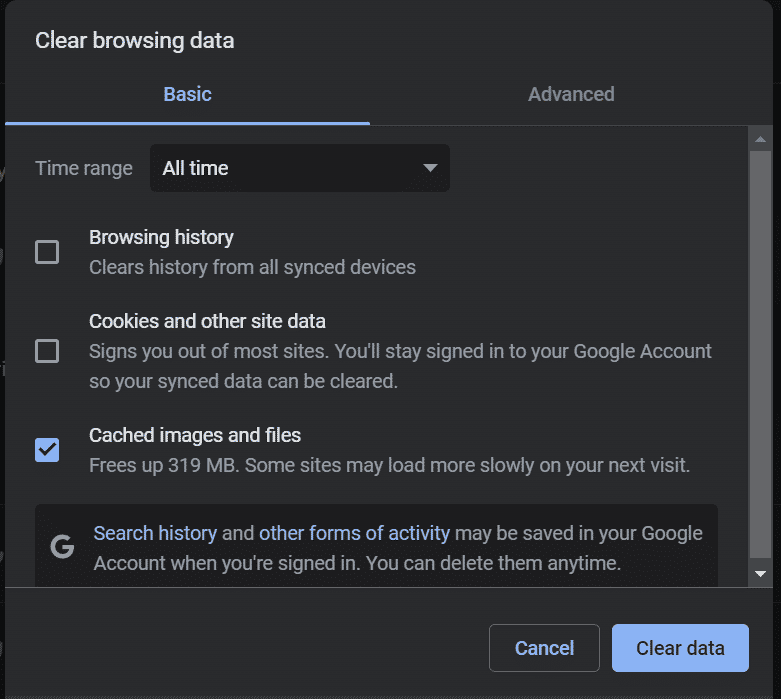
When you’re done, reload your browser. You can also try using a different browser in the meantime. Then revisit your site to see whether the error message is still showing.
2. Disable Your Plugins and Extensions
Some users have reported that certain plugins cause the HTTP 499 status code error. Therefore, we recommend temporarily disabling your plugins to see if this resolves the issue.
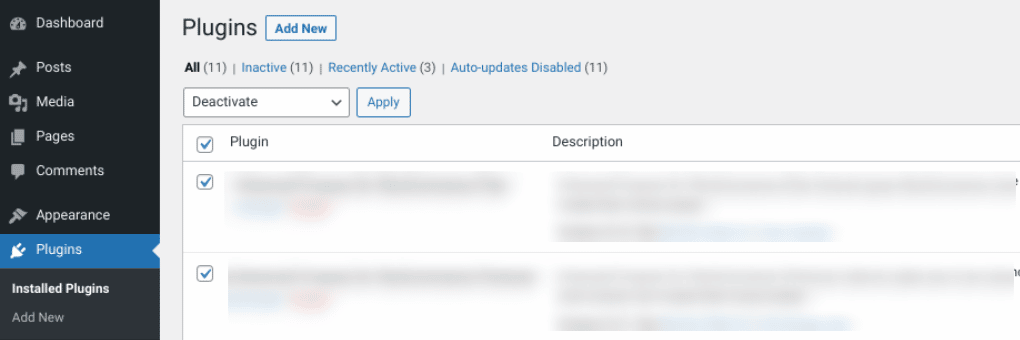
You can do this by navigating to your Plugins screen in the WordPress dashboard, selecting all of them, then clicking on Deactivate > Apply from the bulk actions menu:
You can also connect to your site via a File Transfer Protocol (FTP) client or File Manager, then navigate to your plugins folder (wp_content > plugins). Right-click on the plugins folder and rename it to something such as “plugins_old.”
This will deactivate all of the plugins on your WordPress site. You can revisit your website to see whether the error message is still showing. If not, you can try activating your plugins one by one until you find the tool causing the issue.
3. Check Your Error Logs
When troubleshooting the HTTP 499 code, it’s essential to leverage your error logs. This approach will make it easier to narrow down the issue and determine whether it results from a specific plugin or tool.
If you’re not a Kinsta user, you can enable and view error logs by turning on WordPress debugging mode. However, if you’re a Kinsta user, you can quickly and easily see errors in the Log viewer from your MyKinsta dashboard:
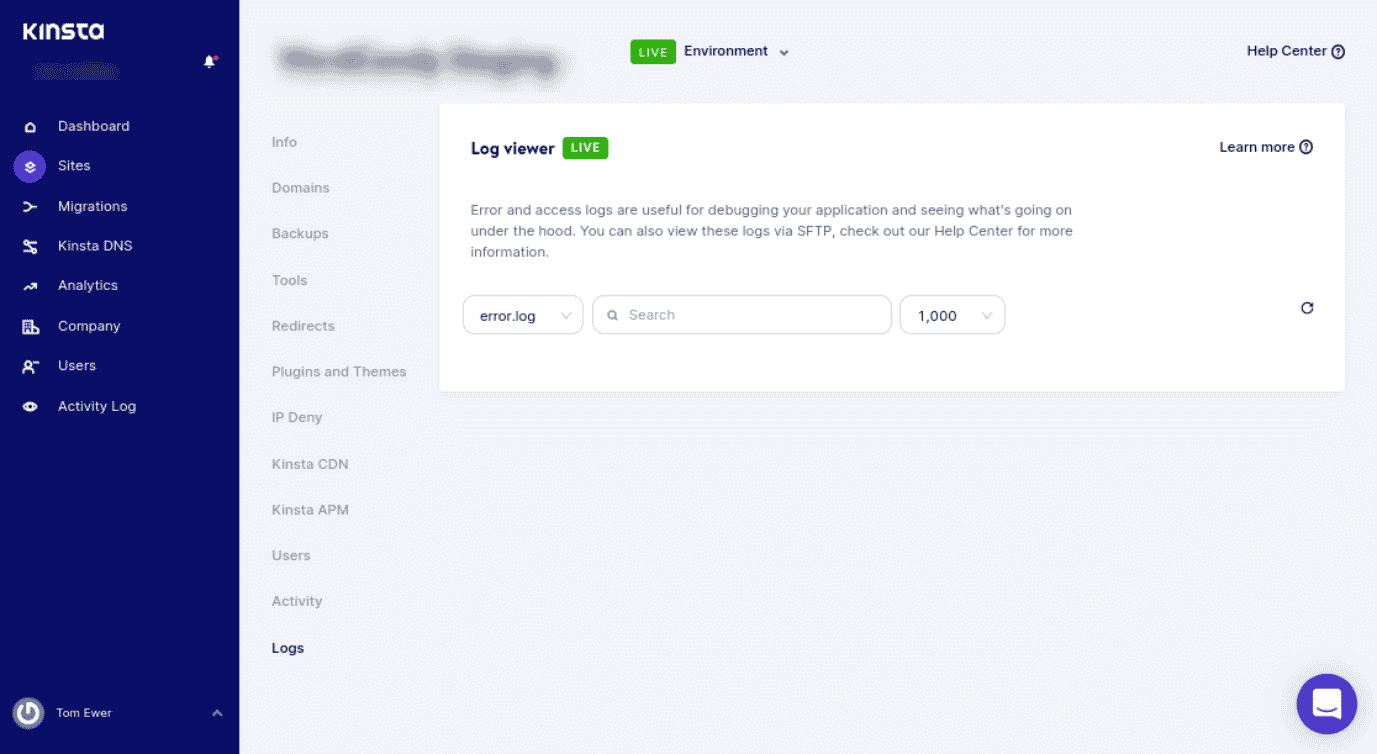
You can also check your log files in Nginx (/var/log/nginx.error.log) and Apache (/var/log/apache2/error.log). Furthermore, Kinsta users can take advantage of our analytics tool to take a closer look at errors on your site. Then you can understand how often they’re occurring and whether the HTTP 499 error is an ongoing issue.
4. Use an Application Performance Monitoring (APM) Tool
When managing a website, it’s important to have reliable solutions for identifying and troubleshooting errors on your site. We recommend using an Application Performance Monitoring (APM) tool.
APM tools can help you narrow down which script or plugin may lead to various errors, such as HTTP 499. We include our Kinsta APM, as well as a variety of other DevKinsta tools, with all of our plans:
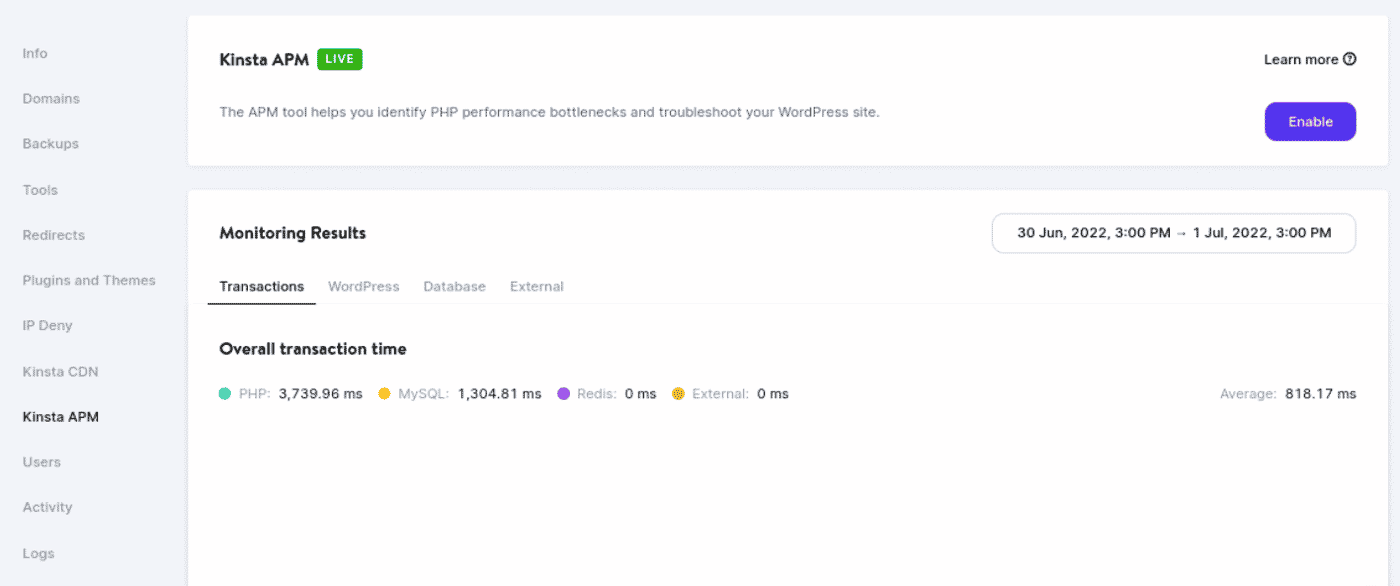
For example, your APM tool can help you collect valuable data and determine which applications are causing delays. Once enabled, you can use KinstaAPM to view the slowest transactions on your site, trace their timelines, and figure out the causes of issues. Our APM also provides insight into your PHP processes, MySQL queries, external HTTP requests, and more.
5. Contact Your Web Host and Request a Timeout Increase
As we’ve discussed, sometimes HTTP 499 errors can occur when a request is canceled because it’s taking too long. Some hosting providers use a ”kill script”.
In short, a kill script forces a request to be terminated after a certain amount of time. This script is often used in shared hosting environments to prevent long requests from impacting other sites.
If you’re a Kinsta user, this isn’t something you need to worry about. Each site hosted on our platform runs on an isolated software container that includes all resources and software. Everything is completely private, and none of your resources are shared, so we don’t run kill scripts.
However, when it comes to the HTTP 499 error, it’s important to note that the “client” may be a proxy, such as a Content Delivery Network (CDN) or load balancer. A load balancing service can act as a client to the Nginx server and proxy data between your server and users. This can cause a timeout that cancels the request to the Nginx server.
PHP timeouts happen if a process runs longer than the maximum execution time (max_execution_time) or max_input_time specified in your server’s PHP configuration. You may encounter timeouts if you have a busy website or scripts that need longer execution times. Therefore, it might be necessary to extend your timeout value.
Let’s say you have a request that is expected to take 20 seconds to complete. If you have an application with a timeout value of 10 seconds, the application will probably time out before completing the request. You’ll likely see the HTTP 499 status code in such an instance.
Therefore, it’s wise to check with your host about the values set on your server. At Kinsta, the default max_execution_time and max_input_time values are set to 300 seconds (5 minutes). The maximum PHP timeout values vary depending on your plan.
If necessary, you can reach out to your hosting provider to request a timeout increase. As a Kinsta user, you can open a ticket with our support team.
Summary
There are a wide variety of HTTP status codes to be aware of as a website owner. Some of the trickiest are client-based errors, such as the HTTP 499 code. The good news is that you can take a handful of steps to resolve this issue.
In this post, we discussed five potential solutions you can use to fix the HTTP 499 status code error. All of them are viable options; if one doesn’t work, another one should.
Do you want to troubleshoot and resolve issues in WordPress as painlessly as possible? Check out Kinsta hosting plans to learn how our APM tool and other solutions can streamline your website maintenance and management!


