
You migrate a site, everything looks fine on your end, and then the messages start coming in. Some visitors see the new site, others are still hitting the old one, and a few report errors you can’t reproduce at all.
When that happens, it’s easy to blame the host or the migration itself. More often than not, though, the real cause is DNS (not because it’s broken, but because it’s doing exactly what it’s designed to do).
DNS updates don’t happen all at once. They rely on layers of caching and resolvers outside your hosting environment, which is why migrations can feel unpredictable even when the site is ready.
This guide explains what DNS actually controls, why propagation behaves differently for different people, and how to plan a migration so DNS is a controlled final step instead of a source of downtime or confusion.
What DNS actually does
DNS answers a very specific question: Where should this domain point?
When someone enters your domain in a browser, DNS translates that name into an IP address. That IP address tells the browser which server to connect to. DNS doesn’t load pages or care what’s running on the server. It just handles the lookup.
To make that lookup work reliably, DNS is broken into a few separate pieces, each with a clear role.
- Domain registrar: Your registrar is where the domain is purchased and renewed. It doesn’t host your site or control traffic. From a DNS perspective, its main responsibility is pointing the domain to the correct nameservers.
- Authoritative DNS provider: This is the service that stores your DNS records and provides the final answer when the internet asks where your domain should resolve. Providers like Cloudflare or your hosting platform often serve this role.
- Nameservers: Nameservers tell the internet which DNS provider is authoritative for your domain. They don’t contain website data or configuration themselves. They simply route DNS queries to the right place.
- DNS records (A, AAAA, CNAME): These records define where traffic goes. A records point a domain to an IPv4 address, AAAA records point to an IPv6 address, and CNAME records alias one domain to another.
Together, these records decide which server visitors reach when they load your site.
Just as important is what DNS does not do. DNS doesn’t serve files, move databases, sync content, or manage SSL certificates. It never touches your hosting environment.
Once that boundary is clear, the rest of the migration process becomes much easier to reason about.
What changes during a site migration and what stays the same
One reason DNS causes so much confusion during migrations is that only a small part of the setup actually changes. The rest stays exactly as it was before, even though the site itself may be moving to an entirely new environment.
During a typical site migration, a few things usually change.
- The IP address almost always changes because the site now lives on a different server. This is the most common DNS-related update and the one that ultimately tells traffic where to go.
- The hosting environment changes as well. That includes the server, infrastructure, and platform running your site. While this affects performance and stability, it’s separate from DNS and should be fully ready before any DNS updates happen.
- In many cases, specific DNS records change. A records or AAAA records are updated to point to the new IP address. Sometimes CNAME records are adjusted instead, depending on how the site is configured.
At the same time, several things usually stay the same.
- The domain name doesn’t change. Visitors still type the same URL, and nothing about the public-facing address needs to be updated.
- The nameservers also stay the same unless you’re intentionally switching DNS providers. Most migrations don’t require a nameserver change at all, even when the hosting provider changes.
This is why DNS is almost always the last step in a migration. You build and verify the new environment first, then update DNS once everything is ready to receive traffic.
Treating DNS as a final switch instead of an early task reduces uncertainty, limits exposure, and makes downtime far easier to avoid.
DNS propagation and why it’s unpredictable
DNS propagation doesn’t mean the internet is “updating” your domain all at once. It describes how long it takes for DNS changes to be picked up, cached, and reused across many independent systems.
When someone visits your site, their request doesn’t go straight to your DNS provider every time. It usually passes through a recursive resolver, often operated by an ISP, a corporate network, or a public service like Google or Cloudflare. That resolver asks the authoritative DNS provider for an answer, then stores the result for later use.
Once a resolver caches a DNS response, it keeps using that answer until the cache expires. This is where unpredictability comes in. Different resolvers cache DNS data for different lengths of time. Some respect TTL values precisely. Others apply their own limits or reuse cached data longer than expected.
Additionally, browser and operating system caches can store DNS results locally. Even if the global DNS record has been updated, a user’s device may continue to use an older answer until the local cache clears or expires.
This layered caching explains why two people in different locations can see different versions of the same site at the same time. One resolver has the new IP address. Another is still pointing to the old server.
The common “24-48 hours” rule oversimplifies what’s really happening. Many users see updates in minutes. Others may not see them for much longer, depending on how their resolver and local caches behave.
TTL and how it helps avoid downtime
TTL, or Time to Live, controls how long DNS answers are cached before a resolver asks for fresh information. It doesn’t force updates to happen faster, but it limits how long outdated information can be reused.
Each DNS record has its own TTL value, measured in seconds. If a record has a TTL of 300, resolvers may reuse that answer for up to five minutes before checking again. A TTL of 86,400 allows caching for a full day.
This is why lowering TTL before a migration matters. If resolvers are already holding short-lived DNS answers, they refresh more frequently when you change records. That reduces the window where visitors might be sent to the old server after the switch.
For most migrations, a TTL between 300 and 600 seconds strikes a good balance. It’s short enough to limit propagation delays without putting unnecessary load on DNS infrastructure.
Going too low can cause problems. Extremely short TTLs don’t guarantee instant updates, and some resolvers ignore unusually small values. Others may rate-limit requests or fall back to cached data anyway. Lowering TTL at the last minute is another common mistake. If caches already hold long-lived records, changing the TTL won’t affect them until those caches expire.
The safest approach is timing. Reduce TTL at least 24 hours before the migration, confirm the new value is live, and only then schedule the DNS change.
A safe DNS migration timeline (step by step)
A smooth DNS migration prioritizes sequencing over speed. When each step happens in the right order, DNS becomes a controlled switch instead of a guessing game. Here’s how to go about it successfully:
1. Prepare the new hosting environment
Set up the new site completely before touching DNS. That includes installing dependencies, configuring caching, setting up redirects, and verifying performance.
Test the site using a temporary URL or a local hosts file so you can view it as if DNS already points to the new server. Make sure SSL certificates are ready and valid, especially if HTTPS is enforced. DNS should never be the step where you discover configuration issues.
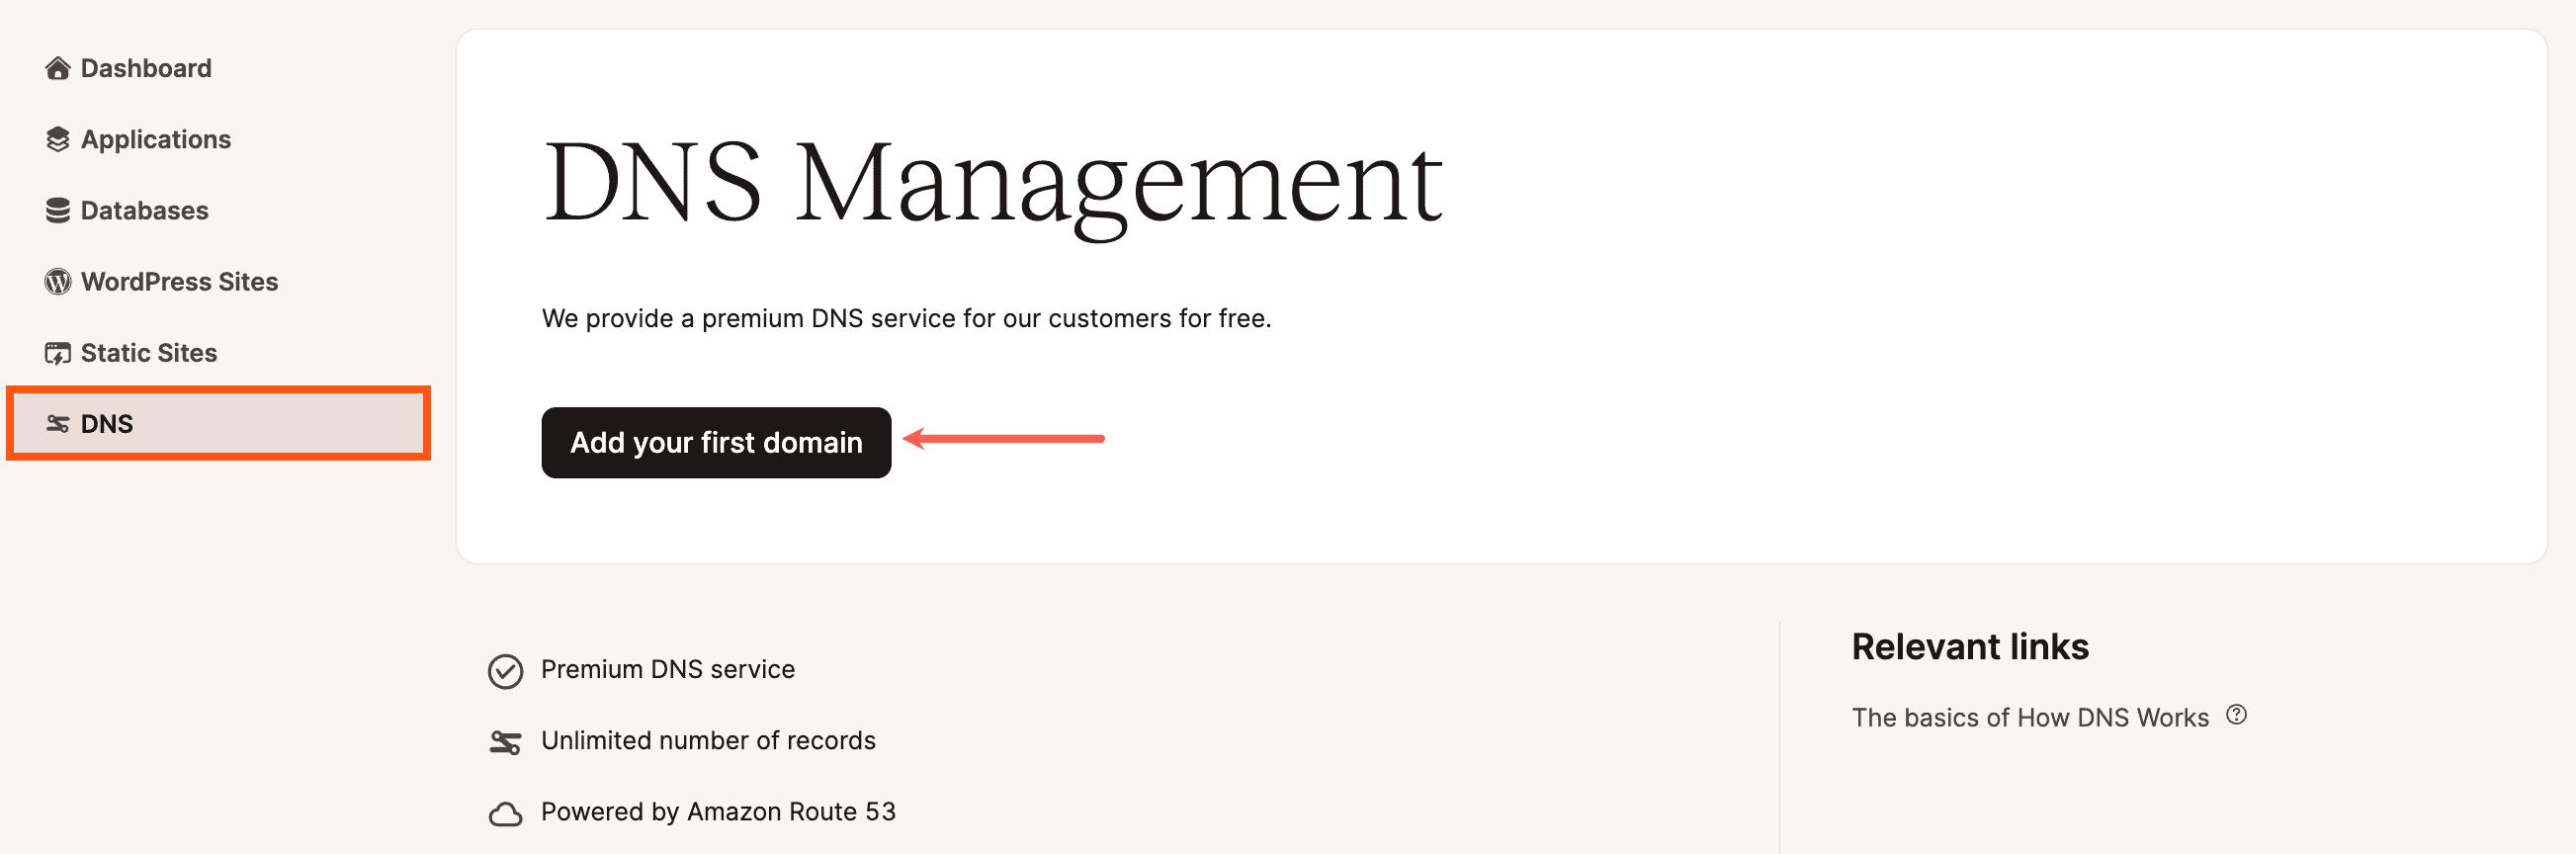
You can adjust DNS information within MyKinsta easily by going to your dashboard, clicking DNS then Add your first domain name.
2. Lower TTL in advance
Reduce TTL values on relevant DNS records well ahead of the migration. Ideally, do this at least 24 hours before the planned switch.
After changing TTL, confirm the new value is live using DNS lookup tools. This ensures resolvers begin caching shorter-lived answers before any IP changes happen.
3. Freeze risky changes
Pause content edits, e-commerce orders, and form submissions if the site relies on a single database. DNS doesn’t move data, so changes made to the old site after the migration snapshot can be lost.
Most migration data issues come from overlapping writes, not DNS delays. Freezing changes removes that risk.
4. Update DNS records
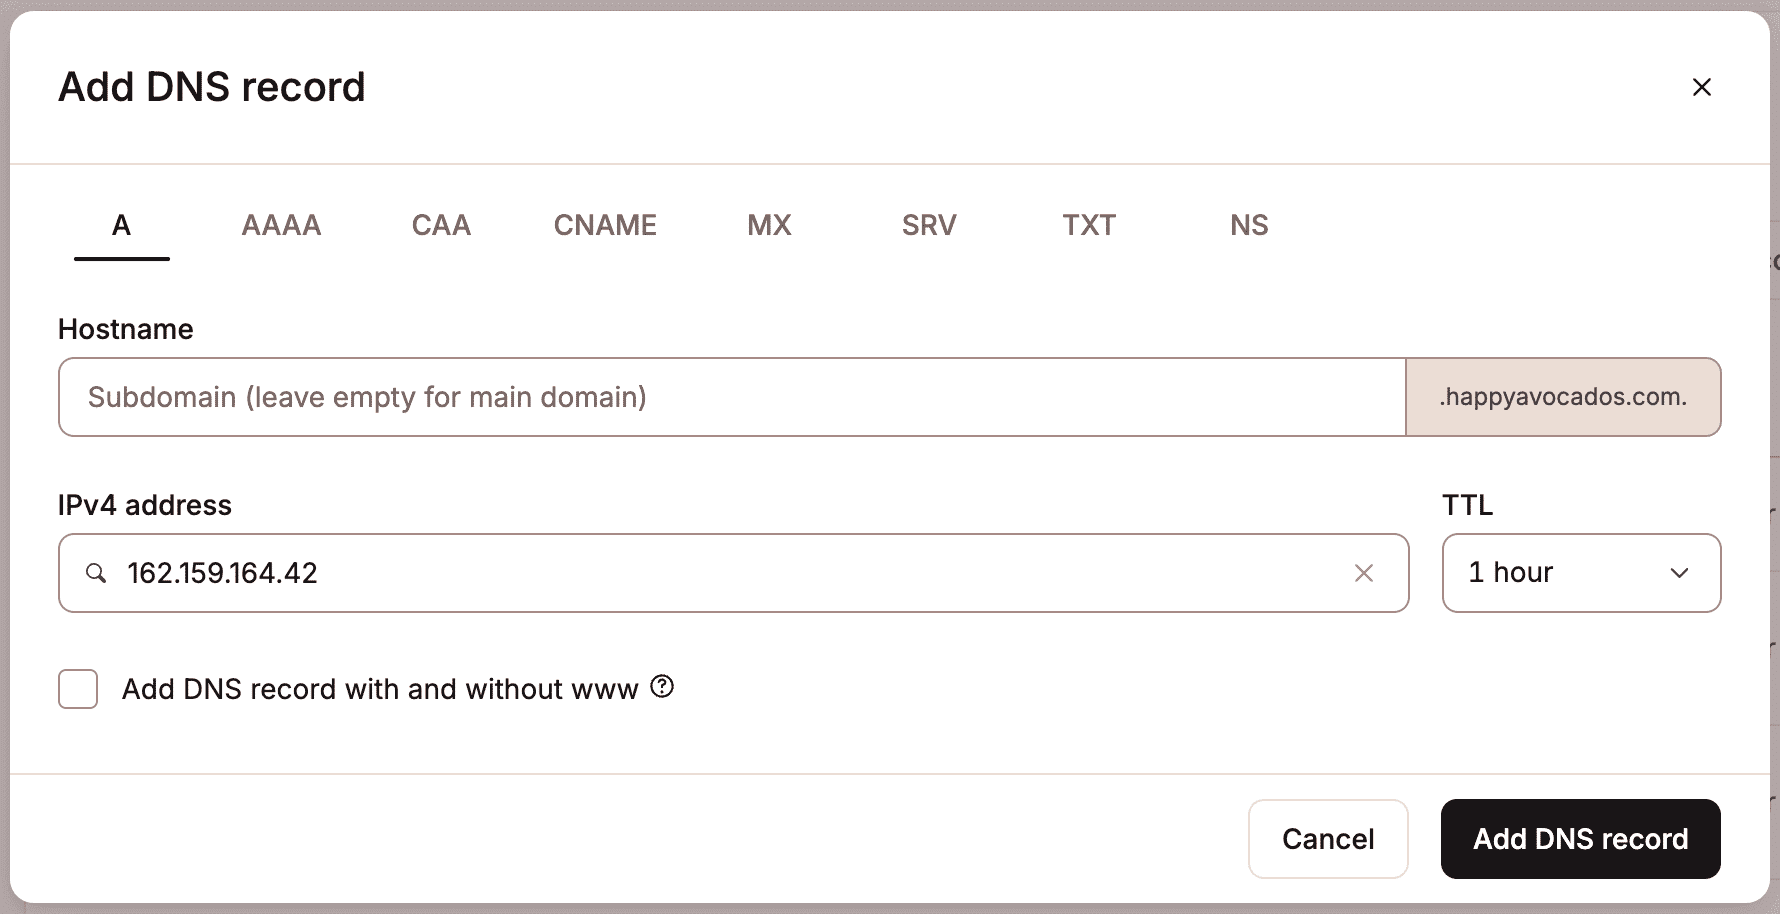
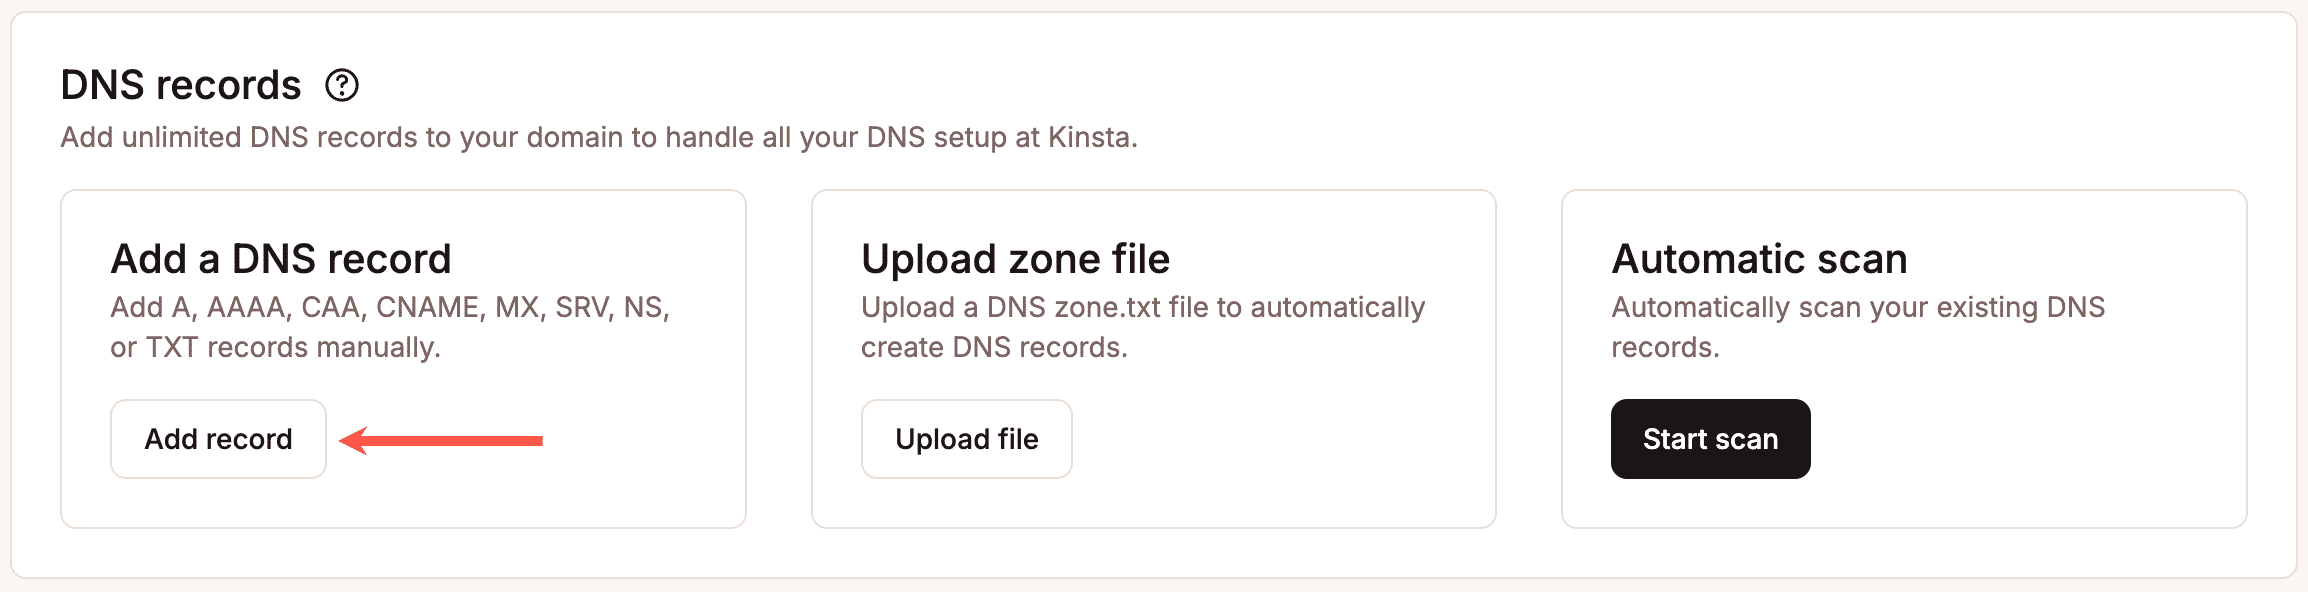
Change only the records that need updating, usually A, AAAA, or CNAME records pointing to the site. Avoid modifying unrelated records during the same window. You can adjust this information within MyKinsta, too. Within the same DNS page as before, scroll down to DNS records and select Add a DNS record to add this information manually.
Double-check IP addresses, record types, and hostnames to prevent conflicts. Once updated, verify changes using direct DNS queries rather than browser testing alone.
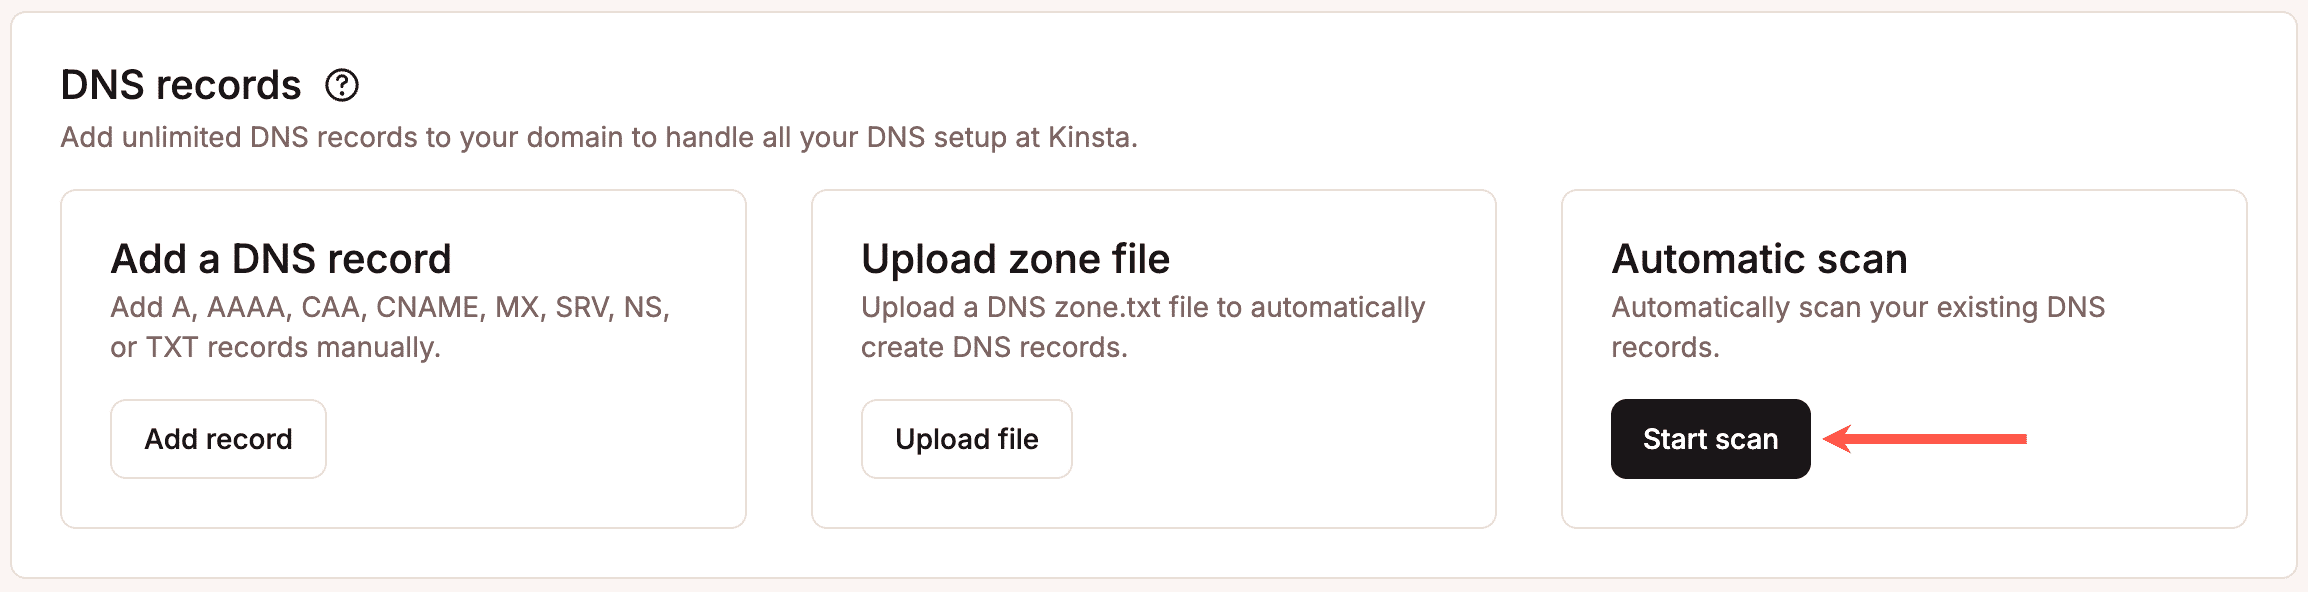
You can also conduct an automatic scan of DNS records by clicking Start scan under Automatic scan.
5. Monitor propagation in real time
Track DNS resolution from multiple regions to confirm traffic is reaching the new server. Expect mixed results during rollout. That’s normal.
Success doesn’t mean everyone updates instantly. It means new traffic consistently resolves to the correct destination, without errors or interruptions.
Following this sequence keeps DNS predictable. Each step limits risk, narrows uncertainty, and prevents downtime caused by rushed or overlapping changes.
Where downtime usually comes from and how to prevent it
When downtime happens during a migration, DNS often gets the blame. In practice, the root cause is usually somewhere else.
DNS issues tend to be simple and binary: a record points to the right place or it doesn’t. Most outages come from gaps between DNS, hosting, and the application itself.
- One common failure point is an incorrect IP address. A single typo or outdated value sends traffic to the wrong server, which looks like downtime even though DNS is resolving correctly.
- Missing or incomplete DNS records cause similar symptoms. Mail records, www subdomains, or verification records are sometimes overlooked during changes, leading to partial outages or broken functionality.
- SSL misalignment is another frequent cause. DNS may point to the new server, but the certificate isn’t installed or doesn’t cover the correct domain yet. Browsers then block access, which users experience as downtime.
- Caching can also work against you. Cached content or redirects may still point to the old server after DNS updates, especially if reverse proxies or CDN layers aren’t aligned with the new environment.
The most reliable way to prevent these issues is overlap. Keep the old and new environments live at the same time, fully functional, until traffic has clearly shifted. When both servers can serve requests safely, DNS propagation becomes far less risky.
How managed hosting reduces DNS-related risk
Managed hosting can reduce migration risk by ensuring the new environment is fully prepared before DNS changes. Most managed platforms provide staging or temporary URLs, preconfigured server stacks, and SSL readiness checks, so the new site can be tested end-to-end while the old site still serves visitors.
Migration support also plays a role. Experienced teams validate DNS records, confirm IP assignments, and watch for common misconfigurations that cause outages. Instead of guessing whether an issue is DNS, SSL, or application-level, problems are identified and resolved earlier in the process.
Kinsta structures migrations so that overlapping environments are the default. The old site continues serving traffic while the new site is prepared and verified. When DNS updates happen, both ends are ready to handle requests.
DNS myths that cause unnecessary panic
A lot of migration stress comes from ideas about DNS that sound reasonable but aren’t accurate. Clearing these up makes it easier to respond calmly when things don’t update instantly.
“DNS changes are instant.”
DNS updates don’t push out to the internet in real time. They’re picked up as caches expire and resolvers refresh their data. Even a perfectly configured change rolls out gradually.
“If the site is down, DNS is broken.”
Most migration downtime isn’t caused by DNS at all. SSL errors, server misconfigurations, or application issues often appear as DNS failures because users can’t load the site.
“Clearing cache fixes propagation.”
Clearing a browser cache may help a single user see the new site, but it doesn’t change what resolvers or ISPs have cached. Propagation happens on their timelines, not yours.
“Changing nameservers is required for every migration.”
Nameserver changes are only needed when switching DNS providers. Most site migrations work perfectly well without touching nameservers at all.
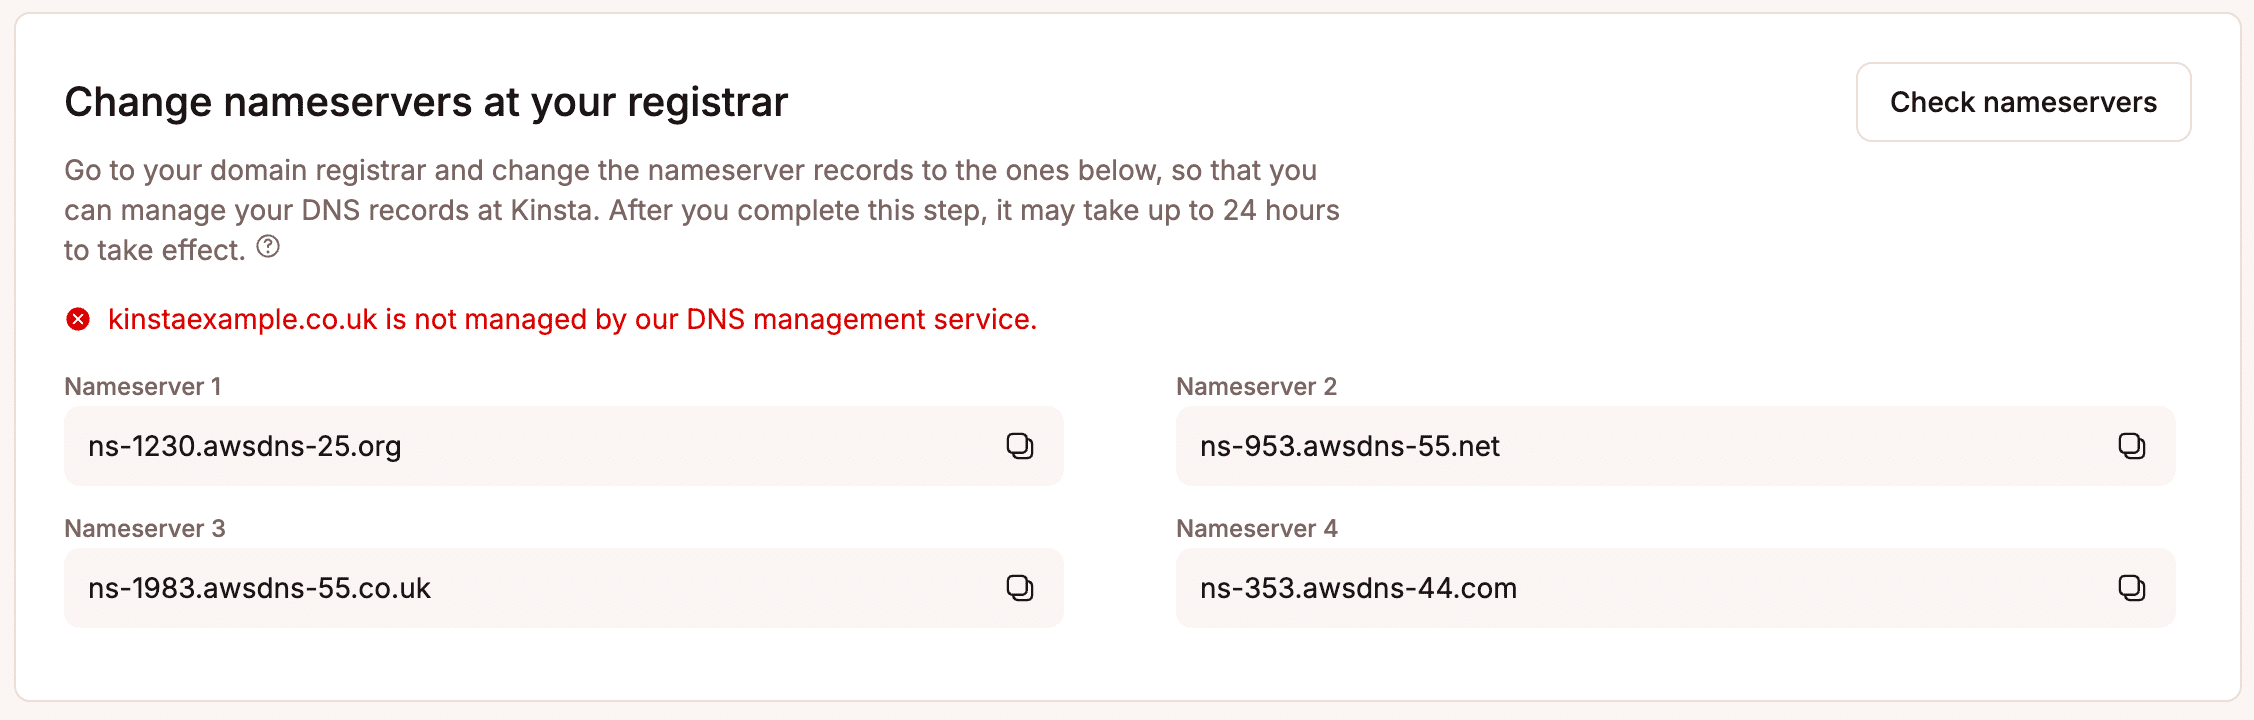
If you do need to make changes, you can access Kinsta nameservers in MyKinsta under DNS> Change nameservers at your registrar.
DNS rarely behaves unpredictably because it’s broken. It behaves predictably according to rules that are easy to misunderstand. Knowing those rules removes much of the panic that surrounds migrations.
Post-migration checklist: What to do once DNS is live
Once DNS changes are in place, the work isn’t finished. The goal now is to confirm that traffic is consistently reaching the new environment and that nothing is quietly failing in the background.
- Start by confirming traffic is hitting the new server: Check server logs, analytics, or hosting dashboards to verify requests are arriving at the correct IP and environment. Mixed traffic is normal early on, but it should trend fully toward the new site.
- Verify SSL and redirects: Make sure certificates are valid for all expected domains and that HTTP-to-HTTPS and legacy redirects behave as intended. Certificate errors or redirect loops often appear only after real traffic arrives.
- Monitor logs and error rates: Watch for spikes in 404s, 500 errors, or blocked requests. These signals often reveal missed configuration issues that weren’t visible during testing.
- Once traffic has stabilized, restore normal TTL values: Longer TTLs reduce DNS query volume and improve resolver efficiency. This step is often forgotten but important for long-term stability.
- Remove legacy environments safely: Don’t shut down the old server until you’re confident it’s no longer receiving meaningful traffic. A short overlap window prevents edge-case failures from turning into outages.
This final pass turns a successful DNS update into a clean, stable migration.
Downtime during migration is usually optional
Downtime during a site migration is usually the result of rushed changes, overlapping responsibilities, or treating DNS as something that needs to be “fixed” under pressure.
The safest migrations prioritize preparation over speed. Hosting, application configuration, and SSL are validated first. DNS is updated last, with realistic expectations about propagation and caching.
With the right workflow and support, site migrations don’t need to be stressful or risky. And when DNS changes occur on top of a stable, managed environment, such as the managed hosting services provided by Kinsta, downtime becomes a thing of the past.