
One of the biggest selling points of using page builders such as Elementor is that you get access to pre-built page elements, or “widgets”. Elementor widgets include plenty of customization and styling options. However, sometimes the only way to apply a particular style is with Cascading Style Sheets (CSS).
CSS gives you an amazing degree of control over every component of your website. Adding it to WordPress is simple if you’re familiar with the language. Elementor also offers several options for adding custom CSS.
In this article, we’ll talk about what CSS is and how you can add custom styling to Elementor. Finally, we’ll discuss some best practices for using CSS in WordPress. Let’s get started!
Check Out Our Video Guide to Adding a Custom CSS to Elementor
What Is CSS?
CSS is what we call a “stylesheet” language. You can use CSS stylesheets to add custom styling to HTML or XML documents. By using CSS, you can take a basic HTML page and transform it into a modern-looking design.
Think about CSS as a language that describes how elements should appear on a browser. It works across every browser and it’s one of the internet’s core languages.
For example, this is the CSS code that you’d use to assign a background color to the body of an HTML document:
body {

background-color: red;

}
You can use CSS to apply styles to specific components, classes, and IDs in HTML. For instance, the following snippet would apply a specific text color and alignment to all H2s on a page:
h2 {

color: black;

text-align: left;

}
Typically, when you load an HTML page, it will also load a separate stylesheet that includes all CSS code. This means you can re-use stylesheets across multiple pages.
You’re free to apply CSS code directly to any HTML page. You can also use it “inline”. This is a term that refers to CSS code that applies to a single HTML element and resides within that file.
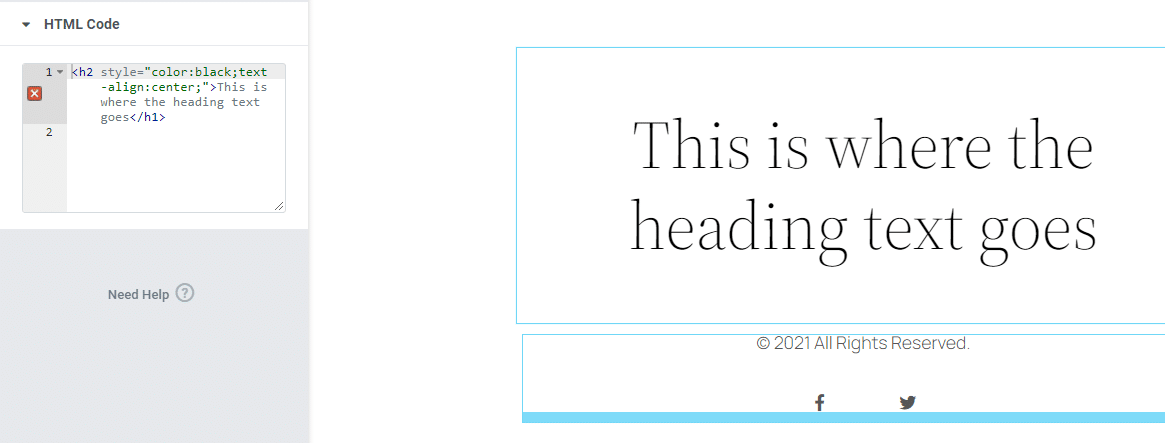
Here’s an example of inline CSS for a specific H2 header:
<h2 style="color:black;text-align:center;">This is where the heading text goes</h1>It’s considered best practice to add CSS to a separate stylesheet. However, one of the many advantages of using WordPress and Elementor is that you get to add CSS without editing files manually. Let’s take a closer look at how it works.
Our Elementor hosting solution is optimized for speed, security, and peak traffic and is unlike any other platform out there.
Custom CSS Options in Elementor
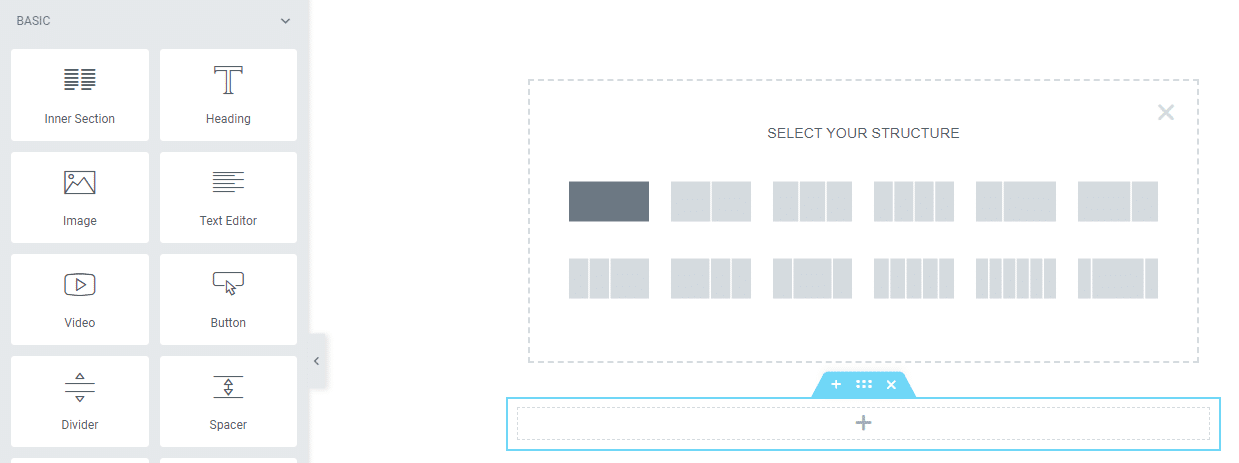
If you’re familiar with Elementor, you’ll know the builder uses sections, columns, and widgets to help you put together pages. Sections contain one or multiple columns, and each column can have several modules:
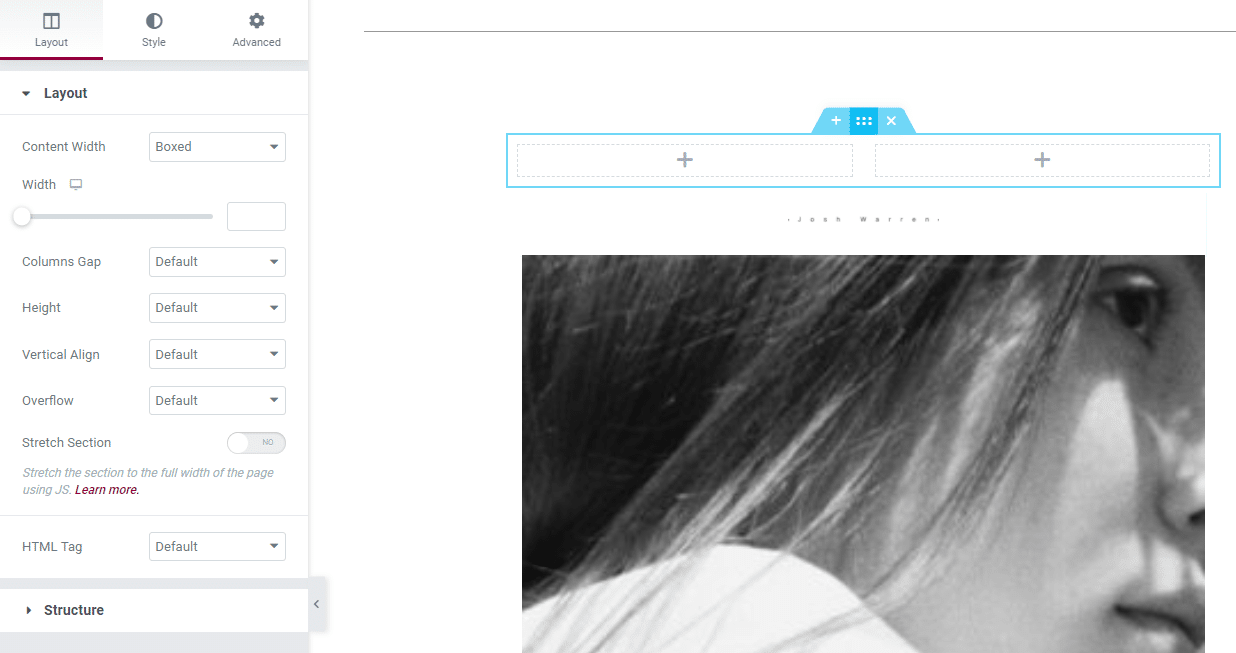
One of the best parts of using Elementor is that you can add separate CSS code at the section, column, and widget level. When you hover over a section, you can select the six-dot icon to open the Edit Section menu on the left side of the screen:
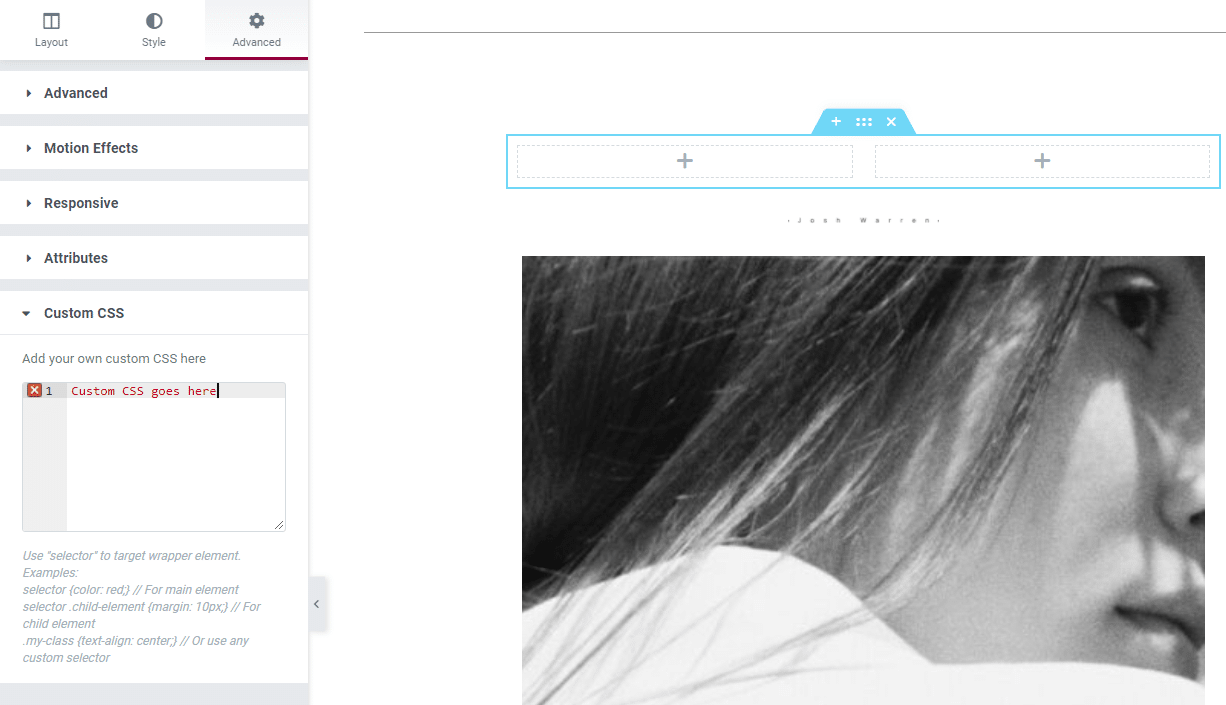
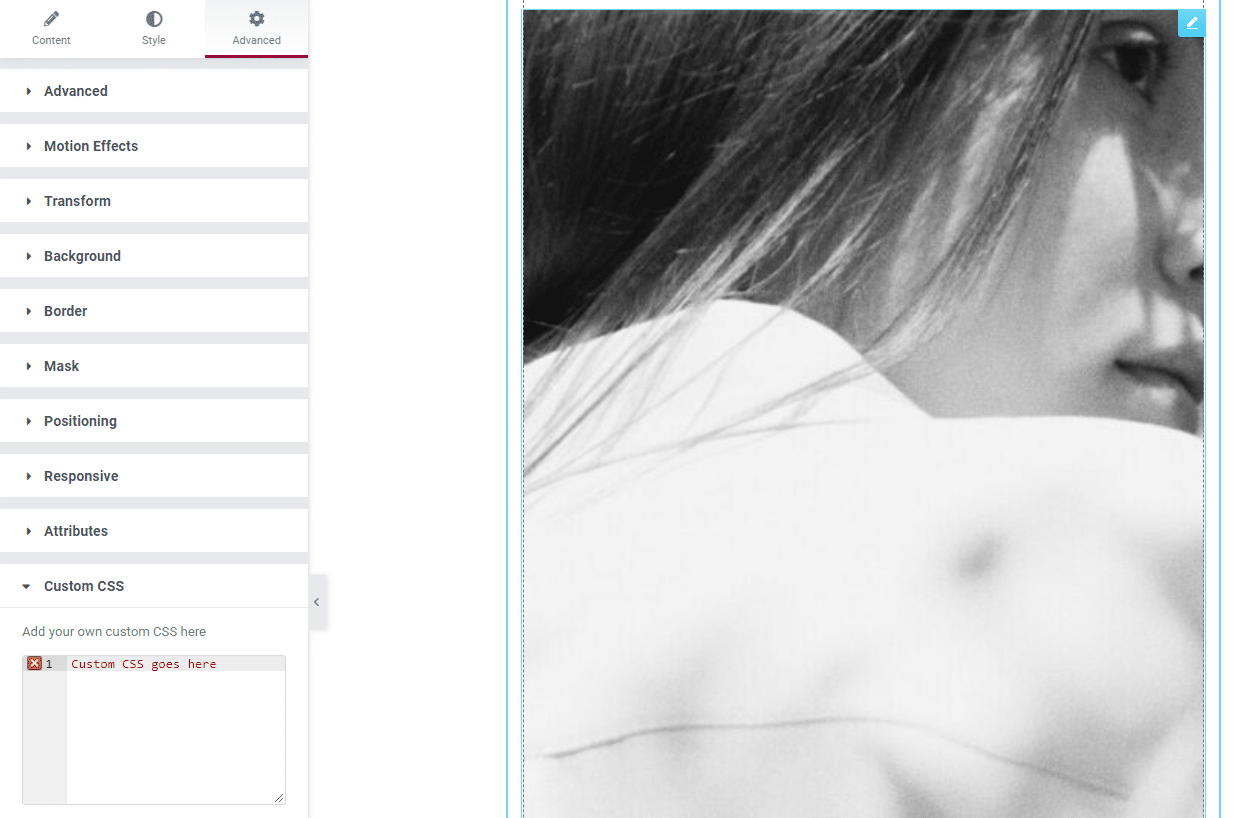
If you move to the Advanced tab within the Edit Section menu, you’ll see a Custom CSS section. Inside, you’ll find a field that enables you to add code for that specific section:
When you edit columns and widgets, you’ll notice that you have access to the same three tabs in their respective settings menus. Sections, columns, and widgets all include layout, style, and advanced settings.
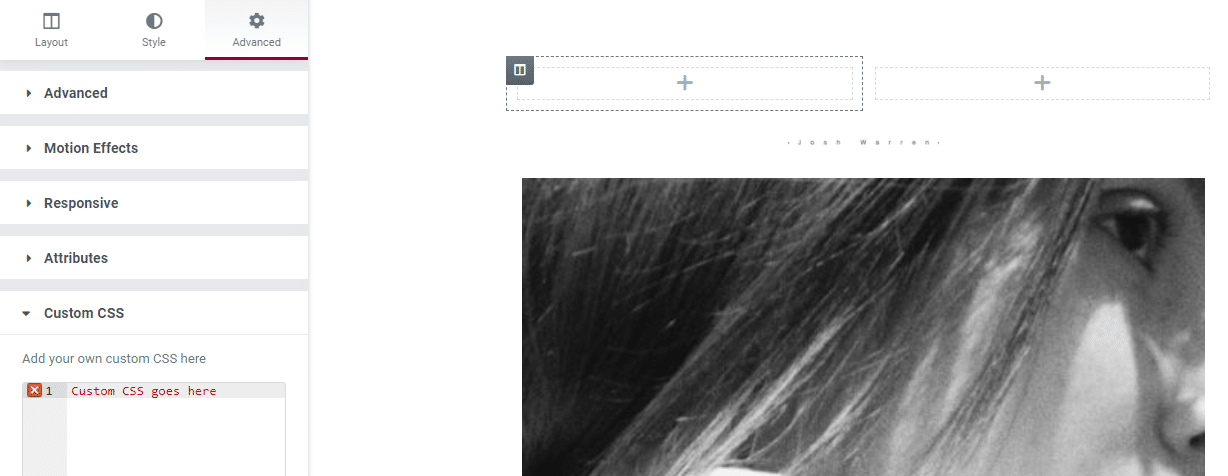
To add custom CSS to a column, hover over it and select the two-column icon on the top right corner of the element. Then, navigate to the Advanced option and open the Custom CSS section:
You can follow the same process to add custom CSS to an Elementor widget. Simply select the widget that you want to customize and move directly to the Advanced > Custom CSS tab:
Adding custom CSS to specific elements within the Elementor page builder is very straightforward. However, keep in mind that the styling will only apply to those elements. If you want to add custom CSS that affects your entire site, you’ll need to use a different approach.
How To Add Custom CSS Using Elementor (5 Methods)
In this section, we’ll explore other ways to add Elementor custom CSS. We’ll cover methods that apply CSS throughout your entire website, to specific pages, and to Elementor widgets.
Method 1: Use the Elementor HTML Widget
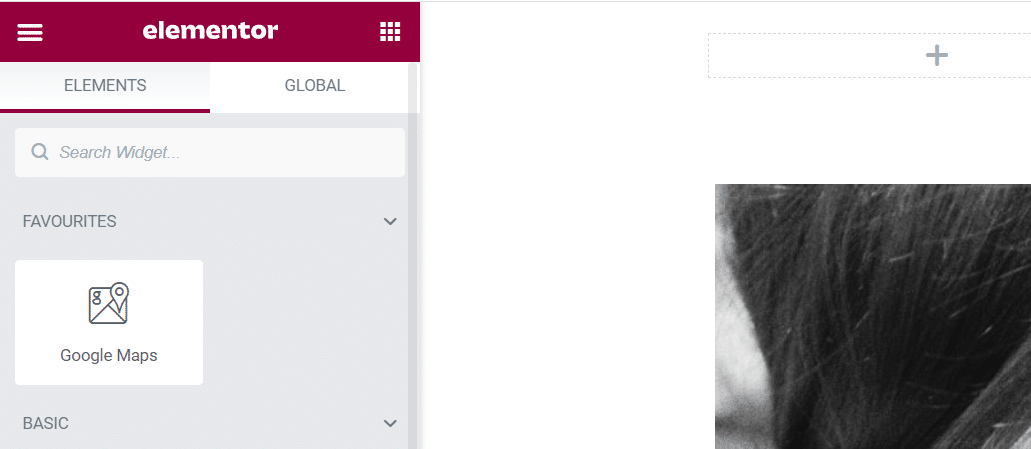
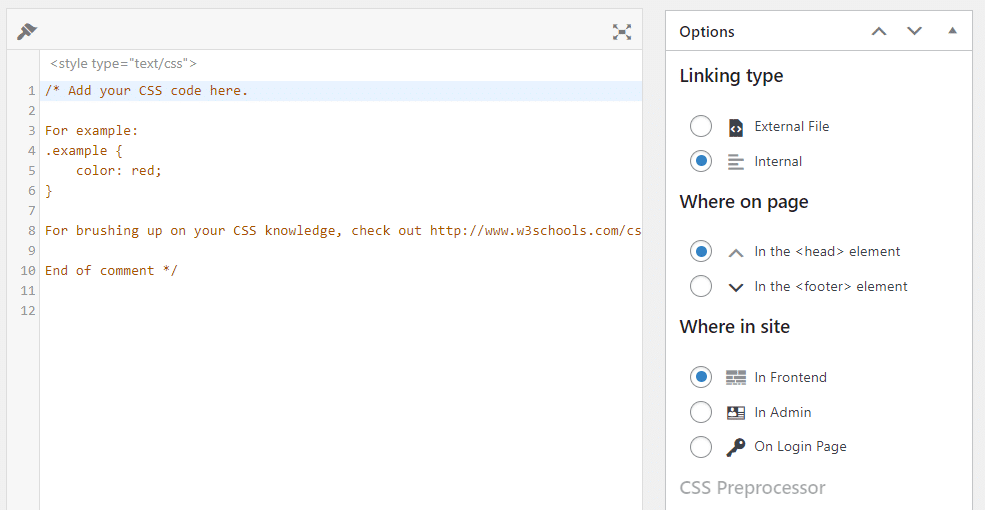
Elementor enables you to add custom CSS to any of its widgets. However, in some cases, you might want to add elements manually using HTML and CSS. In those cases, you’ll need to use the HTML widget:

The HTML widget can parse HTML, CSS, and JavaScript. You can add any code you want inside the HTML Code field and if it’s valid, Elementor will display it as a widget:
The HTML widget supports both inline and standalone CSS. Any code that you add using the widget will only affect that single element.
Method 2: Use the Elementor Site Settings Menu
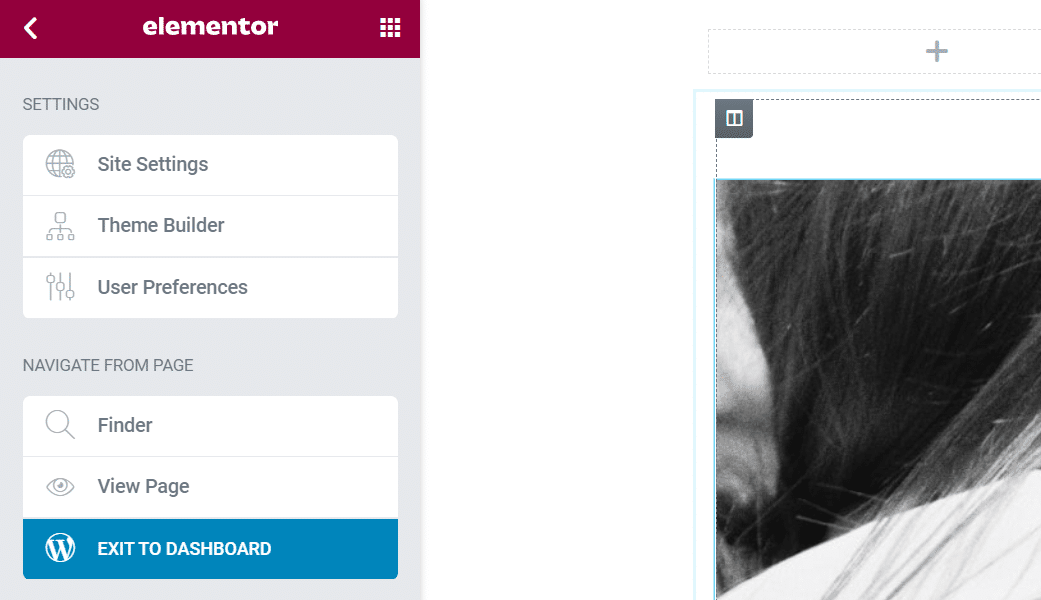
Elementor includes a collection of global settings that resemble the options you can find in the WordPress Customizer. To access the Elementor Site Settings menu, open the editor and click on the hamburger menu on the top-left corner of the screen:
On the next page, select the Site Settings option:
Inside you’ll see a collection of settings that enable you to customize your site’s style. Any changes that you make within this menu will apply to your entire site, even if you’re technically only editing a single page.
Open the Custom CSS tab and you’ll see a field that looks just like the custom CSS options for sections, widgets, and columns:
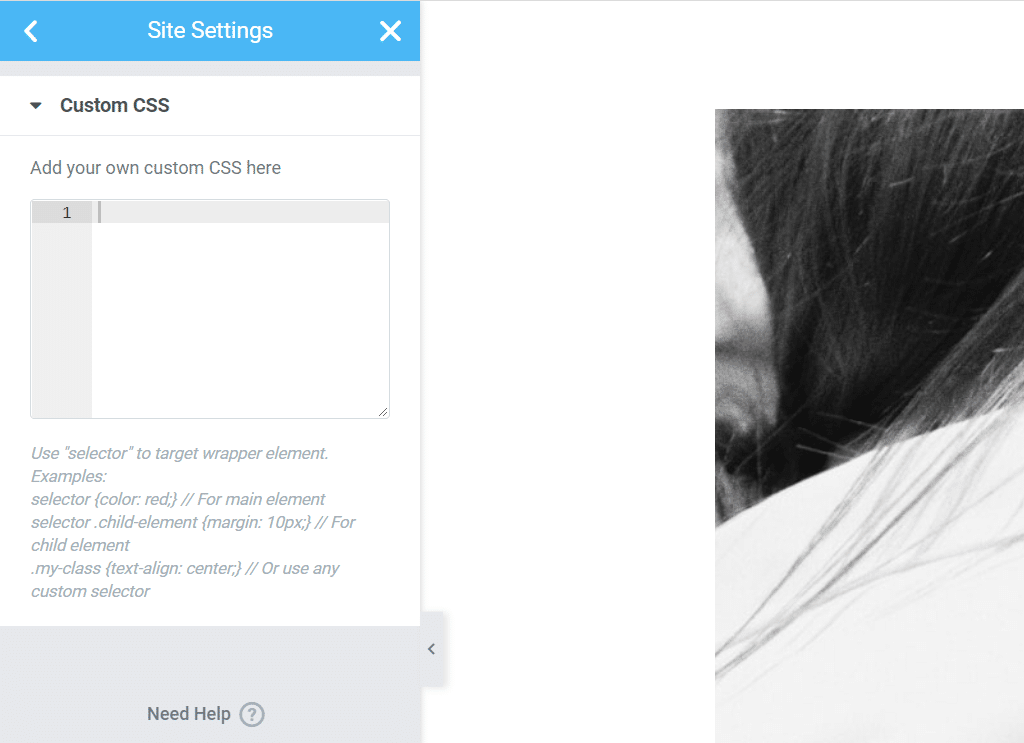
Any custom CSS that you add here will affect your entire website. If you only intend to customize specific elements, we recommend that you use a more targeted approach (such as adding CSS directly to a widget).
Method 3: Use the WordPress Customizer
The WordPress Customizer also enables you to add custom CSS on a sitewide basis. To do so, go to Appearance > Customize and select the Additional CSS option in the left-hand menu:
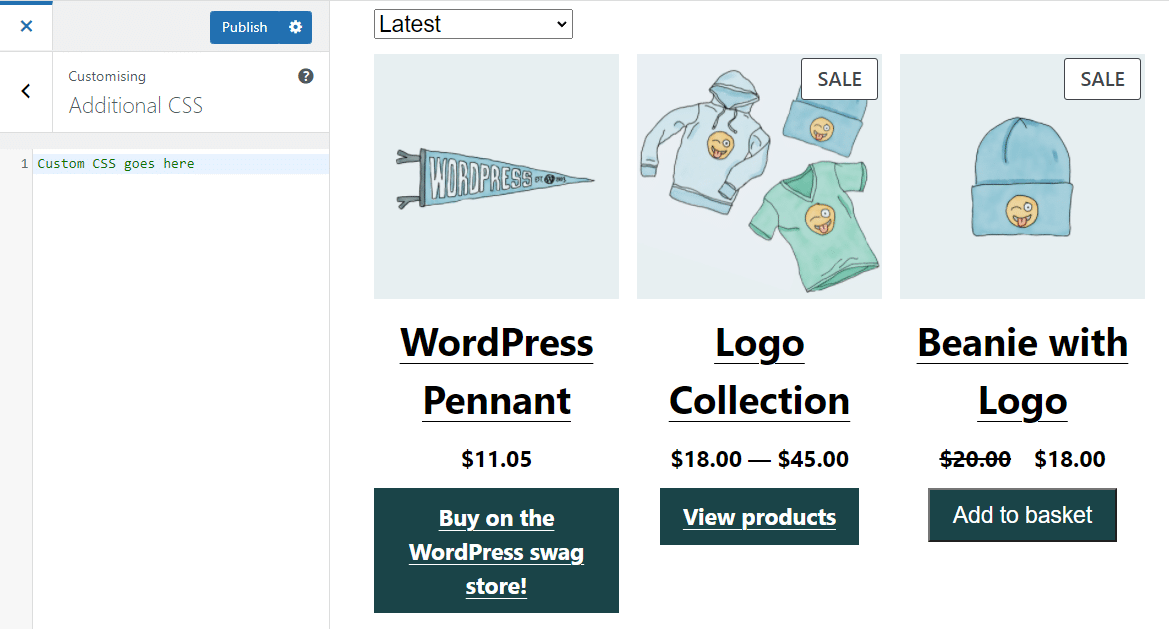
However, it’s worth noting that the Elementor code fields are more user-friendly than the ones available in the Customizer. If you’re already using Elementor for site building, there’s no reason to add custom CSS through the Customizer.
Method 4: Enqueue Custom CSS Files
If you’re comfortable editing WordPress files and accessing your website via a File Transfer Protocol (FTP) client, you can enqueue a CSS stylesheet to load with Elementor. This approach requires you to add code to the WordPress functions.php file.
To access the functions.php file, connect to your website via FTP and go to the WordPress root folder. Open the folder, find the functions.php file, and edit it.
Here’s an example of the code that you want to add to the file:
add_action( 'elementor/frontend/before_enqueue_scripts', function() {

wp_enqueue_script(

'custom-stylesheet',

get_stylesheet_uri()

);

} );
That code uses the before_enqueue_scriptshook to load a stylesheet called custom-stylesheet. We also use the get_stylesheet_urifunction to point toward the stylesheet’s location in the server.
Ideally, you’ll add the custom stylesheet within your child theme’s directory or in the Themes folder itself. The stylesheet can contain any Elementor CSS code that you want. The snippet that you added to functions.php ensures that the code only loads when Elementor is active on your website.
Method 5: Use a CSS Plugin
There are several plugins that enable you to add custom CSS to your website without using the Customizer or page builders. One of our favorite tools for the job is called Simple Custom CSS and JS:
With Simple Custom CSS and JS, you get the option of adding code directly to your theme’s header and footer elements. To start, go to Custom CSS & JS > Add Custom CSS and click on Add CSS Code.
A basic CSS editor will appear to the left. To the right, you can configure whether to load the CSS code in an external stylesheet or internally. You can also decide whether the code should go in the header or the footer:
When you’re done editing the CSS code, hit the Publish button. You may need to switch to a front-end view to see the code in action.
Best Practices for Creating Custom CSS With Elementor
Whenever you’re dealing with custom CSS or adding any type of code to your website, you’ll do well to keep the following best practices in mind. Let’s start with using a child theme.
Use a WordPress Child Theme
If you want to change any part of your theme’s style using CSS, we recommend that you use a child theme. A “child” theme is a template that inherits all of the styles of a designated theme.
This way, if you make any changes to the original theme, they won’t impact the customizations that you add to the child. Moreover, when you update your theme, it will retain these changes.
Use a Code Preprocessor for Easier Writing
One of the biggest challenges of adding code within WordPress or using Elementor is that you don’t get access to all of the functionality that modern code editors offer. Instead of wrangling code using basic on-site editors, we recommend that you use your favorite preprocessor. Then, you can simply copy and paste your code into WordPress.
Consider Using a Staging Website
Whenever you’re planning on making any big changes to WordPress, we recommend that you use a staging website. Staging sites enable you to test changes in style and functionality without the risk of breaking anything on your live site.
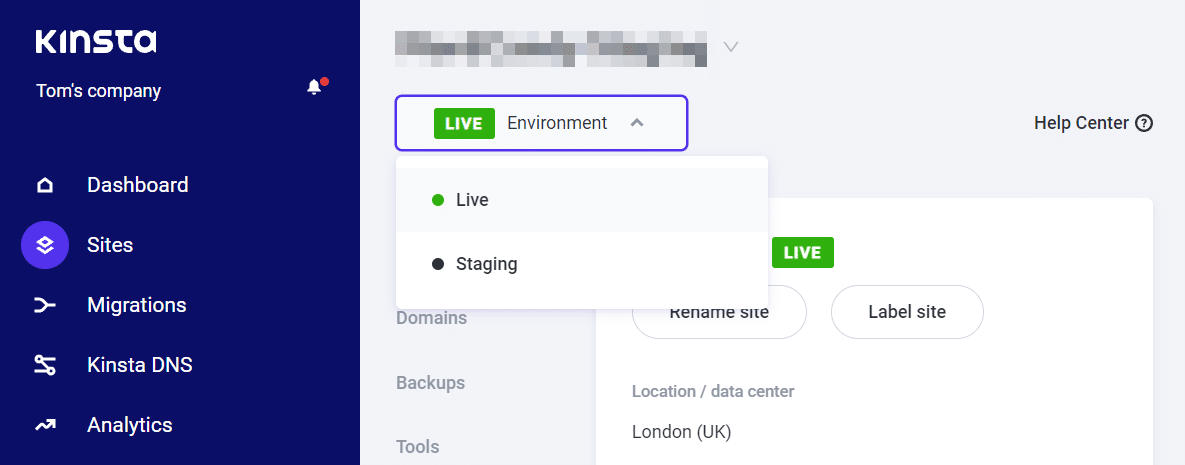
Some web hosts provide you with access to staging functionality from your control panel. If you use Kinsta, you can select your website using the MyKinsta dashboard and switch back and forth between live and staging environments:
If your web host doesn’t offer staging functionality, you can use a local WordPress development environment such as DevKinsta for testing purposes. Alternatively, you might want to consider switching hosting providers.
Summary
Adding Elementor custom CSS is easier than you might imagine. The page builder offers several methods for adding code to sections, columns, widgets, and for your entire website.
To recap, here are five main ways to add custom CSS to Elementor (or your website in general):
- Use the Elementor HTML Widget.
- Use the Elementor Site Settings menu.
- Use the WordPress Customizer.
- Enqueue custom CSS files.
- Use a CSS plugin.
At Kinsta, our plans are designed to help you build the site of your dreams with page builders like Elementor. Check out our plans or talk to sales to find the plan that’s right for you.


