
A beautifully-designed website can create a great first impression. However, building a top-notch site isn’t always easy – especially if you don’t have previous design or development experience.
That’s where the WordPress Elementor website builder comes in. By opting for this modern, user-friendly plugin, you can create a stunning website without writing a single line of code.
This post will cover everything you need to know about this hugely popular WordPress page builder. We’ll then show you how to navigate some of Elementor’s most essential tasks, such as creating layouts, pages, and even custom Elementor templates. Let’s get started!
An Introduction to WordPress Elementor
In the early days of the Internet, creating a website required advanced web development and design skills, or access to a specialist team. This meant that building a website was time-consuming, often frustrating, and potentially expensive.
Thanks to modern page builders, you can now create a professionally-designed, high-performing website without specialist skills. Once your site is up and running, you can quickly and easily add content or change the layout at any point, even if you’re a non-coder.
There are various WordPress page builders, but with over five million active installations, the Elementor plugin is one of the most popular. Elementor enables you to create everything from entire websites to single landing pages via an intuitive drag-and-drop editor.
With Elementor, you can control all aspects of your site’s design using a single platform. That way, your website can perfectly reflect your branding.
Elementor’s intuitive, code-free editor is particularly popular among website owners who don’t have design and development experience. It’s also a great fit for entrepreneurs and small businesses with an idea for an online venture but don’t necessarily have the funds to hire a dedicated design or development team.
Even if you’re an experienced pro, there are plenty of reasons to use Elementor. Just because you have coding skills doesn’t mean it’s wise to always create everything from scratch.
Elementor has plenty of features to help you build award-winning websites in less time. This includes over 90 ready-made widgets and professionally-designed web templates.

In this way, Elementor can boost your productivity and your profits. These time-saving features may prove particularly lucrative if you regularly build WordPress websites (i.e., for freelance developers and WordPress agencies).
Elementor Free vs Elementor Pro
Elementor is “freemium” software. You can download the core Elementor plugin for free or purchase an Elementor Pro license.
The free WordPress plugin comes with everything you need to build visually-appealing sales pages, product listings, business websites, and more. It includes over 40 widgets, 100 templates, and 300+ blocks. Blocks are pre-designed section templates that you can mix and match to create unique designs.
If you want more advanced functionality, you can purchase Elementor Pro. This unlocks some extra widgets, along with Elementor’s Theme Builder.
Using the Theme Builder, you can edit nearly every site element, including the header and footer. You can also create custom post and archive page designs.
If you’re developing an online store, Elementor Pro also includes a WooCommerce Builder. You can use this to customize your site’s WooCommerce content, including the product page, product archive, and checkout page. You’ll also get access to widgets explicitly designed to boost conversions, such as Custom Add To Cart, Upsells, and Product Related.
Elementor Pro also comes with a Popup Builder and a Form Builder. Although there are separate plugins that can help you create forms and popups, by opting for Elementor, you can minimize the number of plugins you’ll need to install and maintain.
Using too many plugins can make your site more vulnerable to hackers. It may even impact your website’s performance. So it’s a best practice to minimize the number you have installed. In addition, since you’re designing all of your site’s elements using the same platform, you should find it easier to achieve a consistent look and feel.
The Elementor Pro licenses include access to over 60 pro website kits. These are bundles of templates, pages, popups, and other components that can help you create a complete website. If you purchase an Expert license or higher, you’ll also get access to 20 expert website kits.
Additionally, every Pro license includes premium support. Typically, you’ll receive answers from Elementor’s specialist support team within one day. However, if you opt for Elementor Pro Studio or higher, you’ll be upgraded to VIP support. This lets you participate in live chats with Elementor’s VIP Support team. You’ll also receive priority responses on your tickets, which usually arrive in under 30 minutes.
If you’re an agency, developer, or designer, you may be interested in an Experts Network profile. There, you can showcase your work and catch the attention of potential clients.

If you’re interested in advertising via the Experts Network, you also may be interested in Elementor Pro’s Expert, Studio, or Agency licenses. These licenses entitle you to create a profile on this popular marketplace.
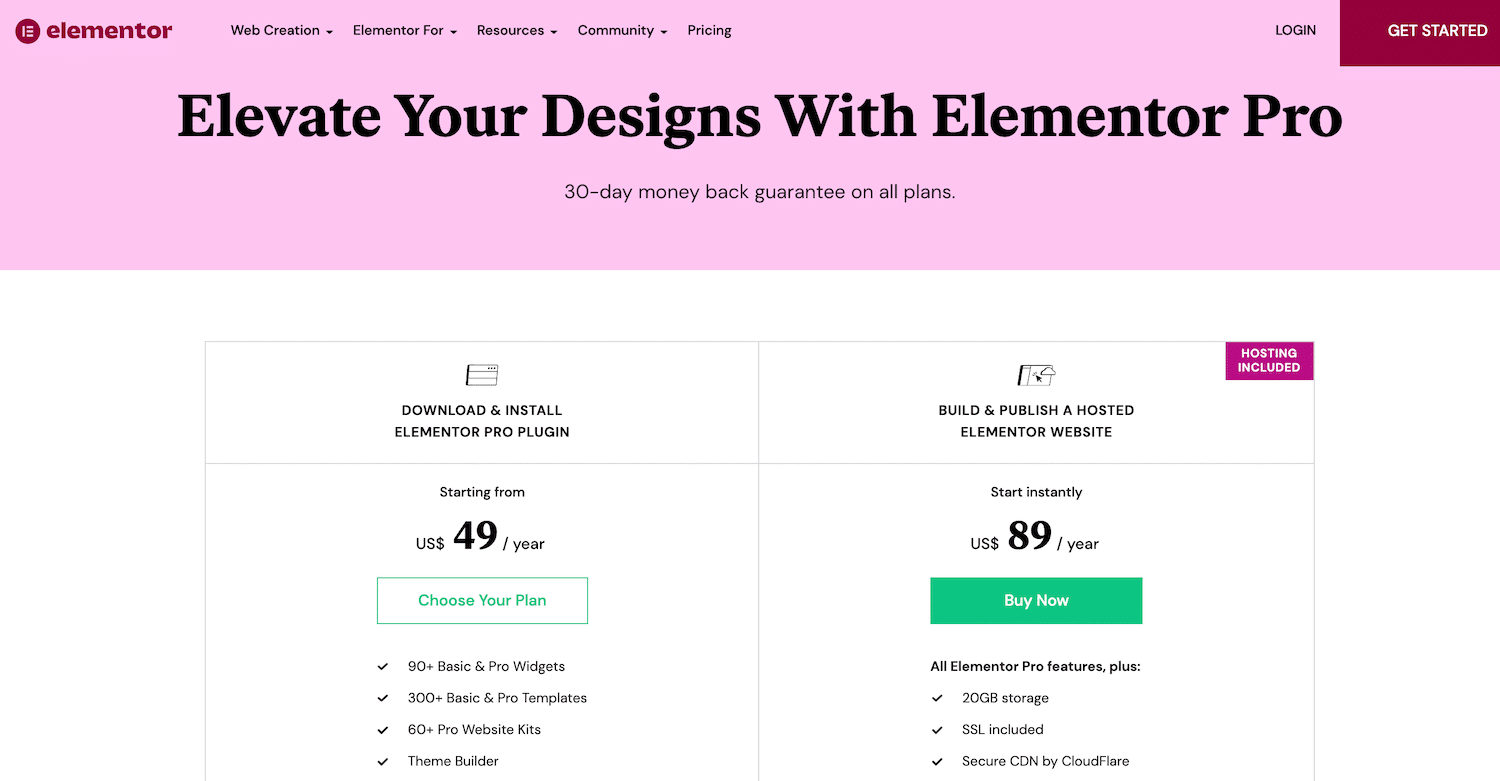
Elementor Pro plans range from $49 to $999 per year. The company also offers a 30-day money-back guarantee, so you can try it before you buy.
How To Install Elementor
Since it’s a WordPress plugin, installing Elementor is quick and easy. You can download the free plugin directly from your WordPress dashboard.
To download the free version, navigate to Plugins > Add New. In the search field, type in Elementor. When the plugin appears, click on Install Now.
When prompted, click on Activate. The plugin will add an Elementor option to your WordPress sidebar.
You’re now ready to start using Elementor! To get started, simply click on the Elementor option in the sidebar.
Alternatively, you can download the Elementor plugin directly from the WordPress repository. Then, log into your WordPress dashboard and navigate to Plugins > Add New > Upload Plugin. You can then click on Choose File, and select the Elementor .zip file you just downloaded.
How To Connect Elementor Pro to WordPress
There are two ways to connect Elementor Pro to WordPress. If you haven’t already purchased an Elementor Pro license, you’ll need to head to the official website, and select Get Started.
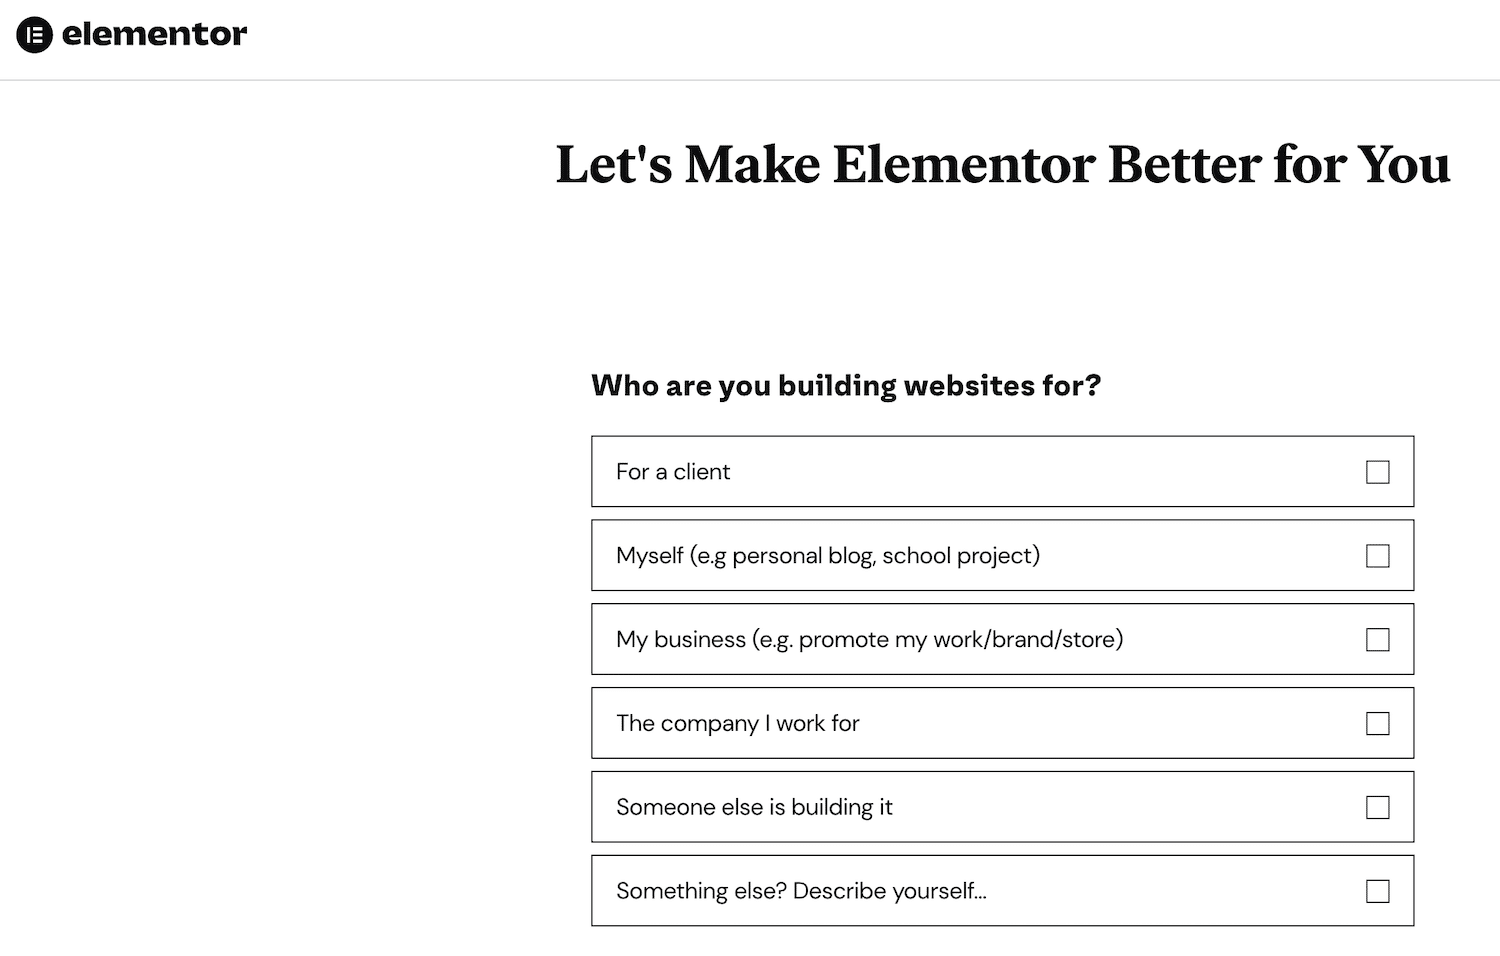
You can then follow the onscreen instructions to create an Elementor account. When prompted, enter some information about the kind of website you want to make.
Next, choose the plan you want to purchase. Since Elementor requires an active WordPress website, you’ll need to enter your site’s domain. Elementor will then perform a check to verify that your site is using the WordPress platform.
Assuming that you have an active WordPress website, the next step is clicking on Install Elementor. You’ll automatically be redirected to the Elementor plugin page if you’re currently logged into your site.
When prompted, click on Install Now > Activate. Elementor will then add the page builder plugin to your site.
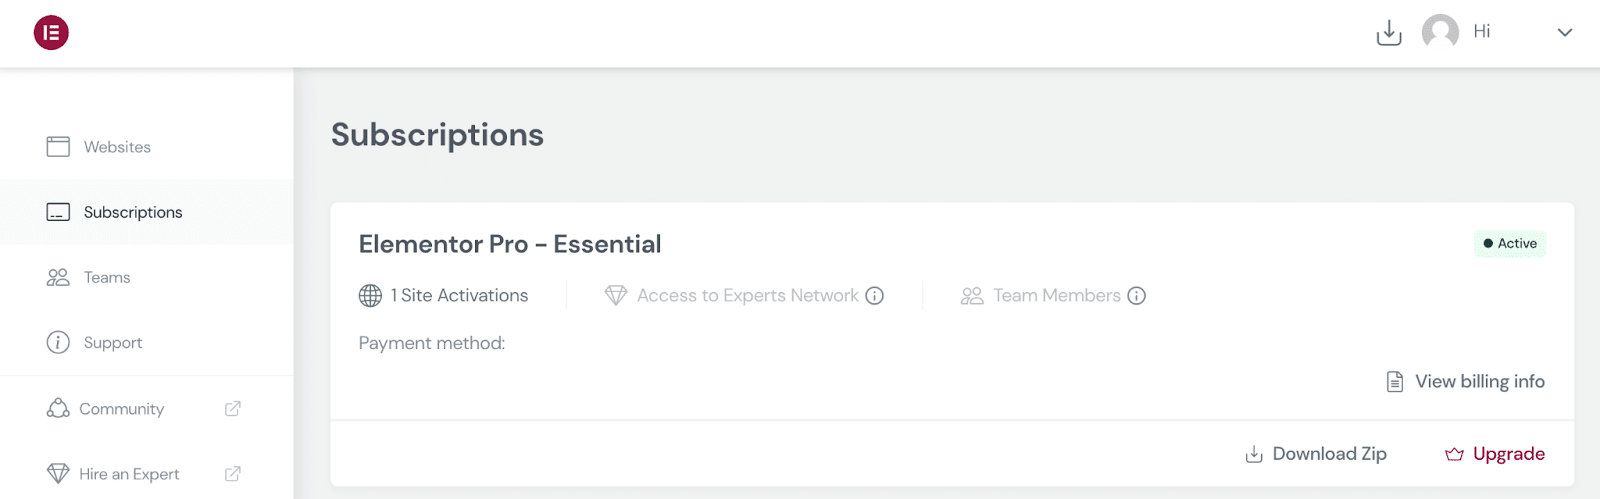
Alternatively, if you’ve already purchased an Elementor Pro license, head over to the official website and log in using the details you received in your confirmation email.
In your Elementor account, select Subscriptions from the left-hand menu. You can then click on Download Zip.
Next, log in to your WordPress dashboard and navigate to Plugins > Add New. You can then upload the Elementor Pro .zip file you just downloaded.
After installing and activating Elementor Pro, WordPress should prompt you to enter your license key. Alternatively, you can navigate to Elementor > License > Connect & Activate.
WordPress should verify your license automatically if you’re currently logged into your Elementor account. If you’re not, enter your Elementor username and password when prompted to activate your license.
Using Elementor: 4 Essential Tasks to Master
With Elementor, you can design unique websites without special design or development skills. However, it helps to familiarize yourself with the fundamentals before building a complete website. Here’s a quick introduction to the Elementor workflow with that in mind.
1. Launch the Elementor Page Builder
To design a new page or post in the Elementor page builder, navigate to Pages/Posts > Add New. You can launch the Elementor editor by clicking on Edit with Elementor.
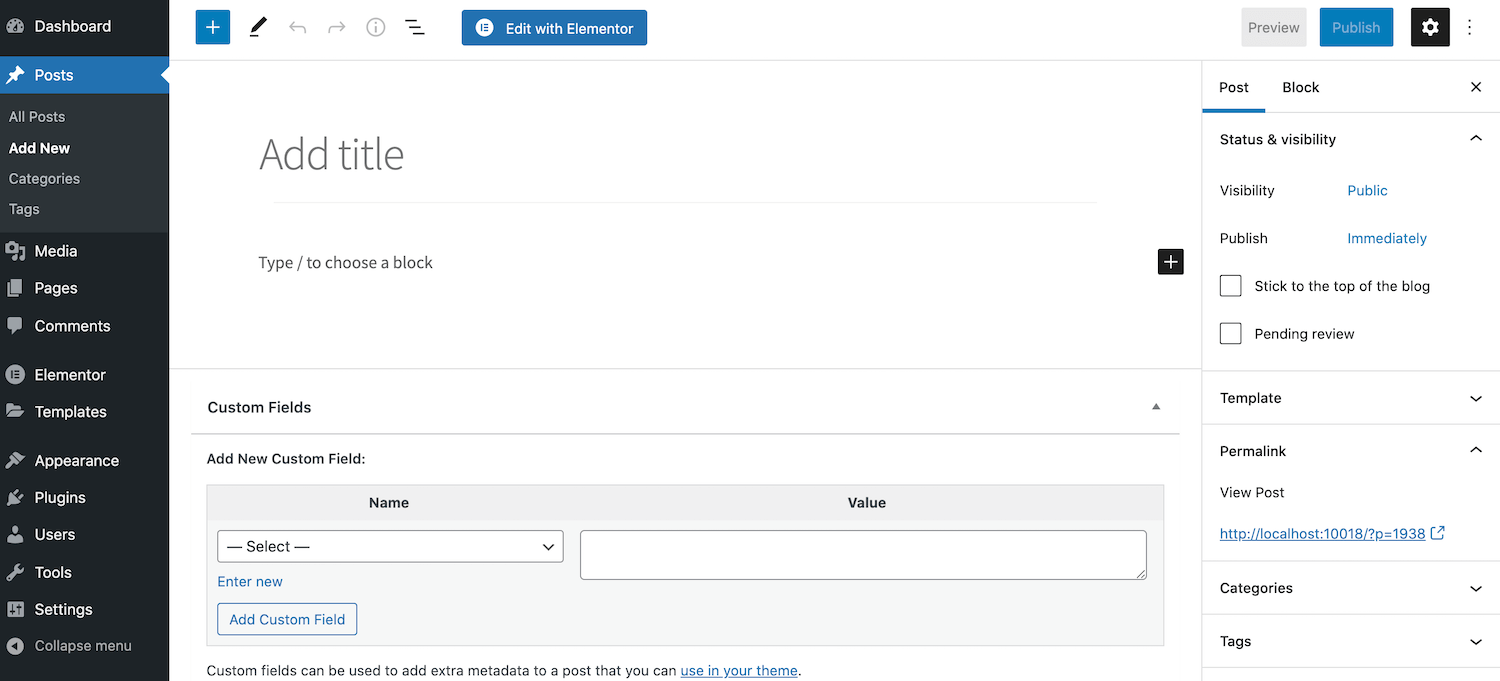
Alternatively, you may have an existing page that could benefit from a makeover. Simply navigate to the page in question and open it for editing in this scenario. You can then click on the Edit with Elementor button.
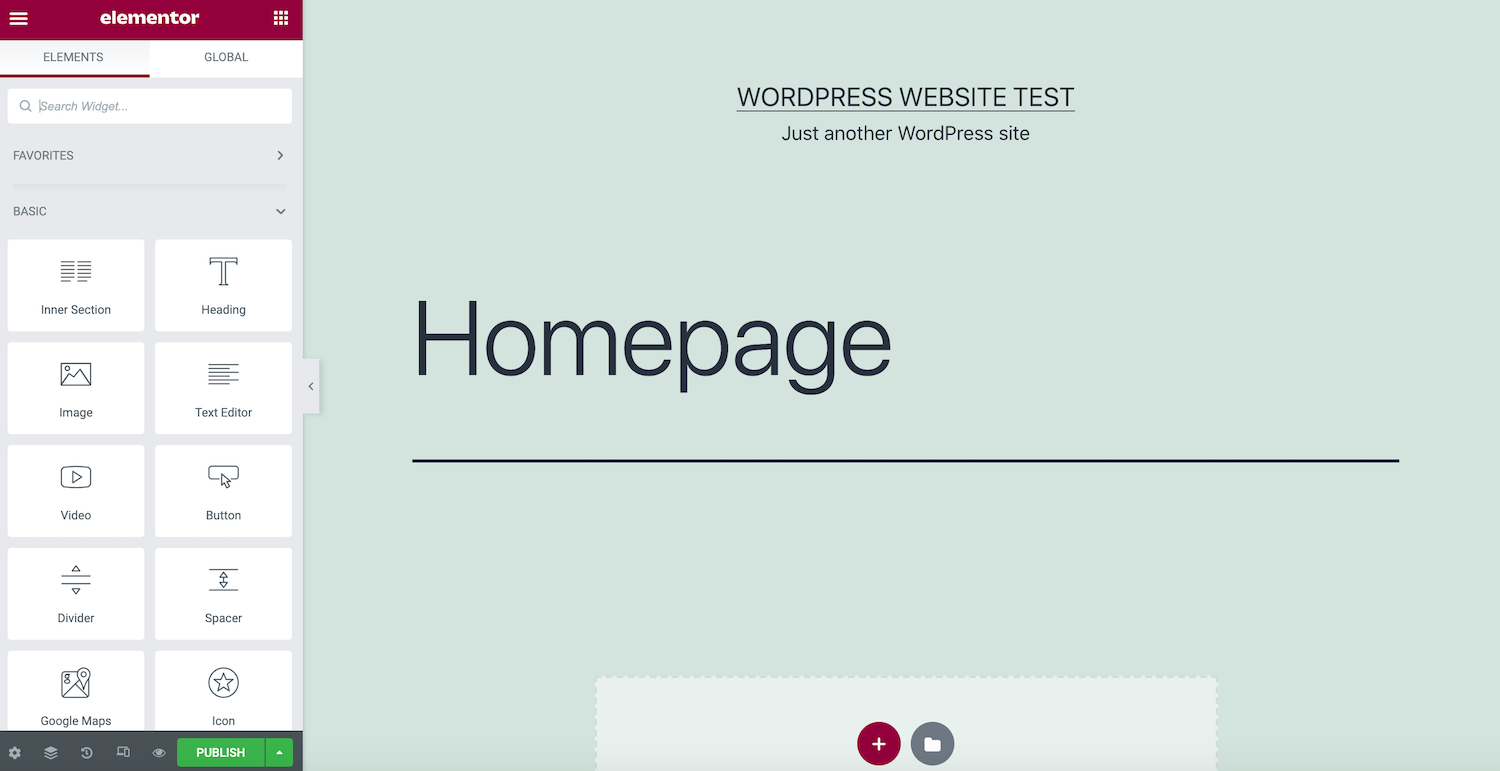
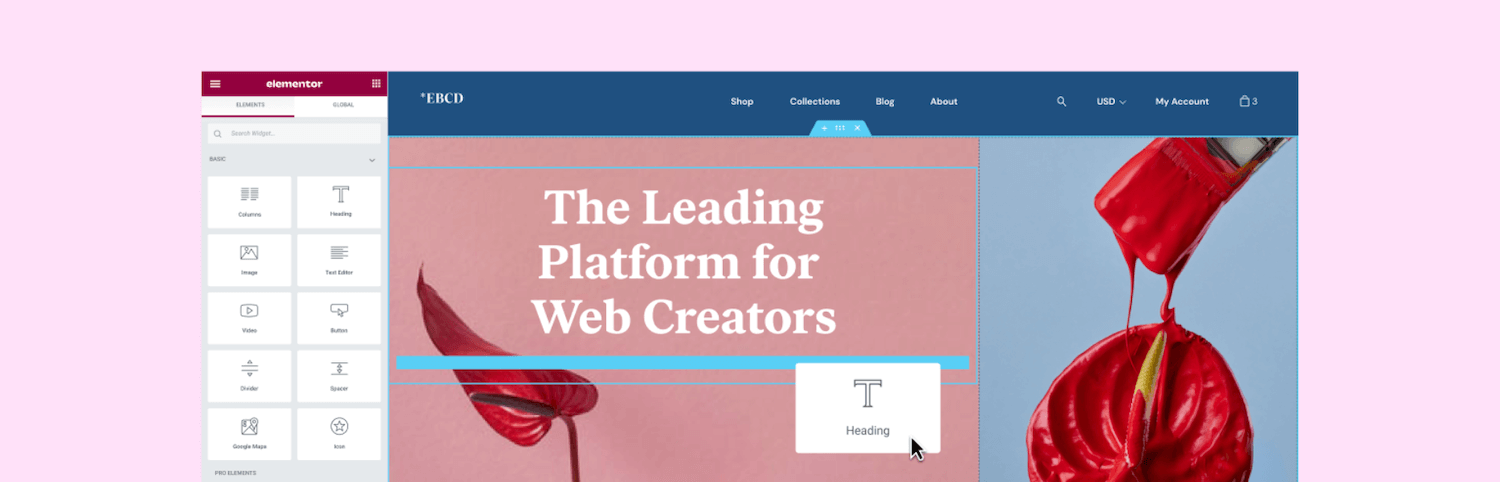
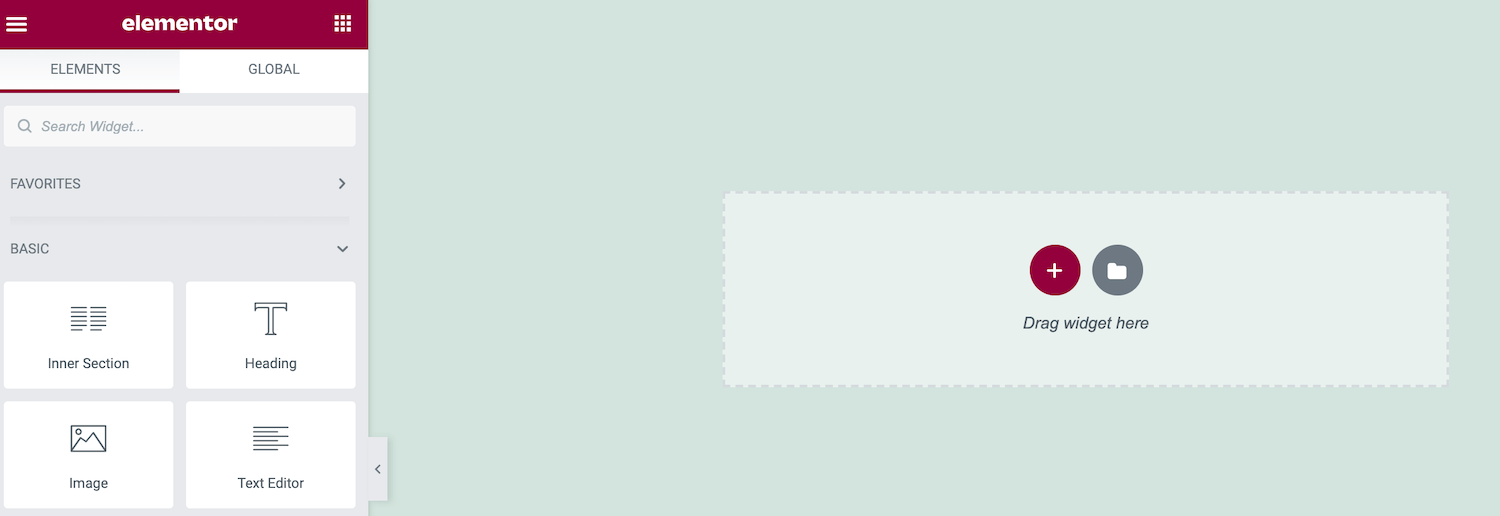
On the left side of the screen, you’ll see the Elementor sidebar. This is where you’ll find all of the elements you can add to your designs, such as buttons and headings.
The Elementor sidebar also contains a Global Widgets section. If you plan to reuse the same widget across multiple designs, you may want to save it as a Global Widget. This makes your custom element easily accessible at any time. It also provides a central location where you can edit your widget once to make universal changes. Elementor will then replicate these changes across your entire website.
To the right is the live preview canvas, where you can create your design. Elementor will automatically update to display your changes in real-time as you make your edits.
2. Add Sections, Columns, and Widgets
The Elementor editor provides access to three main building blocks: Sections, Columns, and Widgets. We’ve already touched on Elementor’s ready-made widgets, so let’s see how you can add them to your designs.
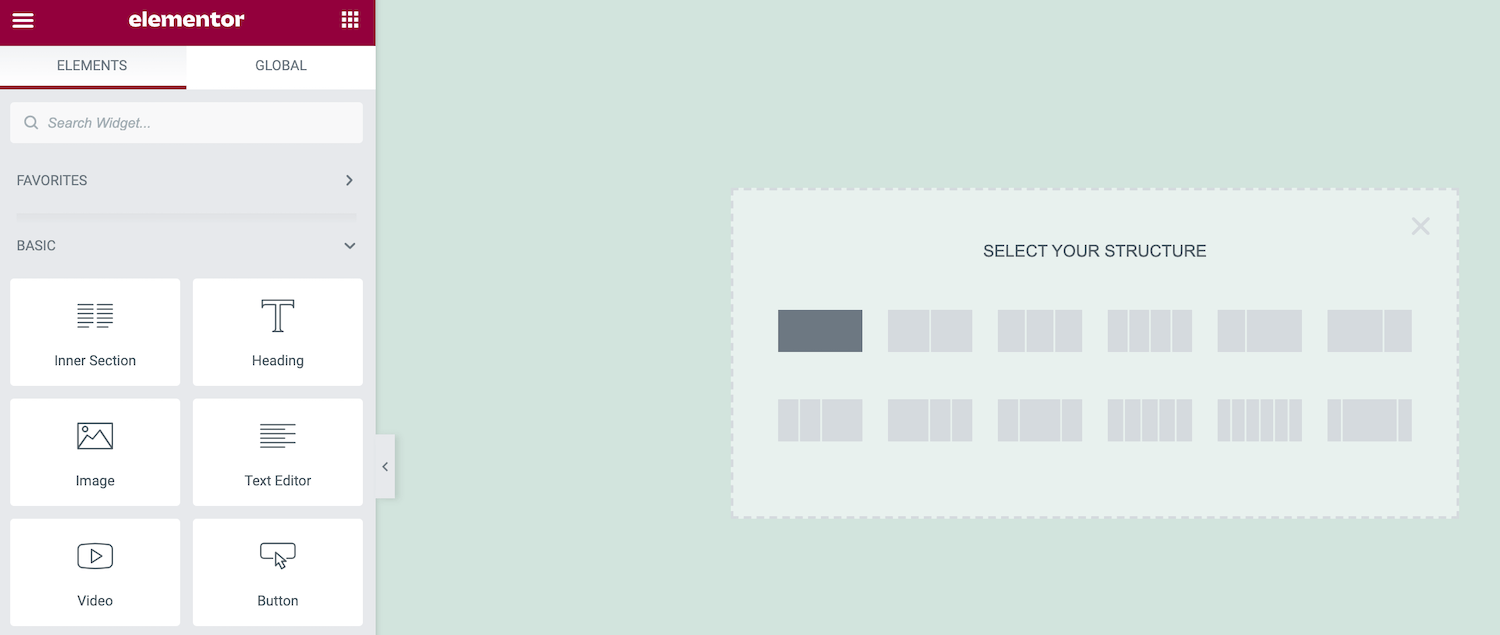
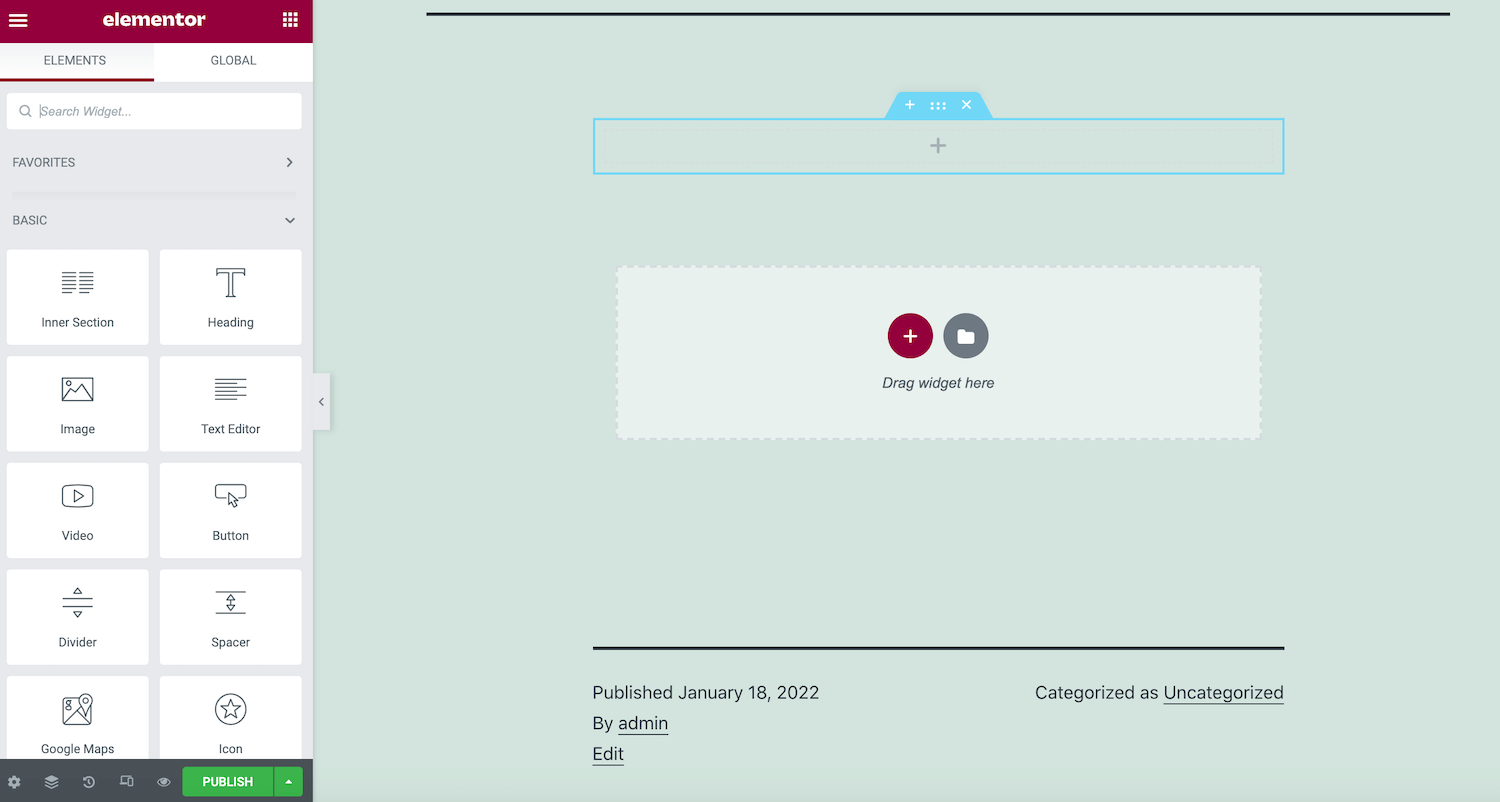
Typically, you’ll start by creating a Section, by clicking on the + icon within the main canvas. Elementor will then ask you to Select Your Structure.
Structure options consist of one or more Columns. Eventually, you’ll place your widget inside these Columns. They play an important role in creating more organized layouts.
After making your decision, Elementor will add this Section to your layout. To move this Section to a new location, give it a click and then grab the dotted blue handle that appears.
To edit a Section, simply Control-click on this dotted blue handle. This will launch a context menu, where you can make simple changes such as copying or deleting the selected Section.
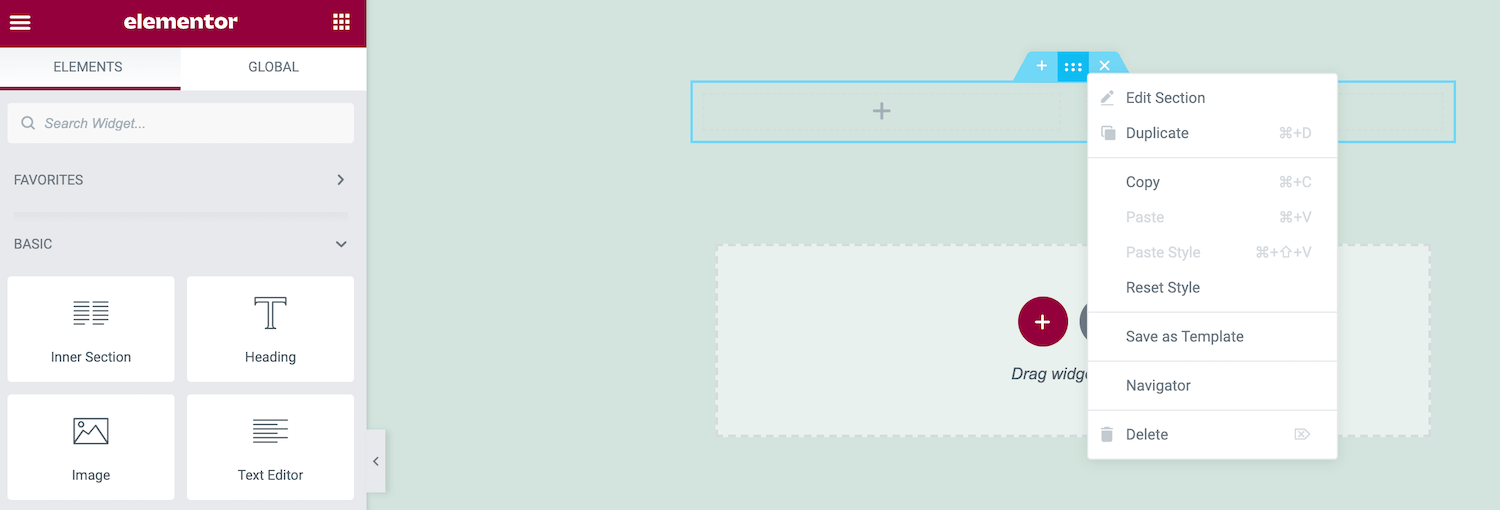
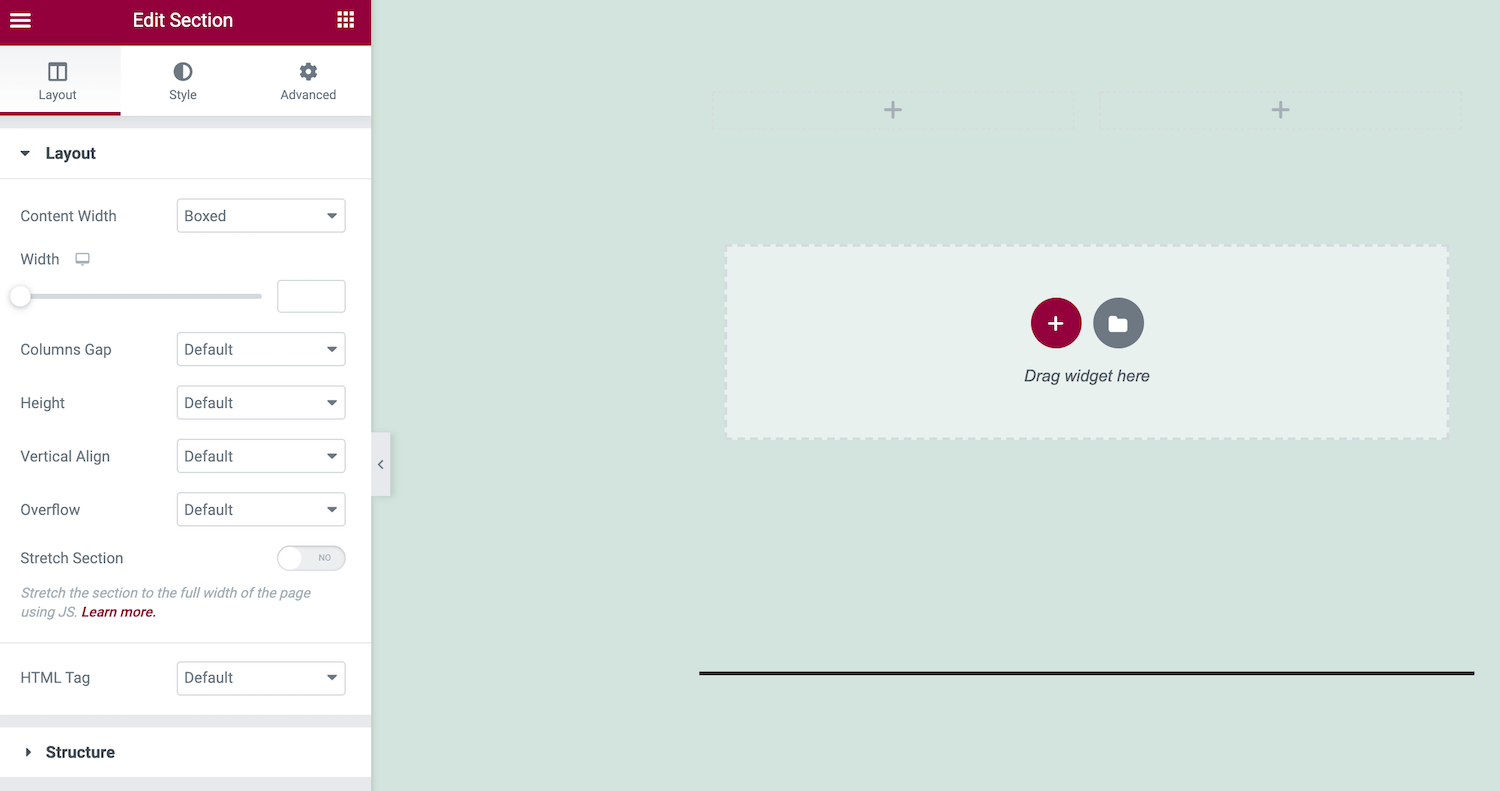
Suppose you want to make more complex edits, Control-click on the blue handle and select Edit Section. The Elementor sidebar will now update to display all of the additional changes you can make to this Section.
You can also add widgets to this Section. In the Elementor sidebar, find the widget you want to use and drag it onto the main canvas.
While you’re dragging the widget, Elementor will highlight all of the different Sections and Columns where you can drop this item. When you’re ready, simply release your mouse. Elementor will now add this widget to your chosen Section.
3. Edit Your Site Settings
You can use Elementor to edit your site-wide settings. This includes changing the default font and HTML colors. You can also modify the borders and shadows that WordPress adds to elements such as your site’s images.
By adjusting these settings at the site level, you can ensure a consistent look and feel across your entire WordPress website. This process is also significantly quicker and easier than applying these changes on a page-by-by-page basis. To view the available site settings, click on the hamburger menu in the Elementor sidebar.
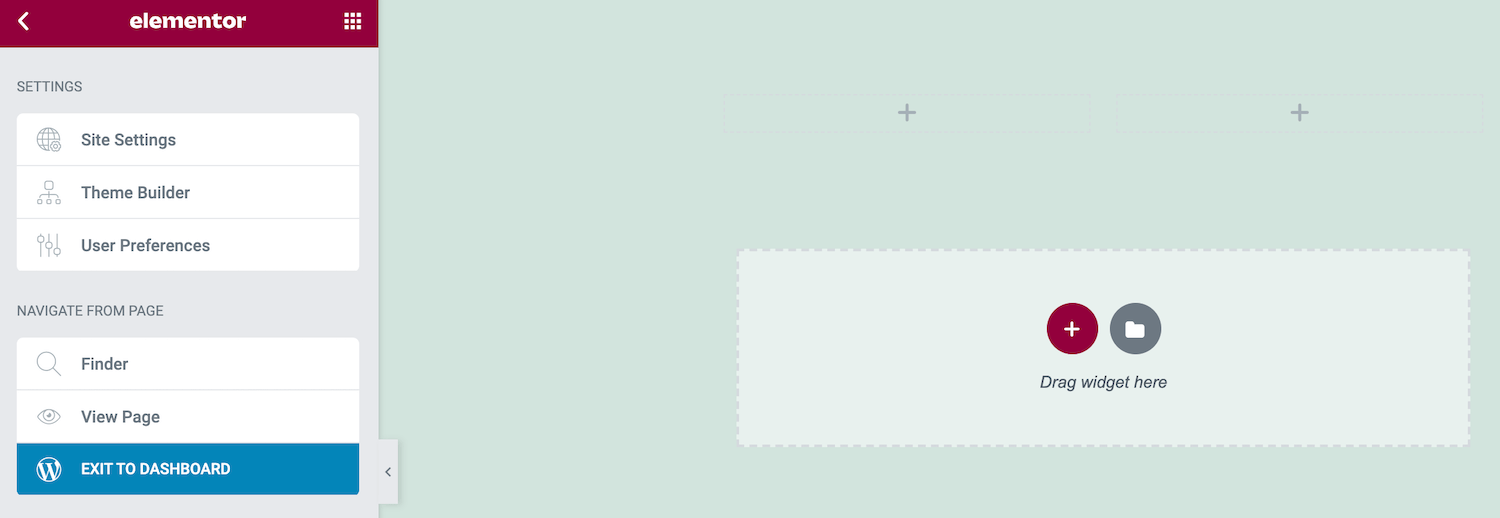
You can now explore your options and make any necessary changes. When you’re ready to publish your new site settings, click on the Update button at the very bottom of the Elementor sidebar.
4. Check Your Revision History
While you’re editing your designs, Elementor is quietly recording your changes. You can easily peel back your edits, which can be a life-saver if you realize you’ve made a mistake.
Elementor’s history log also gives you the freedom to experiment. You can test out various changes and then remove them quickly. By encouraging you to experiment, Elementor can improve the quality of your finished designs.
To view Elementor’s log, click on the History icon at the bottom of the sidebar. The Actions tab records every single change you make in Elementor. This can be anything from creating a new Section to editing existing text:
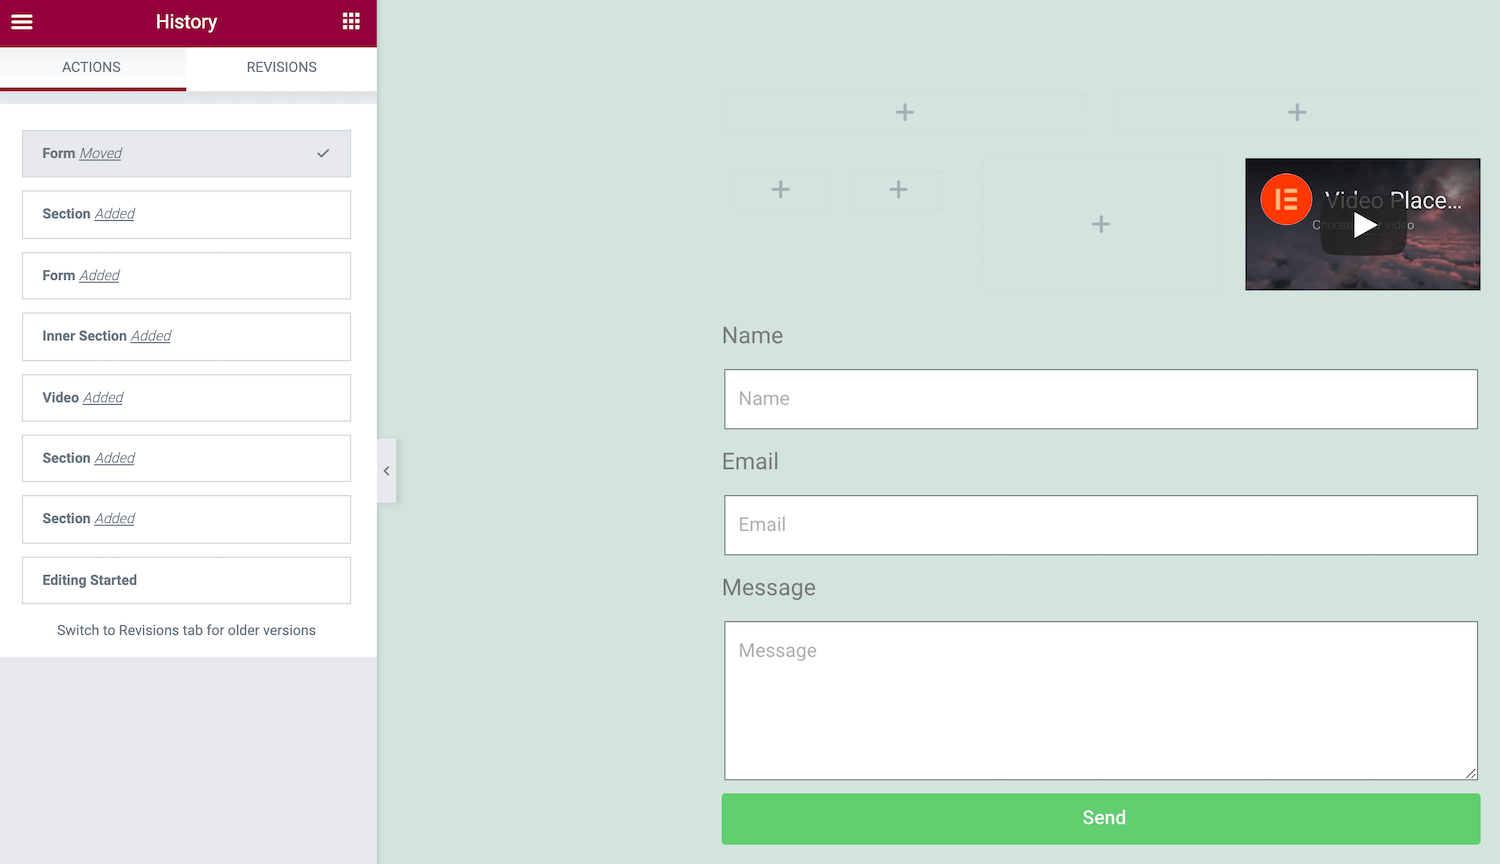
Every time you press Save, Elementor records the current version of your page as a new revision. You can view all of these snapshots in the Revisions tab. If you want to revert to a previous save, simply find it in the Revisions list and click on it.
Remember, you can style and build all you want, as Elementor does not slow down a site; bad hosting does. Keep your Elementor site up-to-speed by choosing solid hosting and by performing a few easy functions.
How To Build a Page in Elementor (2 Methods)
Now that you’re familiar with the essential Elementor workflow, let’s see how you can use this know-how to design some new pages. First, we’ll cover creating a standard WordPress page using the free Elementor plugin. Then we’ll look at how you can develop a high-converting product page using WooCommerce and Elementor Pro.
1. How To Create a Standard WordPress Page
Every web page is different. However, there are some common elements that you’ll find across various sites. This includes headings, body text, and media such as images. Let’s see how you can create a page featuring these critical components.
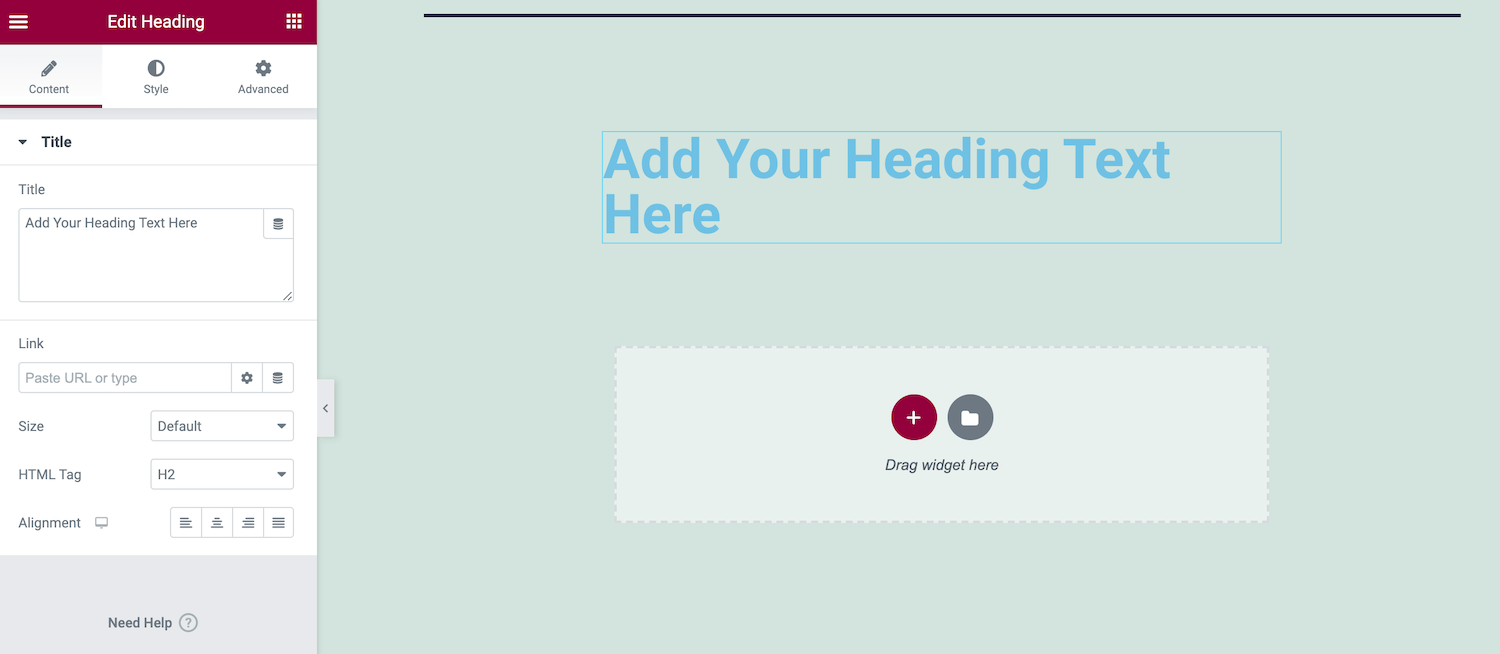
To begin, create a new page by navigating to Pages > Add New > Edit with Elementor. Next, add a Section to your design by clicking on the + icon. We’re going to start with our heading, so we’ll want to opt for a single-Column layout.
In the Elementor sidebar, find the Heading widget. Now, drag and drop this widget into your new Section. You can then type your heading text into the Elementor sidebar and use various settings to style your title.
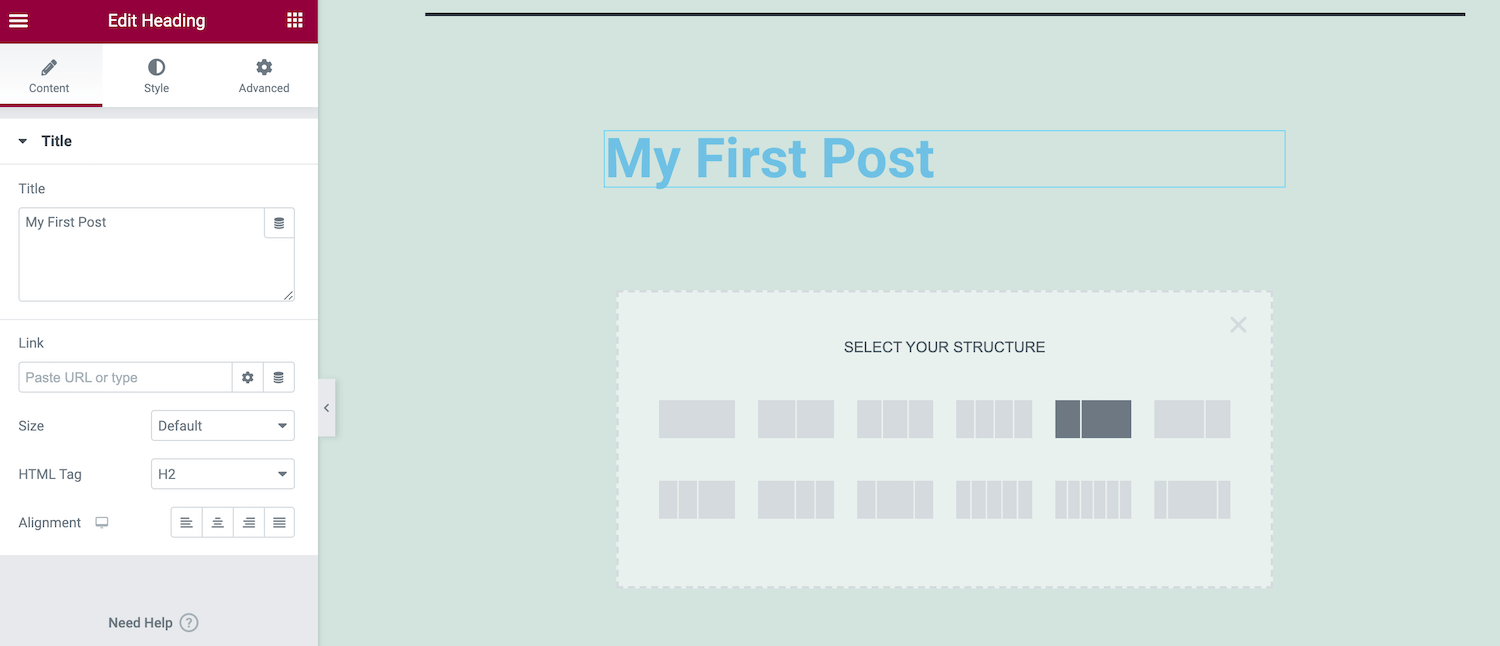
Then, click on the + icon to add a second Section. We’re going to embed an image and then provide some supporting text, so now we’ll opt for a multi-Column layout.
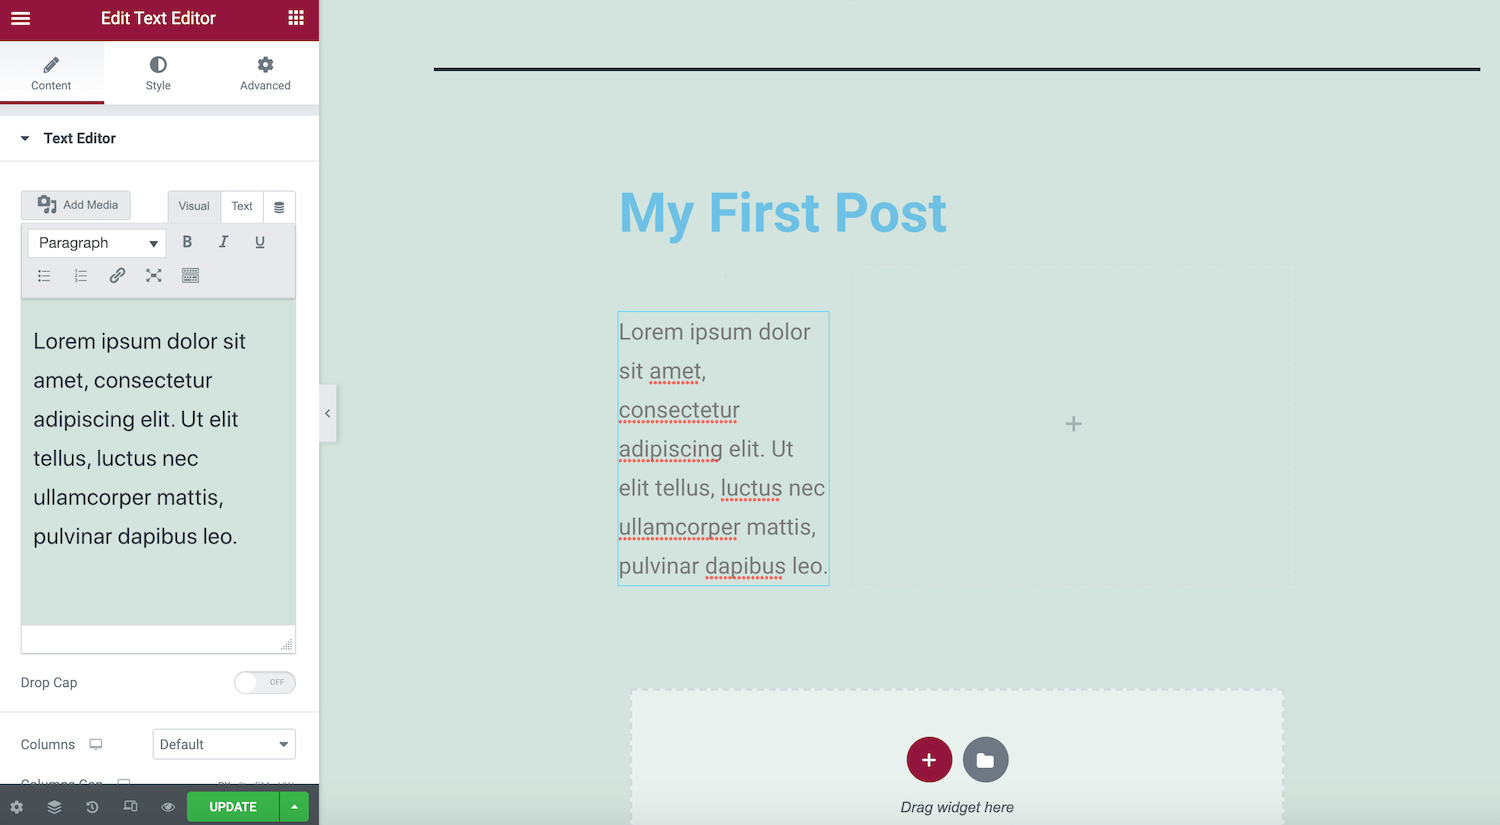
Next, drag the Text Editor widget from the Elementor sidebar, and drop it into this new Section. You can then add and style your text using the sidebar settings.
When you’re happy with your text, find the Image widget. Once again, use drag and drop to add this widget to your Section.
In the sidebar, click on the preview thumbnail. You can now use the WordPress Media Library to upload a new image or choose a previously uploaded graphic.
To see your design in action, click on the eye icon at the bottom of the Elementor sidebar. This displays a preview of your page layout in a new tab.

When you’re happy with your design, click on the Publish button. Note that if your page is already live, this button will ask you to Update instead.
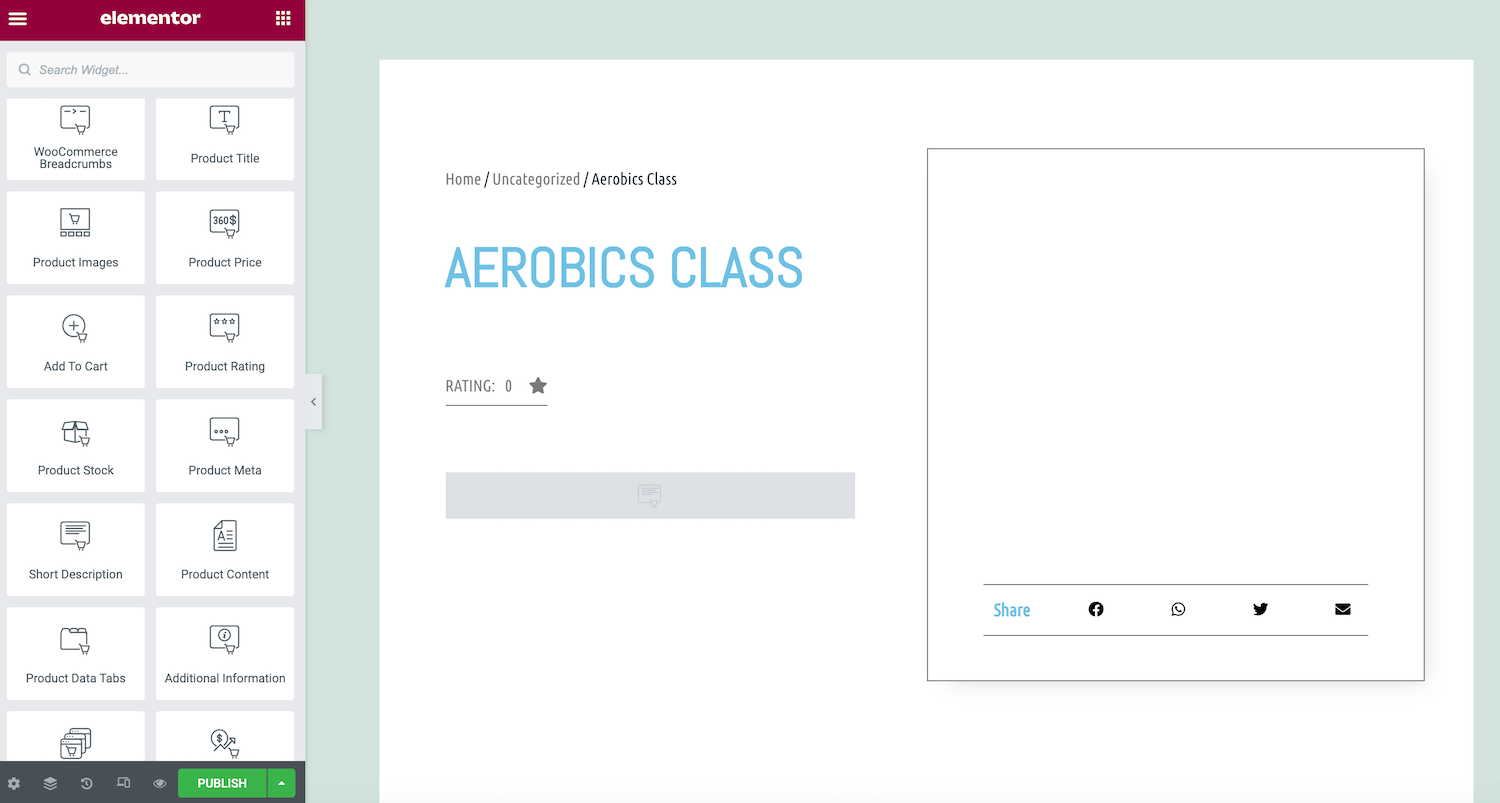
2. How To Create a WooCommerce Product Page
If you’re running a WooCommerce store, you can use Elementor Pro to create a custom product page. This might involve modifying the stock WooCommerce page to reflect your site’s branding better. Alternatively, you may be attempting to optimize your page to drive more conversions.
To design a custom WooCommerce product page, select Templates from the WordPress dashboard. Then, click on the Add New button. In the next window, open the first drop-down menu and select Single Product.
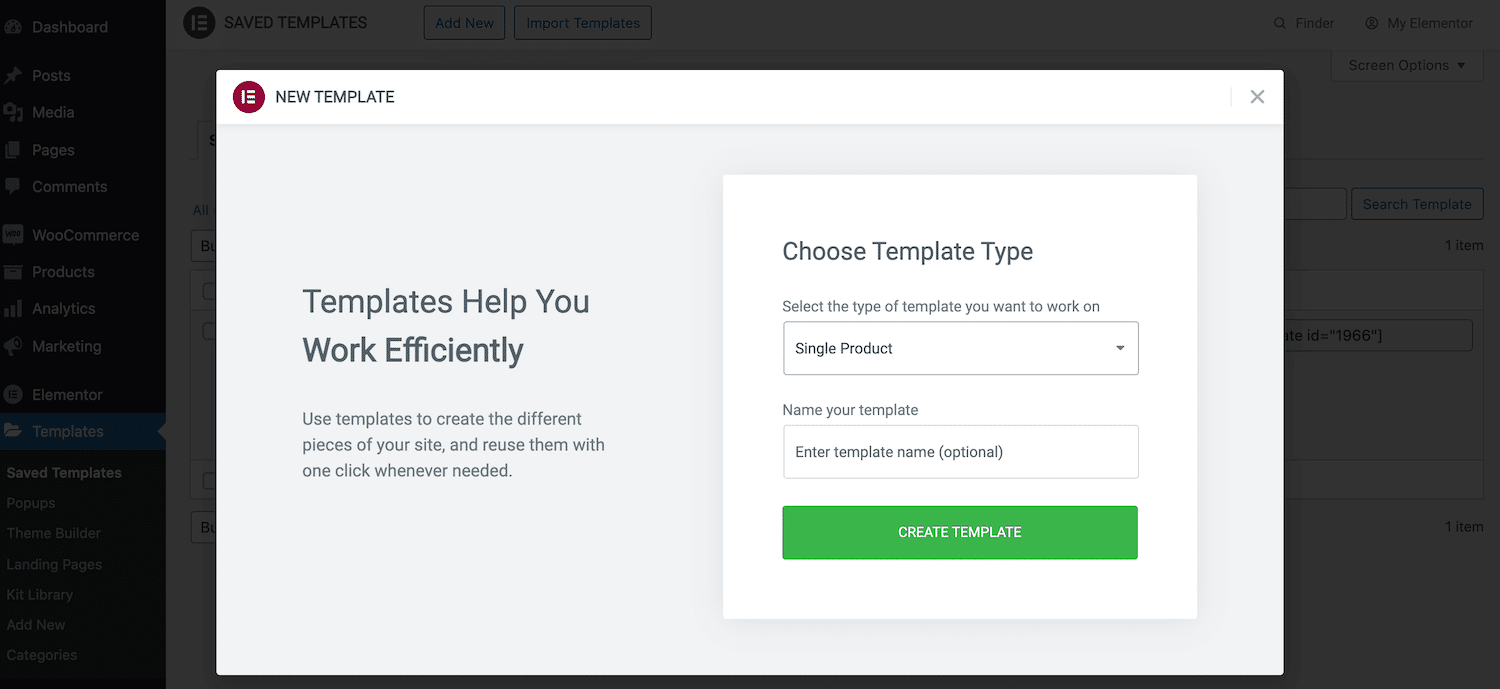
Give your new template a descriptive name and click on Create Template. This will launch the Elementor library with all available Single Product designs.
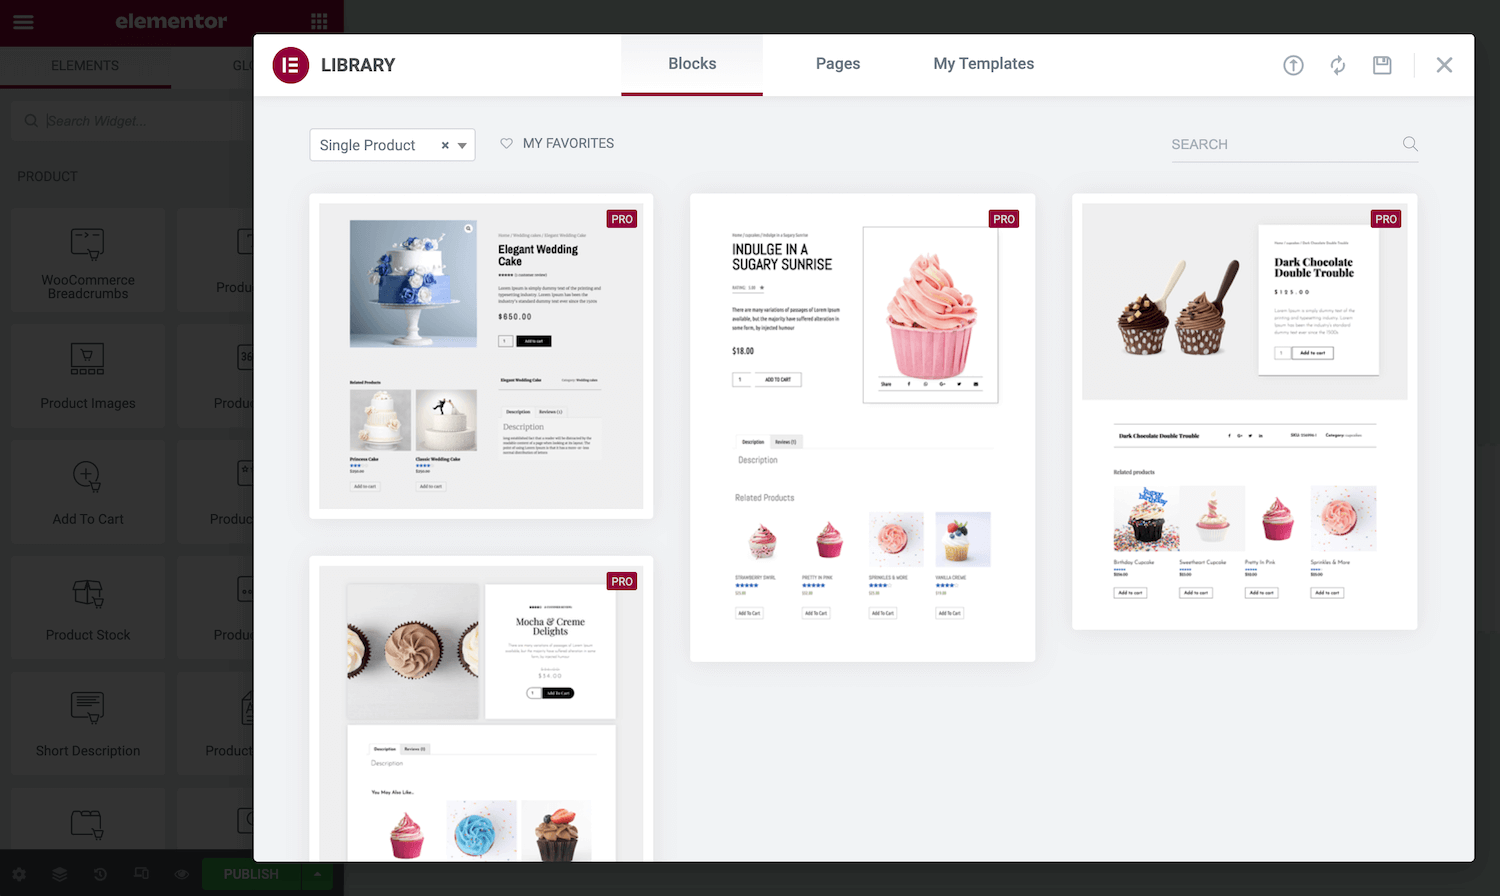
To take a closer look at a template, hover over it and then click on the magnifying glass icon when it appears. If you want to apply this design to your store, click on Insert.
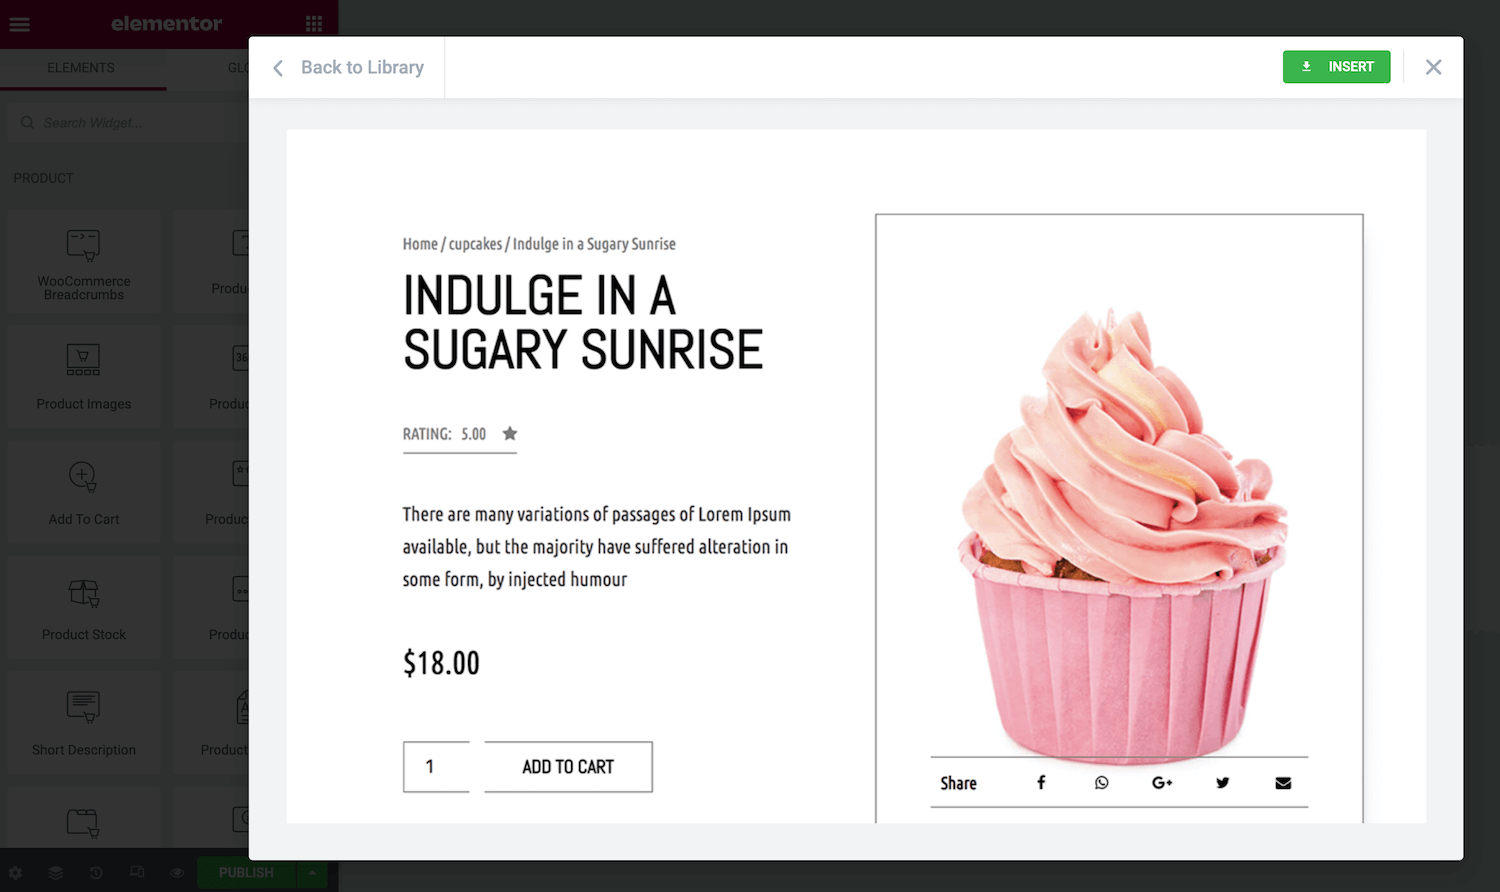
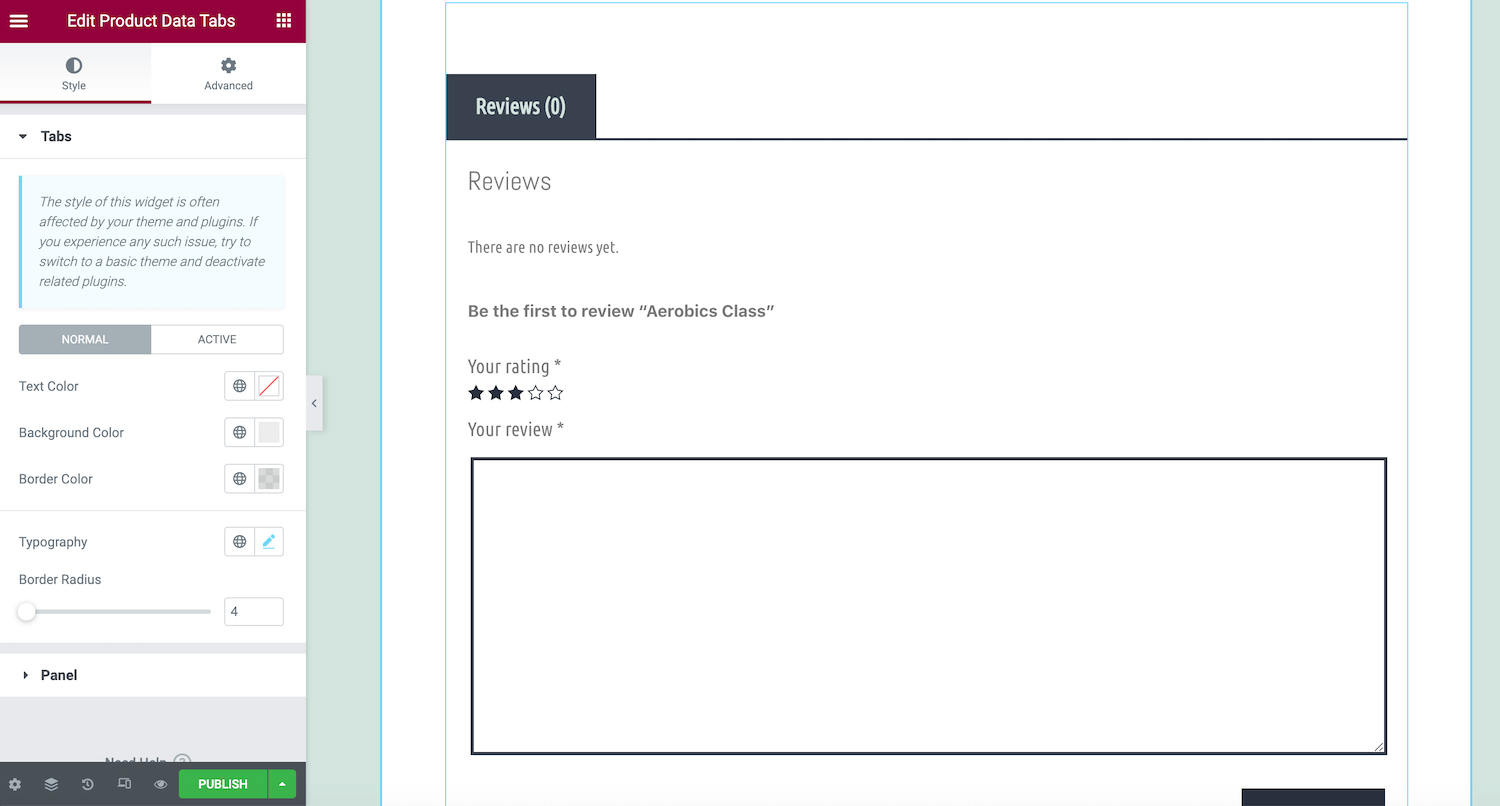
Elementor’s templates feature a range of ready-made components. To edit any of these elements, simply click on them. The Elementor sidebar will update to display all of the settings for that particular item.
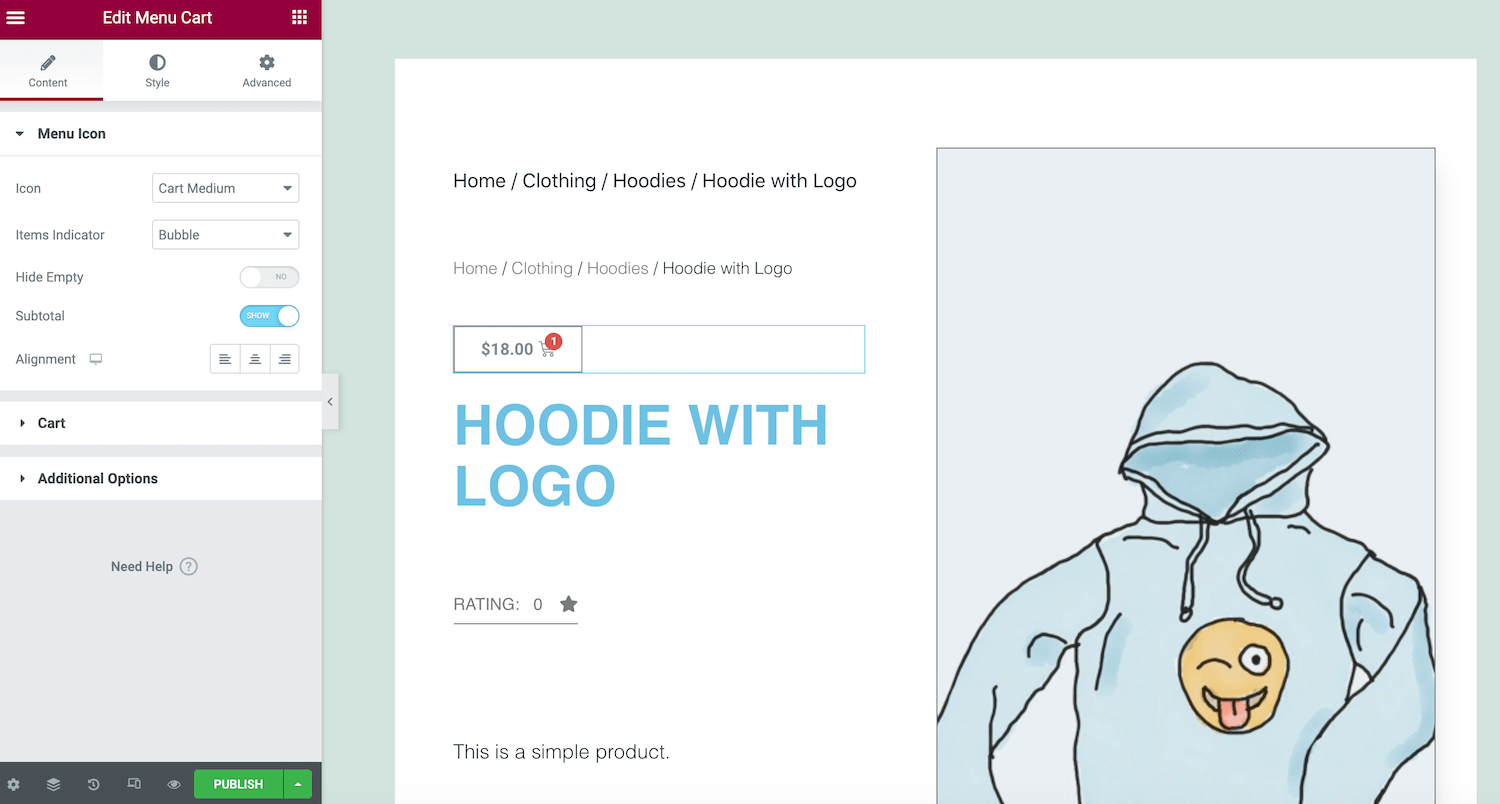
Elementor Pro provides a range of WooCommerce widgets that you can add to your designs. To see what’s available, scroll to the WooCommerce or Product sections in the Elementor sidebar.
These sections include widgets with advanced built-in functionality, such as WooCommerce Breadcrumbs, Cart, and Checkout. To add these elements to your design, simply drag them into the Elementor canvas and release them. You can then drop the widget into the Section where you want to display this content.
When you’re happy with your design, click on Publish. You can then select Add Condition and specify the areas where you want to use this design. For example, you might apply this template to a specific product category or use it across your store.
How To Find and Install Pre-Made Elementor Templates
Elementor templates are pre-designed Pages and Blocks that simplify the website creation process. Pages are full content layouts, whereas Blocks are Sections that contain pre-built widgets. Some popular examples of Blocks include headers, footers, reviews and testimonials, and Frequently Asked Questions (FAQs).
The free Elementor plugin comes with over 100 full-page templates, and more than 300 Blocks. If you upgrade to Elementor Pro, you’ll get access to some additional options.
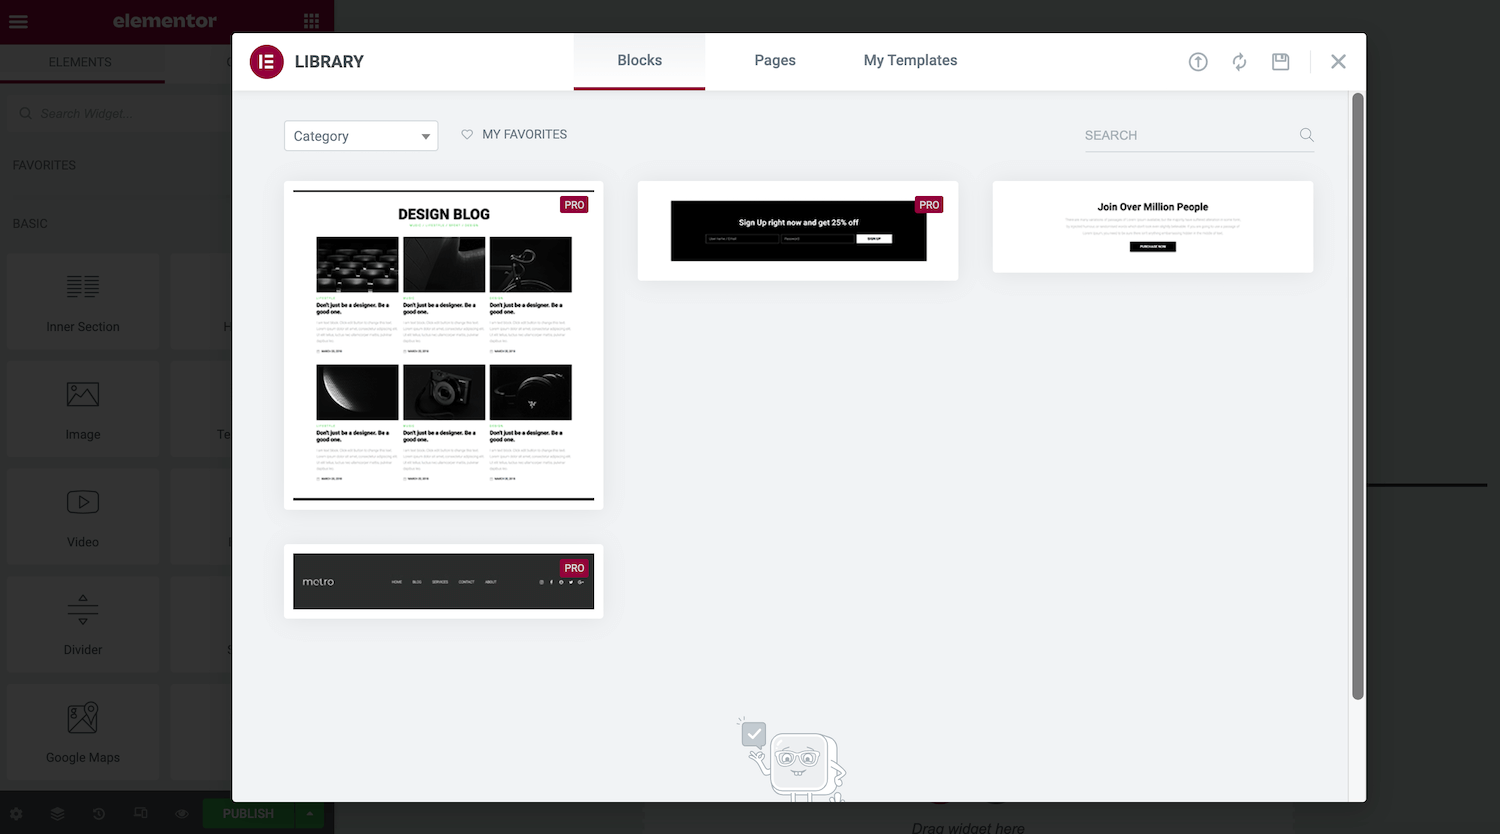
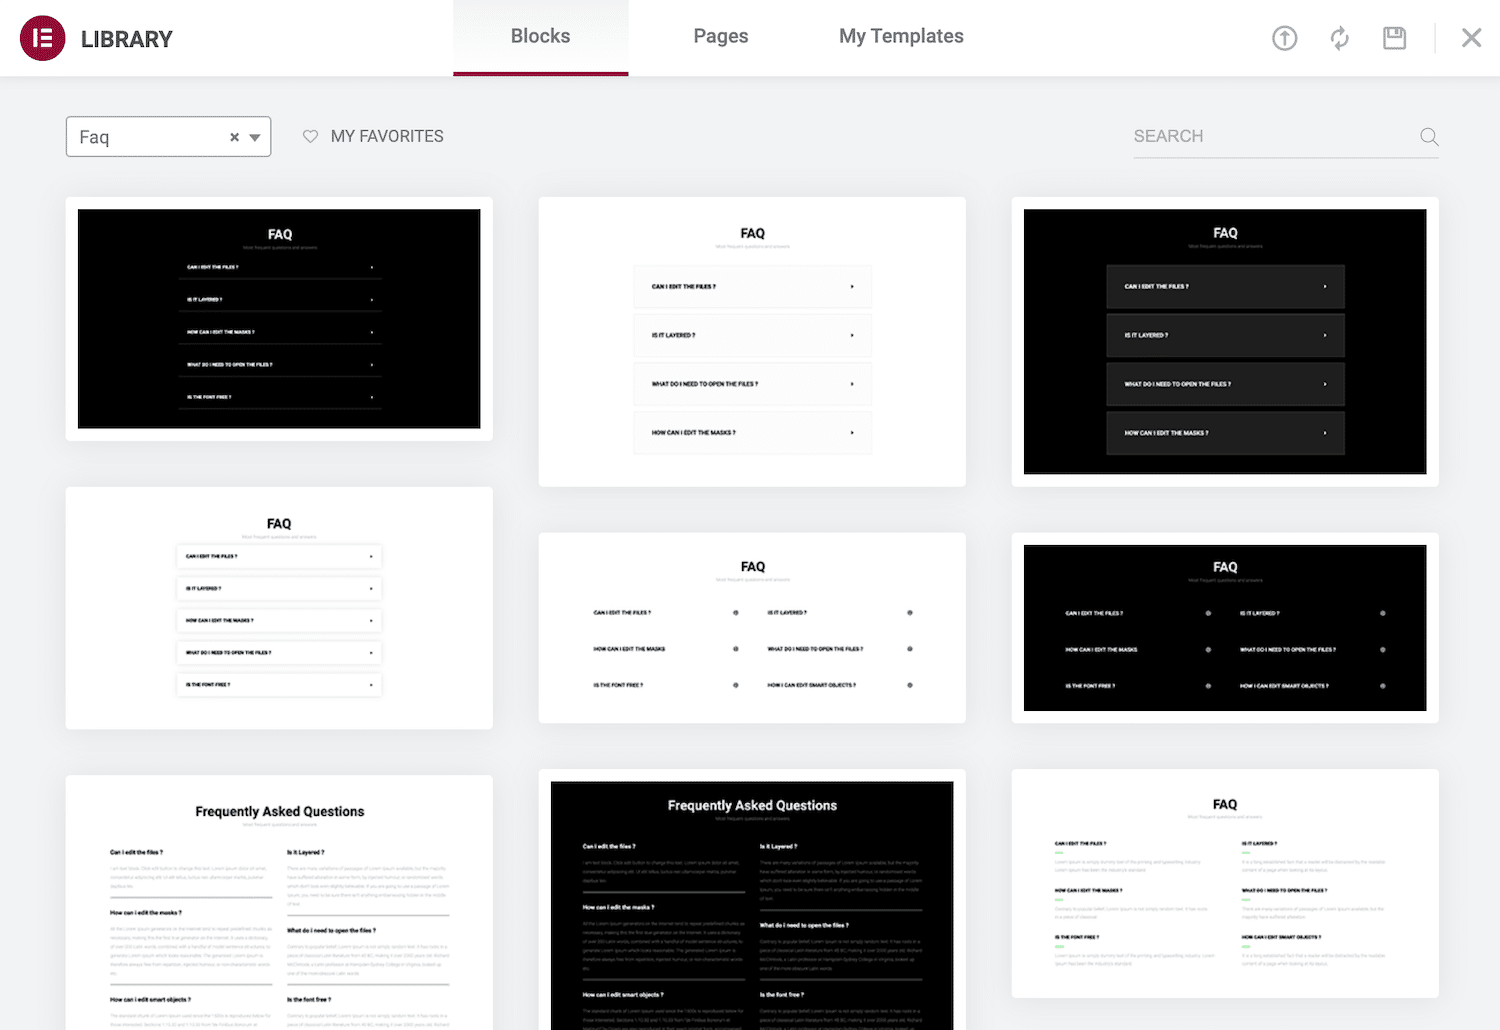
Click on the Add Template icon to apply a template to your current design. This button should appear as part of each Section block and is represented by a white folder. This will launch the Elementor Library.
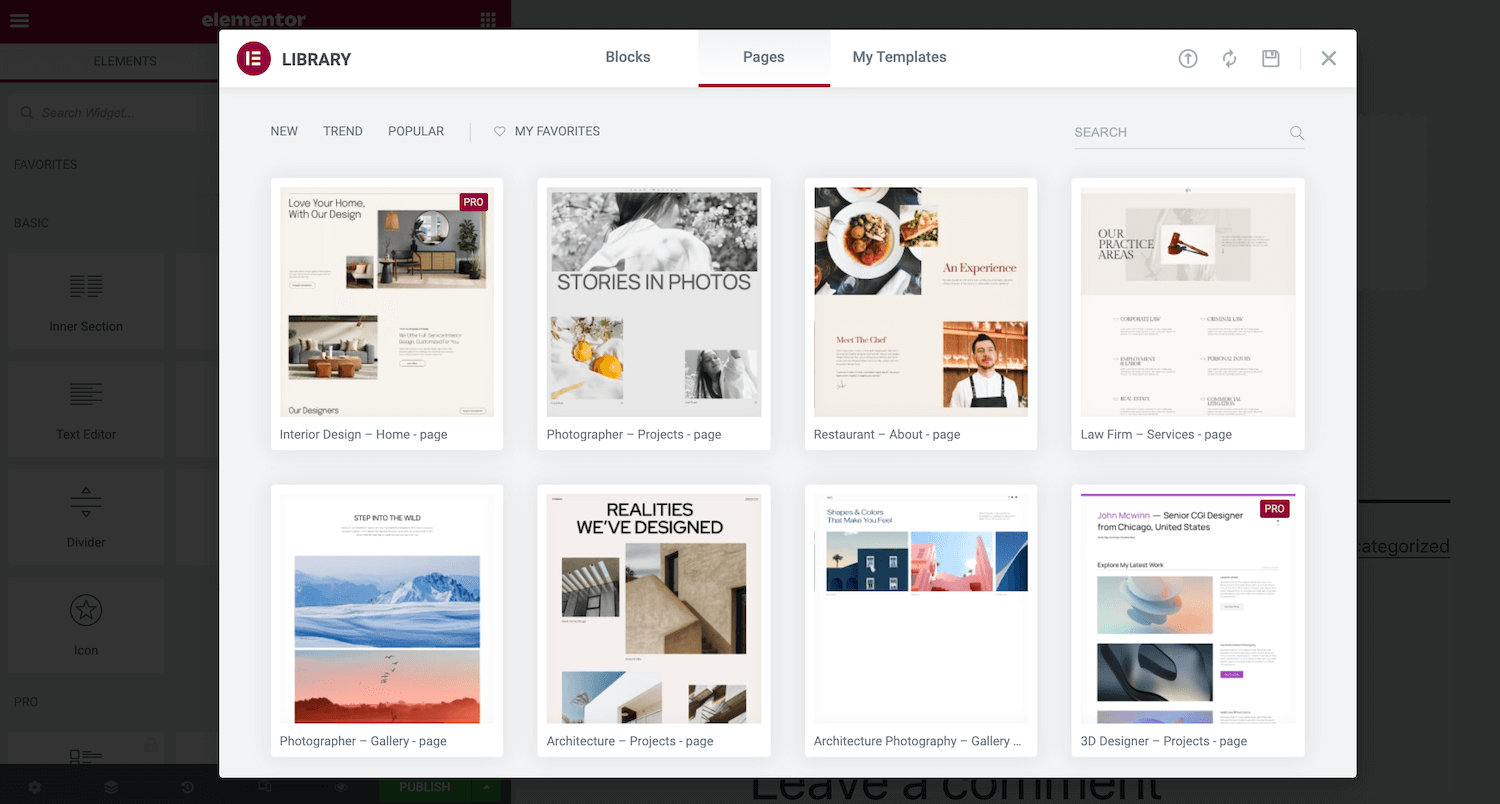
Here, you’ll find all the Block and Page templates that you can apply to your page. You can preview any template by hovering over it and clicking on its magnifying glass icon.
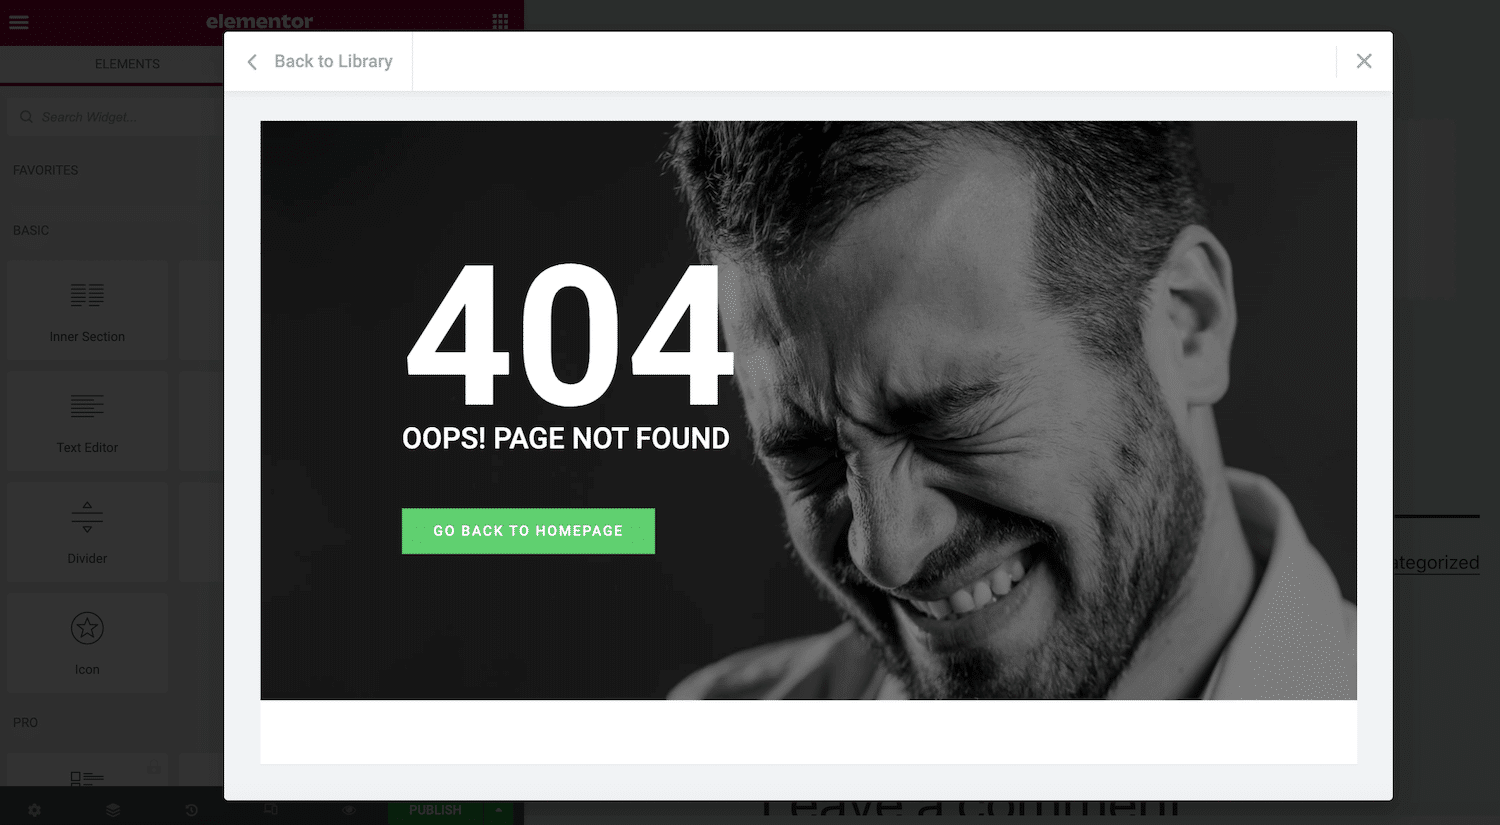
When you find a template you want to use, click on Insert. If you haven’t previously connected to Elementor’s template library, the popup will ask you to complete that step.
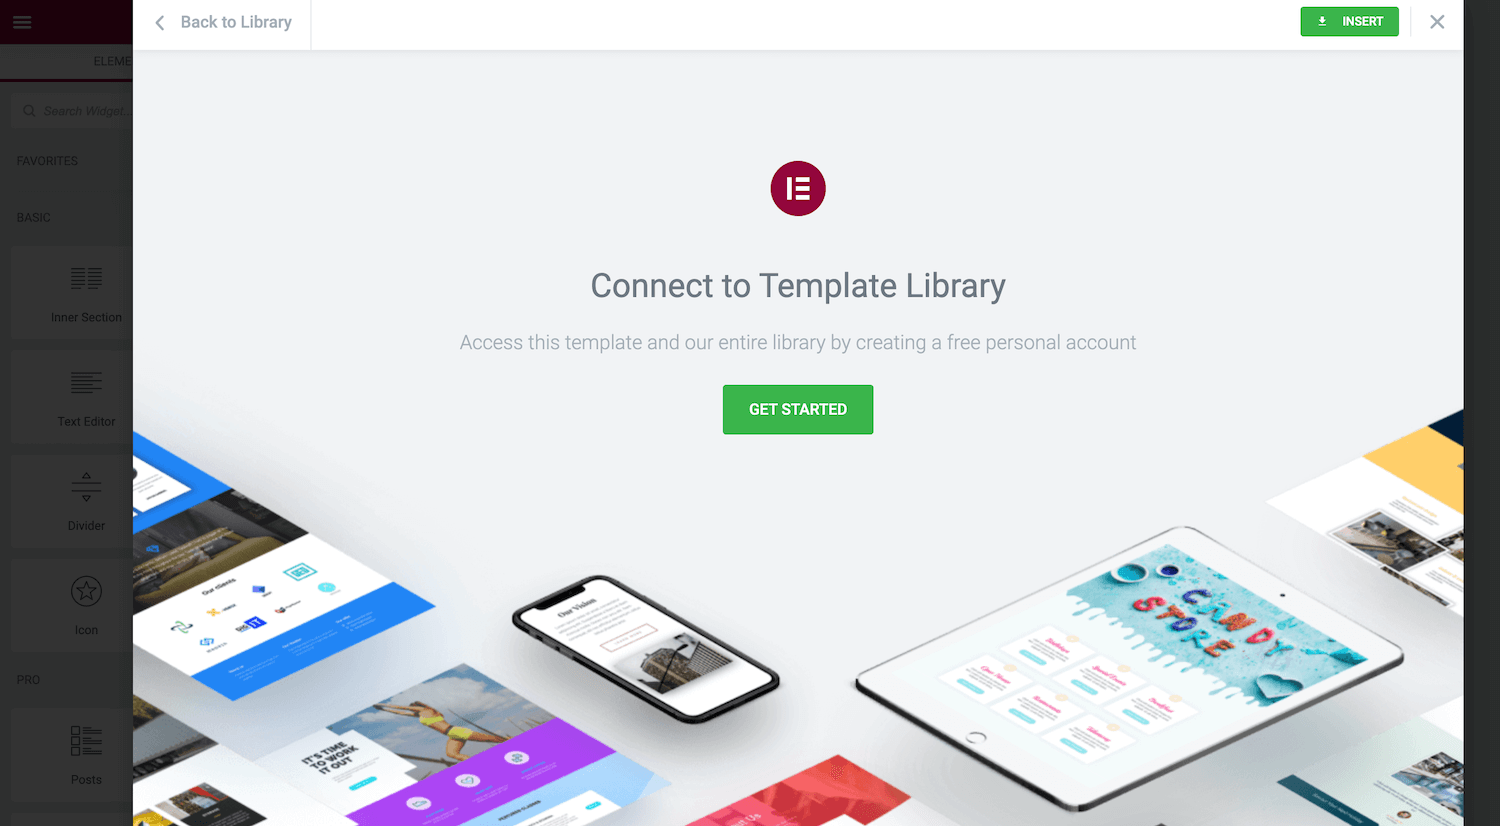
After making this connection, Elementor will insert your chosen template. You can now customize it. For example, you can add more widgets or delete any placeholder content.
How To Build Templates with Elementor
Elementor comes with a wide selection of ready-made templates. However, sometimes you may have a particular look in mind. In that scenario, you might prefer to design your templates.
Creating your designs can ensure consistency across your entire site. You can even use templates to accelerate design and development if you’re a WordPress agency. For example, you might build a library of templates that feature all the content and settings you typically apply to your client sites. You can then use these templates as the starting point for all future projects.
To get started, select Templates from the WordPress dashboard. Then, click on Add New.
In the subsequent popup, open the first drop-down menu and choose the kind of template you want to create. Your options are Page, Section, or Landing Page.
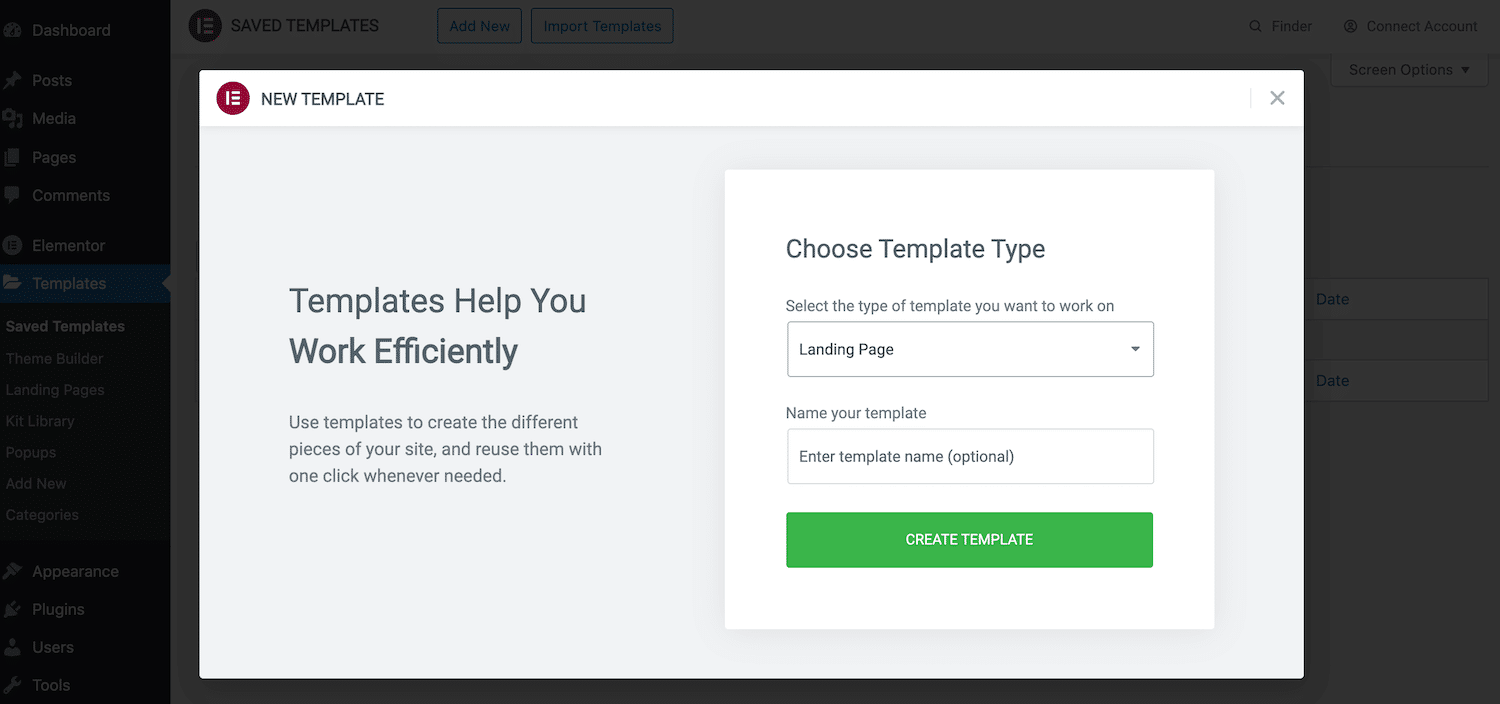
Next, give this design a descriptive name, and click on Create Template. This will launch the standard Elementor page builder. You can now build your template the same way you would create a regular page. Simply add Sections, Columns, and widgets until you’re happy with your layout.
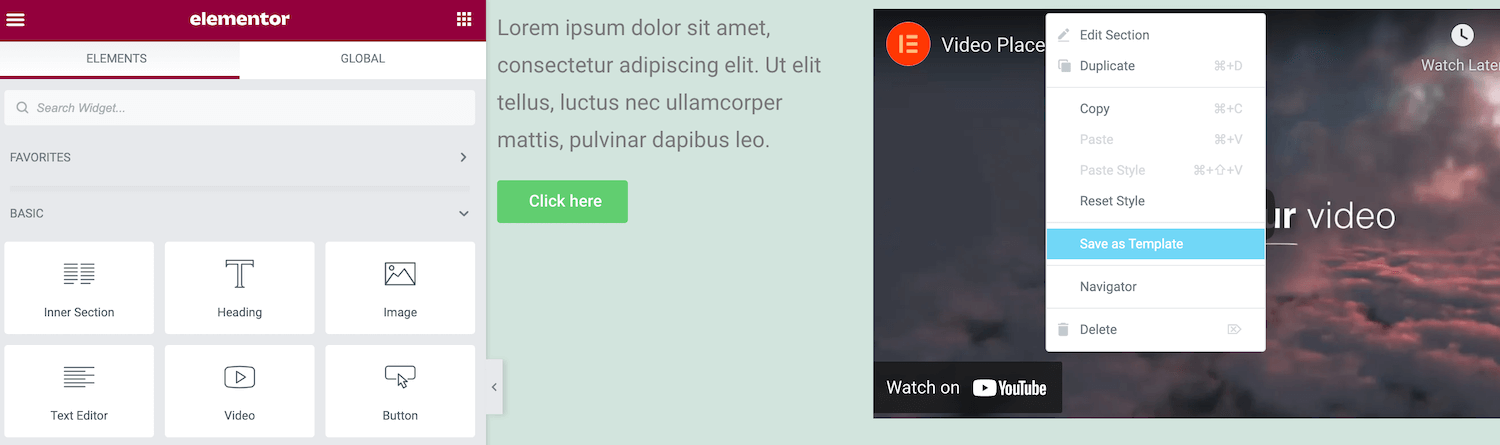
To save this design as a template, click on the arrow that appears alongside the Update/Publish button. You can then select Save as Template.
This design will now be saved to the Elementor library. You can access it by launching the library and selecting the My Templates tab.
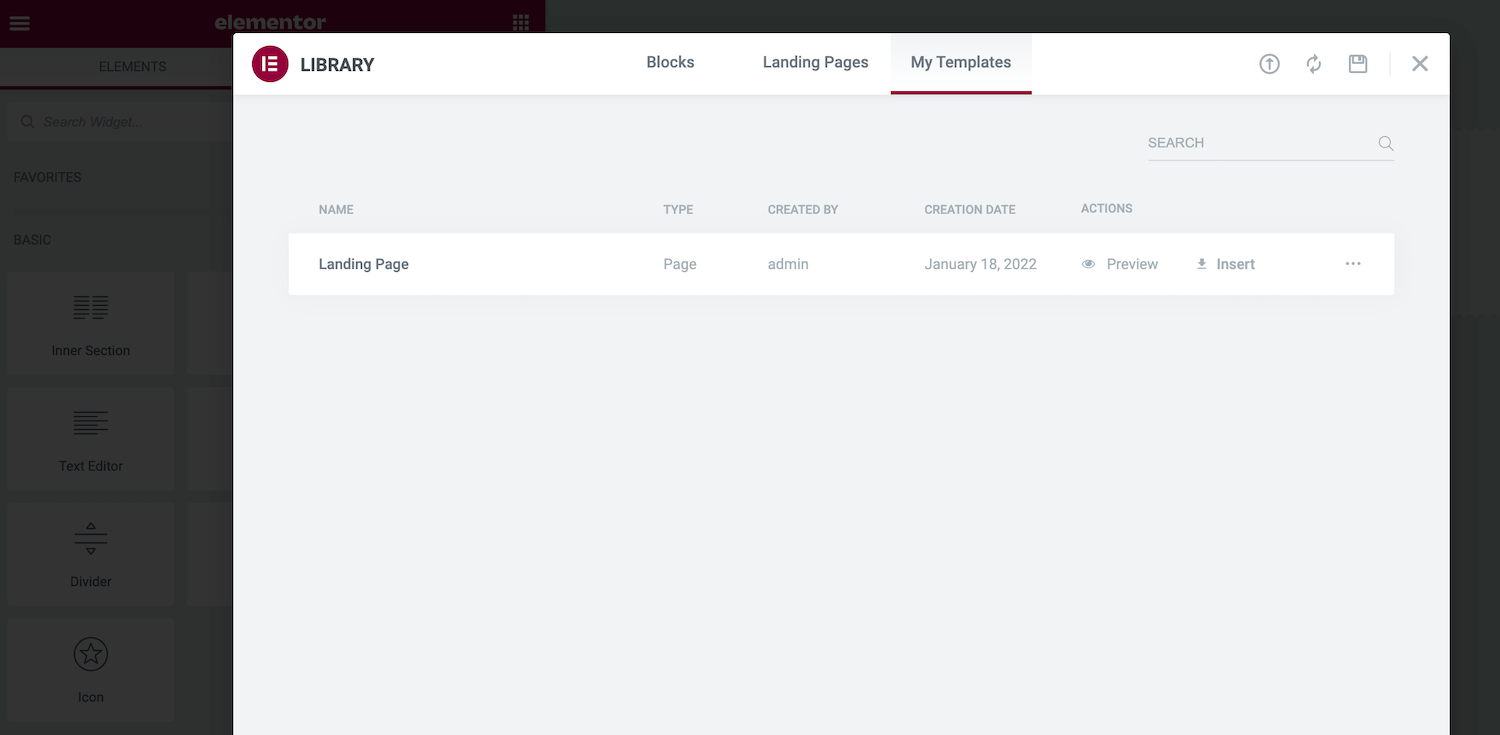
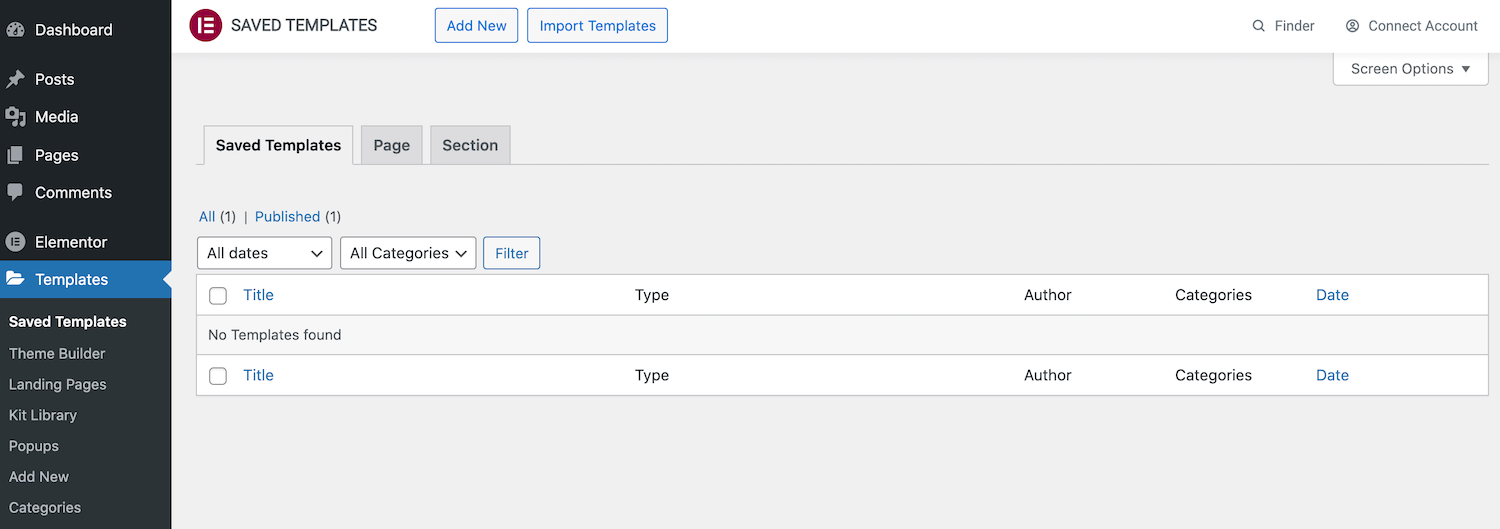
Alternatively, you can access your custom templates by navigating to Templates > Saved Templates in the WordPress dashboard. You can also open any of your designs and make any necessary changes.
Tips and Tricks for Getting Started With Elementor
Elementor can help you swiftly design and build a WordPress website out of the box. However, some time-saving tricks can further boost your productivity.
Sometimes, you may build a Section that you want to reuse within the same page. Instead of recreating this Section manually, you can create a copy. Simply click to select the Section in question, and then Control-click the dotted handle that appears.
Then select Duplicate. This creates a duplicate Section directly beneath the original.
Alternatively, sometimes you may want to reuse the same Section across multiple pages, or even on different websites. You can save any Section as a Block template. This adds your design to the Elementor library, so it’s always within easy reach.
To turn a Block into a reusable template, Control-click on its dotted icon. Then select Save as Template.
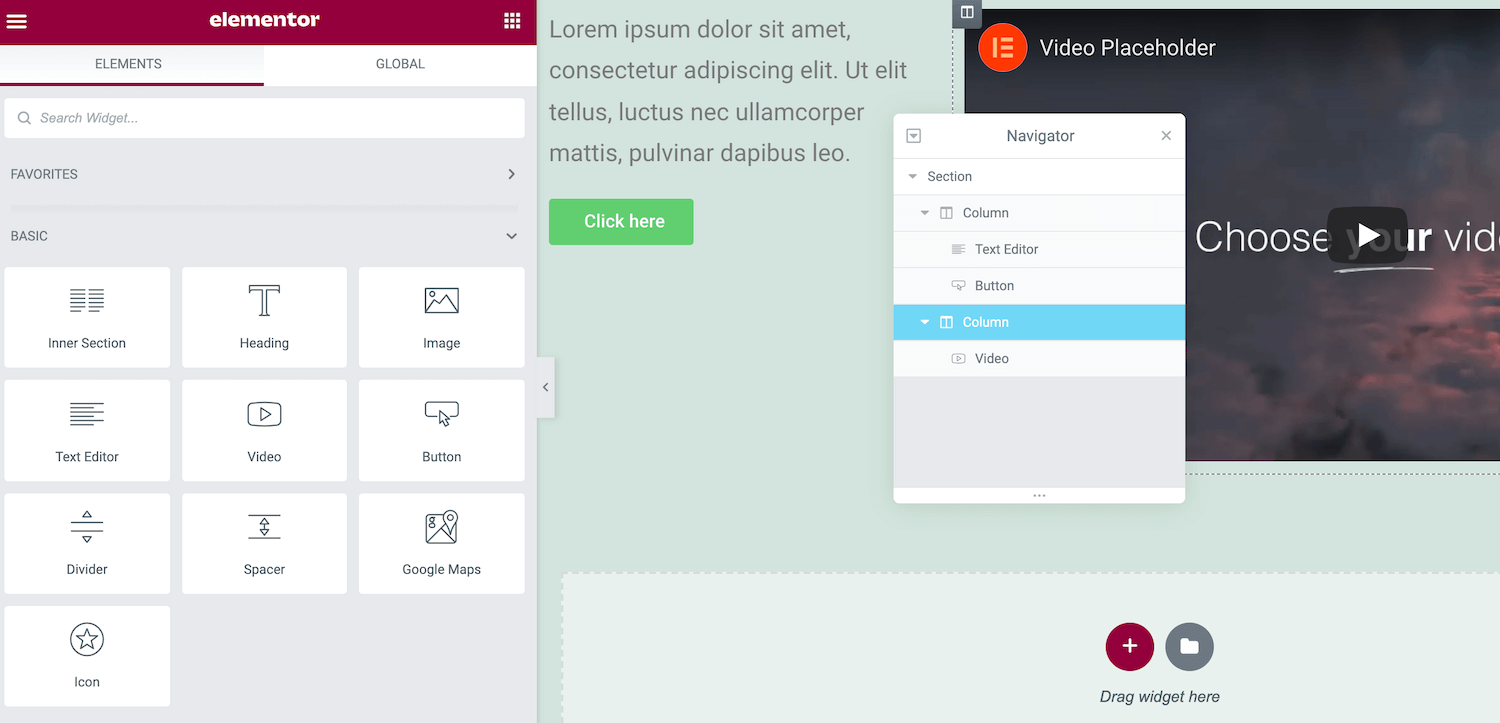
You can edit any widget by selecting it on your canvas and then using the controls in the Elementor sidebar. However, navigating between different widgets can become awkward when you have many other widgets. This is particularly true for overlapping widgets or when you’ve added many elements within a small space.
Elementor’s Navigator provides a list view of all of your page’s widgets, organized into their corresponding Sections and Columns. You can easily navigate between your widgets by selecting them in this “tree panel.” The Elementor sidebar will then update to display all of the options for the currently-selected widget.
Keyboard shortcuts are the ultimate time-saver, and Elementor comes with various built-in hotkeys. Press Cmd/Ctrl + ? on your keyboard to view these shortcuts.
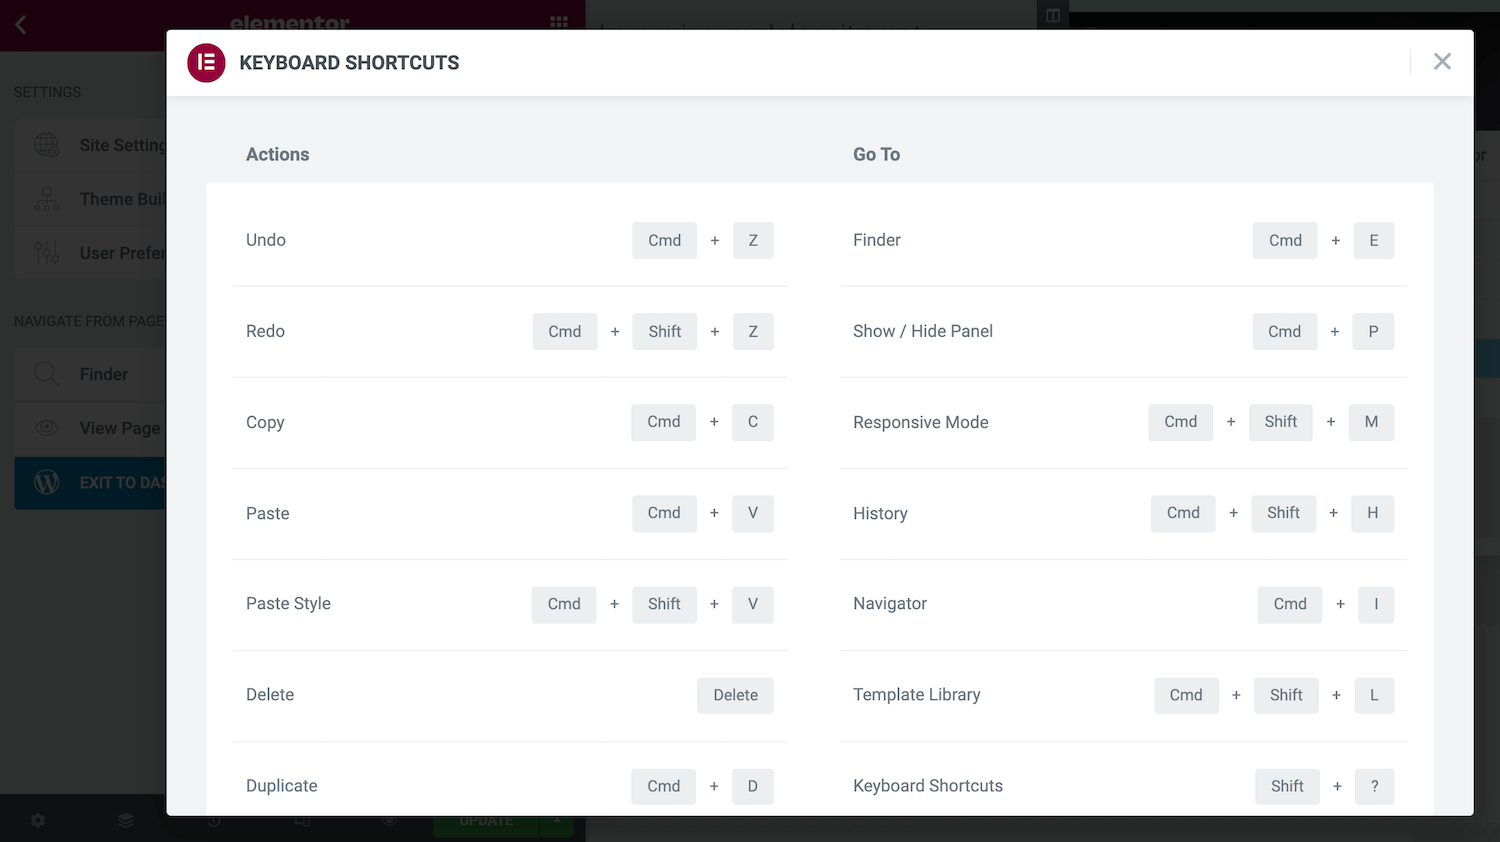
This launches a window containing all of the available hotkeys. You can supercharge your web design and development by familiarizing yourself with some or all of these shortcuts.
Updating Elementor URLs after changing your domain
If you’ve moved your site from a staging/temporary URL to a live domain, you may notice that some Elementor assets (like background images or fonts) still try to load from the old domain even after running a standard search-and-replace.
This happens because Elementor stores part of its design data in generated CSS files, not only in the database. When you change your site’s URL, you’ll want to update those references and rebuild the CSS:
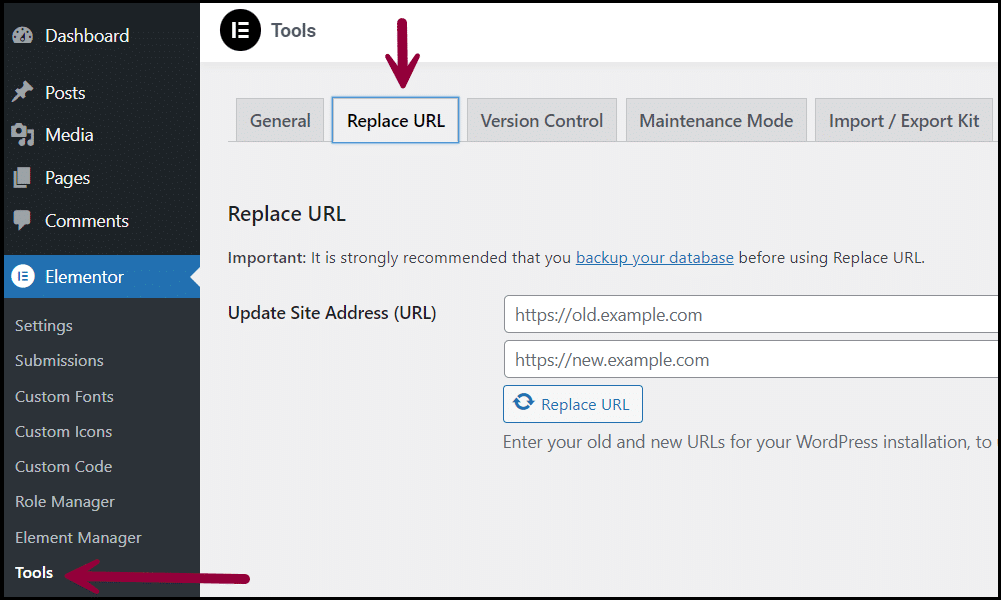
1. Update URLs in Elementor tools
In your WordPress dashboard, go to Elementor > Tools > Replace URL. Under Update Site Address (URL), enter your old URL and new URL, then click Replace URL.
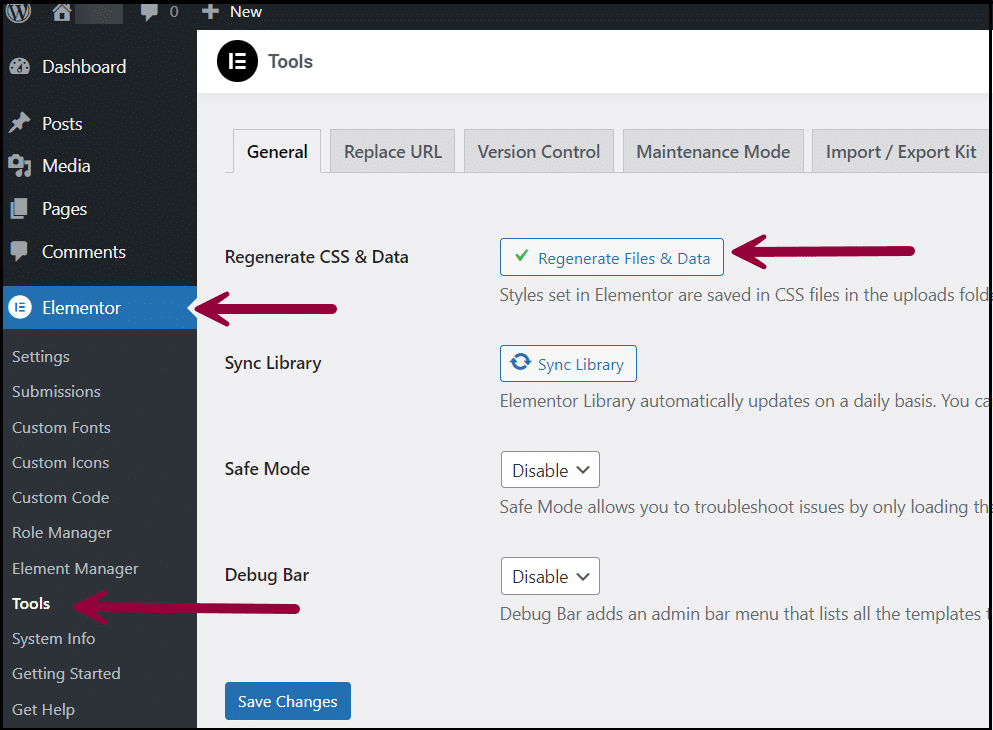
2. Regenerate Elementor CSS files
Still under Elementor > Tools, open the General tab and click Regenerate Files & Data (or Regenerate CSS & Data, depending on your version), then click Save Changes. This forces Elementor to recreate its CSS files using the new domain.
3. Clear your caches
Finally, clear any caching layers you’re using (server-level cache, CDN, and any caching plugins) so visitors get the updated CSS files.
For Kinsta customers, this process complements switching the primary domain in MyKinsta and running the Search and Replace tool there. MyKinsta’s tool updates URLs in the database, while Elementor’s tools handle the URLs stored in its own CSS assets.
Summary
Creating a WordPress site isn’t always easy, especially if you’re not an experienced web designer or developer. Fortunately, the Elementor page builder can take the pain and complexity out of building your site.
Regardless of whether you opt for the free or premium plugin, you can use Elementor to design and build any type of post or page you need. This builder also comes with a selection of ready-made templates. Alternatively, you can create your templates and reuse them on multiple pages or across various websites.
Do you have any questions about how to use the WordPress Elementor plugin? Let us know in the comments section below!


