
Given how complex the inner workings of the internet are, it’s not surprising that errors can be commonplace. There are lots of points along the chain where an issue could occur.
However, there are fewer errors more clear than the “Server IP address could not be found” message.
The message itself tells you that the issue lies with a server’s internet protocol (IP) address, but doesn’t specify which end of the chain it applies to. As such, you’ll need to confirm that your machine isn’t to blame before you dismiss the issue as a specific site.
Check Out Our Video Guide to Fixing The “Server IP Address Could Not Be Found” Error
In this tutorial, we’re going to show you how to resolve the “Server IP address could not be found” error. However, the first section will talk more about why the error appears, and some of the reasons behind it.
What Does “Server IP Address Could Not Be Found” Mean?
While the focus of this article isn’t to discuss how the web gets you from one site to another, we should give you the CliffsNotes on what that process is:
- You’ll type a domain name into your web browser.
- The internet will attempt to translate that domain name into an IP address for the server the site lives on. It does this through the domain name system (DNS), which is a complex lookup procedure — much like a gigantic database across thousands of other servers.
- If there is any doubt as to what a website is or where it lives on the web at any point in this chain, you’ll see an error.
The “Server IP address could not be found” error indicates that the DNS lookup process couldn’t find an IP address for a specific domain name. You might also see the “DNS_PROBE_FINISHED_NXDOMAIN” error code too.
There are a few reasons why this error occurs:
- A site is down. This makes sense because the DNS lookup process will realize the domain is live, but the server isn’t.
- There’s a caching issue. Sometimes, old caching records will display the error, but this is a simple fix (more of which shortly).
- The DNS server is down. This is the reason why you’ll sometimes see a reference to “DNS” within this error message.
The common theme here is that the issue isn’t always the fault of your machine. However, there’s a lot you can do to solve the error on your end before you dismiss the fault as a server-side problem. Next, we’ll go deep into it.
How To Fix the “Server IP Address Could Not Be Found” Error
We’re going to offer 10 different ways to resolve the “Server IP address could not be found” error. These fixes will all take place on your computer and should be straightforward. However, we’ll note where you need to employ a different tool or skill set.
First, though, let’s make sure your computer and browser are both working as they should be.
1. Check the Basics
Your first task is to make sure you don’t pull a computer equivalent of not plugging in the kettle before you attempt to boil water. In other words, you’ll want to make sure your basic fundamental tools for browsing the internet are in place and working as you’d expect.
We’d recommend doing so in the following order:
- Check your internet connection and router.
- Restart your computer.
- Use an Incognito or private browsing window to navigate to the site.
- Set the browser to open pages in a new tab or window.
- Disable your virtual private network (VPN) and antivirus software.
- Reinstall your browser.
If you still get the error after checking all of these, you’ll at least know that your computer and connection are both in optimal states. From here, you can look into the more advanced fixes below.
2. Clear Your Browsing Data
It’s a good idea to clear your browsing data as a second step because it could get rid of any older cookies, settings, and other cached data that could impact your browsing experience.
Throughout this article, we’re going to show you fixes in both Windows and macOS, where the processes may differ. For Windows, we’ll use Microsoft Edge, and for macOS, we’ll use the fantastic Brave browser.
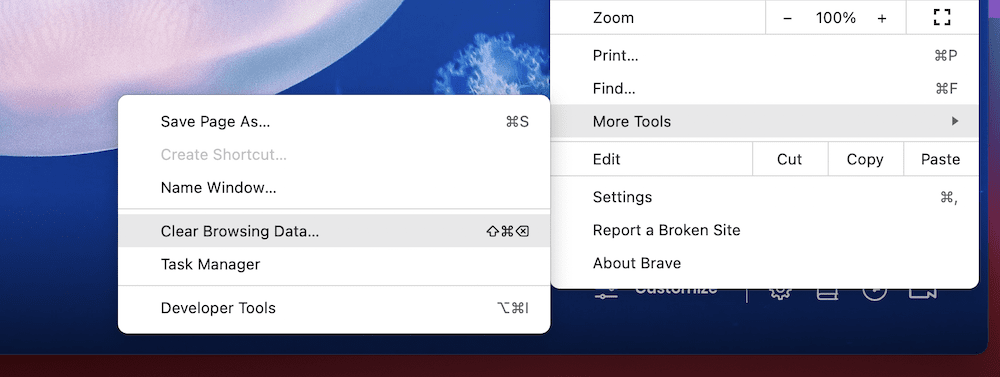
Starting with Brave, you’ll head to the “hamburger” menu in the toolbar, then to More Tools > Clear Browsing Data:
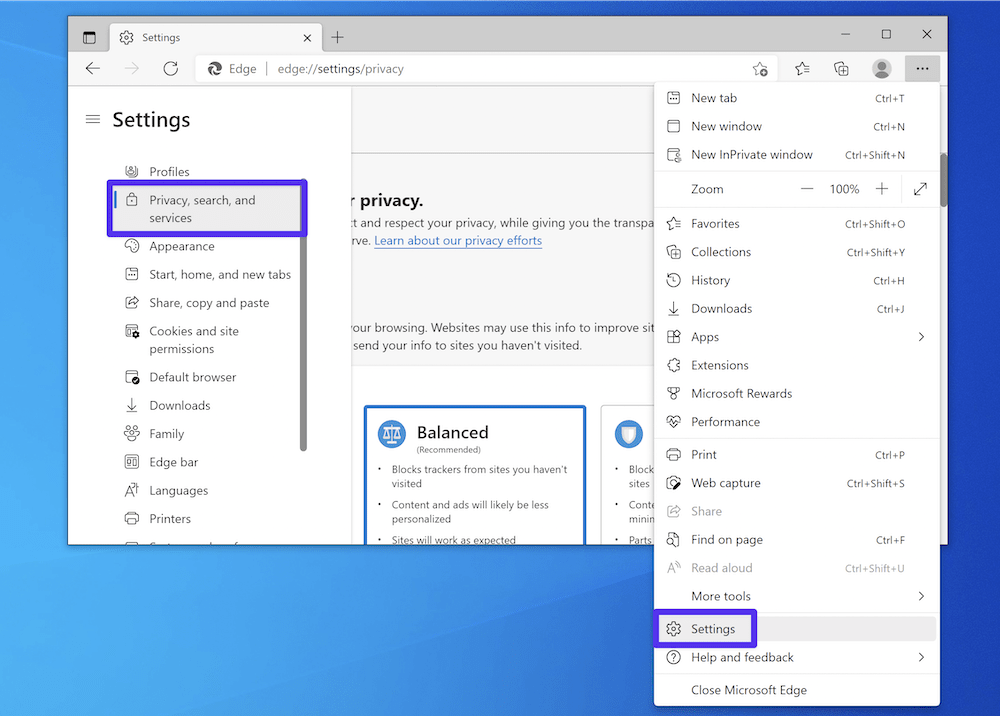
For Edge, you’ll need to open the hamburger menu and navigate to the Settings screen. Then, you’ll want to open the left-hand hamburger menu and choose Privacy, Search, and Services:
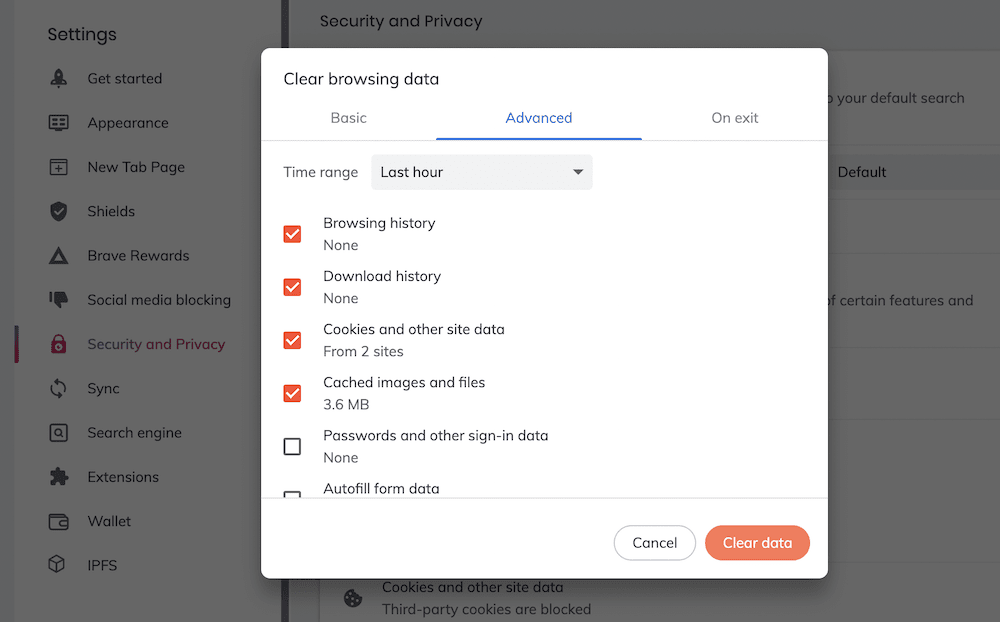
Brave will pop up a familiar screen, where you’ll select the data you’d like to clear and click the Clear data button:
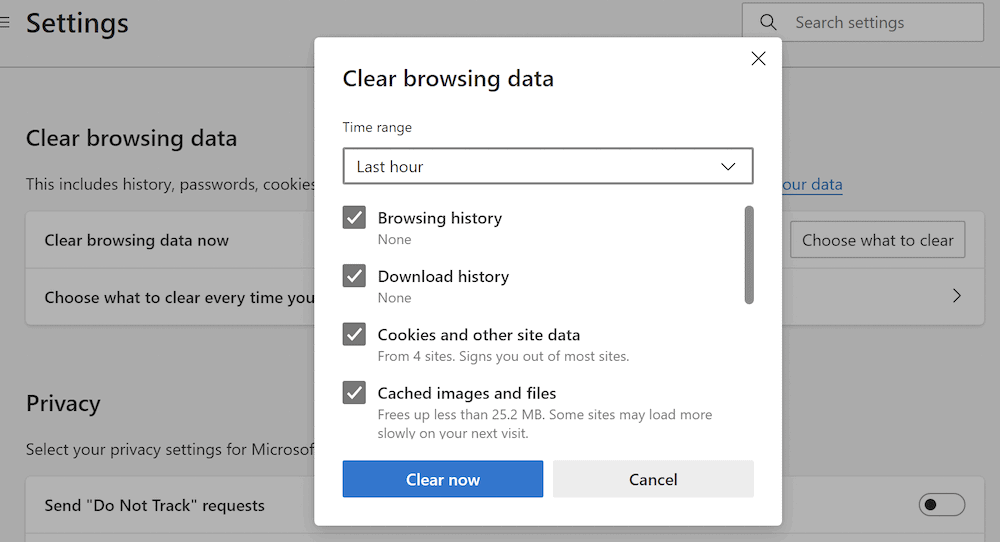
However, for Edge, you’ll need to scroll down to the Clear browsing data section, then click the Choose what to clear button. This will pop up the same type of menu as Brave:
Regardless of the browser you use, you’ll want to clear out your browsing history, cached images and files, and cookie information. However, feel free to delete more here as there will be no harm in doing so.
Once you confirm, your browser will clear out the data you specify. From here, check for the error, and take a look at some of the other methods below if this doesn’t work.
3. Flush Your DNS Cache
Given that there’s a potential issue with the DNS lookup service finding a relevant IP address, it makes sense that you also flush out your own DNS cache. This will refresh it — and remove the “Server IP address could not be found” error to boot.
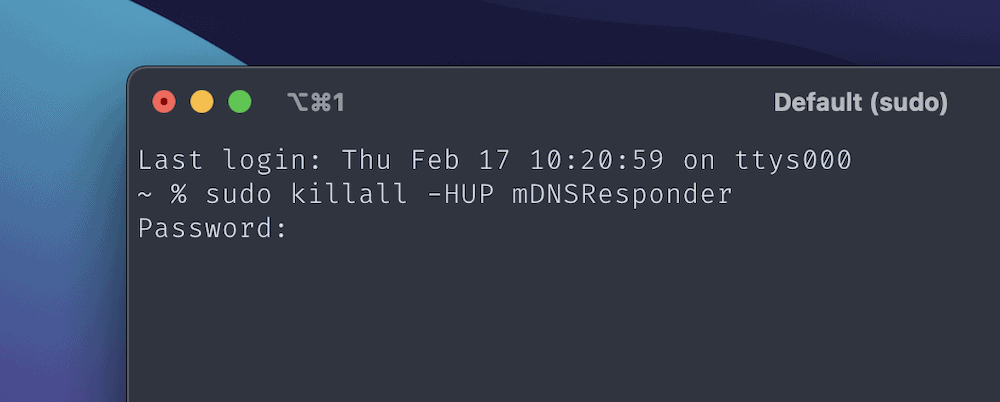
The good news is that we cover this method in full for Windows, macOS, and Linux (Ubuntu) systems elsewhere. Note that you’ll need to use either the Terminal on macOS or the Command Prompt on Windows in order to do this. However, that article will give you the information you need to use these apps to flush out your cache.
From here, you can begin to look at specific settings for your proxy server, IP address itself, and more.
4. Check Your Proxy Settings
This is another method we cover elsewhere in numerous places on our blog. However, it’s an easy fix, and it might not be relevant to your specific setup.
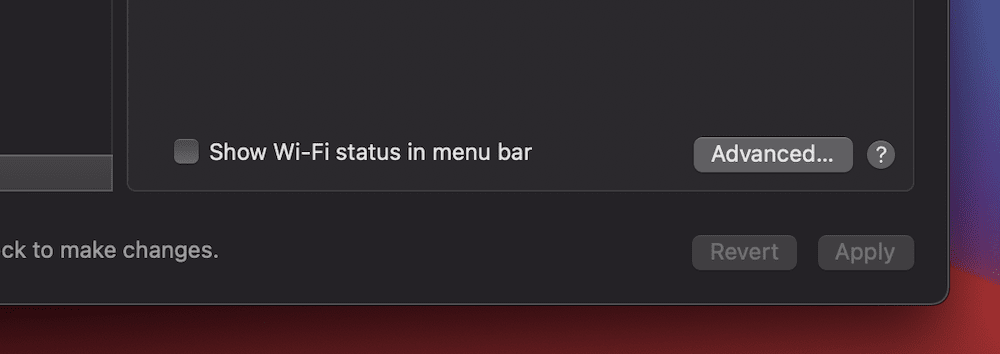
For macOS, head to the System Preferences > Network screen, then click the Advanced button in the lower right-hand corner:
Here, navigate to the Proxies tab, then untick everything in the left-hand list. You’ll then want to confirm with the OK button:

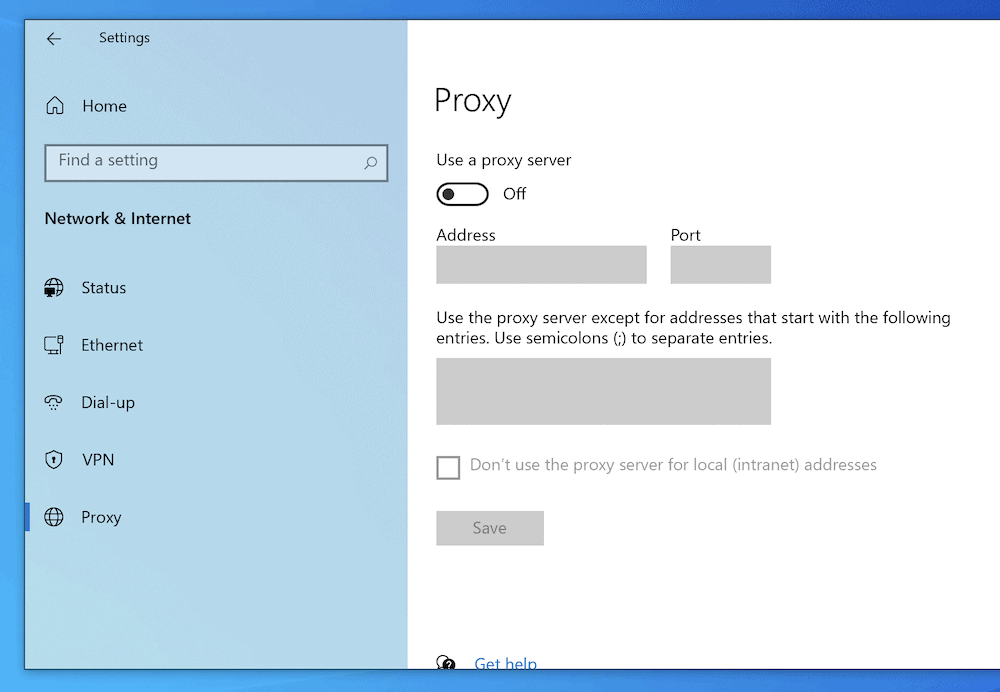
For Windows, navigate to the Network & Internet screen using the Windows Search Bar. Then click Proxy from the left-hand sidebar. Next, scroll down to the Manual Proxy setup section and toggle the Use a proxy server button to Off:
While you might want to restart your computer for extra confirmation, this should turn off your proxy settings and let you test for the “Server IP address could not be found.”
5. Release and Renew Your IP Address
Sometimes, you’ll want to refresh your IP address altogether. This is called a “Release and Renew” and doesn’t take much effort on either Windows or macOS.
For Windows, it’s an extension of the approach to flush your DNS. This time, you’ll use the Command Prompt to enter three commands, one at a time:
ipconfig /release

ipconfig /flushdns

ipconfig /renew
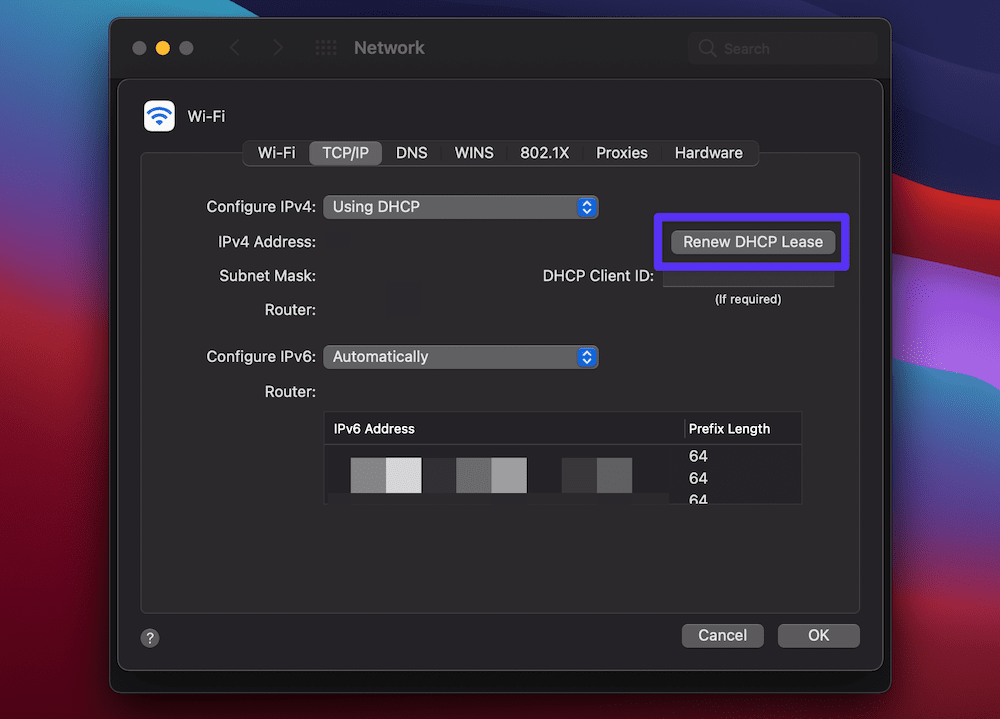
For the Mac, you’ll head back to the System Preferences > Network > Advanced screen. This time, you’ll select the TCP/IP panel. Within this screen, click the Renew DHCP Lease button:
You might not see a success message on macOS, but the button will carry out the action you want. After this, if you still see the “Server IP address could not be found,” you can also update your DNS address and server.
6. Update Your DNS Address and Change the Server
Although our blog has already covered everything you need to know about DNS, this is from the viewpoint of web hosting. However, you can update the DNS address for your local computer too.
Some like to use a solution such as Google’s public DNS or Cloudflare’s offering. Regardless of which DNS address you want to use, there are different approaches for Windows and macOS.
For Mac, you’ll once again head to the System Preferences > Network > Advanced screen — you’ll want the DNS tab here:
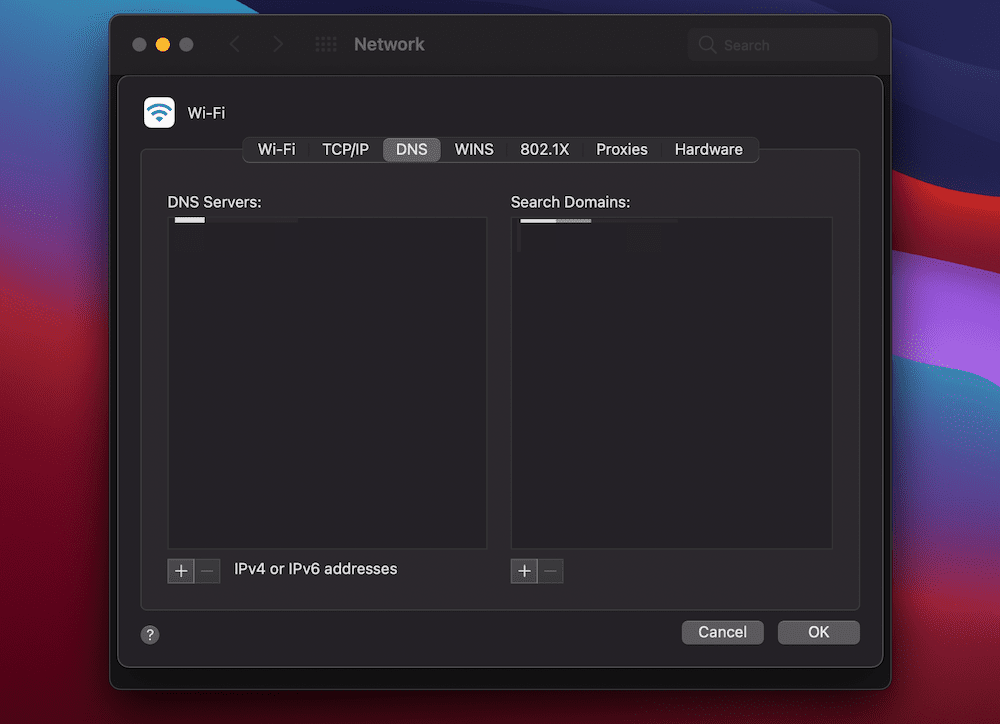
You’ll use the Plus button for the DNS Servers section to add your public DNS address. Once you do this, confirm your changes.
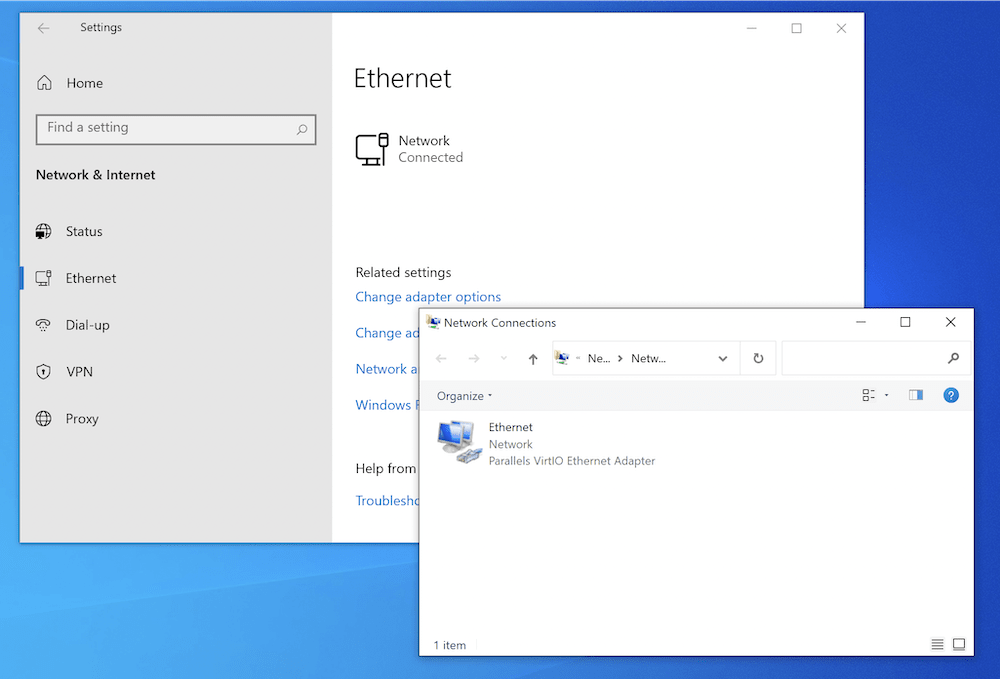
For Windows, go to the Network & Internet screen again, and choose the Ethernet link from the sidebar. Here, you’ll want to choose the Change adapter options link:
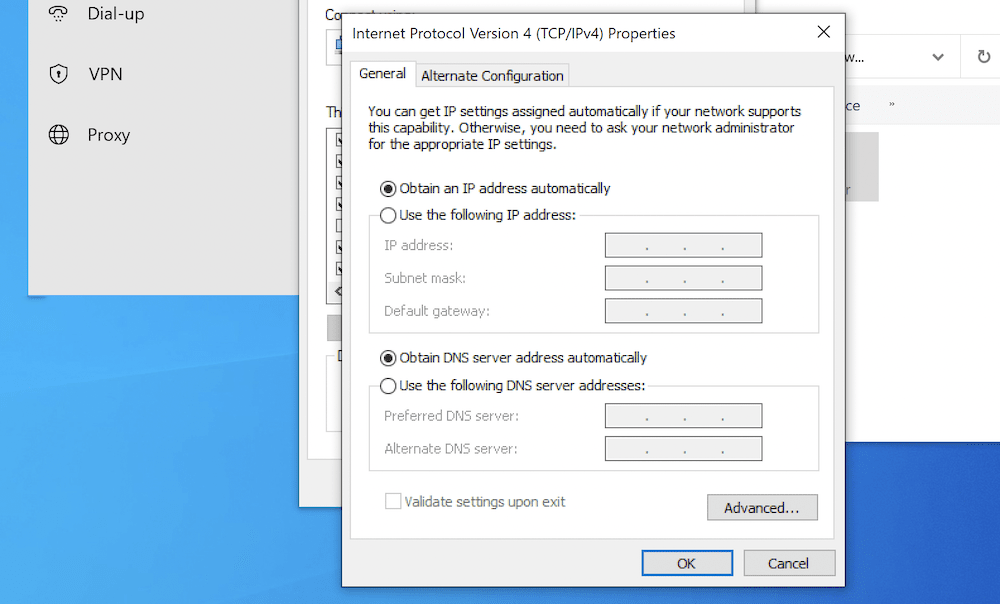
Next, right-click on your connection and choose Properties. Within the pop-up window, choose the Networking tab, then either the Internet Protocol Version 4 or Internet Protocol Version 6 entries and click the Properties button here:

On this next screen, you’ll enter your public DNS address under the Use the following DNS server addresses radio button:
Once you enter and confirm your changes, check for the “Server IP address could not be found” error and move on if you have no success.
7. Add the Site’s IP Address to Your Hosts File
This method to fix the “Server IP address could not be found” problem is likely the most complex on this list. You’ll use a command line editor called Nano to alter your hosts file and either add or remove the IP address for the site in question.
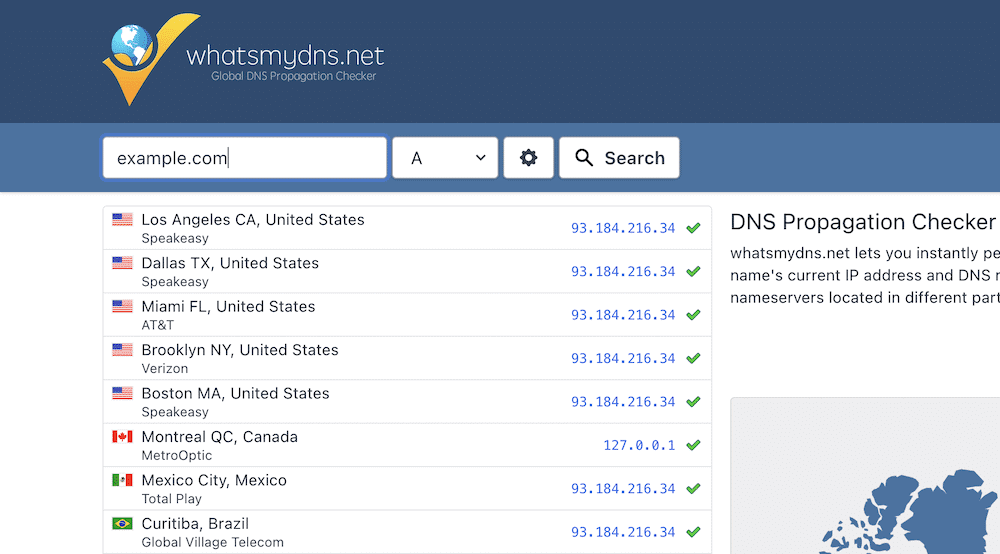
The first part of this approach involves finding the IP address for the site. To do this, head to a DNS lookup site, such as WhatsMyDNS? Here, search for your site’s “A” record and note the IP address that’s most common from the list of propagated addresses:
Next, you’ll want to access and edit the hosts file. However, Windows and Mac both have different ways to do this. We cover both in our article on general editing for this file, and a Mac-specific tutorial, as well as a Window’s specific tutorial for this as well.
The goal is to either remove the IP for the site if you find it within that file or add it if it isn’t there. Either one could both cause and fix the “Server IP address could not be found” error, so try them out.
However, once you confirm that this step doesn’t work, make sure you revert the file back to how you found it. This will stop errors from cropping up in the future.
8. Delete Files From the “etc” Folder
Windows users have an etc folder that will sometimes contain unnecessary files within. As such, you’ll want to remove them to see if this resolves the “Server IP address could not be found” error.
Within a Windows File Explorer, head to C:\Windows\System32\drivers\etc:

Make sure you back this folder up before you select everything within and delete — a quick solution to the “Server IP address could not be found” error.
However, you might also want to try putting the files within the etc folder back one at a time. Once the error reappears, you can discard that particular file and get back to browsing the web.
9. Restart Your DNS Service
We have another Windows-specific resolution to the “Server IP address could not be found” error. This time, you’ll restart the DNS Client Services — crucial for domain name resolution and caching.
To do this, search for “Services” (without quotes) using the Windows Search Bar:
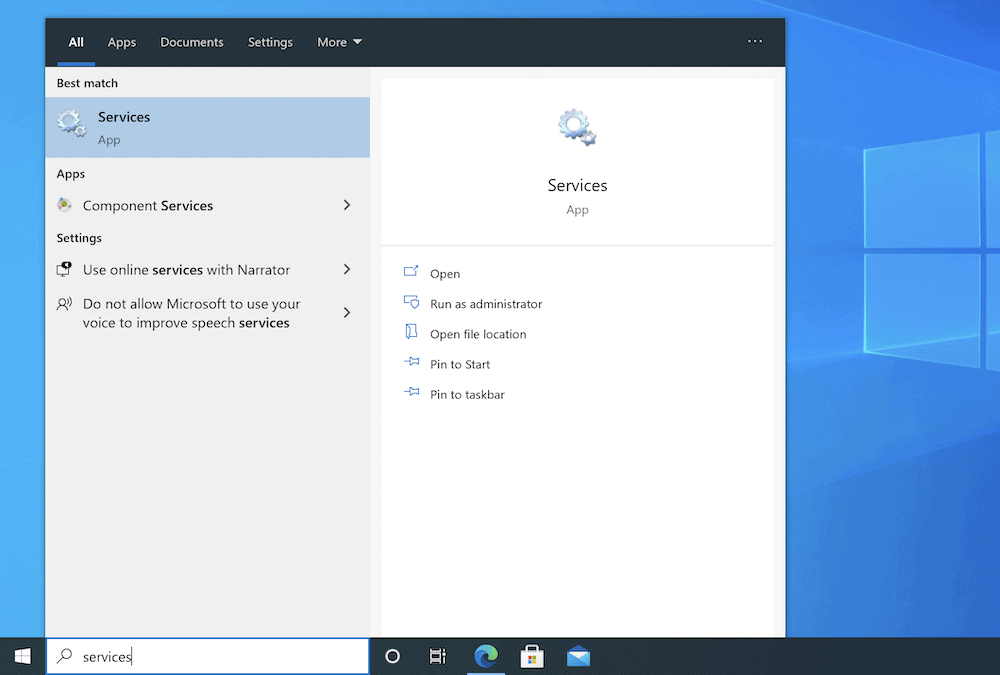
Within the list that shows up, you’ll see the DNS Client service, and you’ll right-click it and select Restart. However, in some cases, you’ll see an error when you try to do this.
An alternative approach is to open a Command Prompt window and run the following commands one at a time:
net stop dnscache

net start dnscache
You might even see restricted access here too, in which case you’ll need to skip over this solution and try the others on this list.
10. Update Your Network Adapter Driver
The final step is to update the drivers for your network adapter. Mac machines don’t let you update the drivers from their interface, so there’s a different approach.
Within the System Preferences > Network screen, highlight your network within the left-hand column, then click the Minus icon to remove the network in its entirety:
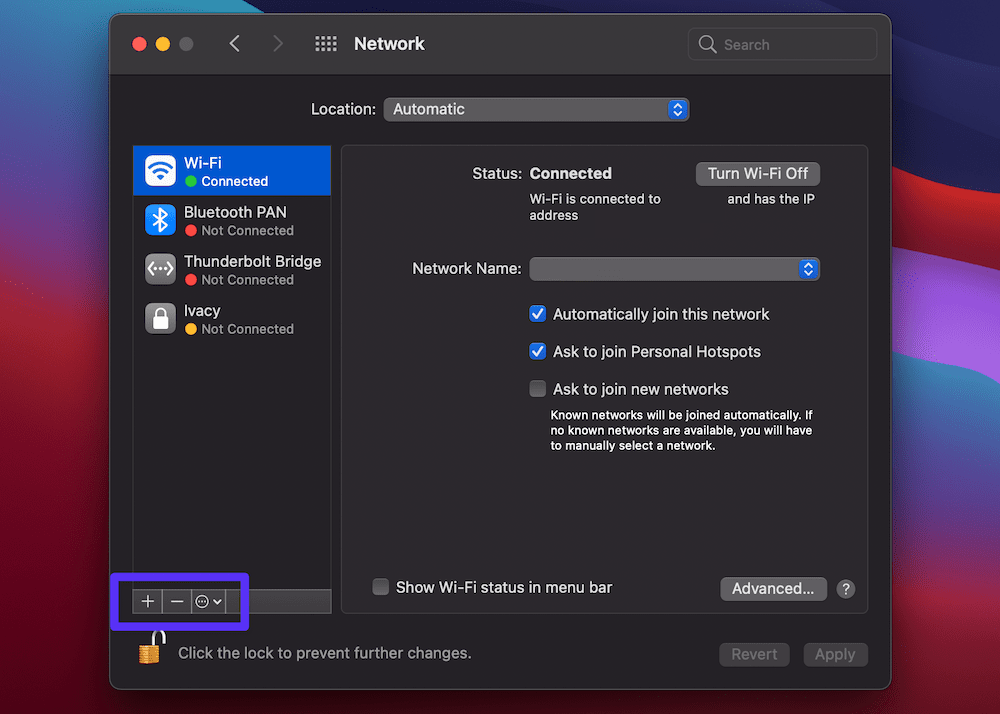
Once you remove the network, restart your machine, head back into the Network panel, and this time click the Plus icon to add the network again.
For Windows, you’ll want to head to the Device Manager (devmgmt.msc) screen using the Windows Search Bar and carry out the following:
- Within the Network adapters section, expand the list.
- Right-click your adapter, and choose the Update driver option.
You’ll want to carry out an automated search for the driver. Once this process completes, restart your computer and check for the “Server IP address could not be found” error.
Summary
While some error messages have abstractions that make it difficult to resolve them, the “Server IP address could not be found” error is different. With this, you get a clear pinpoint for where the error lies, but you won’t immediately know whether it’s a client- or server-side issue.
Across this post, we’ve looked at how to solve the “Server IP address could not be found” error based on troubleshooting the client (i.e. your computer). However, if you exhaust all of the methods here and still see the error, you’ll want to contact the site in question so they can start to look for a fix on their end.
Is the “Server IP address could not be found” error one you’ve come across in the past, and if so, how did you fix it? Let us know in the comments section below!


