If you’ve been wrestling with the complexities of Google Analytics 4 (GA4), you’re not alone. Many find its dense interface a bit much, especially when you’re just trying to get a clear picture of your website’s performance.
Thankfully, there are many GA4 alternatives out there vying for your attention, and Fathom Analytics caught our eye. It’s a refreshingly simple and privacy-focused alternative that might just be the solution you’ve been looking for.
Fathom offers a GDPR-compliant way to track website analytics without the hassle of cookie banners or complex setups. Given its straightforward integration, it’s appealing to WordPress users.
Today, we’ll walk you through setting up Fathom Analytics on your WordPress site and transferring from GA4.
What is Fathom Analytics?
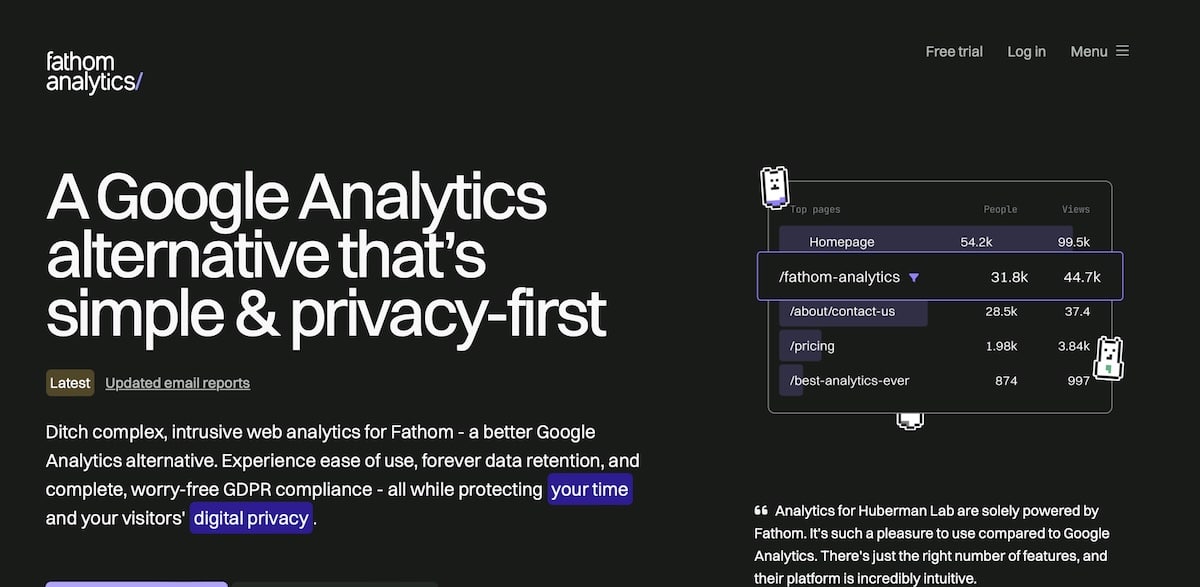
Fathom Analytics is a web analytics platform designed with a strong emphasis on simplicity, user privacy, and compliance with privacy regulations like GDPR. Created by Paul Jarvis and Jack Ellis, Fathom has made a name for itself by prioritizing user privacy and offering an easy-to-use interface that’s more intuitive than what GA4 currently offers.
A few key features worth paying attention to include:
- Compliance as a priority: Fathom doesn’t use cookies to track users, which means there is no need for cookie consent banners on your site. This simplifies the user experience while still ensuring your site complies with all the latest privacy laws like GDPR and CCPA.
- A simple design as a feature: The platform has a user-friendly dashboard – and that’s a main selling point here. This dashboard includes all the essential metrics without the complexity of GA4. So, if you need something straightforward without the extras, this could be a good option.
- Full control over data management: Fathom allows for detailed event tracking, custom events for newsletter sign-ups, button clicks, and more. You’ll gain valuable insights for optimizing user interactions and campaigns. It also includes email reports and easy data export options to manage and share analytics effectively.
- Total scalability: Fathom’s infrastructure is designed to handle high-traffic volumes, making it suitable for high-traffic sites and applications.
- Integration capability: You have a lot of integration options, including with platforms and services like WordPress, Vue.js, ConvertKit, and many others. Seamless analytics access and integration across multiple tools and platforms just make life easier for busy website owners and professionals.
Why switch to Fathom Analytics from GA4?
Switching from GA4 to Fathom Analytics promises to simplify your approach to website analytics while enhancing your site’s privacy and user experience.
We’ve already discussed this tool’s approach to privacy, compliance, and simplicity. But there are a few other reasons to consider this switch, including:
Enhanced site performance
The Fathom analytics script is less than 2kb, much smaller than GA4’s script, which can be as large as 30kb when combined with Google Tag Manager. This smaller footprint means Fathom’s script loads faster, contributing positively to site speed and SEO – must-have factors for maintaining and improving search engine rankings.
No data sampling
Fathom provides direct, unfiltered access to your data. This means what you see is the exact reflection of your site’s traffic without any sampling or data manipulation. Fathom’s approach ensures that all visitor interactions are accounted for, which provides a more accurate insight into your website’s performance.
Fathom Analytics pricing
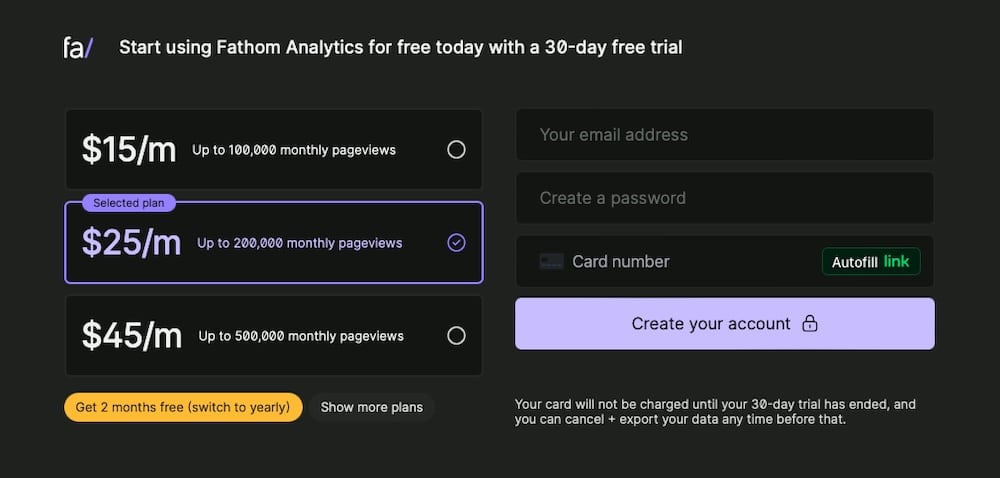
Fathom Analytics offers a transparent pricing model based on your website’s monthly pageviews. It also offers a 30-day free trial. If you cancel before the trial ends, you can export your data to use elsewhere.
Here’s how the plans breakdown:
- $15/month: This plan covers up to 100,000 pageviews per month. It includes all core features of Fathom Analytics, such as unlimited data retention, privacy compliance, and essential integrations.
- $25/month: Ideal for growing websites, this plan supports up to 200,000 pageviews per month and includes all the features of the $15 plan.
- $45/month: Designed for high-traffic websites, this plan accommodates up to 500,000 pageviews per month.
- $60/month: This plan covers up to 1 million monthly pageviews.
- $100/month: Covers 2 million pageviews monthly.
- $140/month: At this price, you get up to 5 million pageviews per month.
- $200/month: This plan covers up to 10 million monthly pageviews.
- $290/month: This covers up to 15 million pageviews.
- $380/month: Get up to 20 million pageviews per month covered with this plan.
- $470/month: This plan covers up to 25 million monthly pageviews.
This straightforward pricing model lets you buy exactly the coverage you need. Switching to an annual payment model can also save you money and give you two months free.
Creating a Fathom Analytics account
Setting up a Fathom Analytics account is straightforward, and you can quickly start tracking your website’s performance.
Follow these steps to create your account and integrate Fathom Analytics with your site.
First, go to the Fathom Analytics sign-up page. Then, fill in your email address, create a password, and provide your payment information. Click Create your account.

Fathom offers a 30-day free trial, allowing you to test their services before committing to a subscription.
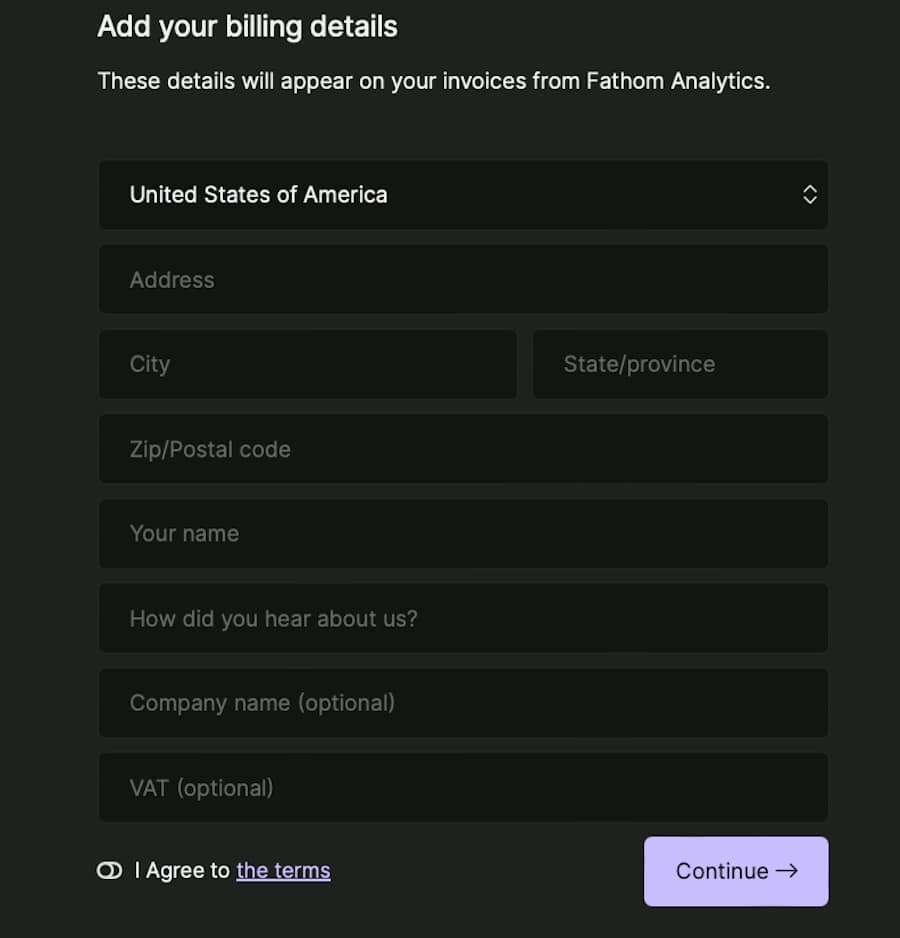
On the next page, you’ll be prompted to input your full billing details.
After creating your account, you’ll need to add your website to your account. To do this, you should be automatically taken to the Sites section within your dashboard following signup.
Give your website an identifiable name, then click Create site.
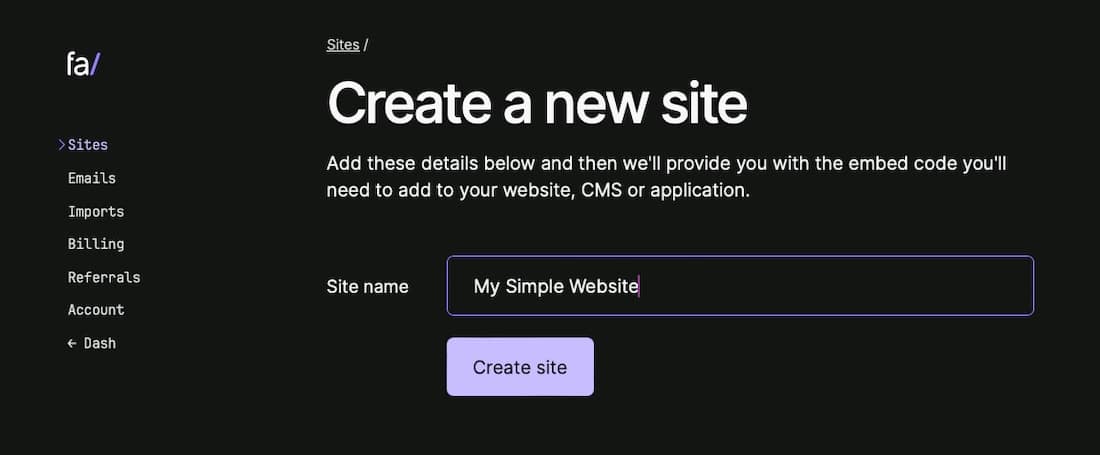
A new screen will load with the embed code for your new website. This includes a Site ID (which you’ll need in WordPress later) and an HTML code you can copy and paste directly into your site’s header.
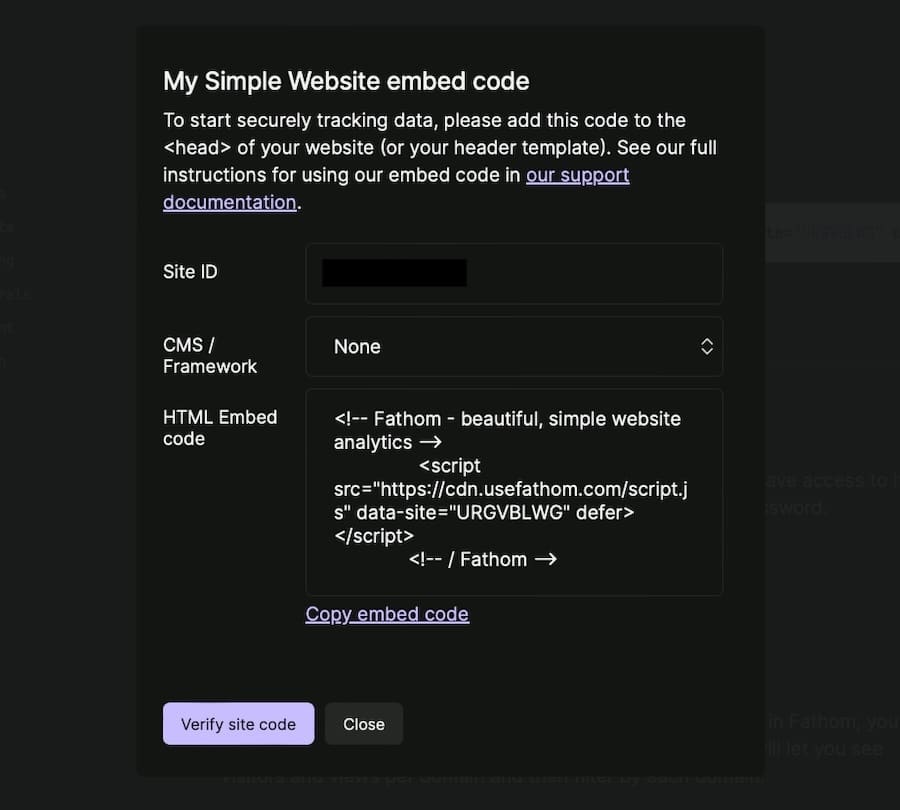
Click the CMS/Framework dropdown and select WordPress to view full instructions on how to install the integration plugin and add the embed code to your site.
But we’re offering a quick rundown of the process, too.
Setting up Fathom on your WordPress site
Installing and activating the Fathom Analytics plugin on your WordPress site is, thankfully, straightforward. And once completed, you can use it to integrate powerful, privacy-focused analytics into your website.
Step 1: Installation
Log into your WordPress dashboard, then go to Plugins > Add New Plugin. In the search bar, type “Fathom Analytics for WP” and press Enter.

You’ll see the Fathom Analytics plugin in the search results. Click Install Now and then Activate the plugin once the installation is complete.
Step 2: Configuration
Once activated, you’ll need to configure the plugin. Go to Settings > Fathom Analytics to access all the settings you need to get started.
The setup is super simple. You only have a few settings to tinker with, so let’s break down each option:
Site ID

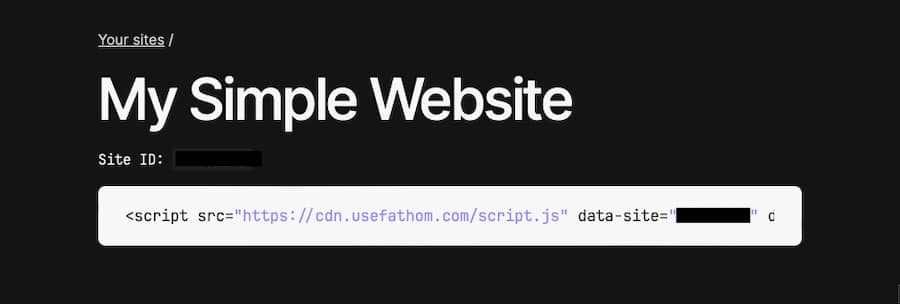
You’ll need your Fathom Analytics Site ID to link your website to your Fathom dashboard. As described earlier, it was displayed immediately after you added your site to Fathom.
However, you can also find this ID in your Fathom Analytics account under Sites beneath the site name.
Share Password
If your dashboard is public, leave the Fathom Share Password field empty. If it’s private, you’ll need to enter a shared password.
Exclude Roles

Decide if you want to exclude certain user roles from being tracked on your site. This helps prevent skewing data with internal traffic.
Once you’ve made your selections, click Save changes. Your Fathom Analytics account should now be connected to your WordPress site.
Step 3: Verify installation
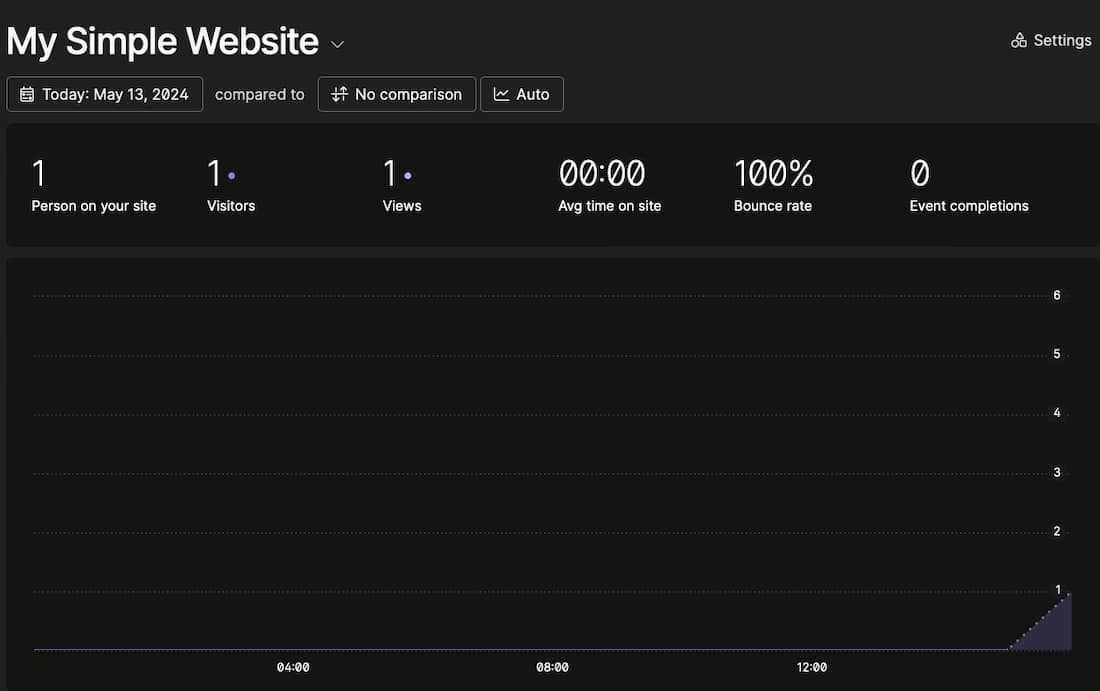
To verify that all is working properly, return to the Fathom dashboard. It might take a few minutes for the first data to appear, but it should look pretty straightforward once it does:
Putting Fathom Analytics to use
Once you’ve installed Fathom Analytics on your WordPress site, you can leverage its features to enhance your understanding of site traffic and user behavior without compromising user privacy.
After installing the Fathom Analytics plugin, you can view your analytics directly from the WordPress admin area. This integration means you can check your site’s performance without having to log into a separate analytics platform.
To do this, just go to the Fathom Analytics menu item on your dashboard to see your stats.
Setting up and viewing custom events
Fathom allows you to track custom events, which can help you understand specific user interactions on your site. You can set up event tracking directly from the Fathom dashboard by defining the actions you want to track, such as button clicks or form submissions. This data can help you optimize the user experience and improve site functionality.
Using email reports
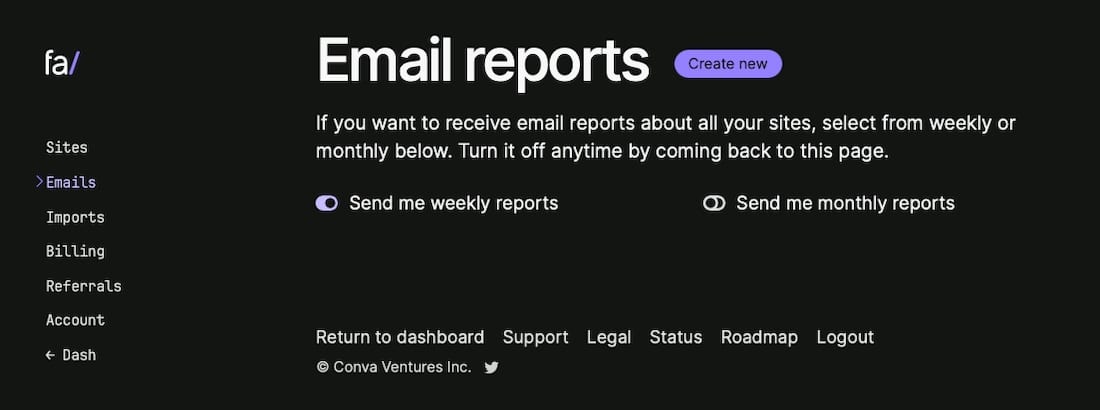
For convenient updates, Fathom offers the option to set up automatic email reports. These can be scheduled weekly or monthly, providing you with regular insights into your site’s performance without needing to manually check the dashboard.
How to migrate from GA4 to Fathom Analytics
Migrating from GA4 to Fathom Analytics can be a simple process, especially if you’re just looking to move your historical data.
Here’s how to do it:
1. Prepare your Google Analytics data
Before you migrate, ensure that all your historical data from GA4 (or Universal Analytics, UA, if you’re also using that) is organized and ready for import. Although Google Analytics does not support direct data transfers to other platforms, you can export your data into CSV files or use Google’s Takeout service to export your reports.
2. Use Fathom’s GA importer
Fathom has developed a specific importer tool for Google Analytics data, which supports both UA and GA4. This tool allows you to map your GA account, properties, and views directly to a Fathom dashboard.
To use this, you’ll need to:
- Go to Imports in your Fathom account, then click Create a new import.
- Connect your Google account that contains your GA data.
- Map your GA data to your Fathom site ID.
- Start the import process, which Fathom will handle, even if the datasets are large.
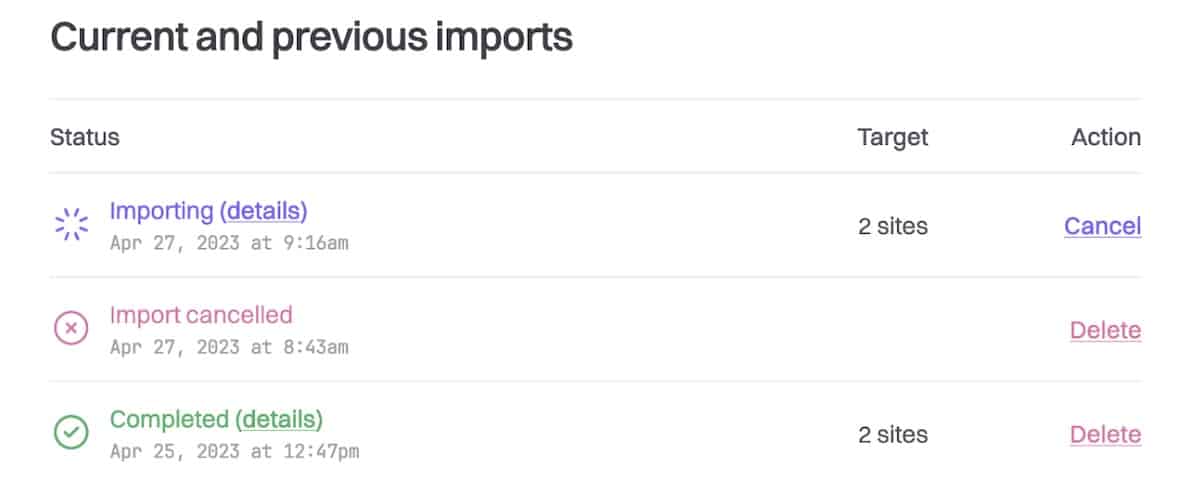
You’ll then see the queued, in process, and completed imports under the Imports section.
3. Verify the data post-import
Once your data is imported, verify its accuracy and completeness on your Fathom dashboard. Check if all the expected data appears correctly and whether the dashboard reflects the insights you need.
Analytics can be simpler with Fathom
Transitioning from GA 4 to Fathom Analytics will streamline your data analysis and make it much easier to keep your site in compliance with privacy laws. Fathom offers a straightforward approach to analytics, with ease of integration and a no-frills data dashboard being its most attractive features.
For WordPress users hosted on platforms like Kinsta, Fathom Analytics provides an even greater benefit by ensuring optimal website performance and security. Kinsta’s focus on speed and security complements Fathom’s lightweight analytics script, making it an excellent pairing for anyone looking to optimize their WordPress experience.
Start your journey with Fathom on Kinsta today, and take the first step towards a more privacy-conscious and user-friendly analytics experience.


