Progressive Web Apps are transforming the way users engage with websites. They’re technically a blend of the best a mobile app and a traditional website can offer. Starting from zero with PWA tech in WordPress will not only step your game up a bit but it will also allow you to create a more engaging, accessible, and faster-loading version of your website.
This means businesses, bloggers, and digital creators can better connect with their user base and provide more content than ever before.
If you’re ready to convert your WordPress website to a PWA, you’ve come to the right place. We’ll explain exactly how to build and optimize these web applications, ensuring the success of your next project.
Let’s get to work!
What are PWAs?
Progressive Web Apps are a type of technology that combines the capabilities of a traditional, responsive website with those of a feature-rich mobile application.
According to Mozilla, PWAs use modern web features to provide an app-like web interface that can be accessed with a web browser.
The three key tech components behind PWAs include:
- Service workers. PWAs use scripts that run independently of a website and execute similar actions that could only run on the web page. For instance, service workers allow push notifications, enable background synchronization, and offline availability. The latter is possible because the service workers act as a proxy network. PWAs can cache the content and deliver it when no connection is present, offering exceptional reliability even in uncertain network conditions.
- Web app manifest. The manifest is a JSON file that describes the application, which allows it to present itself as an add-to-home icon on a smartphone. The file is targeted towards creating an interaction with the user system, including the start URL, display settings, descriptive name, and icons.
- HTTPS. This final component is one of the most crucial. Although it does not directly contribute to the user experience, HTTPS boosts security, and the visitor’s privacy is protected by data encryption and information anonymity.
The combination of all three technologies gives a fast, installation-free experience, with PWA fully integrated into the homepage.
You can see all these pieces come together beautifully with the Cafe Javas website and app.

Developed by TechAhead, this PWA offers a seamless experience between its website and mobile app versions. This makes it easy for customers to place orders from within their web browsers without the frustrating UX of a traditional website.
Why turning a WordPress site into a PWA is a good idea
Transforming your WordPress site into a Progressive Web App can significantly enhance your digital presence and user experience. Here’s why making the switch is a brilliant move:
1. More user engagement
One of the numerous advantages of PWAs is the power to send push notifications. This allows you to inform your audience about your latest news and announcements and simply ensure your site visitors don’t forget you. This characteristic encourages regular visits and more interactions.
2. Improved site speed
PWAs are also extremely fast. Most of the assets are cached, and service workers help load them quickly. Even if your site visitors don’t have the fastest and most reliable network provider, their WordPress-fueled PWA will load instantly. This speed boost not only improves the user experience but also contributes positively to search engine rankings, as site speed is a ranking factor for Google.
3. Offline capabilities
Perhaps one of the most compelling advantages of PWAs is their ability to function offline or on poor-quality networks. This is achieved through service workers that cache key resources, allowing users to access previously visited pages without an internet connection.
4. Traditional limitations don’t apply
Traditional websites and mobile applications each have their limitations. Websites, for instance, depend heavily on network quality and do not offer native app functionalities like push notifications or offline access. Mobile applications, on the other hand, require users to download and install updates regularly.
PWAs don’t have these drawbacks.
Converting your WordPress site into a PWA is not just improving your site. It is changing the way your audience interacts with it through a faster, more engaging platform that works and looks good on any device and with any network.
Prerequisites for PWA development in WordPress
Anyone looking to build a PWA for WordPress will need to know the following:
- UX design. Use UX design principles as a starting point for making your PWA something that’s user-friendly and that people will want to use and engage with.
- HTML & CSS skills. You’ll have to arrange your pages and make them visually appealing and responsive. This requires a knowledge of HTML and CSS, the building blocks of web design.
- PHP knowledge. WordPress is built on PHP, so you must know this server-side scripting language to adjust themes and plugins and add other dynamic content functionality to your PWA.
- JavaScript proficiency. JavaScript is needed to handle interactivity with your PWA, working with service workers for offline functionality, and adding more complicated functionality such as push notifications, among other things.
- WordPress familiarity. It’ll make the development process much easier if you understand how all aspects of WordPress work, its APIs, theme, and plugin customization, content management, and the WordPress-specific PHP functions you have at your disposal.
Best PWA Plugins for WordPress
If you do a quick search for the best PWA plugins for WordPress, you will quickly discover a range of tools that can enhance your website with app-like functionality, faster loading times, and other impressive features.
For those looking to build a PWA quickly, here are several of the top PWA plugins currently available for WordPress that could speed up your workflow.
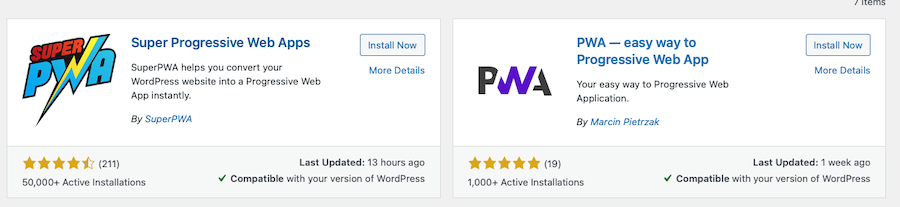
1. Super Progressive Web Apps

Developed by SuperPWA, the Super Progressive Web Apps plugin offers WordPress users a simple way to turn their websites into Progressive Web Apps (PWAs). This fusion of the best aspects of the web and mobile app technologies enables offline usage, nearly instant loading times, and access from a shortcut on the home screen.
Pros
- Adding app-like features, as well as the ability to provide content even when offline, can increase site visits, engagement, and other KPIs.
- Superior performance, through decreased loading time and a lighter load on a device, can also boost a website’s SEO value.
- Easy to set up and configure with user-friendly settings.
Cons
- Could be incompatible with certain themes or plugins, creating a need for further tweaking to work properly.
- Available advanced options require a greater understanding of web technologies to take advantage of them.
Pricing
SuperPWA runs on a freemium model, which means a core set of features is available for free, with extras accessible through upgrades. The first set of SuperPWA upgrades starts at $99.
2. PWA for WP & AMP
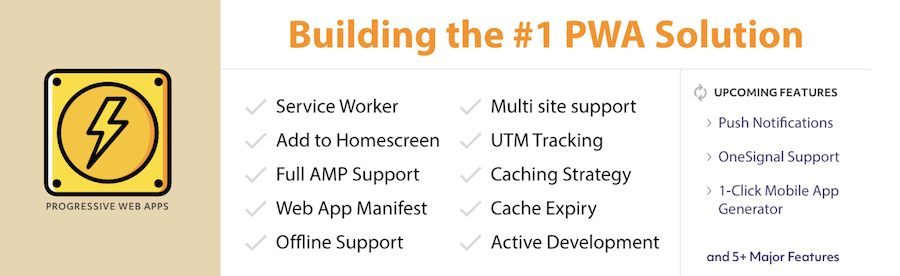
The PWA for WP & AMP plugin enriches the user experience with an app-like interface, full AMP PWA compatibility, multisite support, UTM tracking, and the possibility of working offline. It also provides support for service worker development, app banners, a web app manifest, and a custom splash screen.
Pros
- Improves engagement by allowing your website to be installable on the home screen.
- Supports AMP
- Cache and analytics for offline interactions included
Cons
- Setup is a bit more complex due to AMP integration
3. PWA

The PWA plugin is focused on essential elements of PWA, like service workers, web app manifest, and HTTPS support. PWA is geared towards faster load times and providing an app-like experience on mobile.
Pros
- Since the goal for this plugin is that it’ll eventually be part of the WordPress core, you can expect high-quality coding and compatibility.
- It offers a simple way to adopt PWA features, increasing your website’s reliability, speed, and engagement.
Cons
- Advanced features are not covered by the plugin and will require additional plugins or custom development to achieve.
4. Instantify
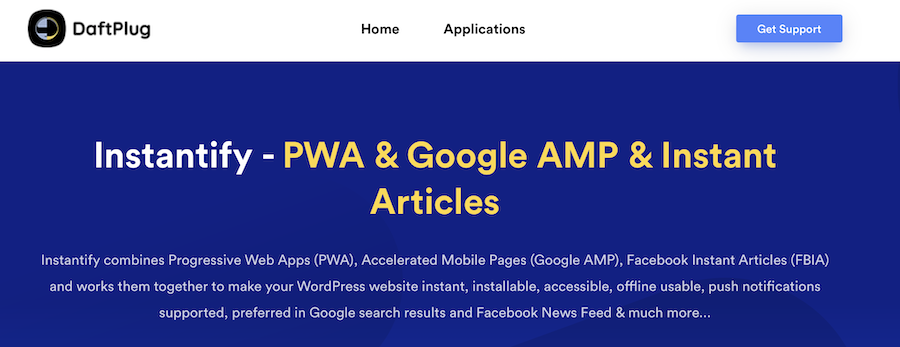
Instantify differentiates itself by combining three key features into one platform: Progressive Web Apps (PWA), Google’s Accelerated Mobile Pages (AMP), and Facebook Instant Articles (FBIA). With this combination, the tool transforms your website to give it an app-like feel, speeds up mobile web loading times, and opens up your website content to social platforms.
Pros
- Combining PWA, AMP, and FBIA means you don’t have to worry about dealing with different plugins.
- AMP pages are given preference in search so this could potentially improve your website’s performance on search engines in terms of visibility.
- Engage users with push notifications and more, and monetize your content more efficiently through optimized ads and Facebook Instant Articles.
Cons
- There is no free trial or plan, which may deter users who want to test the plugin before paying for it.
- The extensive features provided may lead to this plugin not playing nicely with some themes if not properly set up.
Pricing
Instantify costs $29, a one-time fee for a lifetime license. This includes six months of support, which can be extended for an additional $21. The product does not come with a free trial or money-back guarantee, so it may be best to consider your current needs and compatibility requirements very carefully before you purchase.
How to build a PWA with a WordPress plugin: step-by-step
Building a PWA with WordPress is an exciting way to enhance your website’s mobile experience, making it faster, more reliable, and more engaging. As we’ve already discussed, PWAs use modern web capabilities to deliver app-like experiences to users directly from their browsers.
Here’s a step-by-step mini-guide on how to transform your WordPress site into a PWA using one of the plugins we discussed.
Step 1: Planning your PWA
Before diving into the technical aspects, you should plan out your PWA’s features and goals. Consider what parts of your site could benefit from offline access, which actions users should be able to perform without a network connection, and how you’d like your PWA to look on the home screen. Planning helps ensure your PWA enhances user experience in meaningful ways.
Step 2: Choosing the right plugin
As we discussed, there are several plugins available for turning your WordPress site into a PWA.
Evaluate each based on your specific needs. If you’re looking for a simple, straightforward solution, Super Progressive Web Apps offers an easy setup. For those needing integration across multiple tools, Instantify might be a better option.
For our example here today, we’ll be using Super Progressive Web Apps.
Step 3: Installing your chosen plugin
Once you’ve chosen a plugin, install it on your WordPress site. You can do this by going to your WordPress dashboard, navigating to Plugins > Add New, searching for the plugin by name, and clicking Install Now. After installation, click Activate.
Step 4: Configure the settings
After activation, you’ll find the plugin’s settings under the Settings menu in your WordPress dashboard.
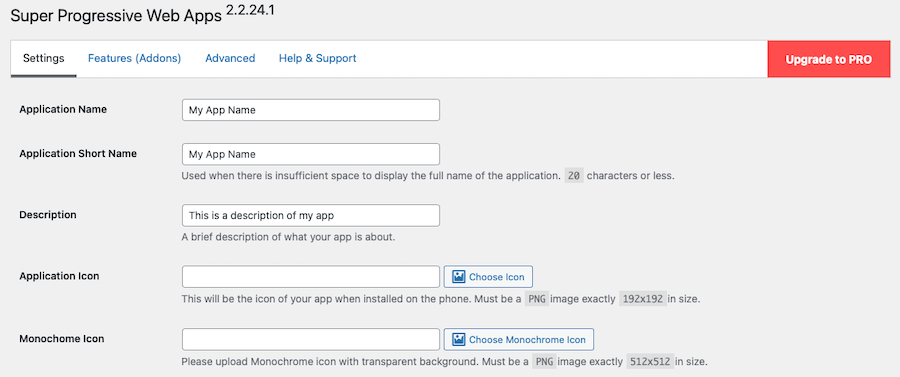
Here, you can configure various aspects of your PWA, such as:
-
- App name. The name of your PWA as it will appear on the home screen.
- Description. A brief description of your app.
- Start page. The page that your PWA will load first.
- Theme color. The color of the toolbar.
- Background color. The splash screen background color.
- Icon. Select an image to serve as your PWA’s icon.
Once you’re done making modifications, click Save Settings.
Step 5: Test your new PWA
Once you’ve configured the settings, it’s crucial to test your PWA on different devices. Use Chrome DevTools or similar tools to simulate various devices or test directly on your mobile device by adding your site to the home screen.
For instance, if you’re using an iOS device, you’ll need to clear your mobile browser’s cache before visiting your website.
Click the Share button, then Options. Click Add to Homescreen. Close your browser, then click the app icon that was just added to your homescreen. Browse a few pages on the website, disconnect from the internet, and then try to access those same pages again.
If they load, your PWA is up and running!
How to build a PWA with WordPress from scratch
For those seeking more control and customization, manually converting your WordPress site into a PWA might be the preferred route.
This method is more technical and requires a good understanding of web development principles, so be sure to review the prerequisites laid out earlier to confirm your ability to complete it.
Step 1: Ensuring HTTPS
Securing your site with HTTPS is non-negotiable for PWAs. HTTPS encrypts data between your website and its visitors, safeguarding against data leaks and the like.
You can get a free SSL certificate from Let’s Encrypt if one doesn’t come with your hosting package already.
The installation process varies depending on your hosting provider. Many offer easy one-click SSL installation options. Check your hosting provider’s support documentation for specific instructions.
After installing your SSL certificate, ensure all website traffic uses HTTPS by redirecting from HTTP to HTTPS. This can be achieved with a WordPress plugin like Really Simple SSL or by modifying your site’s .htaccess file if you’re comfortable with manual edits.
2. Creating a web app manifest
The web app manifest is a JSON file that controls how your PWA appears to users and how it launches. It includes your app’s name, icons, and start URL, among other settings.
To start, create a JSON file named manifest.json. This file should include key information about your app, such as its name (name), short name (short_name), start URL (start_url), display type (display), background color (background_color), theme color (theme_color), and icons (
icons).
Here’s what the code should roughly look like, according to MDN Web Docs.
{

"name": "Your App Name",

"short_name": "AppShortName",

"start_url": "/",

"display": "standalone",

"background_color": "#FFFFFF",

"theme_color": "#000000",

"icons": [

{

"src": "path/to/icon.png",

"sizes": "192x192",

"type": "image/png"

}

]

}
Add a link to the manifest.json file in the head section of your WordPress site’s template.
Then, use tools like Google’s Lighthouse to test and validate your web app manifest implementation.
3. Implementing a service worker
Service workers act as a proxy between your web app and the outside world. They’re essential for offline functionality, push notifications, and resource caching.
To create one, you’ll need to make a new JavaScript file. Call it service-worker.js and place it in your WordPress theme’s root directory. This file will contain the logic for caching resources, intercepting network requests, and managing offline capabilities.
You need to register your service worker from your web app’s JavaScript. Typically, this is done in a main JavaScript file that runs on your webpage.
Here’s an example of how to register a service worker from Borstch:
if ('serviceWorker' in navigator) {

window.addEventListener('load', function() {

navigator.serviceWorker.register('/service-worker.js').then(function(registration) {

// Registration was successful

console.log('ServiceWorker registration successful with scope: ', registration.scope);

}, function(err) {

// registration failed :(

console.log('ServiceWorker registration failed: ', err);

});

});

}
Within your service-worker.js file, implement the logic for caching static assets, intercepting fetch requests, and serving content from the cache when offline.
Here’s a basic example to cache some assets:
const CACHE_NAME = 'your-app-cache';

const urlsToCache = [

'/',

'/styles/main.css',

'/script/main.js'

];

self.addEventListener('install', event => {

event.waitUntil(

caches.open(CACHE_NAME)

.then(cache => {

return cache.addAll(urlsToCache);

})

);

});
Testing is a must to ensure your service worker behaves as expected. Use the Application panel in Chrome DevTools to inspect registered service workers, cached assets, and more.
Optimizing a WordPress PWA
Optimizing your WordPress PWA is the last thing you need to do to ensure speed, reliability, and functionality. Let’s dive into some advanced optimization techniques, focusing on caching strategies, resource prioritization, and adaptive loading for different connection speeds.
Caching strategies
Caching is a key element of PWA optimization, according to Smashing Magazine. It allows your app to load faster by storing copies of resources. Implementing a cache-first strategy ensures that your app fetches resources from the cache before trying the network. This approach is particularly effective for static assets that don’t change often.
Use service workers to cache important assets during the installation phase. This includes your app’s shell (HTML, CSS, JavaScript) and any static resources.
For dynamic content, consider strategies like stale-while-revalidate, which serves cached content first and then updates the cache with fresh content from the server.
Prioritizing resources
Not all resources are the same. Some are critical for initial rendering, while others can be rendered via lazy loading. Analyze your app’s load performance to identify which resources are essential and should be loaded first. You can use the preload and prefetch directives to inform the browser about these priorities:
- Preload. Use this for resources needed on the current page. It tells the browser to fetch these resources early in the load process.
- Prefetch. This is for resources that might be needed in future navigations. It suggests to the browser to fetch these resources when it’s idle.
Adaptive loading
Adaptive loading tailors your app’s content and features based on the user’s device capabilities and network conditions. This technique ensures that your PWA provides a good experience, even on slow or unstable networks.
Implement feature detection to serve different assets based on the user’s device. For example, you might serve high-resolution images to users on a fast connection and smaller, compressed images to those on a slower connection.
You could use the Network Information API to detect the user’s connection speed and adjust your app’s behavior accordingly. For instance, you might choose to load only essential content on a slow connection, deferring non-critical resources until the connection improves.
Maintain Google’s standards
Transforming your WordPress site into a PWA is a smart move to enhance mobile user experience. But you need to adhere to Google’s PWA standards for this to be effective.
Google’s PWA standards emphasize security, user experience, and accessibility:
- Sites must use HTTPS and be responsive on mobile devices
- Allow offline access to app URLs and include metadata for the Add to Homescreen function.
- They should load quickly, function across different browsers, and ensure smooth page transitions without network dependency.
- All pages should maintain unique URLs.
Summary
Progressive web apps represent a significant leap forward in enhancing user engagement and accessibility on the web. By integrating the capabilities of traditional websites with the advanced features of mobile applications, PWAs offer a seamless, app-like experience without the need for app store downloads.
With this in mind, we’ve explored the transformative potential of PWAs for WordPress sites here today, highlighting their benefits and offering guidance on how to create your own using WordPress plugins or through manual coding. We hope you’ve found it helpful.
If you haven’t done so already, will you be turning your WordPress site into a PWA any time soon?