
WordPress has existed for over 20 years, powering 42.7% of all the websites on the Internet, according to W3Techs. It also holds a 62.5% market share for content management systems (CMSs) behind websites.
Today, many programming languages and frameworks are available to build user-friendly, high-performance websites that are way faster than WordPress, no matter what optimization you do in your WordPress dashboard. One example is Next.js, a popular React framework.
This guide shows how to use WordPress as a headless CMS, providing data for your Next.js application.
Understanding headless WordPress
Headless WordPress refers to using WordPress solely for its backend capabilities — managing and storing content — and using a separate system, like Next.js, for the frontend presentation.
This decoupling allows developers to use WordPress’s robust content management tools while taking full advantage of modern frontend development features, such as server-side rendering and static site generation in Next.js.
Preparing your WordPress site
Before diving into the Next.js development, your WordPress site needs a bit of preparation to serve as a headless CMS.
If you don’t already have a WordPress site, you can create one easily with Kinsta. There are three methods to build a WordPress site using Kinsta:
- Create a site on your local machine (perhaps using our DevKinsta tools) before moving the site to our servers
- Create a site remotely using the MyKinsta dashboard
- Create a site remotely using the Kinsta API
Once you have a WordPress site, there are two approaches to fetching data from your WordPress CMS into your frontend framework: WPGraphQL and REST API.
The REST API facilitates data retrieval in JSON format using JavaScript approaches like the Fetch API or the Axios library. The REST API has been built into WordPress since version 4.7, meaning it does not require any plugin to work. But to use WPGraphQL, which allows you to interact with your WordPress data using GraphQL query, you must install the WPGraphQL plugin.
Let’s use the REST API for this guide. To get your WordPress data in a JSON format, append /wp-json/wp/v2 to your WordPress site URL:
http://yoursite.com/wp-json/wp/v2If the JSON API is not enabled when you visit http://yoursite.com/wp-json by default, you can enable it by opening Permalinks under Settings in the WordPress dashboard and selecting Post Name or any other one of your choice except Plain:
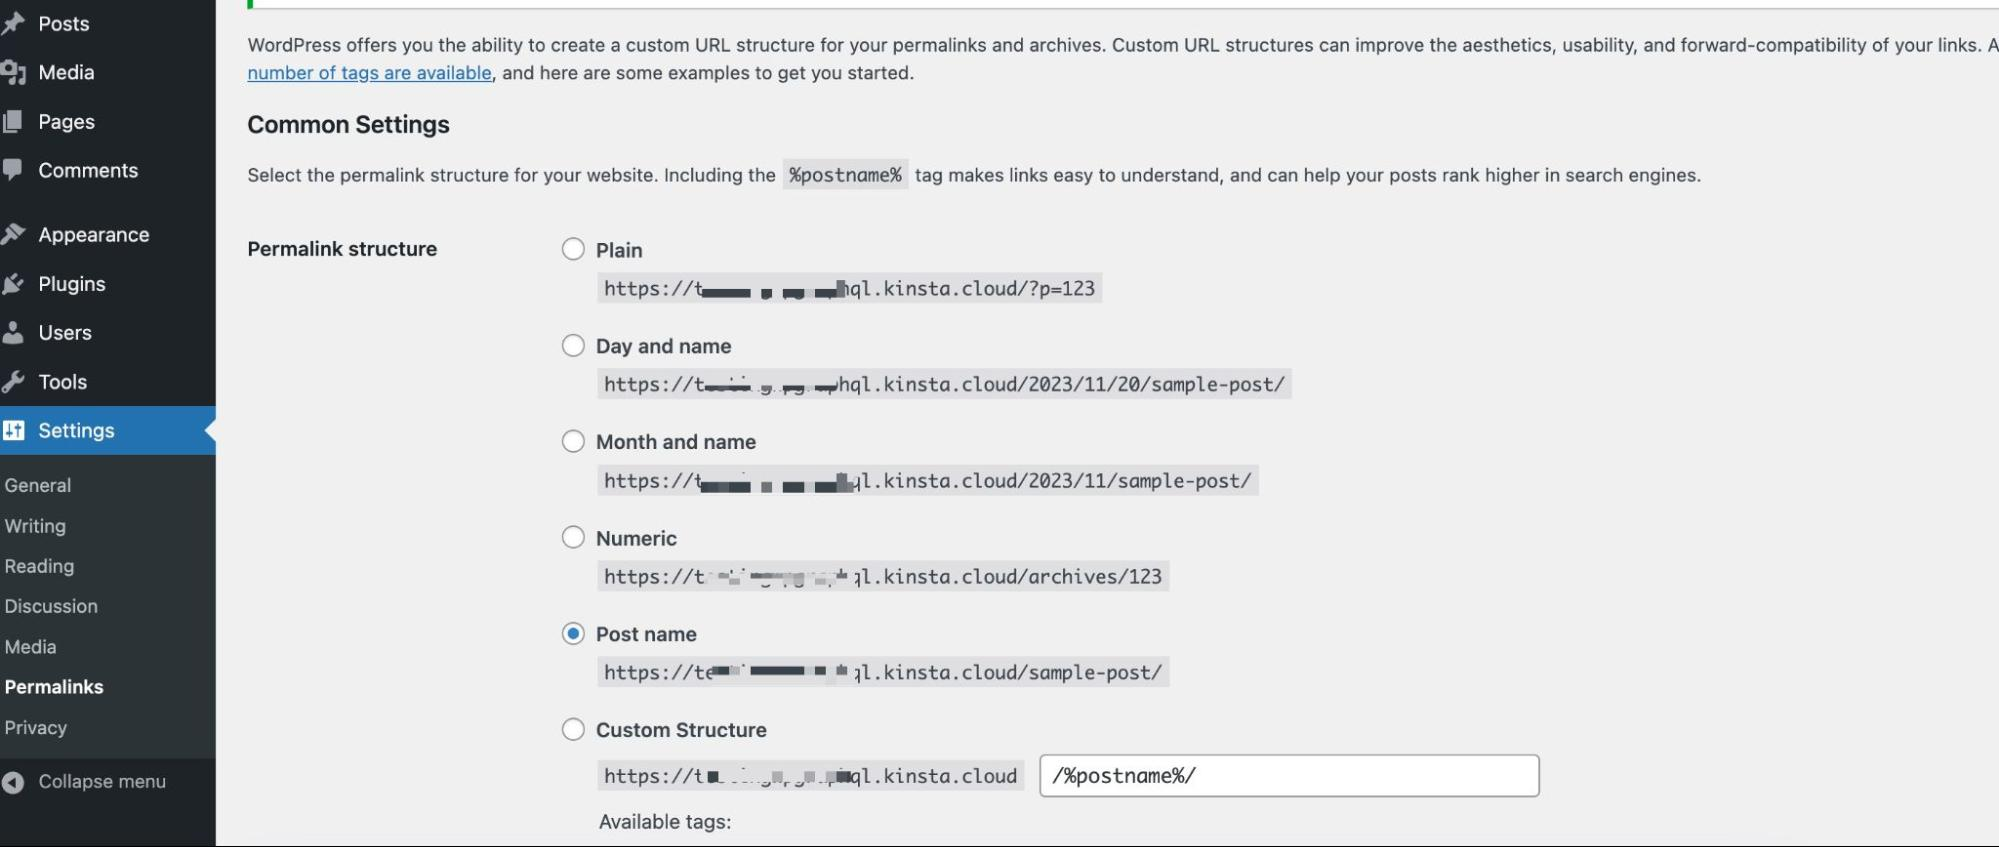
This works for local and public WordPress sites, offering endpoints for content that includes posts, pages, comments, and media. Read our complete guide to the REST API to learn more.
Setting up your Next.js environment
Next.js helps developers build web applications with ease, enhancing performance and optimizing the development experience. One of its key features is file-based routing, which simplifies the creation of routes.
Next.js also focuses heavily on performance, offering features such as automatic code splitting, which loads only the necessary JavaScript for each page, significantly reducing the load time.
To set up a Next.js project, you can run the following command and use its default responses:
npx create-next-app@latest nextjs-wp-demoFor this guide, you can grab our Git starter template by following these steps:
- Visit this project’s GitHub repository.
- Select Use this template > Create a new repository to copy the starter code into a repository within your GitHub account (check the box to include all branches).
- Pull the repository to your local computer and switch to the starter-files branch using the command:
git checkout starter-files.
- Install the necessary dependencies by running the command
npm install.
Once the installation is complete, launch the project on your local computer with npm run dev. This makes the project available at http://localhost:3000/.
Understanding the project
The App Router was introduced in Next.js 13, replacing the existing pages directory for routing. Routing with the App Router also involves creating folders within the app directory. Then, you nest a page.js file within the appropriate folder to define your route.
In this project, app is the core directory you would be interacting with, and you will find the following file structure.
/
|-- /app
|-- /blog
|-- /[postId]
|-- page.js
|-- page.js
|-- globals.css
|-- layout.js
|-- navbar.js
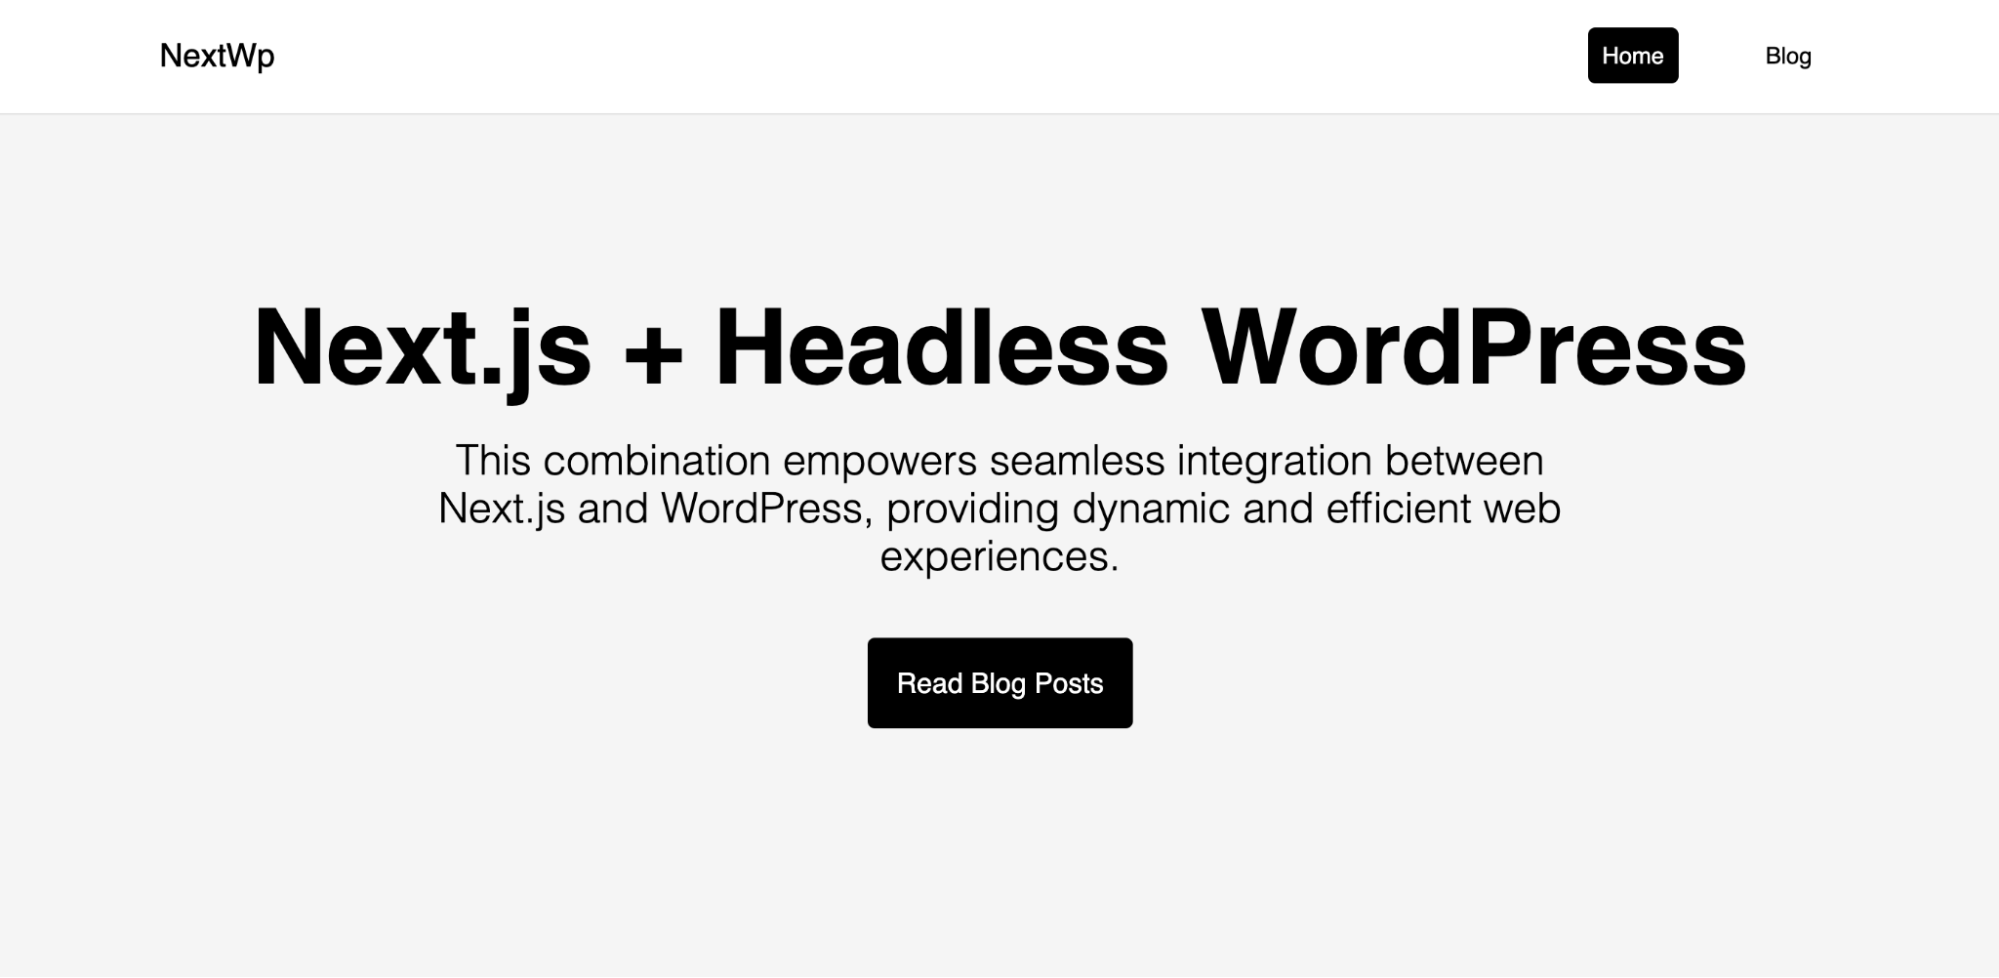
|-- page.jsThree pages are created: the home page to display basic information, the blog page to display all posts from your WordPress CMS, and the dynamic page ([postId]/page.js) for rendering individual posts.
You will also notice the navbar.js component, which is imported into the layout.js file to create a layout for the project.
Fetching data from WordPress to Next.js
With the WordPress REST API, you can fetch posts, pages, and custom post types by sending HTTP requests to specific endpoints.
Let’s make a fetch request in the blog/page.js file to fetch all posts in your WordPress CMS and then finally make a request to fetch each post dynamically in the blog/[postId]/page.js based on the id parameter passed.
Before we make these requests, it’s good practice to add your JSON API address to an environment variable. This approach ensures your API base URL is easily configurable and not hardcoded across multiple files.
Create a .env file in the root of your Next.js project and add the following:
NEXT_PUBLIC_WORDPRESS_API_URL=https://yoursite.kinsta.cloud/wp-json/wp/v2Ensure you replace the URL with your site’s JSON API. Also, add .env to your .gitignore file so it does not push the file to your Git provider.
Fetch all posts from WordPress to Next.js
To fetch all posts from your WordPress site, create an asynchronous function named getPosts in your blog/page.js file. This function uses the Fetch API to make a GET request to the /posts endpoint of your WordPress REST API.
async function getPosts() {
    const response = await fetch(
        `${process.env.NEXT_PUBLIC_WORDPRESS_API_URL}/posts`
    );
    const posts = await response.json();
    return posts;
}
Upon receiving the response, it converts the response to JSON, building an array of post objects. These <code>posts can be rendered in your Next.js application, providing a dynamic list of blog posts fetched directly from WordPress.</cod
const BlogPage = async () => {
    const posts = await getPosts();
    return (
        <div className="blog-page">
            <h2>All Blog Posts</h2>
            <p>All blog posts are fetched from WordPress via the WP REST API.</p>
            <div className="posts">
                {posts.map((post) => {
                    return (
                        <Link href={`/blog/${post.id}`} className="post" key={post.id}>
                            <h3>{post.title.rendered}</h3>
                            <p
                                dangerouslySetInnerHTML={{ __html: post.excerpt.rendered }}
                            ></p>
                        </Link>
                    );
                })}
            </div>
        </div>
    );
};
Within the Next.js page component, call getPosts asynchronously to fetch the posts. Then, map over the array of posts, rendering each post’s title and excerpt within a <Link> component.
This not only displays the posts but also wraps each in a link that navigates to a detailed view of the post. This is achieved by using Next.js’s file-based routing, where the post ID is used to generate the URL path dynamically.
Fetch dynamic posts from WordPress to Next.js
In the code above, each post is wrapped in a link that is expected to help users navigate to a detailed view of the post.
For individual post pages, you utilize dynamic routing in Next.js to create a page that fetches and displays a single post based on its ID. A dynamic page [postID]/page.js is already created in the stater-files code.
Create a getSinglePost function, similar to getPosts, to fetch a single post using the post ID passed as a parameter.
async function getSinglePost(postId) {
    const response = await fetch(
        `${process.env.NEXT_PUBLIC_WORDPRESS_API_URL}/posts/${postId}`
    );
    const post = await response.json();
    return post;
}
In the dynamic page component, you extract the post ID from the URL parameters, call getSinglePost with this ID, and render the post’s content.
const page = async ({ params }) => {
    const post = await getSinglePost(params.postId);
    // ... the rest of the page code
};
You can then populate the page with the fetched data:
const page = async ({ params }) => {
    const post = await getSinglePost(params.postId);
    if (!post) {
        return <div>Loading...</div>;
    }
    return (
        <div className="single-blog-page">
            <h2>{post.title.rendered}</h2>
            <div className="blog-post">
                <p> dangerouslySetInnerHTML={{ __html: post.content.rendered }}></p>
            </div>
        </div>
    );
};
You can access the complete code on our GitHub repository.
Summary
In this article, you have learned how to leverage headless WordPress in a Next.js project to fetch and display posts dynamically. This approach enables the seamless integration of WordPress content into Next.js applications, offering a modern and dynamic web experience.
The potential of the headless CMS API extends beyond just posts; it allows for the retrieval and management of pages, comments, media, and more.


