
Beginner users interacting with WordPress go through a hard time logging in to their accounts. In this article, I’ll explain how to find your WordPress login URL and a few other essential things that need to be highlighted regarding the login process.
Let’s start from the beginning.
Prefer to watch the video version?
Importance of the WordPress Login
After installing WordPress, you’ll gain access to your website’s admin dashboard, where you have the opportunity to set up your site as you need and change a few things.
This would be impossible if you had no access to the admin pages. The login page is what keeps you—and others—from accessing the management “side” of your WordPress site.
It is virtually impossible to take full control of your site/blog if you have no access to the admin area.
But where is this WordPress login page located?
How to Find Your WordPress Login Url:
The WordPress login page can be reached by adding /login/, /admin/, or /wp-login.php at the end of your site’s URL.
If you installed WordPress on a subdirectory (www.yoursite.com/wordpress/) or subdomain (blog.yoursite.com/), add one of the three paths at the very end of your URL such as: www.yoursite.com/wordpress/wp-login.php or blog.yoursite.com/wp-login.php
How to Find the WordPress Login URL
Finding the WordPress login page is probably more straightforward than you’d expect. On a fresh WordPress installation, adding /admin/ (e.g.: www.yourawesomesite.com/admin/) or /login/ (e.g.: www.yourawesomesite.com/login/) at the end of your website’s URL will redirect you to the login page.
Usually, these two should directly take you to your WordPress login page. In case this doesn’t happen, there is an additional way to reach your login page: you can add /wp-login.php at the end of the URL, like in this example: www.awesomesite.com/wp-login.php.
How to Find the WordPress Login URL on a Subdirectory or Subdomain
All of this works for a standard and new WordPress installation. But there’s a chance you might have installed WordPress on a subdirectory of your domain such as www.yourawesomesite.com/wordpress/ or a WordPress subdomain such as blog.yourawesomesite.com/.
If that’s the case, you’ll need to append one of the aforementioned paths right after the subdirectory or subdomain’s closing slash, i.e. the / symbol, to get something like this:
www.awesomesite.com/wordpress/login/orwww.awesomesite.com/wordpress/wp-login.php
No matter which one you’re using, any of them should take you to your WordPress login page. If you don’t want to forget about it, bookmark your preferred URL.
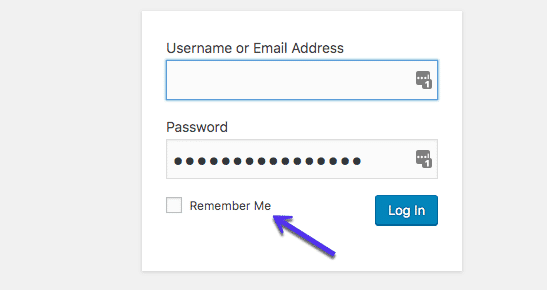
Alternatively, there is a “Remember Me” option in the WordPress login form, which will allow you to stay logged in and reach the admin dashboard for a few days without the need to log in again (based on how your cookies are set):
Logging in via the WordPress login page is a crucial yet easy task to do. If nothing wrong and/or malicious is happening on your site, you’ll need your email address/username and your password.
That’s all. Unfortunately, bad guys are everywhere, and your site could become a target.
What can you do to discourage them, then?
Let’s move the login page at least!
How to Change the WordPress Login Page
Your login page shouldn’t be accessible to hackers and malicious attackers (aka the bad guys) because they might get access to your site’s admin page and start messing things up. Not a good experience to have, trust me!
While using a strong, unique, long password can really play in your favor for preventing unauthorized access to your site, there’s never enough things you could do when security is at stake.
One quick and effective way to keep the bad guys out is to move the WordPress login page to a new unique URL. Changing the login URL through which you and your users can access your WordPress site could really help when it comes to fighting random attacks, hacks, and brute force attacks.
One word about brute force attacks: brute force attacks are hacking attempts where the malicious subject tries to guess your username and password repeatedly, exploiting lists of common usernames and passwords that have leaked on the web. What they do is try thousands of combinations taking advantage of scripts that automate all of their attempts.
There is a high chance that either your WordPress password or username might be on one of these leaked lists in today’s world. If you add that WordPress login standard URL is something publicly known to this scenario, well, you’ll get how easy it is to gain access to your WordPress site for hackers and malicious attackers.
That’s why moving the WordPress login page to a different path can help you.
Change Your WordPress Login Page with a Plugin
The most common and probably easiest way to change your WordPress login URL page is by using a free plugin like WPS Hide Login, which more than 800k users actively use.
The plugin is very lightweight, and more importantly, it doesn’t change any files in core or add rewrite rules. It simply intercepts requests. It’s also compatible with BuddyPress, bbPress, Limit Login Attempts, and User Switching plugins.
Once downloaded and activated, all you need to do is:
- Click on WPS Hide Login from the Settings tab in your right-hand sidebar.
- Add your new Login URL path in the Login URL field.
- Add a specific redirect URL in the Redirection URL. This page will trigger when someone tries to access the standard wp-login.php page and wp-admin directory while not logged in.
- Hit Save Changes.

An alternative premium plugin you can use to change your login URL is Perfmatters, developed by one of the team members at Kinsta.
As changing your WordPress login URL can help to ward off the shallow attackers from accessing your site, I want to be clear here: expert and professionals hackers could potentially still go the extra mile and figure out your login page anyway.
So, why should you care? Well, security is a layers game, where the quality of your hosting plays a key role. the more tools, tricks, walls you have in place, the harder it’ll be for the bad guys to break into your site and gain control.
Changing your login URL can also help prevent common WordPress errors like “429 Too Many Requests.” This is typically generated by the server when the user has sent too many requests in a given amount of time (rate-limiting). This can be caused by bots or scripts hitting your login URL. The end-user rarely causes this error.

Change Your WordPress Login Page Editing Your .htaccess File
Other more technical ways to change or hide the WordPress login page URL is by editing your .htaccess file.
Typically used with cPanel hosts, the .htaccess file’s main role is to configure rules and set up system-wide settings. Since we’re talking about hiding the login page, .htaccess can handle that in two specific ways.
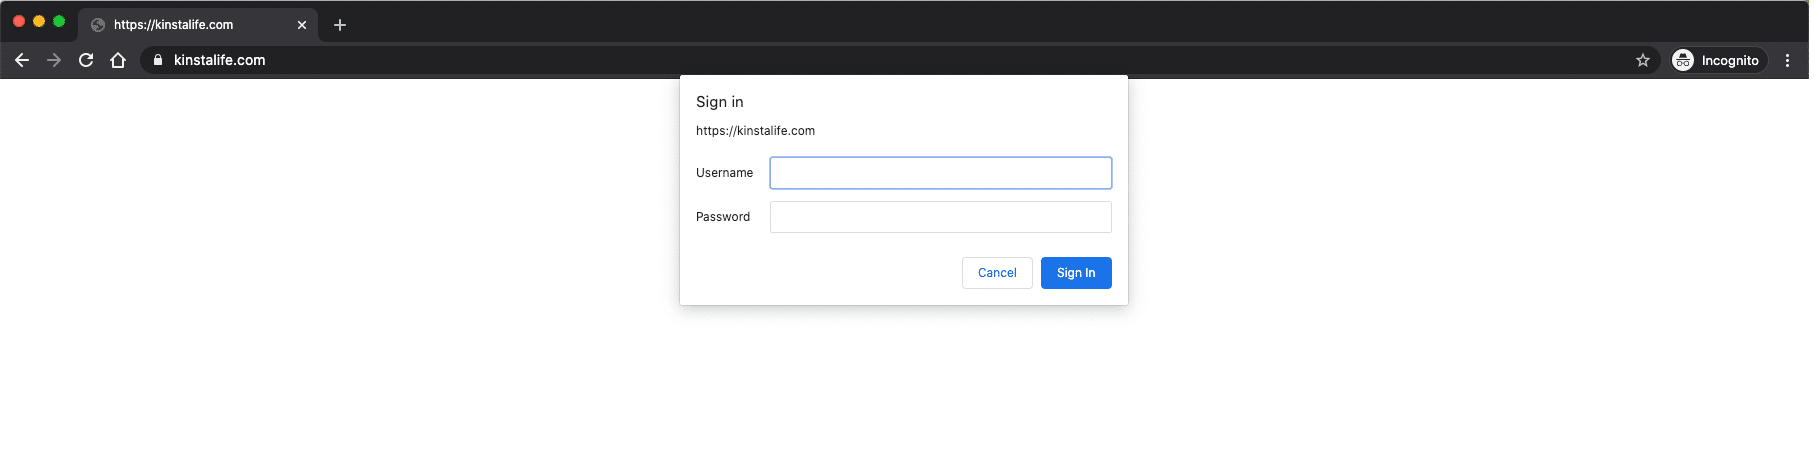
The first one is about password-protecting your login page with a .htpasswd so that anyone reaching your login page will be required to put in a password before accessing the login page. If you’re a Kinsta client, we use Nginx, and therefore there is no .htaccess file.
You can use our htpasswd tool to password protect your entire site. Or reach out to our support team to lock down just your login page.
The second option you have is enabling access to your login page based on a list of trusted IP addresses.
Limiting Login Attempts
Another effective security method is to limit the number of login attempts. If you’re a Kinsta client, we automatically ban IPs with more than 6 failed login attempts in a minute.
Or you can download a free plugin such as Limit Login Attempts Reloaded.
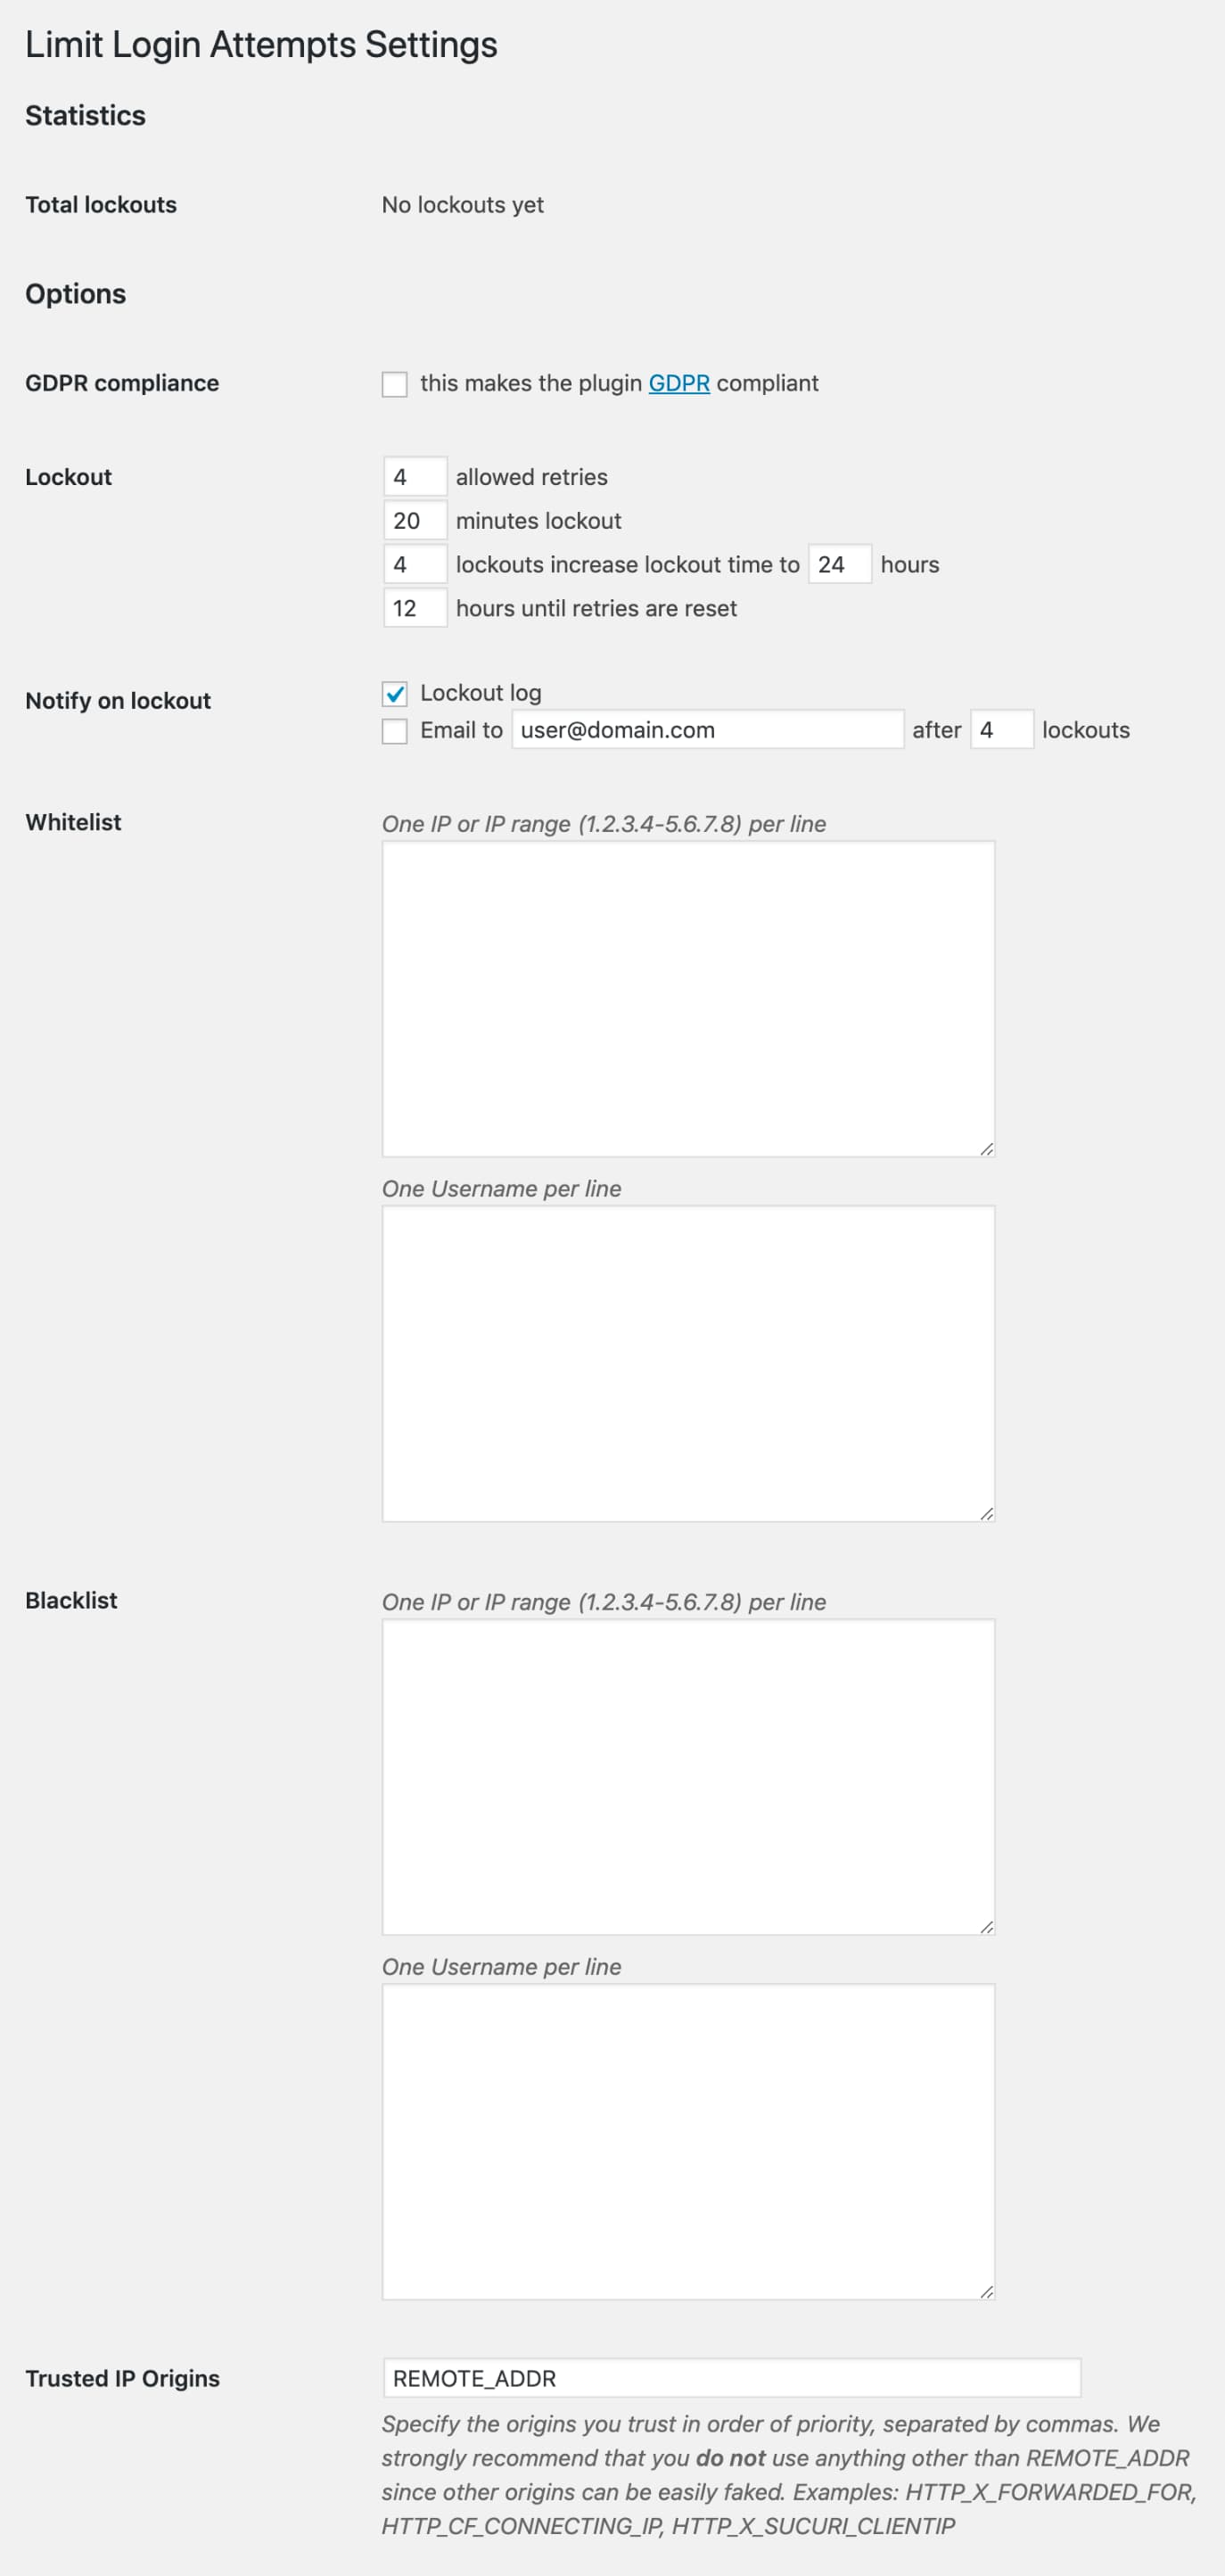
The options in the plugin are pretty straightforward.
- Total Lockouts: gives you the number of hackers who tried to break in, but failed.
- Allowed Retries: the number of attempts an IP address is allowed to make before you lock them out.
Somewhere between four and six is probably the most popular retry amount. It allows real humans who are supposed to have access to make mistakes (because, after all, we all do make mistakes when entering passwords), realize they’re entering the wrong password, and fix their error.
It’s important to set it to the above two points, especially if you have frequent guest bloggers or several contributing staff members responsible for managing your site.
- Minutes lockout: how long an IP address will be locked out.
You might like to set it to “forever,” but that’s not helpful for people who really do make a genuine error — you want those to be able to let themselves back in eventually. 20-30 minutes is about right.
- Lockouts increase: because if it’s a Brute Force Attack, it’s likely to be back.
This function basically says “look,” I’ve seen you lock yourself out several times before, so now I’m going to lock you out for longer.” One day is a good one to go with.
- Hours until retries: how long until it resets everything and lets people try again.
The plugin also lets you manage your whitelist, blacklist, and trusted IPs.
How to Fix the Most Common Issues with the WordPress Login
Logging into your WordPress site is a quick and easy task. Yet some users— and you?—might have experienced some issues when trying to access their WordPress site. Such issues usually fall under one of the following scenarios:
- Issues related to the password
- Issues related to cookies
Let’s have a look at both and see how to address them!
WordPress Login: Password Lost/Forgot
If you’re unable to log in, you might have a problem with your login credentials.
So, the very first thing you should do is check whether the username and password entries you’re typing in are actually correct. It’s a common mistake made by most of us, though rarely.
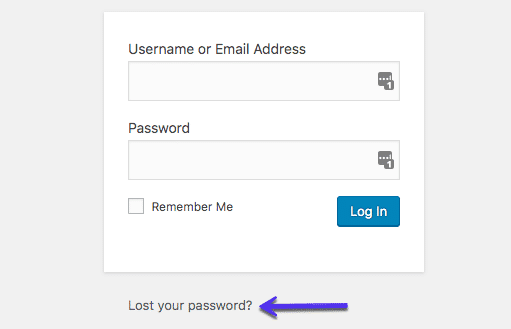
Did it work? If not, you might want to change your WordPress password before trying something else. To do so, click the Lost your password? link right below the login form:
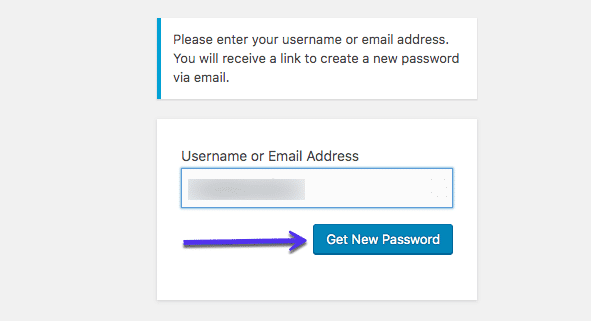
You will be redirected to a page where you will be asked your username/email, and a new password will be sent to you:
Manually Reset WordPress Password with phpMyAdmin
If this does not work, things will get a bit more complicated as you’ll need to conduct a manual password reset. Please don’t do this if you don’t feel comfortable working with database files.
Manually resetting your WordPress login password can be done by editing the password file on your database. If you have access to phpMyAdmin in your host, this shouldn’t be hard.
Always backup your site before doing any edits to database files in case something goes wrong.
Done? Great!
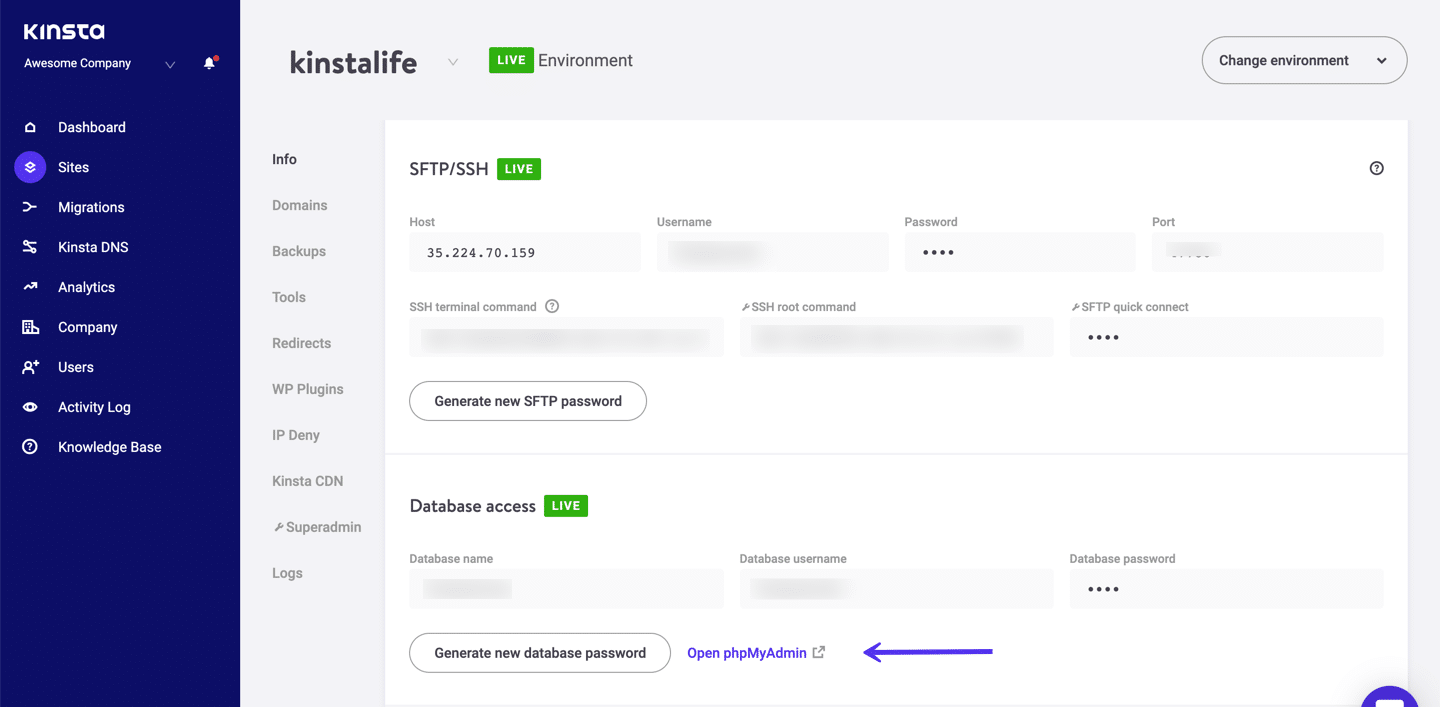
Step 1
Now, log in to phpMyAdmin. If you’re a Kinsta client, you can find the login link to phpMyAdmin within the MyKinsta dashboard.
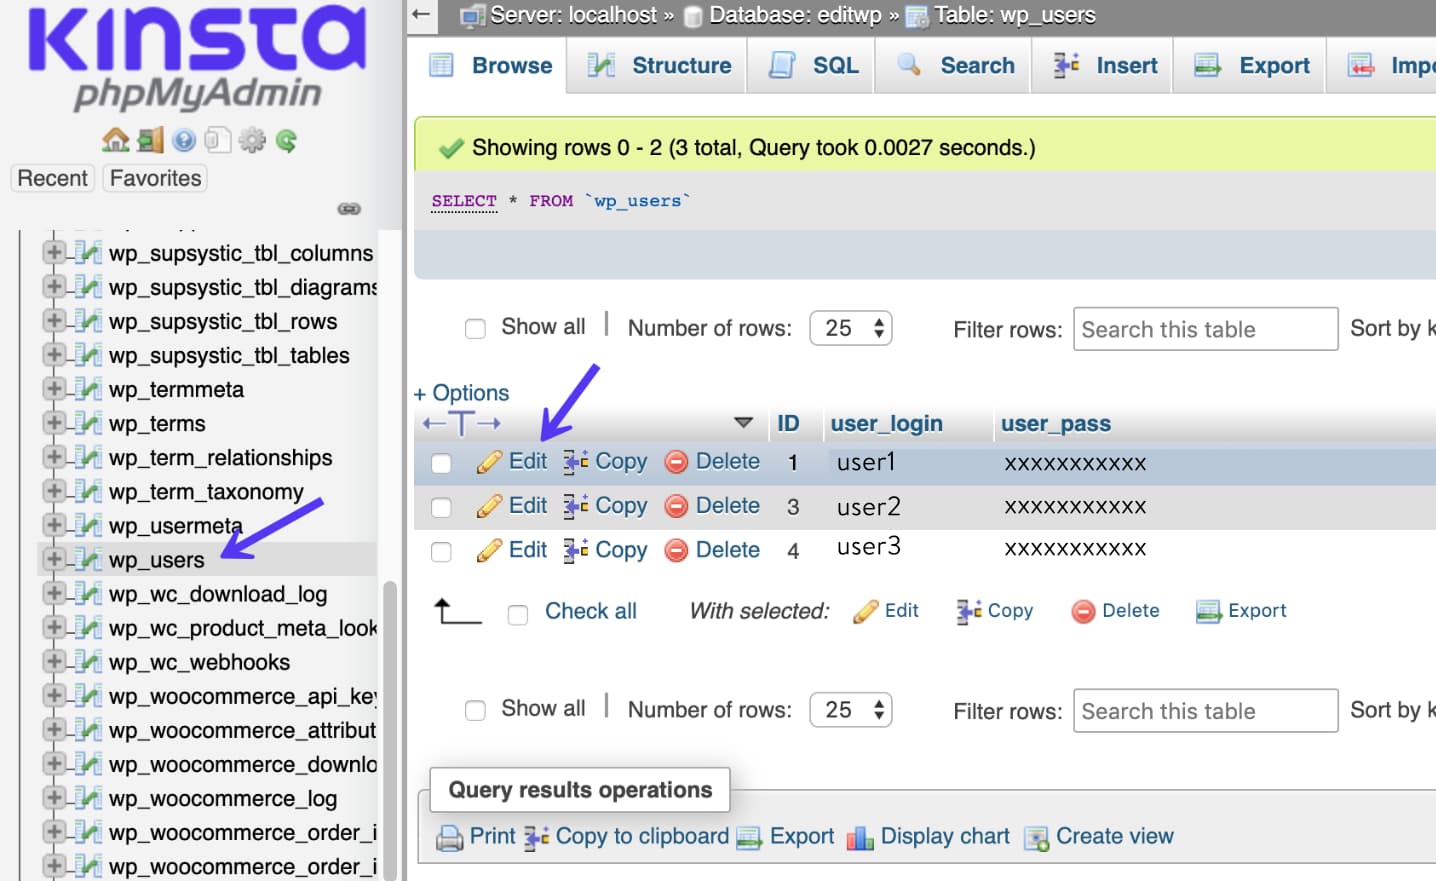
Step 2
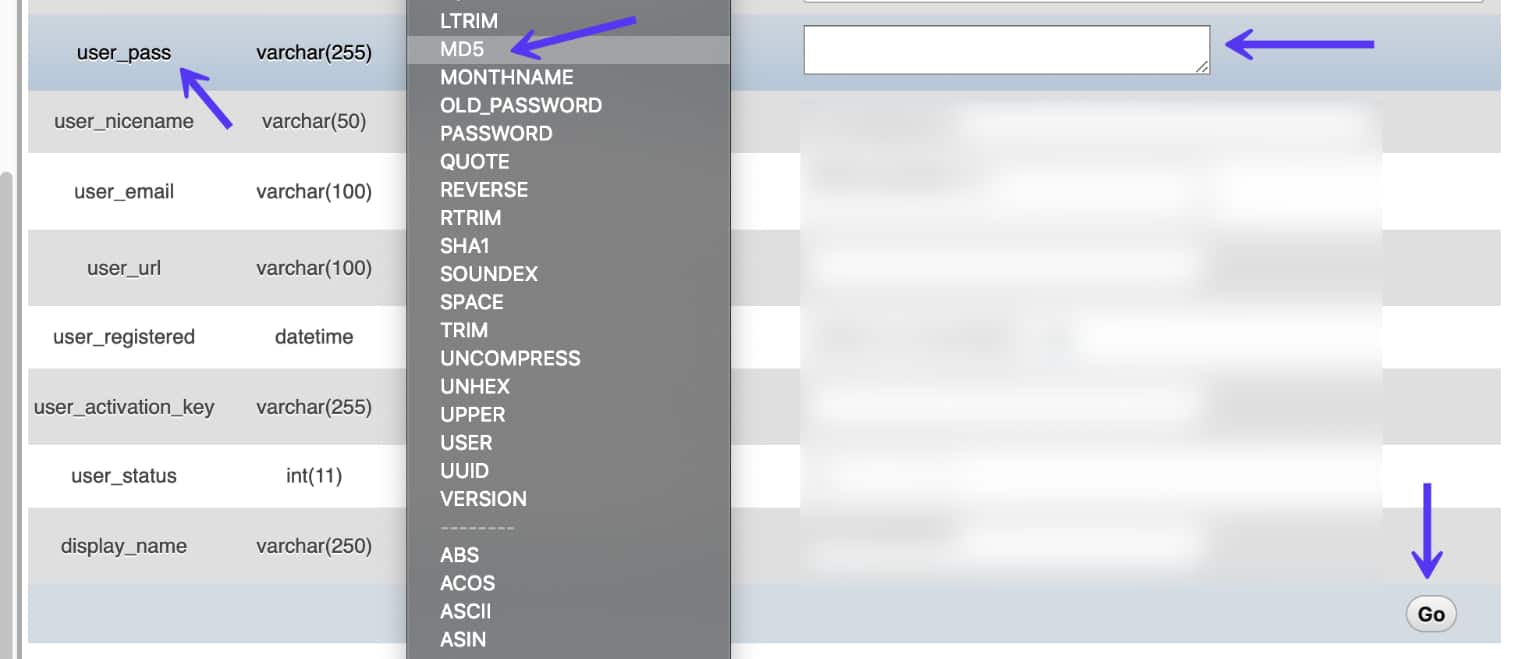
On the left-hand side, click into your database. Then click on the table named wp_users. Then click on “Edit” next to the user login you need to reset.
Step 3
In the user_pass column, enter in a new password (it is case-sensitive). In the Function drop-down menu, select MD5. Then click “Go.”
Step 4
Test the new password on your login screen.
Manually Reset WordPress Password with WP-CLI
Another way to reset your WordPress password is by using WP-CLI. WP-CLI is a command-line tool for developers to manage common tasks (and not so common) of a WordPress installation.
Step 1
First, use the following command to list all of the current users in the WordPress installation.
$ wp user list
Step 2
Then update the user password with the following command, user ID, and new desired password.
$ wp user update 1 --user_pass=strongpasswordgoeshere
Step 3
Test the new password on your login screen.
WordPress Login: Cookies
In some instances, you might not be able to log in due to issues related to cookies. If so, you are usually met with the following error:
Error: Cookies are blocked or not supported by your browser. You must enable cookies to use WordPress.
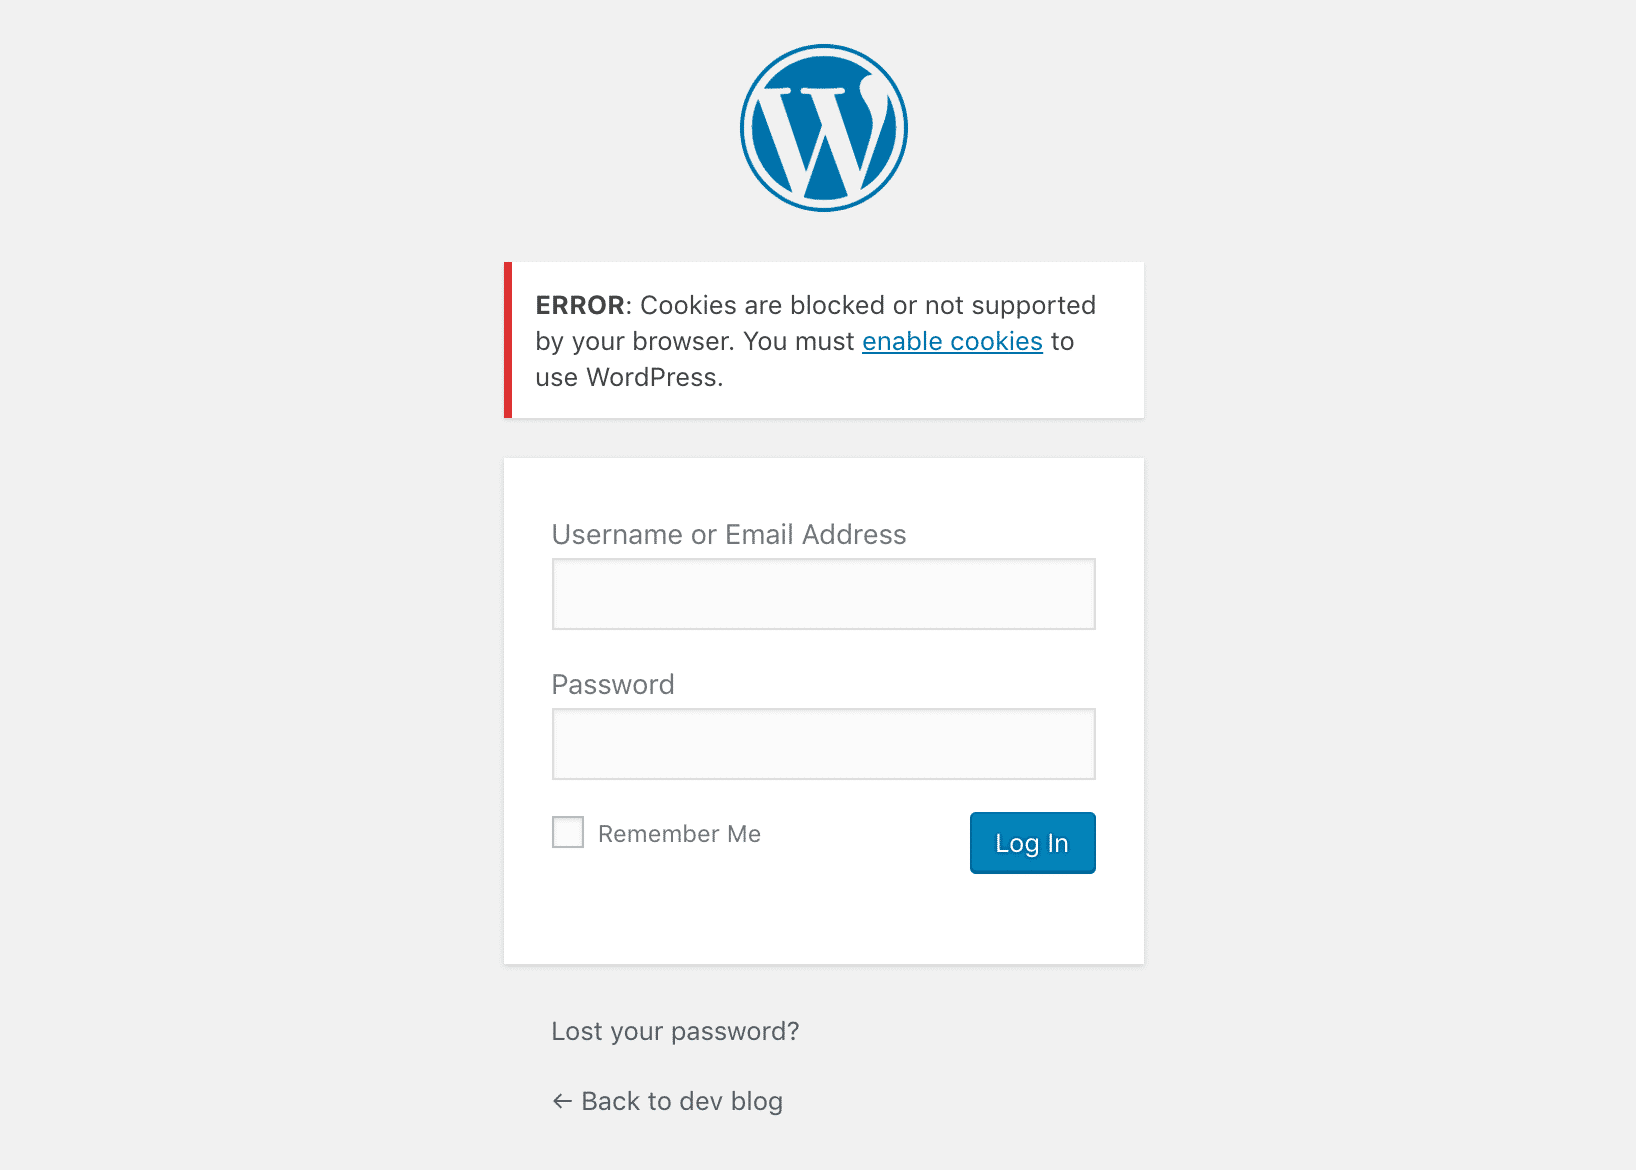
WordPress login relies on cookies to work. If they are disabled or not working correctly, chances are you will have problems on the login page. The first thing to check is that cookies are enabled in your browser:
We often see this on WordPress sites that have recently been migrated and on WordPress Multisite sites. Sometimes simply refreshing your browser and trying to login again will actually get you past this error. You could also try clearing your browser cache or open a different browser in incognito mode.
If none of the above worked, you can try adding the line below to your wp-config.php file, right before /* That's all, stop editing!...*/
define('COOKIE_DOMAIN', false);
If it’s a WordPress multisite setup, you might want to check and see if there is a sunrise.php file in the /wp-content/ folder and renamed it to sunrise.php.disabled. This is a file used by an older domain mapping method.
As of WordPress 4.5, WordPress Multisite no longer requires a plugin to map domains. If you’re a Kinsta client and unsure about this, please reach out to our support team and ask for help.
Summary
Your WordPress login page is the gateway that grants you access to your site. If you aren’t able to log in successfully, you’re just a site visitor.
That’s why you should learn how to reach this key page so that you won’t waste lots of time every time you need to log in to your WordPress site.
Want to improve your security a bit? Change the standard WordPress login URL with a custom one of your choice and share that URL only with trusted people! Also, make sure to check this guide if WordPress keeps logging you out.
(Suggested reading: How to Change Your WordPress URL)

Head of Content at Kinsta and Content Marketing Consultant for WordPress plugin developers. Connect with Matteo on Twitter.