
If you’re facing a failing email marketing campaign, you may think there are issues with its design or content. However, it’s possible that WordPress isn’t sending your emails. If this is the case, your subscribers won’t be notified with welcome messages, account changes, or promotional content.
Fortunately, you can fix this problem by sending test emails. After you make sure that WordPress is delivering your emails, you can continue to send important information to your audience.
In this post, we’ll discuss the benefits of sending test emails in WordPress. Then, we’ll show you how to do this using two different methods. Let’s get started!
The Benefits of Sending a Test Email
As a WordPress website owner, it’s important to make sure that your emails are being sent and received. Often, emailing is the primary method of communicating with your followers, clients, and customers.
Here are the different types of emails you may want to send:
- Hosted emails: personal or business emails delivered by an Email Service Provider (ESP) like Google Workspace or Outlook.
- Transactional emails: automated notifications for specific actions on your website, such as password resets, purchase receipts, and contact form submissions.
- Promotional emails: marketing emails sent to a list of subscribers.
If your WordPress email isn’t functioning properly, you won’t be able to share important information with your audience. For instance, your emails may be sent to spam or delivered incorrectly due to poor server configuration.
To avoid this issue, you can send test emails. As you can probably guess, this involves sending a basic email through WordPress and making sure it gets delivered.
By testing your WordPress email, you can start monitoring your outgoing communication. Previously, you may have been sending emails without checking if they were delivered, opened, or read. Basic test emails can be the first step toward improving your email marketing campaign.
How To Send a Test Email in WordPress (2 Methods)
If you want your WordPress emails to avoid being marked as spam, it’s important to send test emails on a regular basis. This way, you can make sure that you stay in touch with your audience and keep them up to date.
Method 1: Locally Send a Test Email
As a developer, you may want to send outgoing emails or contact form submissions from your local development environment. Although this can be an effective way to test the functionality of your local site, you may struggle with the process.
Outgoing emails are usually handled by the web application’s default SMTP server. In a local environment, this involves setting up an operating system, web server, and web application. If you use a real address for the test, it can harm your email’s credibility.
To resolve this issue, you can use MailHog. This is an open-source email testing tool that creates a fake SMTP server on your local site. With MailHog, you can send and receive emails from your local web application. Plus, it works perfectly with DevKinsta, which makes it very convenient and easy to use.
Step 1: Download MailHog
One major benefit of using MailHog is that it doesn’t need to be installed. This makes it incredibly lightweight and portable, so you can run it on nearly any operating system. However, you’ll still need to go through the downloading and configuration process.
If you have a Windows operating system, navigate to the MailHog Github page. Here, look for the latest release and download it:

Currently, the newest version is MailHog 1.0.1. After you run the downloaded .exe file, it will automatically execute the program. This will set up the SMTP server on port 1025 and the HTTP server on port 8025.
If you receive any alerts, you’ll simply have to remove the firewall restrictions. This will enable MailHog to run on your local environment.
Once MailHog is set up, you can open a web browser. Then, visit localhost:8025 or 127.0.0.1:8025, which will take you to the MailHog Web UI.
For macOS users, you can download MailHog with Homebrew. First, make sure that the Homebrew package manager is installed on your computer. Then, enter this command into the command line terminal:
brew install mailhog
Next, you’ll need to start MailHog. You can do this by entering mailhog.
Alternatively, you can use this command:
brew services start mailhog
This will automatically launch MailHog on login and run it as a background service. After you receive confirmation that MailHog is running, you can visit localhost:8025 or 127.0.0.1:8025 in a browser window:

Once this MailHog Web UI is functioning properly, you can continue to configure the program!
Step 2: Configure MailHog
MailHog works by redirecting emails with mhsendmail. This is a replacement for sendmail that forwards mail to a localhost:1025 SMTP server. To fully configure MailHog, you’ll need to set up mhsendmail.
You can install mhsendmail in a few different ways. If you’re using Ubuntu, enter the following command:
wget https://github.com/mailhog/mhsendmail/releases/download/v0.2.0/mhsendmail_linux_amd64
Then, you’ll need to make the file executable and place it in your user directory. You can do this with this command:
sudo chmod +x mhsendmail_linux_amd64

sudo mv mhsendmail_linux_amd64 /usr/local/bin/mhsendmail
If you’re using Homebrew, you’ll need to start by installing Go:
brew install go
Then, download and install mhsendmail with this command:
go install github.com/mailhog/mhsendmail@latest
Next, you can configure your local web application to use mhsendmail. For Linux operating systems, it will use sendmail by default.
To change this, you’ll need to edit your php.ini file, which can usually be found in the root directory. If you need to locate this file, enter the following command:
php -i | grep 'php.ini'
For the value sendmail_path, change it to sendmail_path = /usr/local/bin/mhsendmail
You can also use this value: sendmail_path = /usr/sbin/sendmail -S mail:1025
If you’re a Mac user, you’ll need to edit the Postfix config file. To do this, you can use this configuration:
myhostname = localhost

relayhost = [127.0.0.1]:1025
You can also consider performing additional configuration tasks, although this isn’t necessary. Using various commands, you can set a default custom hostname and configure other variables.
Step 3: Send a Local Test Email
Once you’ve configured MailHog, you can send your first test email. With MailHog’s CLI, you can use this mhsendmail directive:
mhsendmail [email protected] <<EOF
From: John Doe <[email protected]>
To: Test <[email protected]>
Subject: Hello, MailHog!

Hey there,
Missing you pig time.

Hogs & Kisses,
John

EOF
The <<EOF directive will configure a custom delimiter, enabling you to enter the test email information inside the terminal. The mhsendmail command will send the email to your MailHog address.
On macOS operating systems, you can send test emails in a different way. To do this, run the following command:
date | mail -s "Hello, MailHog!" [email protected]
For Windows users, you can send an email with PowerShell. This can be done by entering this command:
Send-MailMessage -To "[email protected]" -From "[email protected]" -Subject "Hello, MailHog!" -SmtpServer "localhost" -Port 1025
Alternatively, you can use a PHP script to define the mail data. Then, a PHP mail() function can send the test email. Here’s how you can do this:
<?php
$to = "[email protected]";
$subject = "Hey, I’m Pi Hog Pi!";
$body = "Hello, MailHog!";
$headers = "From: [email protected]" . "rn";
mail($to,$subject,$body,$headers);
?>
This should send a test email with MailHog.
Step 4: Verify Test Email Results
If you’ve configured MailHog correctly, you should be able to check your email delivery status. By visiting http://localhost:8025/ in your browser, you’ll be able to open the MailHog Web UI. Here, you can see new emails and open them to verify their content.
Alternatively, you can use our local WordPress development suite, DevKinsta. This tool uses MailHog as an email client, so you can manage your local site and emails all in one place:

First, open DevKinsta and select a website:
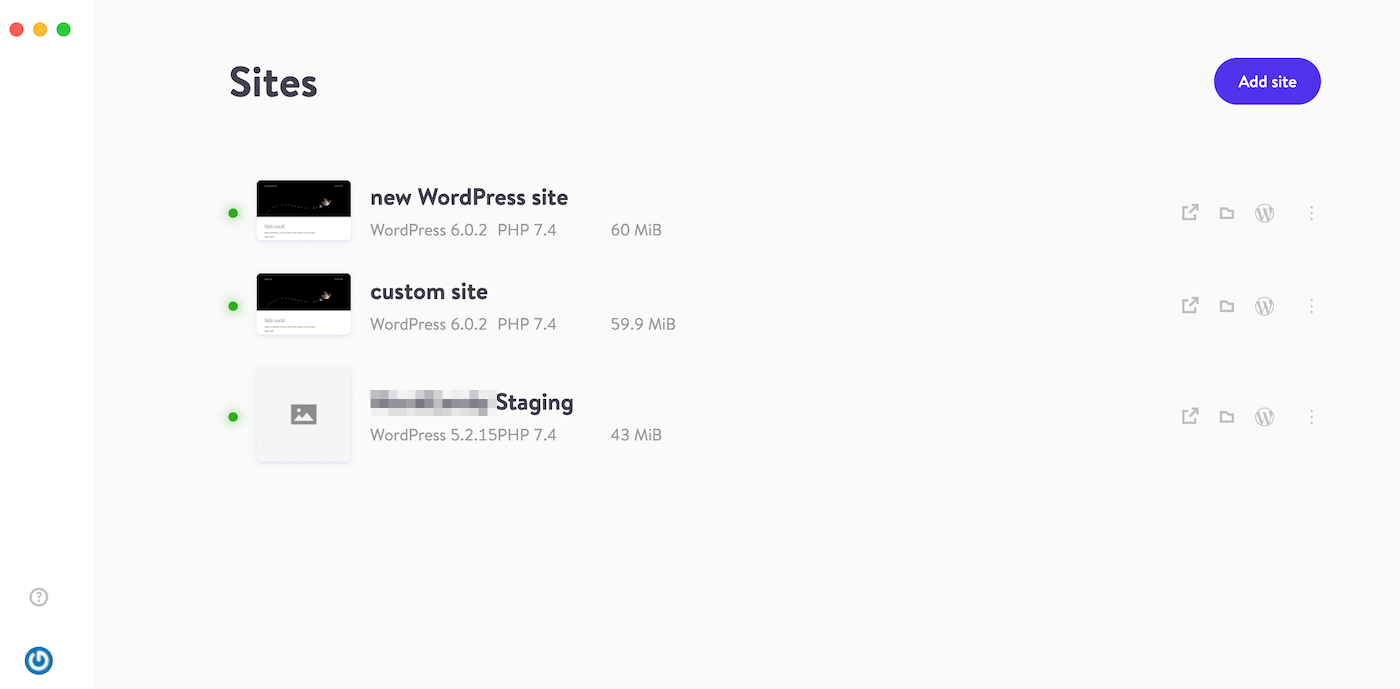
This will open the Site info page. On the left-hand side, click on the mail icon:
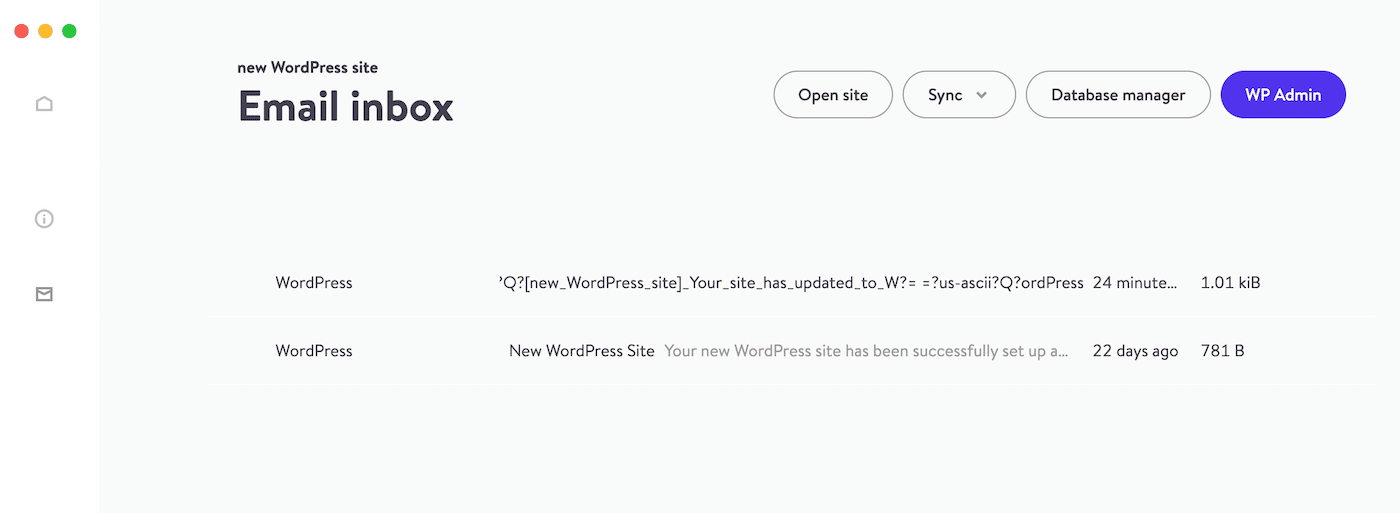
Inside your inbox, you can manage your local emails. You can click on any email to read the main content:
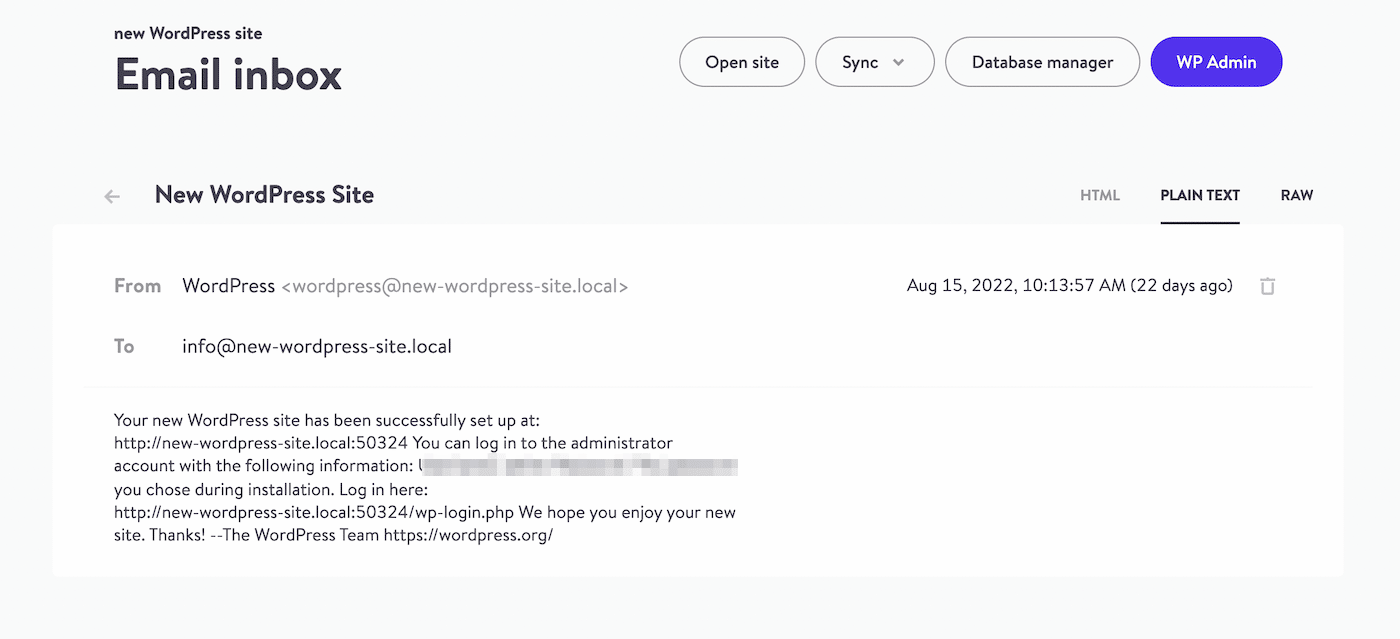
On the upper right side of each email, you can select the trash icon to delete it. You’ll also be able to mark them as read or view the source data.
If something goes wrong, you can check DevKinsta’s MailHog logs. To access this data, run this Docker command:
docker logs -f devkinsta_mailhog
This can help you pinpoint and troubleshoot any issues with your test emails.
Remember that you can also use our Kinsta APM tool to identify performance issues on your WordPress site. If you have a Kinsta account, you’ll get free access to this tool.
Method 2: Use a Plugin
One of the easiest ways to send test emails in WordPress is to install the right plugin. For this tutorial, we’ll be using WP Mail SMTP.
Step 1: Install WP Mail SMTP
WP Mail SMTP is a free tool that reconfigures the wp_mail() function. After installation, the plugin will ensure email delivery by setting up proper SMTP host credentials or a built-in SMTP mail provider:
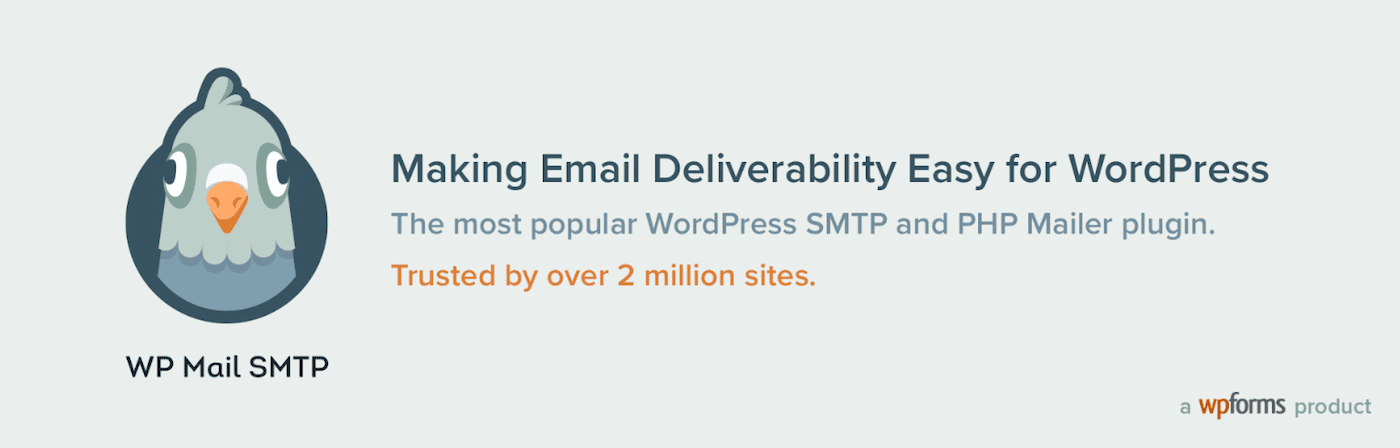
Once you start using one of the recommended SMTP mail provider integrations, you can send emails with your provider’s direct API. Even if your SMTP ports are blocked, WP Mail SMTP will successfully send your test emails.
To get started, install and activate WP Mail SMTP. Then, you’ll need to follow through with the installation instructions.
Step 2: Choose Your SMTP Mailer
The first step in configuring WP Mail SMTP is to choose an SMTP mailer. Put simply; this is the service that you will use to send test emails:
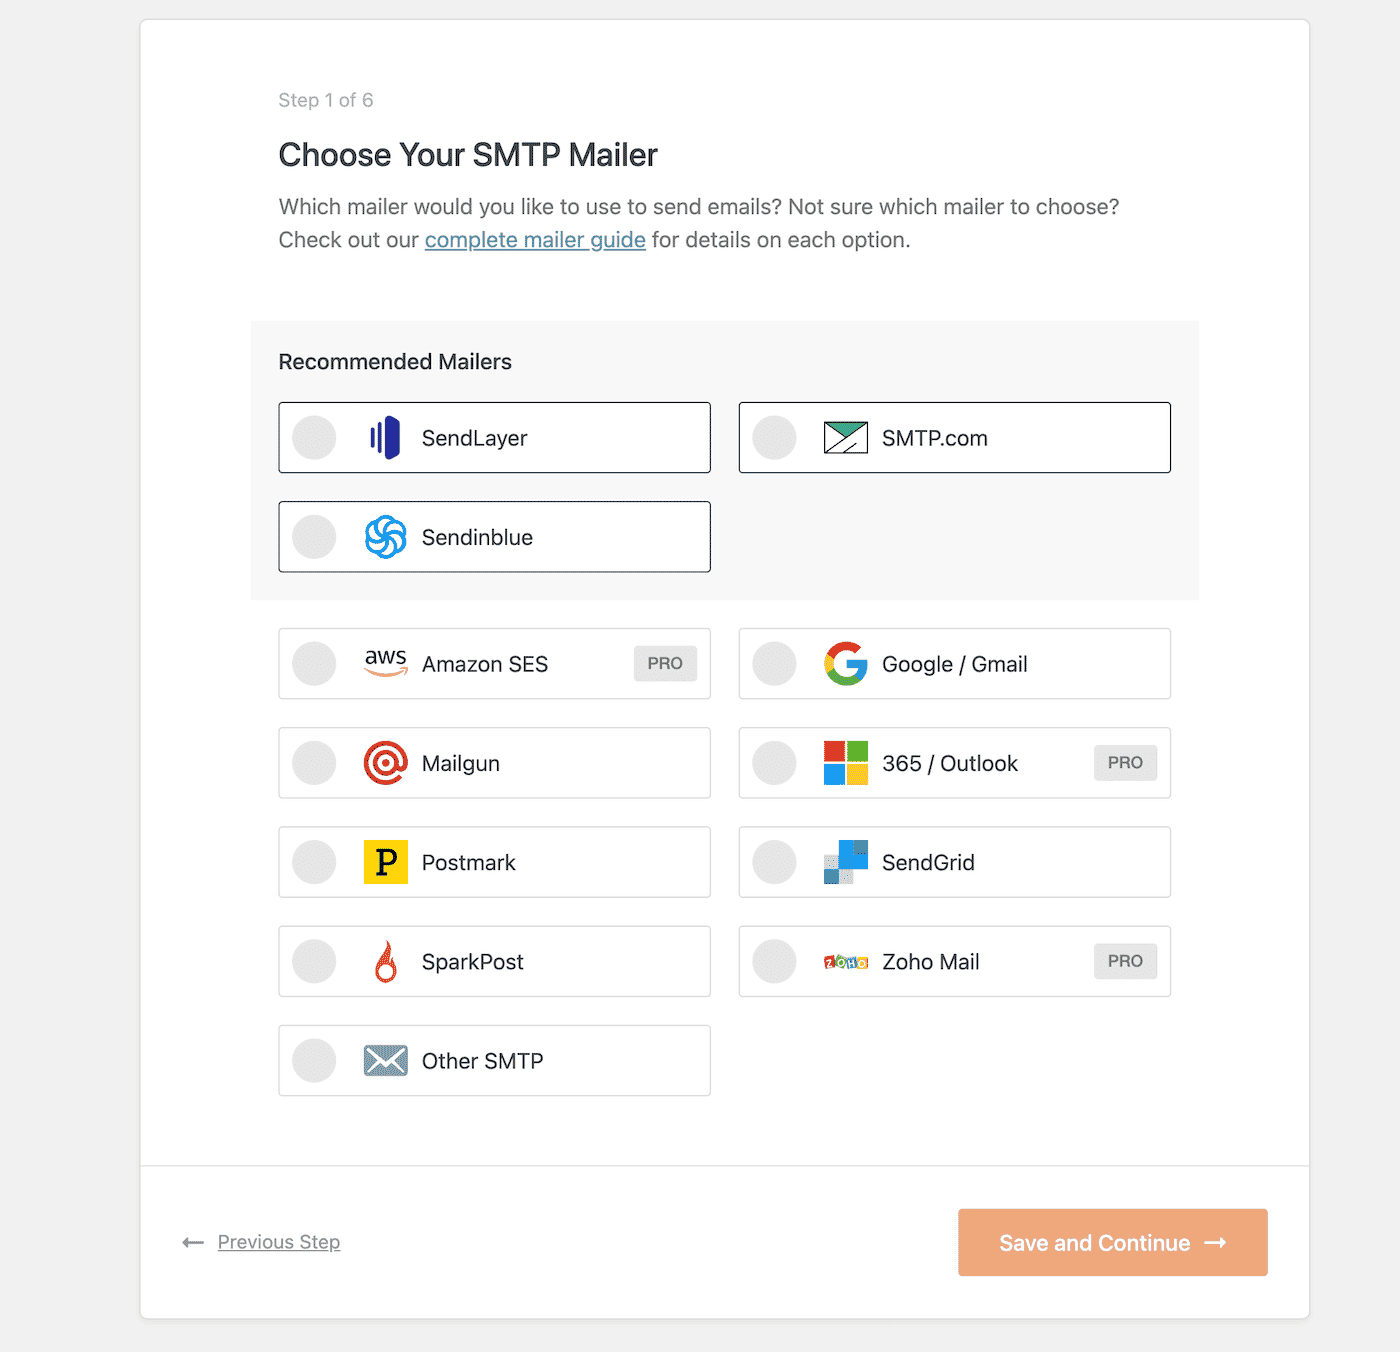
Here are all of the SMTP setup options you can choose from:
- SendLayer
- SMTP.com
- Sendinblue SMTP
- Mailgun SMTP
- SendGrid SMTP
- Postmark SMTP
- SparkPost SMTP
- Gmail SMTP (Gmail, Google Workspace, G Suite)
- Microsoft SMTP (Outlook, Office 365)
- Amazon SES SMTP
- Zoho Mail SMTP
WP Mail SMTP recommends using either SendLayer, SMTP.com, or Sendinblue. Once you select a mailer, click on Save and Continue.
Next, you’ll have to enter an API key for your mailer. Then, choose a From Name. This will be listed as the sender of your test emails. You can also enable the Force From Name option if you want to use this identifier for all emails site-wide:
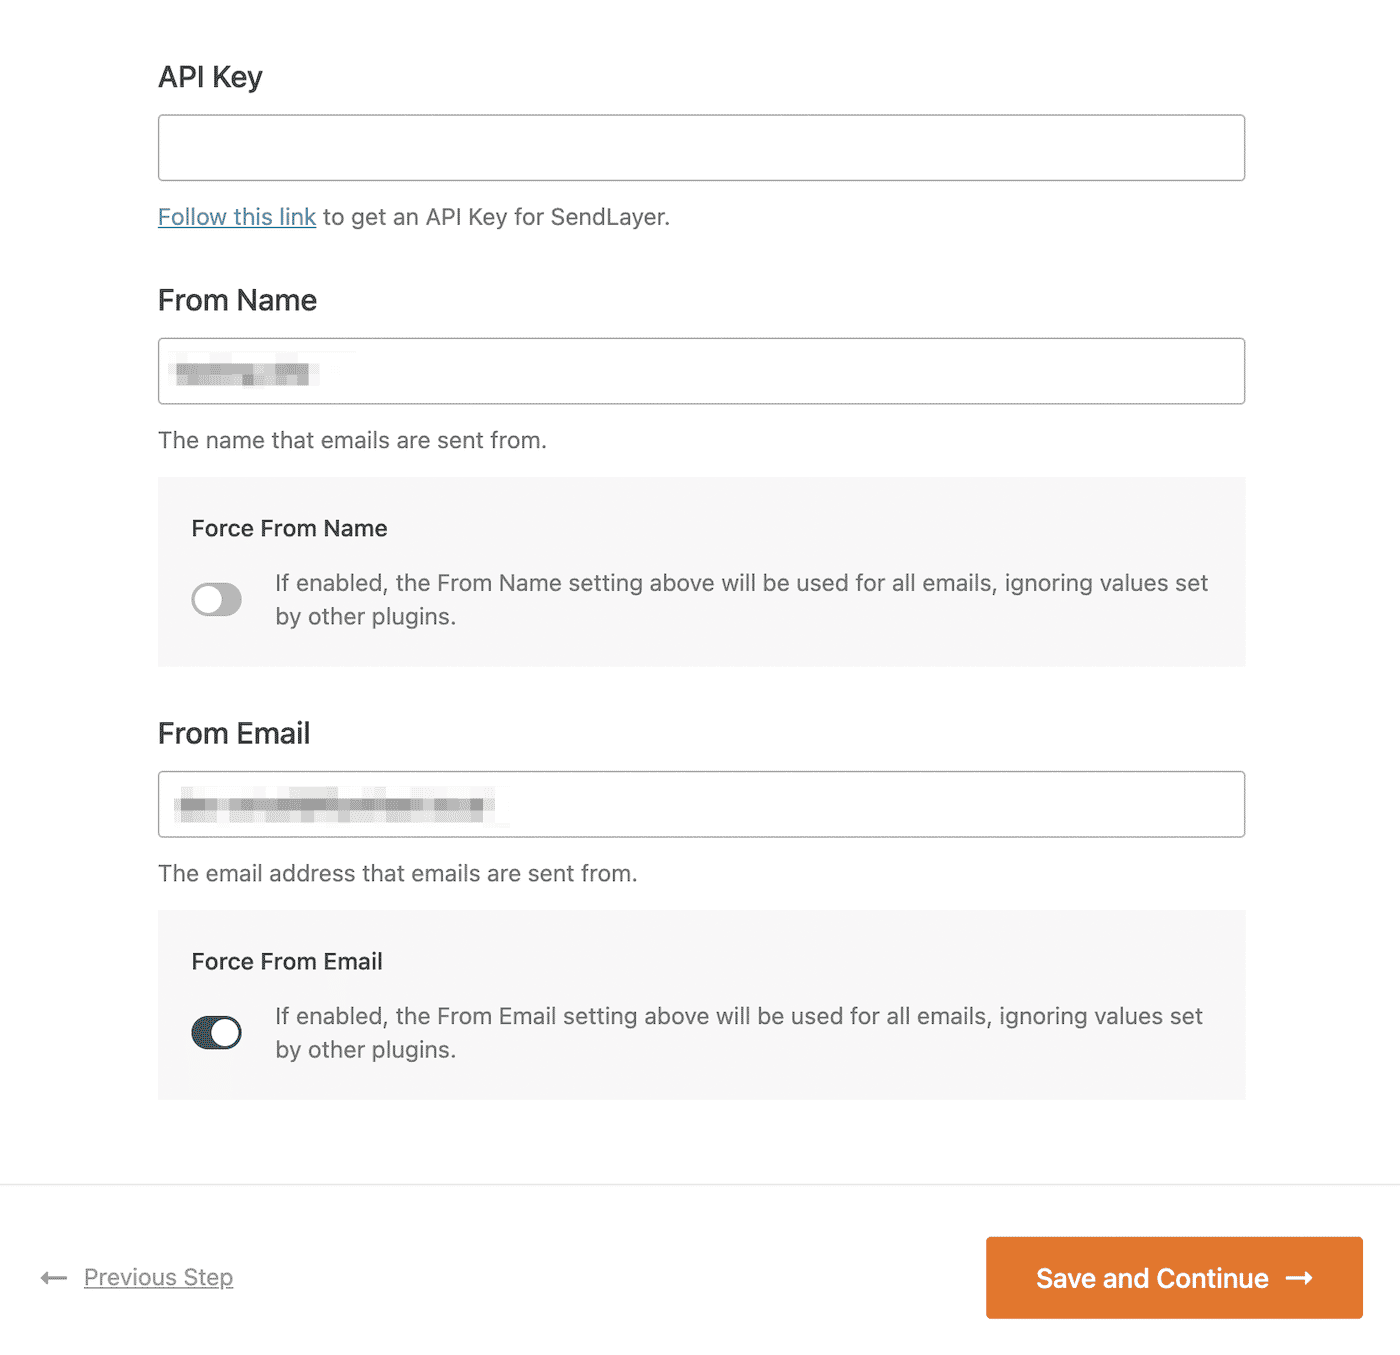
Lastly, enter a From Email, which is the address that emails are sent from. You also have the option to enable the Force From Emails setting. When you’re done, hit Save and Continue.
Step 3: Send a Test Email
To send your first test email, navigate to WP Mail SMTP > Tools in your WordPress dashboard. Then, find the Email Test tab:
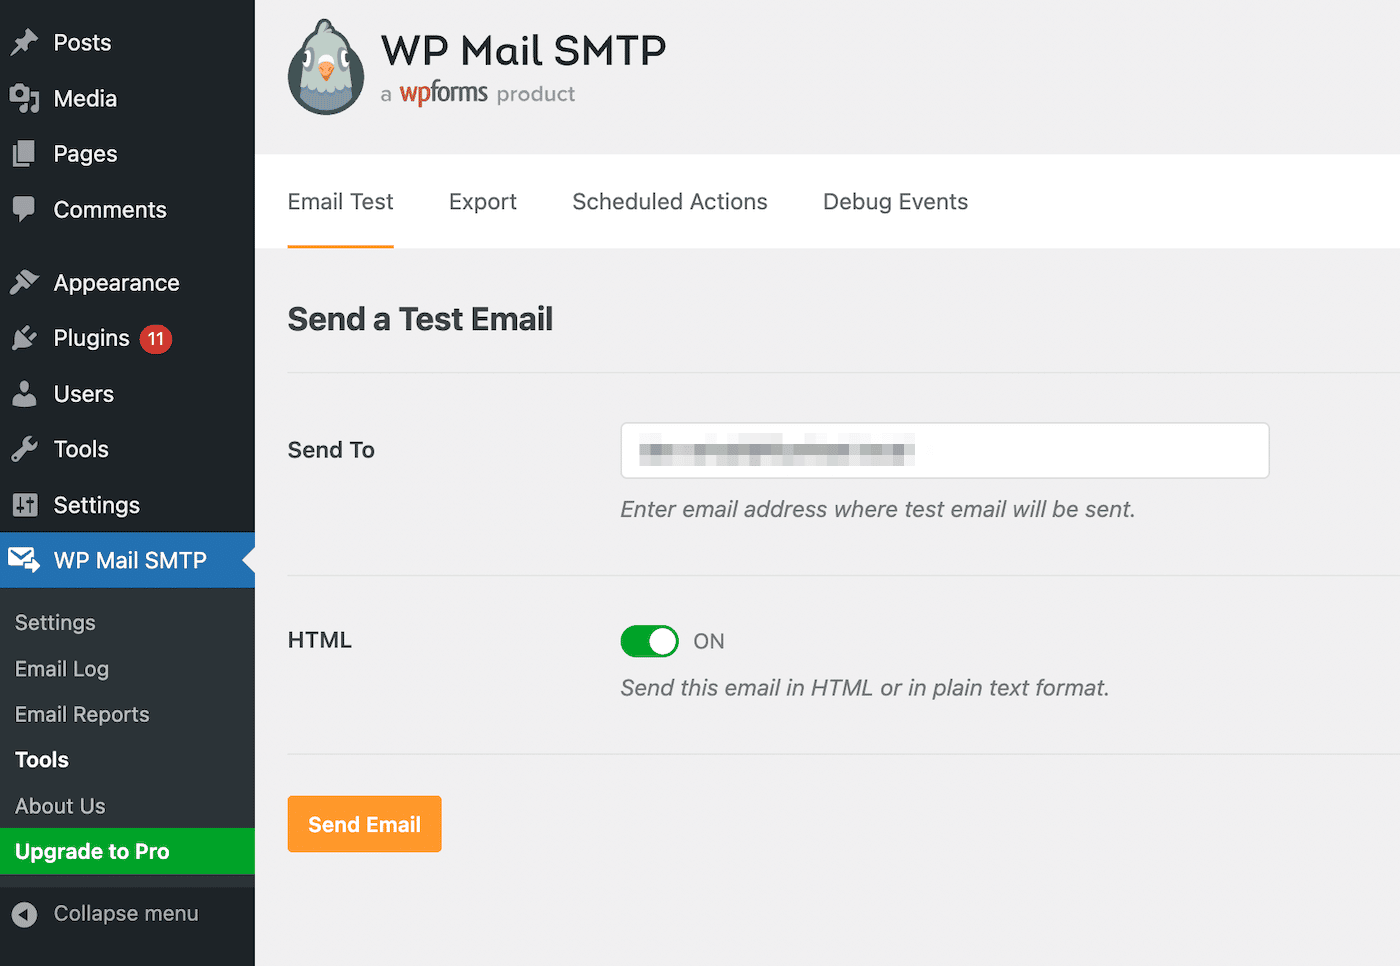
The Send to email will be automatically set to your site’s default admin email address. However, you can change this to a different recipient.
Then, you can choose whether to send the email in HTML or plain text. We recommend leaving the HTML setting switched on. To finish, click on Send Email.
Step 4: Verify Test Email Results
Once you send test emails, you’ll receive immediate feedback on the delivery process. If the email was sent correctly, you’ll see a success notification. However, you may also have to take some action to improve the deliverability:
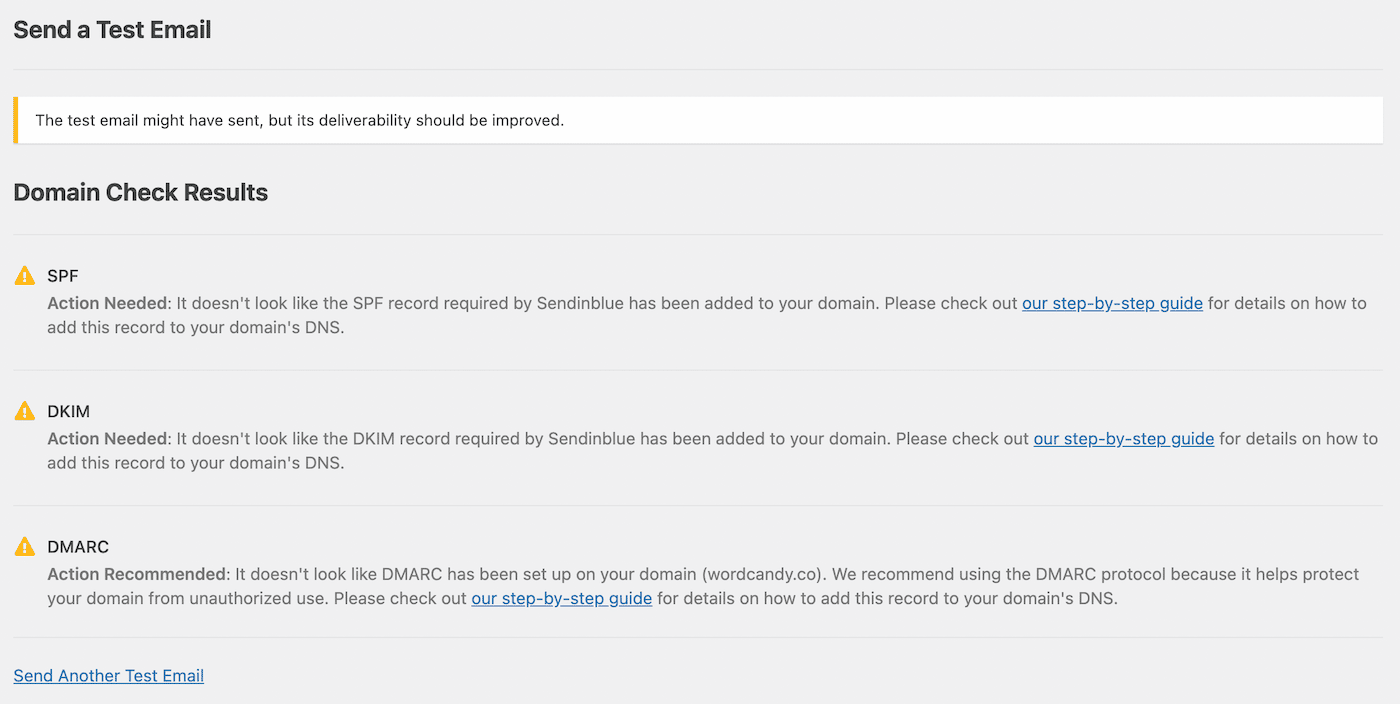
When WP Mail SMTP notifies you that the email has been sent, you can open your inbox for confirmation. As the admin, you’ll receive an email if the test was successful:
If you don’t see a success message, you can try to send another test email. Alternatively, you may have to configure your DNS records with SPF, DKIM, or DMARC. However, the plugin will inform you if you need to take these actions.
Summary
WordPress can be unreliable when it comes to sending emails. To ensure that your subscribers receive the right updates, it’s necessary to create test emails. This way, you can make sure all your website communication functions correctly.
As shown in this post, you can use a plugin like WP Mail SMTP to send a test email in WordPress. Alternatively, you might want to send one manually using MailHog.
Do you want an easy way to monitor your test emails? With DevKinsta, you can view and delete any emails that you send locally. Download the DevKinsta development suite today to get started!


