When it comes to troubleshooting WordPress not sending emails, this can sometimes be a little tricky. For example, many managed WordPress hosts, including Kinsta, do not provide email hosting. However, we do route email via MailChannels for clients. But if you need more control, need to send emails in bulk, or are having trouble with emails going out, it can be beneficial to configure WordPress with a 3rd-party SMTP provider or transactional email service such as Mailgun or Sendgrid. Today we’ll show you how to configure Mailgun in WordPress to send emails.

Mailgun
Mailgun is a transactional email API service designed primarily for developers. However, even non-developers can easily implement their service. We’ll show you below just how easy it is! One of the huge benefits of Mailgun is that they allow you to send up to 10,000 emails for free per month. The next 500,000 are billed at $0.00050 based on usage, which is cheap! For a lot of small businesses or WordPress developers, 10,000 emails might be more than you need. A few additional benefits include:
- Ability to use HTTP API or SMTP to deliver emails. HTTP API can be more reliable and faster.
- Includes free email forwarding/routing to other mailboxes. Forward [email protected] to your personal Gmail. Not all transactional email services include this, and some only allow you to configure routing in their API. Mailgun lets you set up routes within their dashboard. Great for non-developers!
- Improved delivery rates.
- Easy to understand reporting to know exactly how many emails you’ve sent.
- Live and searchable logs.
One downfall for application developers is that they recently raised prices on their email validation API. However, many WordPress sites don’t utilize this feature.
How to Configure Mailgun in WordPress
Configuring Mailgun in WordPress only takes a few minutes. It’s definitely one of the easiest transactional email services out there to setup. Follow the steps below:
Step 1
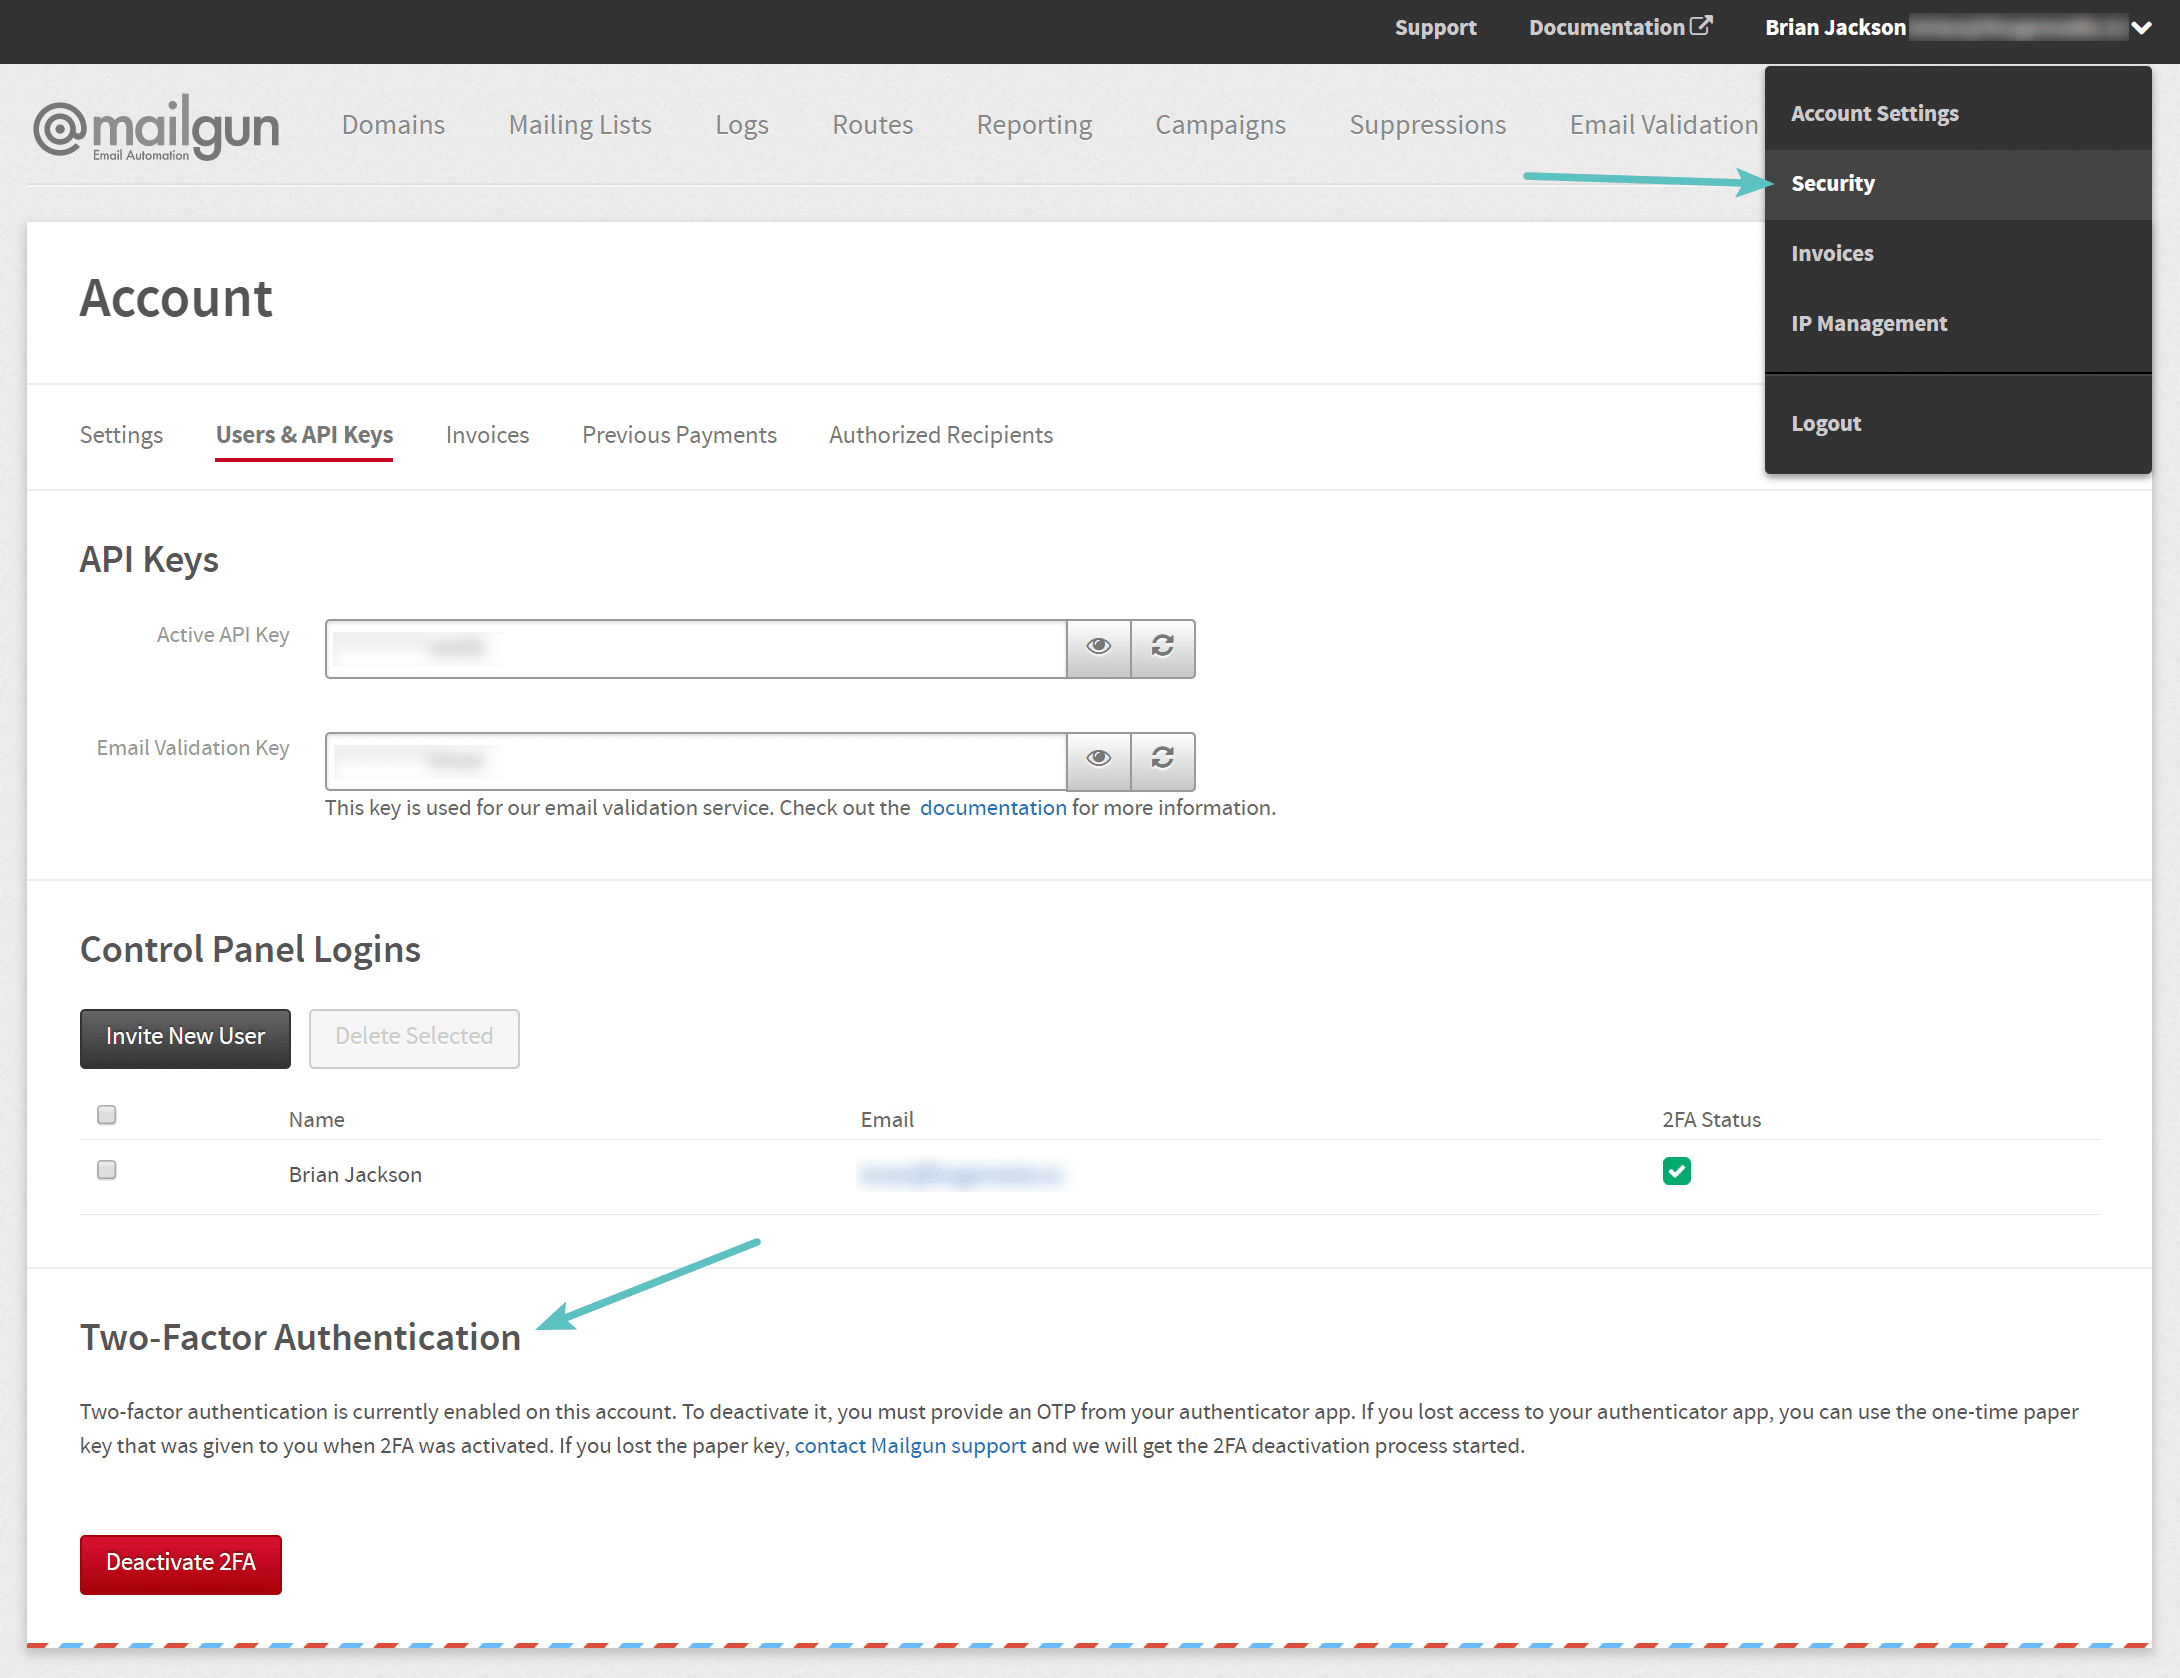
First, signup for a free account at Mailgun.com. Once you are in, we highly recommend setting up two-factor authentication. Email delivery and routing are very important, and the last thing you want is for someone to hack your account.
Step 2
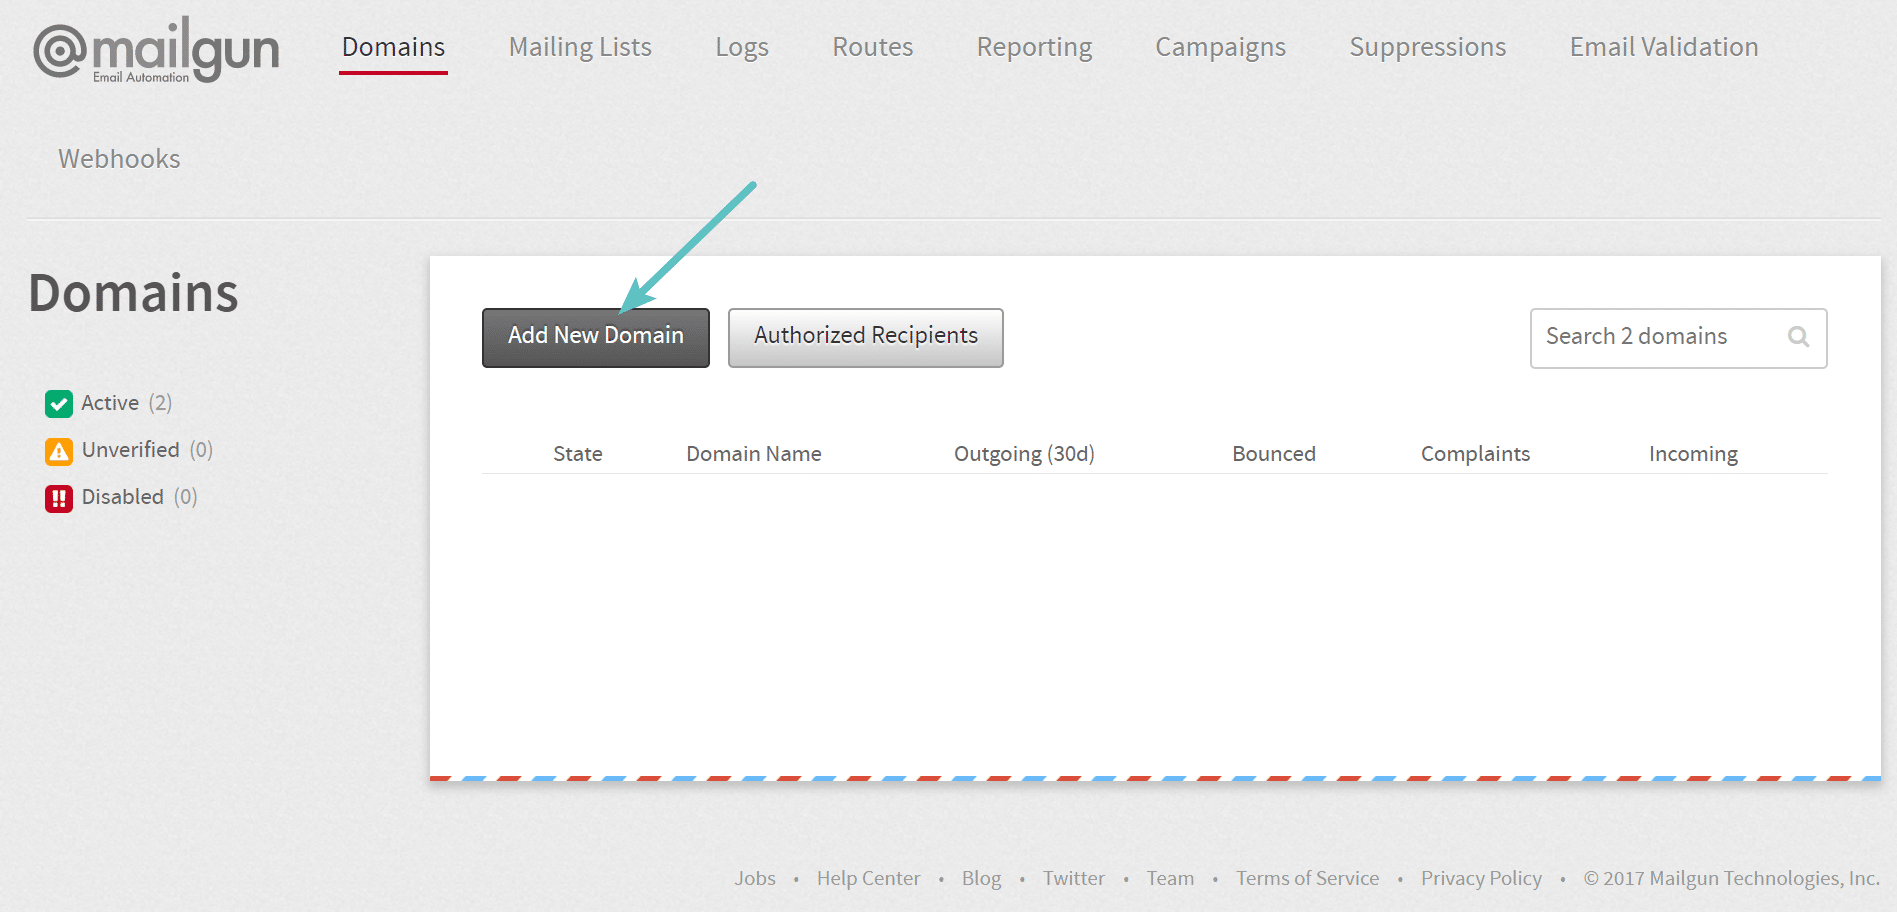
The next step is to add your domain. Click on the “Domains” tab and click on “Add New Domain.”
Step 3
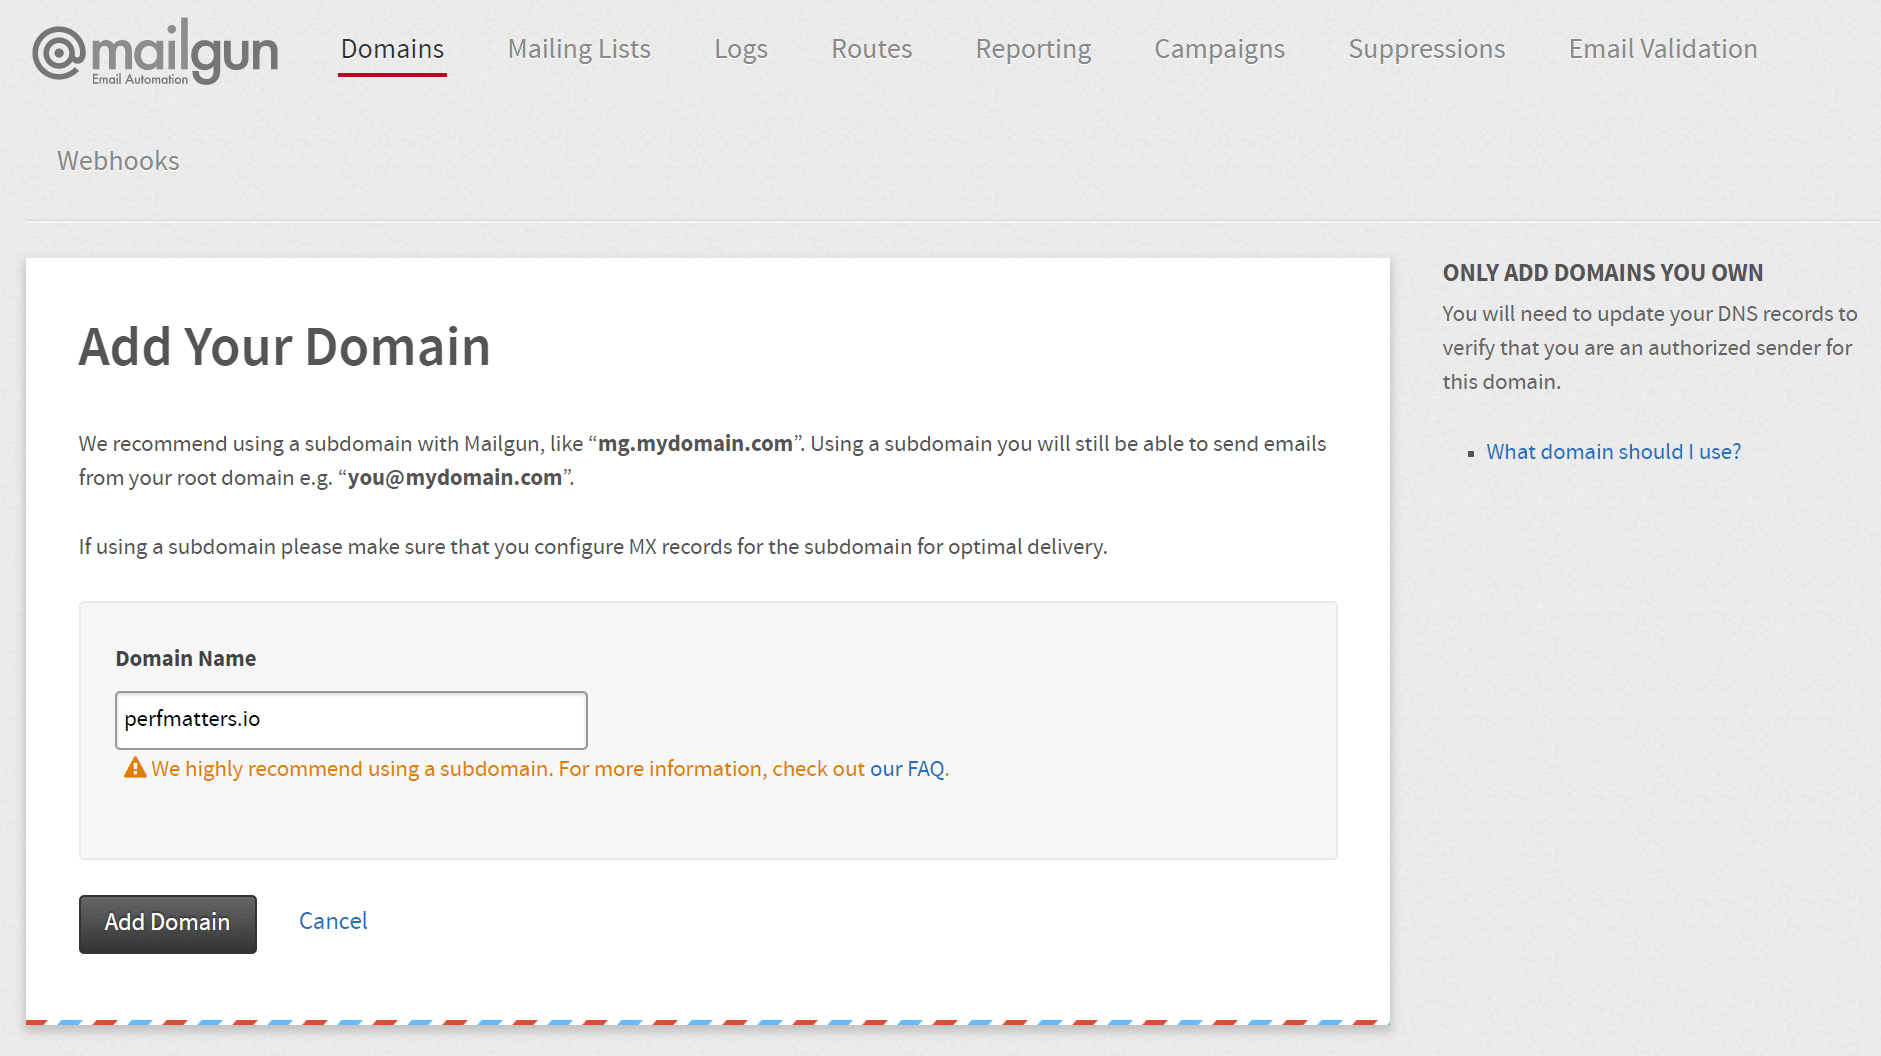
Next, you will need to configure the domain for delivery. Mailgun recommends using a subdomain, such as mg.mydomain.com. Here are some additional recommendations from them on choosing a domain:
- mycompany.com, unless you’re already using this name for your corporate email
- m.mycompany.com or mail.mycompany.com
- mycompany.net or mycompany.org
In our example we are simply using our root domain as that already was configured for email on the previous provider.
Step 4
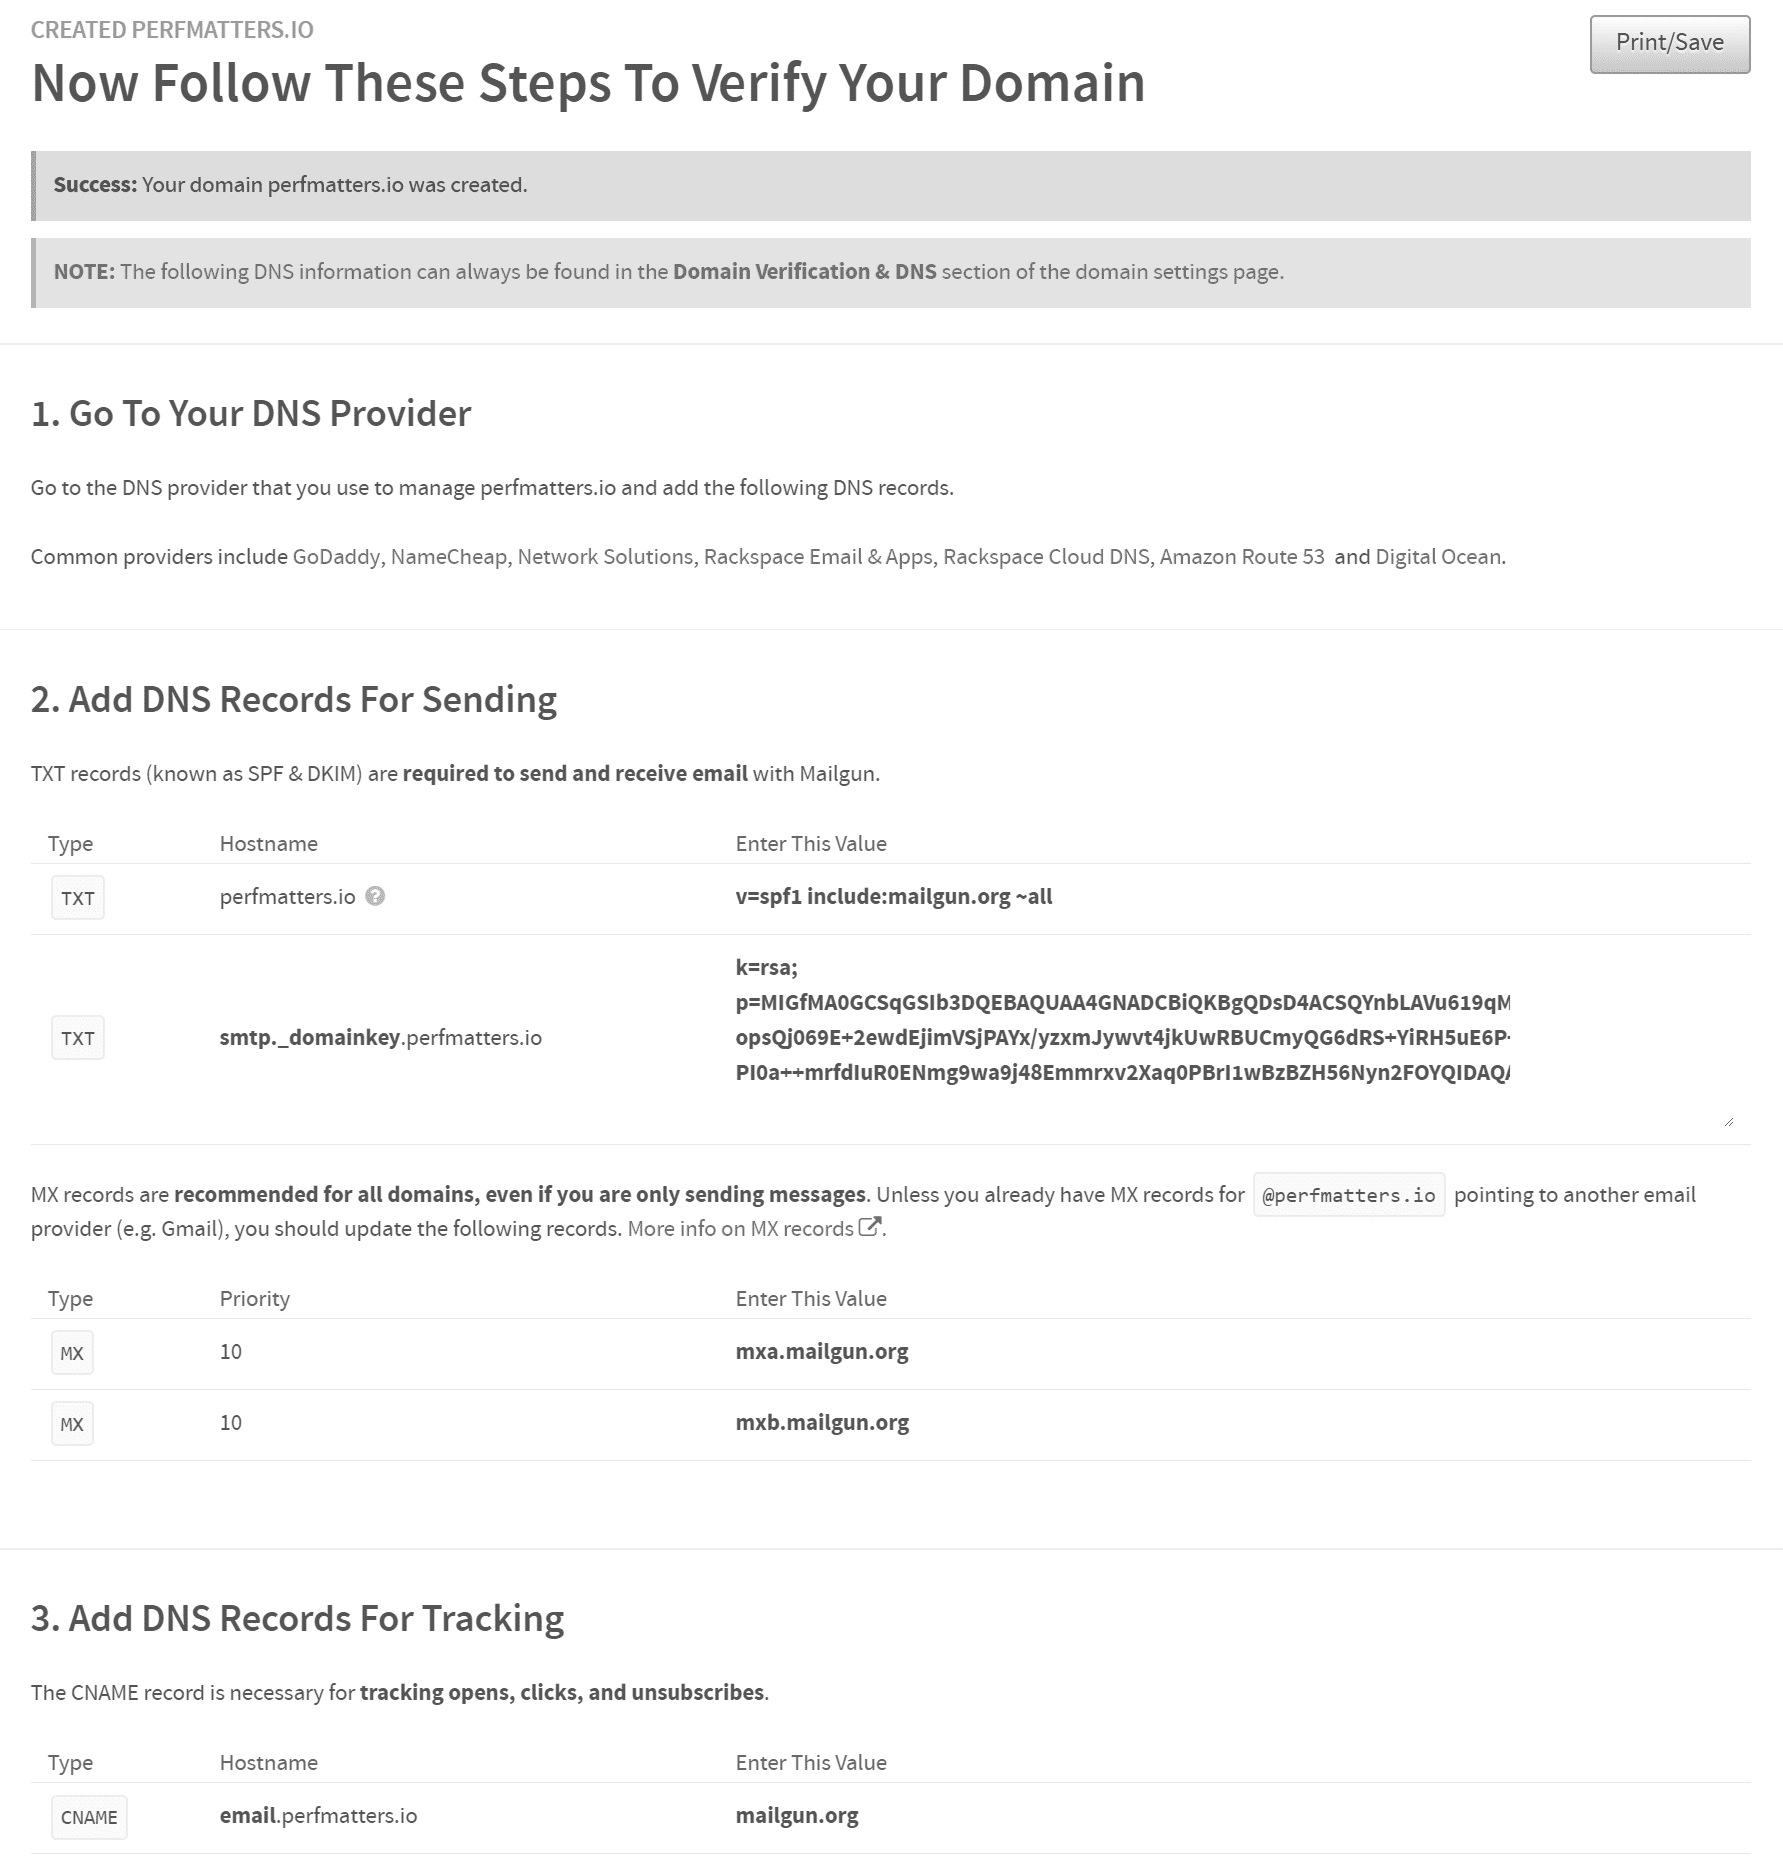
You will then need to add DNS records so that your email points to Mailgun. You can do this at your domain registrar or 3rd-party DNS provider. They require 2 TXT records, 2 MX records, and a CNAME be added. If you need help with this, you can always ask for assistance from your provider. If you are a Kinsta client and using our premium DNS, you can set these up within the MyKinsta dashboard. Or reach out to our support team for help.
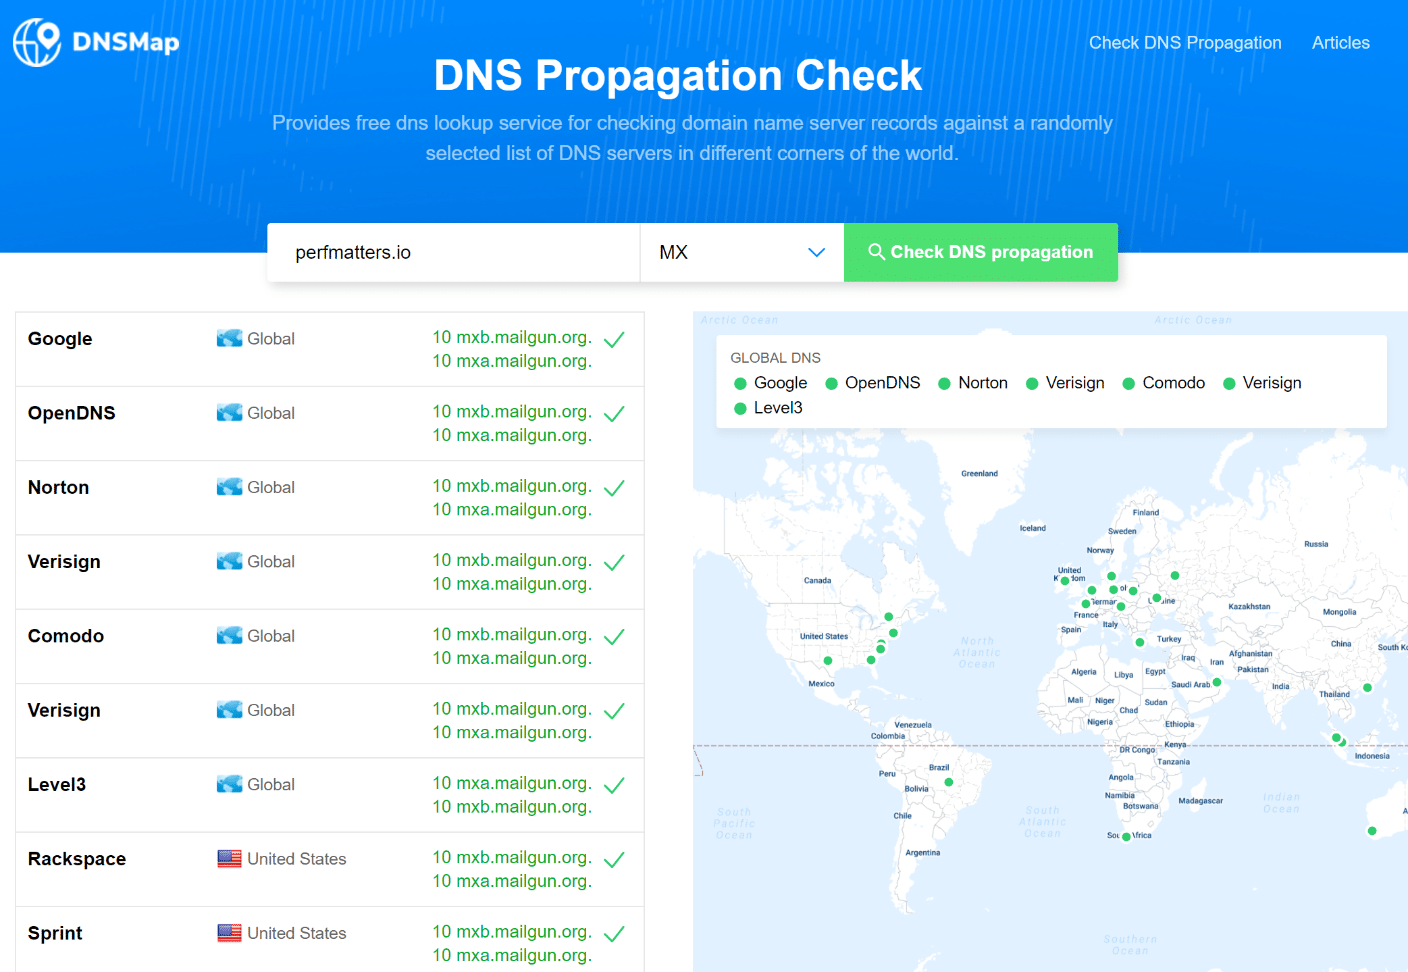
After adding your DNS records it might take a while to propagate. Most will only take a couple of minutes, but it could take up to 24 hours. You can use a free tool like DNSMap to check if your records are pointing to the Mailgun provided values.
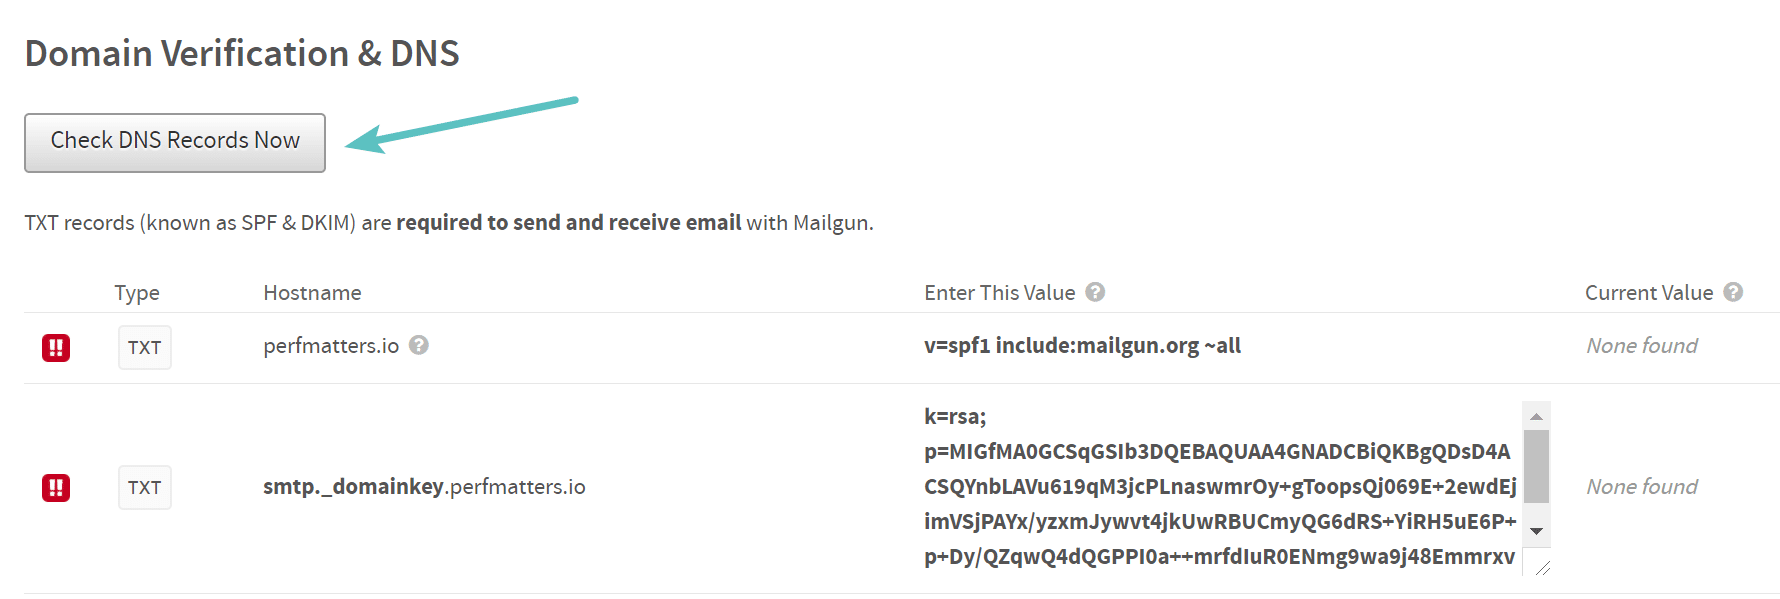
You can also check in the Mailgun control panel by clicking on the “Check DNS Records Now” button.
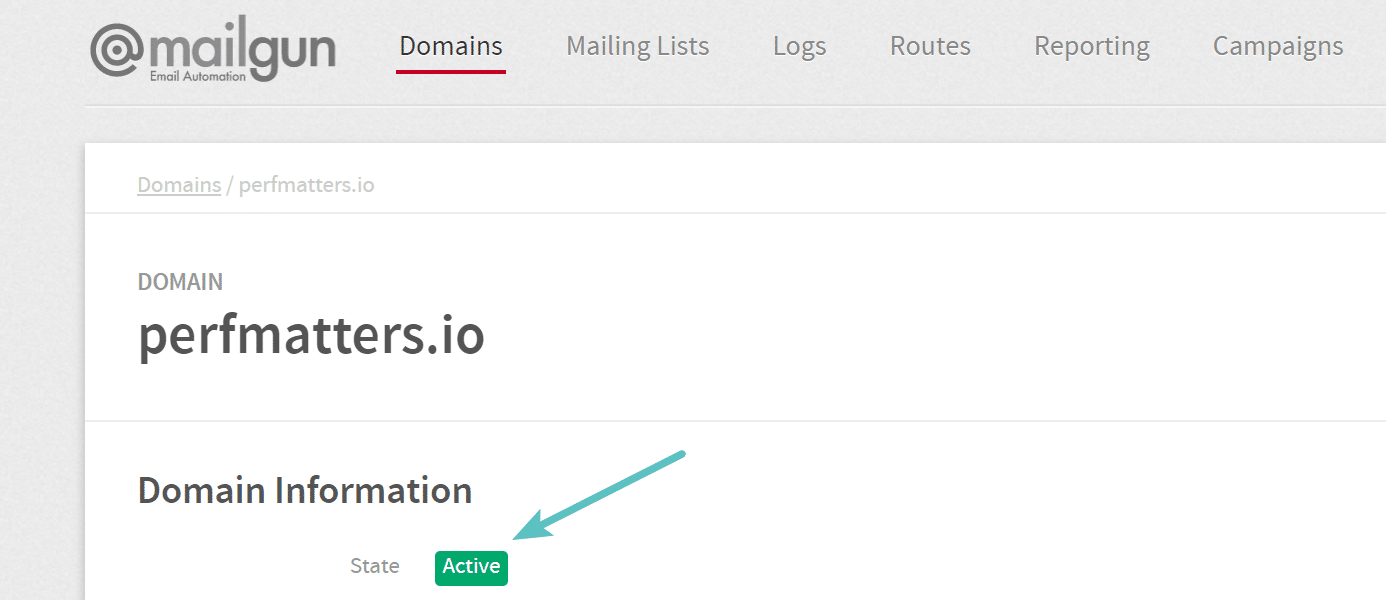
Once all the DNS records have propagated, the domain will show as “Active.”
Step 5
The next step is to configure your WordPress site to send emails with Mailgun. We recommend downloading and installing the free Mailgun plugin from the repository.

It currently has 40,000+ active installs with a 4 out of 5-star rating. You can download it from the WordPress repository or by searching for it within your WordPress dashboard under “Add New” plugins. You could also use an alternative plugin such as Easy SMTP. However, the reason we don’t is that Mailgun offers two different methods for sending emails, HTTP API and SMTP. The HTTP API method is only available in their official plugin.
Here are a couple reasons why you might want to use the HTTP API method vs SMTP:
- SMTP connections have multiple points of failure.
- The HTTP API method is typically faster with less latency than SMTP.
- HTTP API adds an additional layer of security with API keys, vs the standard credential method with SMTP.
- Sometimes WordPress hosts block outbound connections with SMTP on ports 25, 465, and 587. Or they might not even support SMTP at all. With the HTTP API method, you don’t have to worry about this. Note: If you’re a Kinsta client, only port 25 is blocked.
Step 6
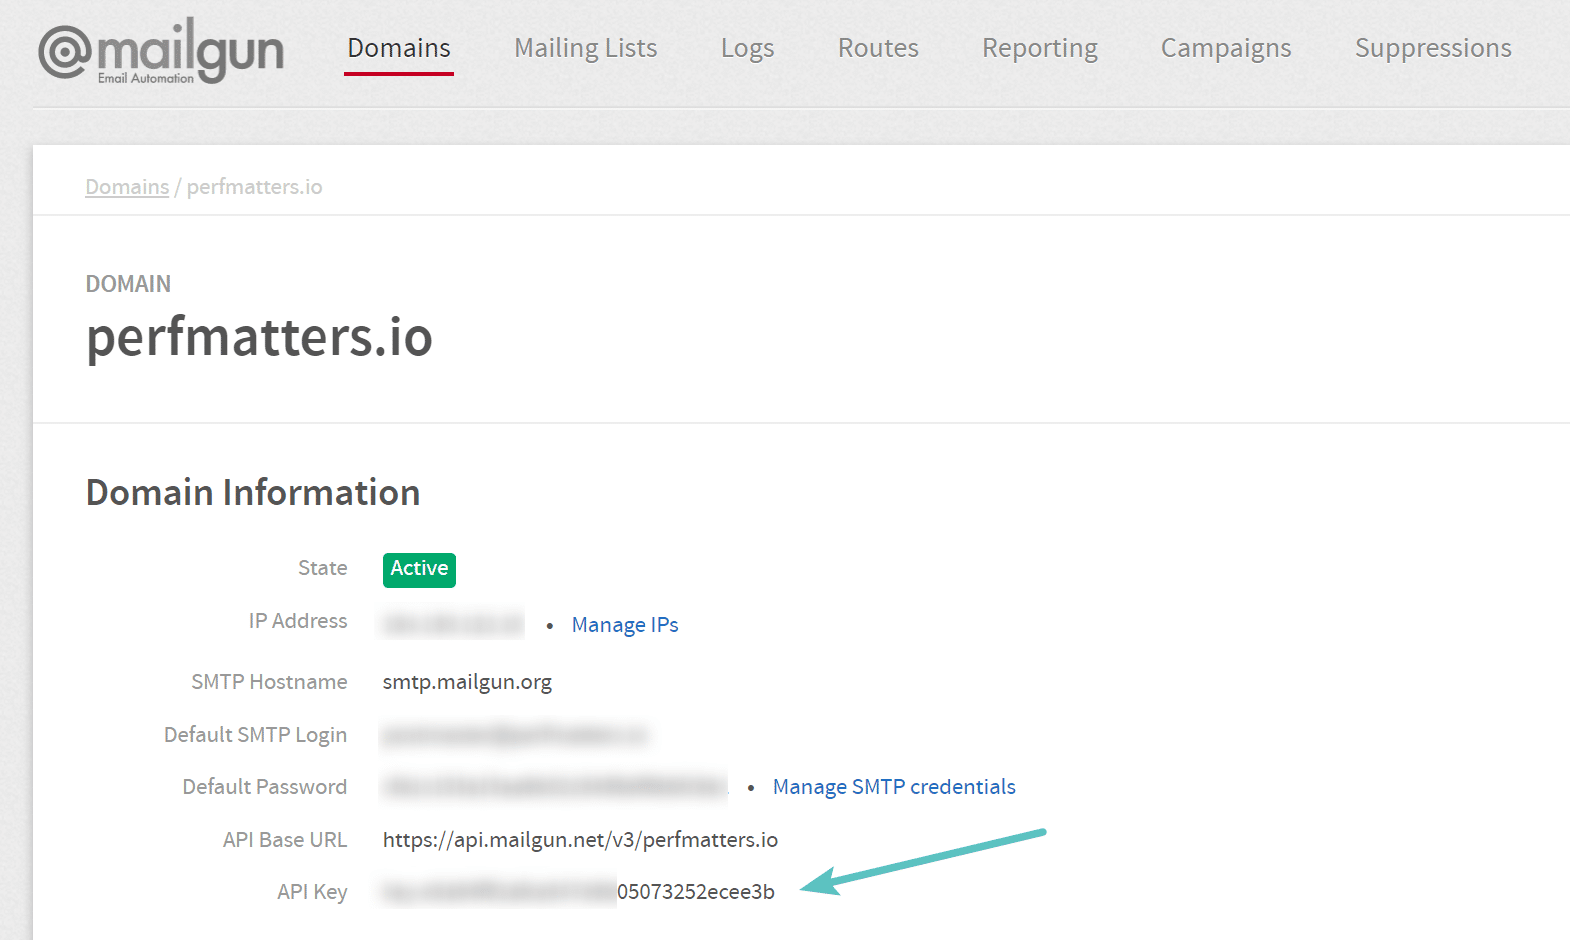
The next step is to hookup the plugin. First, go to your domain in Mailgun and copy the API key to your clipboard.
You will then need to go to the Mailgun plugin settings and configure the following:
- Choose HTTP API, as we are using that in this example over SMTP
- Input your Mailgun domain name
- Paste your API key
- Fill out the from address: Example: [email protected].
- Fill out the “From Name”
- We recommend choosing “Yes” to override 3rd-party plugins for the “From Name.” This way it will always be consistent.
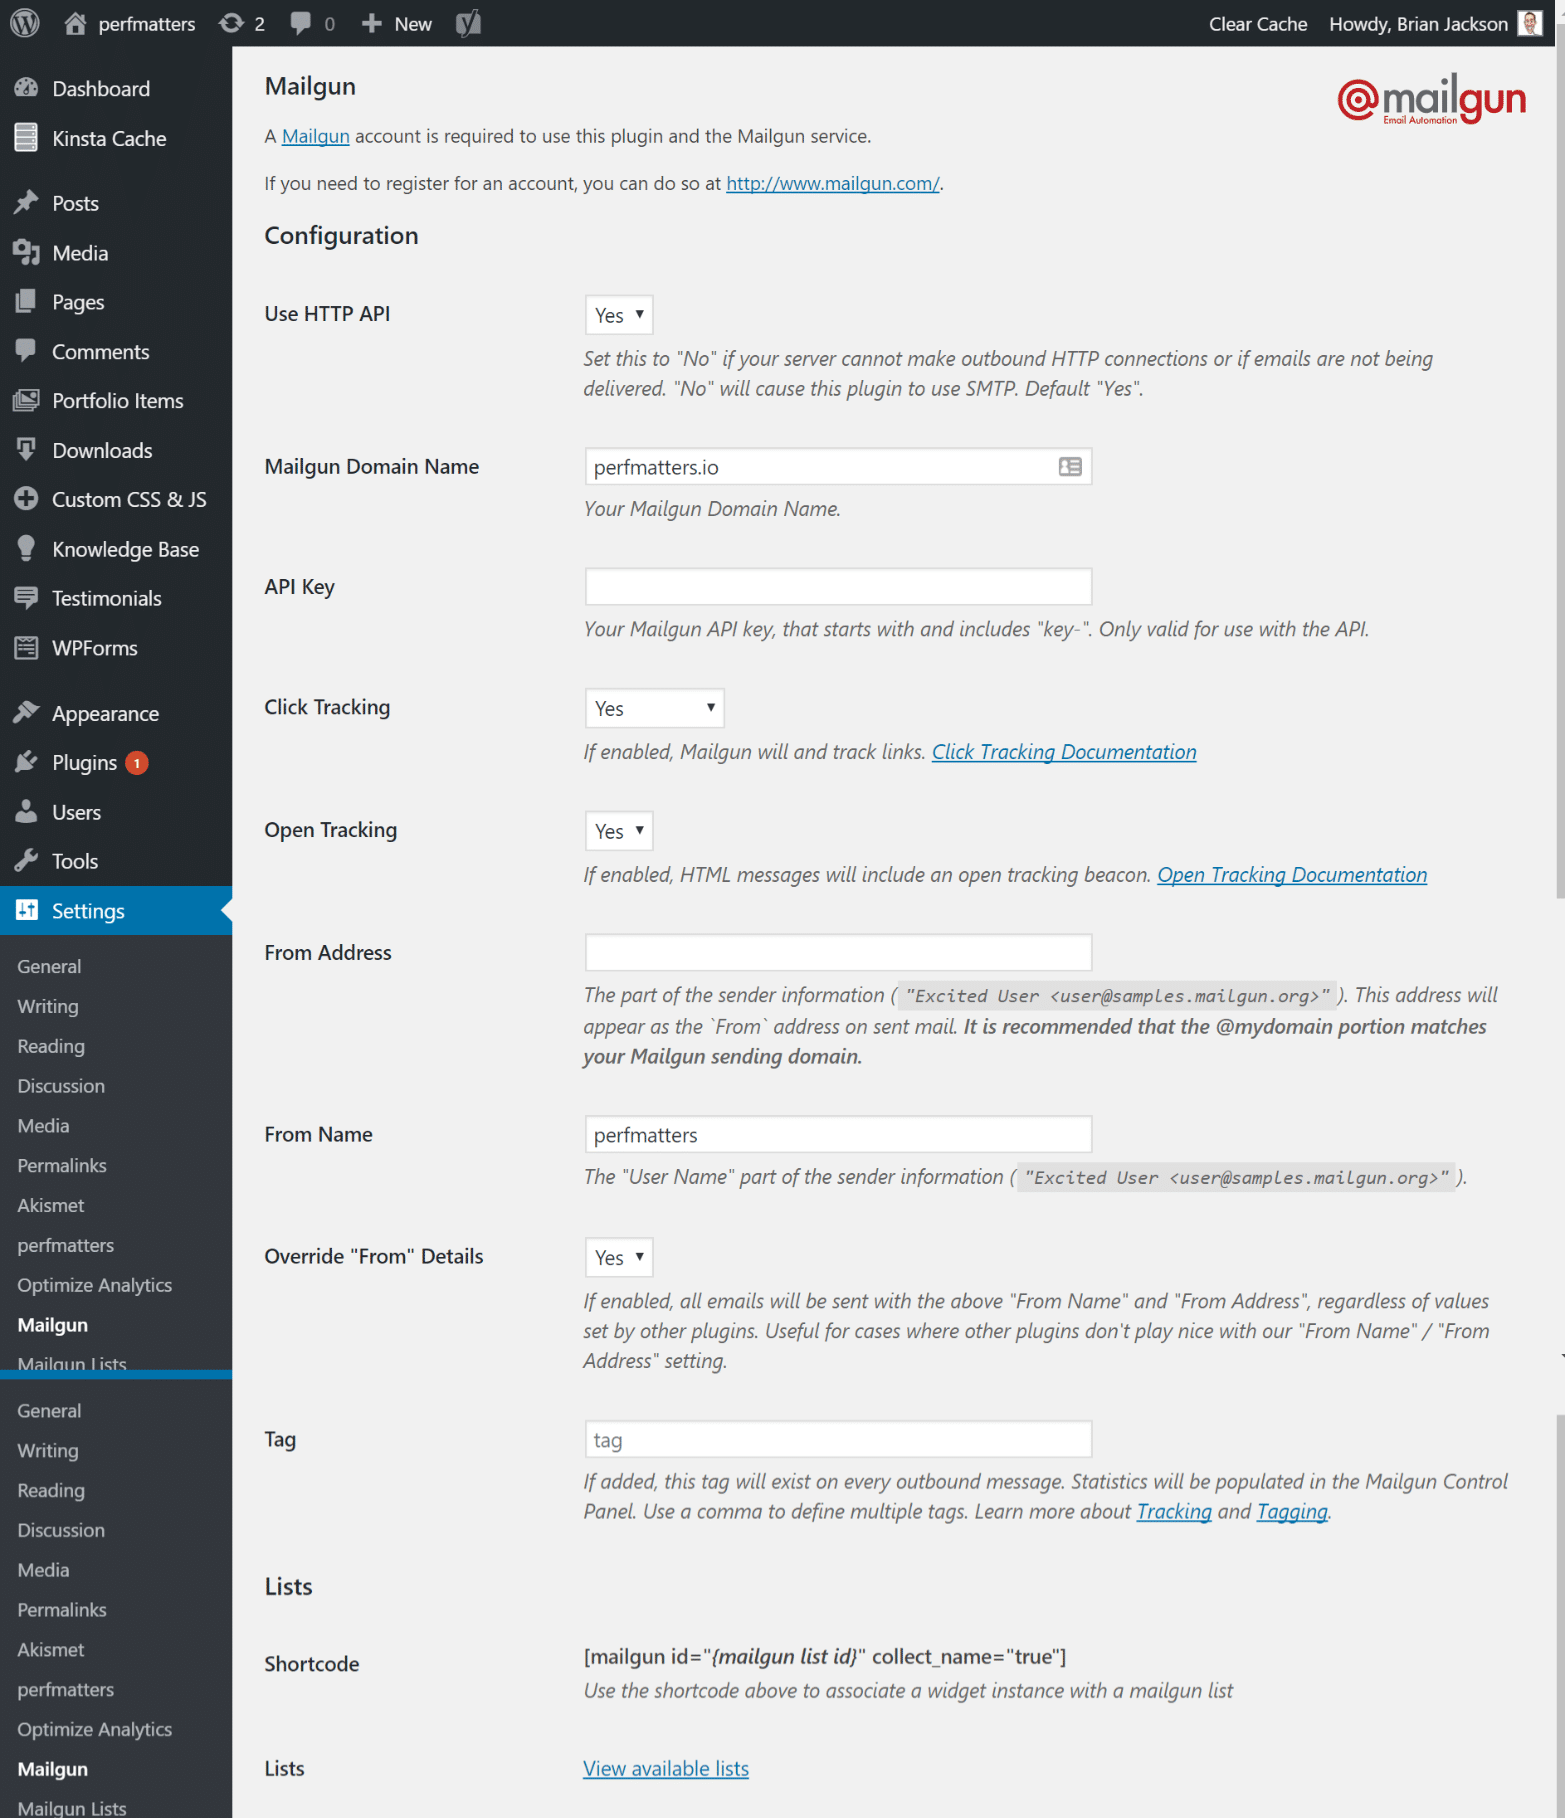
Note: We have had reports that the click tracking feature when enabled might break the password reset functionality in WordPress. If you aren’t using this feature, it might be safer to simply select “No” in the settings for click tracking.
Step 7
Once you have all the settings configured click on “Save Changes.” Then click on “Test Configuration” to get a test email and ensure everything is working correctly. It will send it to the default WordPress email.

You’ll get an email like the one below.
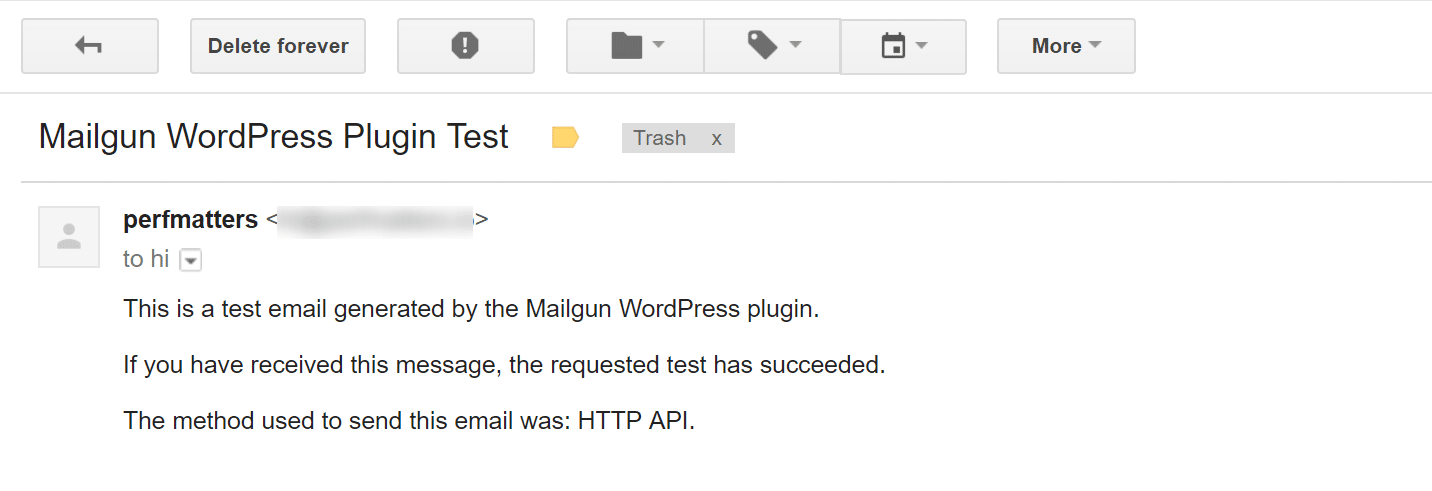
And that’s it! All emails from your WordPress site will now go out via Mailgun’s mail servers.
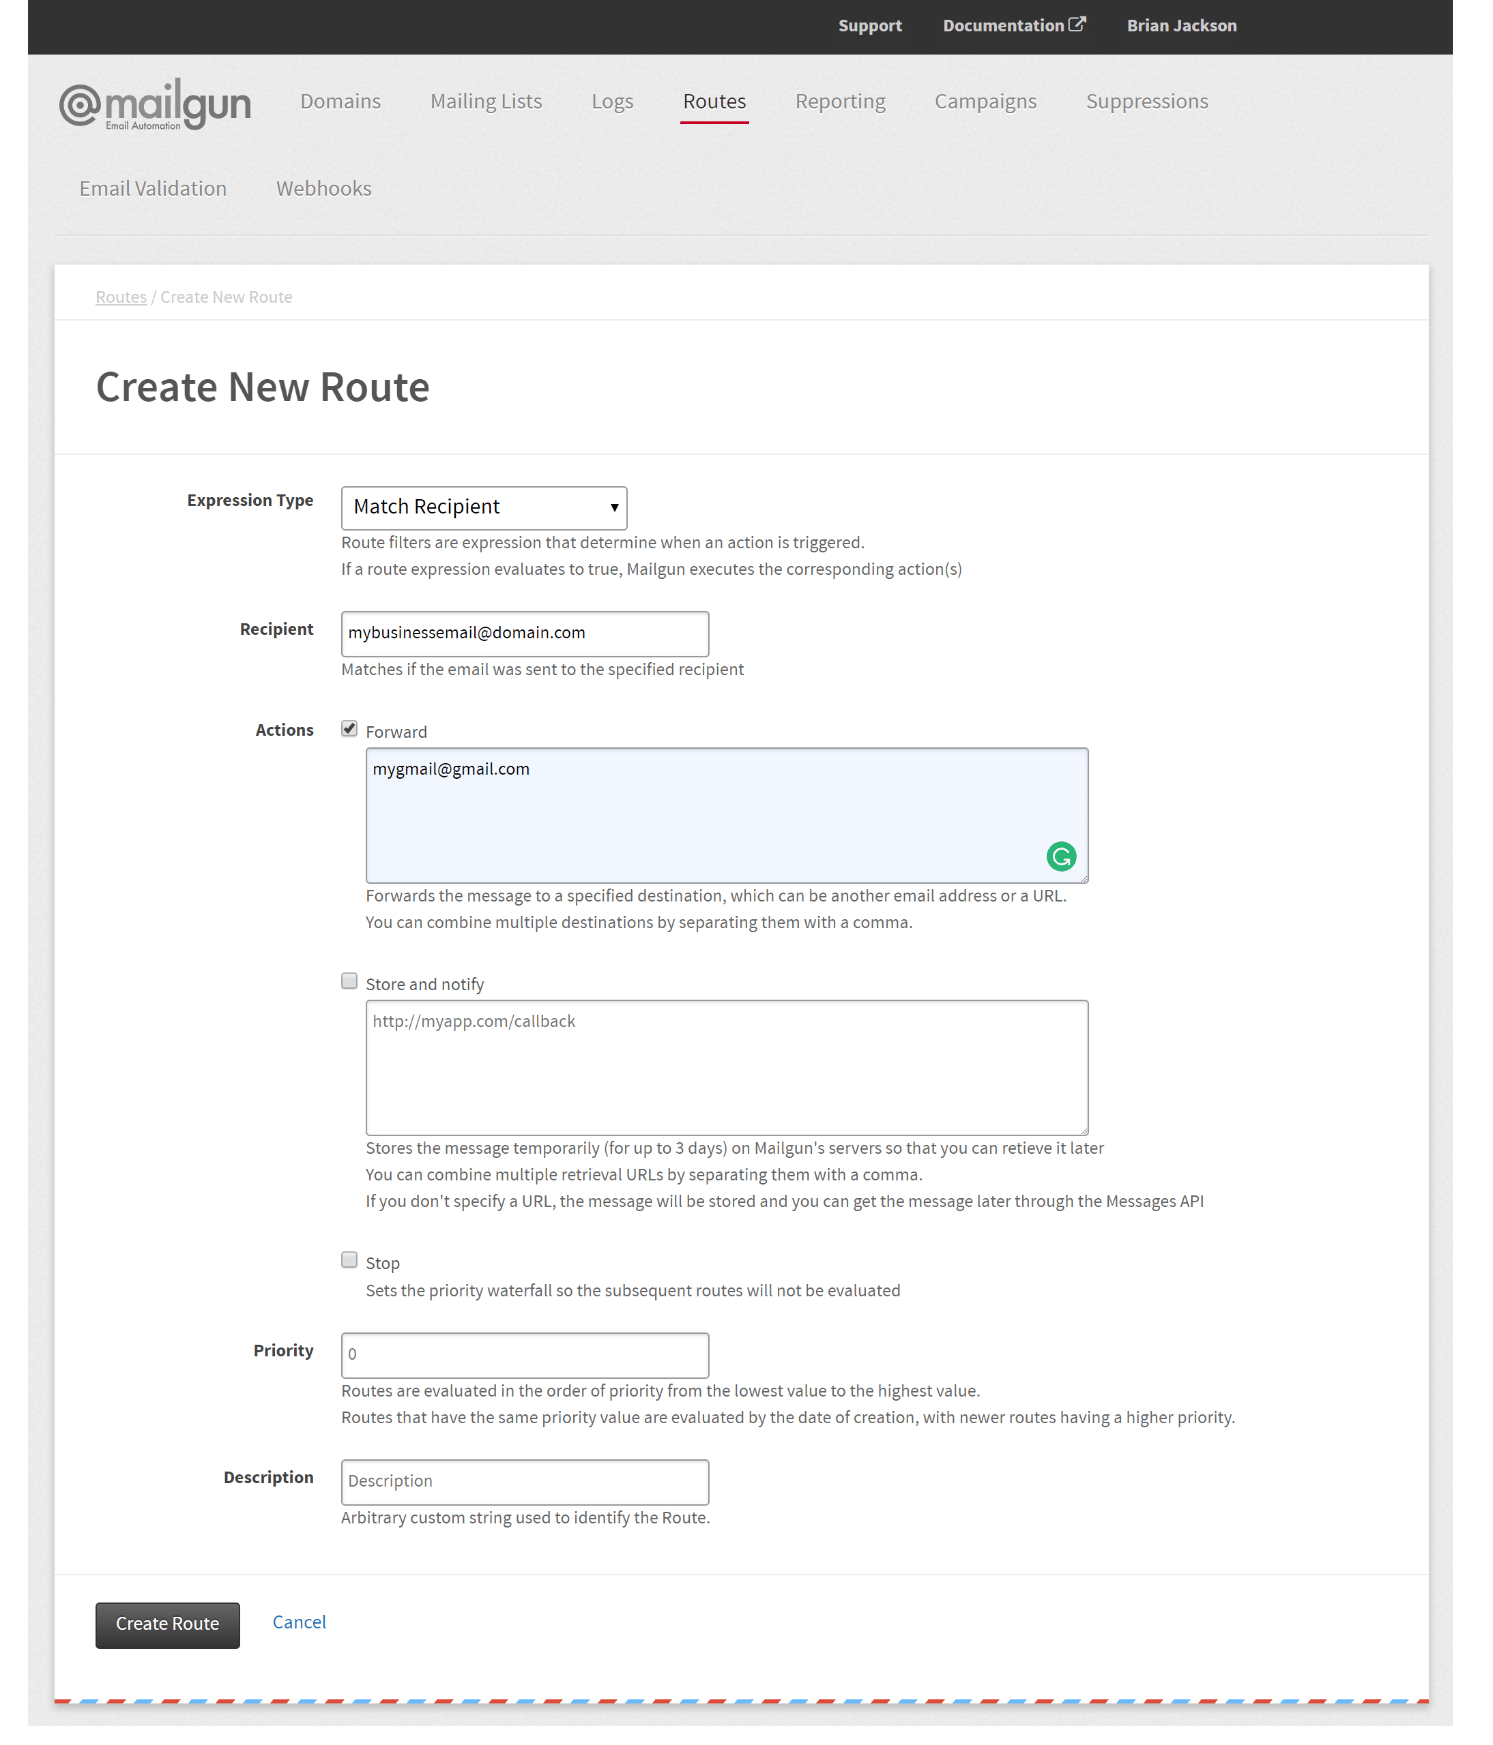
Email Routing
Another handy feature of Mailgun is their easy routing. This allows you to forward email to another mailbox based on the recipient, header, custom, or even a catch all method. For example, you could setup routing for your business domains to all go to your personal Gmail. You could then configure aliases to “send as” the business emails from the same Gmail account.
Also, make sure read our detailed guide about Google Workspace business emails: The Benefits of Google Workspace for Your Business (Why We Use It)
Want to learn how to do the same using Gmail? Check out our guide to using the Gmail SMTP Server to send emails for free.

Brian has a huge passion for WordPress, has been using it for over a decade, and even develops a couple of premium plugins. Brian enjoys blogging, movies, and hiking. Connect with Brian on Twitter.

