
Changing your WordPress theme only takes a few moments (if you overlook how long it takes to choose one). However, if you want to do it safely, switching themes becomes more involved. After all, your active theme is so ingrained into your site’s functionality that the change has the potential to break it.
Therefore, the process of changing themes without introducing any new problems can take a bit longer than just clicking on the Activate button. However, if you follow some basic procedures, you can ensure that your site works smoothly after the switch.
How to Change a WordPress Theme (Without Breaking Your Website)
To successfully and safely change your WordPress theme follow these steps:
- Set up a staging copy of your website
- Install your new theme and preview it
- Activate your new theme
- Resolve errors and replace missing elements
- Push your staging website live
In this article, we’re going to explain why changing WordPress themes is such a delicate process. Then we’ll go over the five steps required to get the job done safely. Let’s get to work!
Prefer to watch the video version?
Why Changing WordPress Themes Is a Delicate Process
Let’s take a quick look at some of the most popular free WordPress themes you can use on your site:
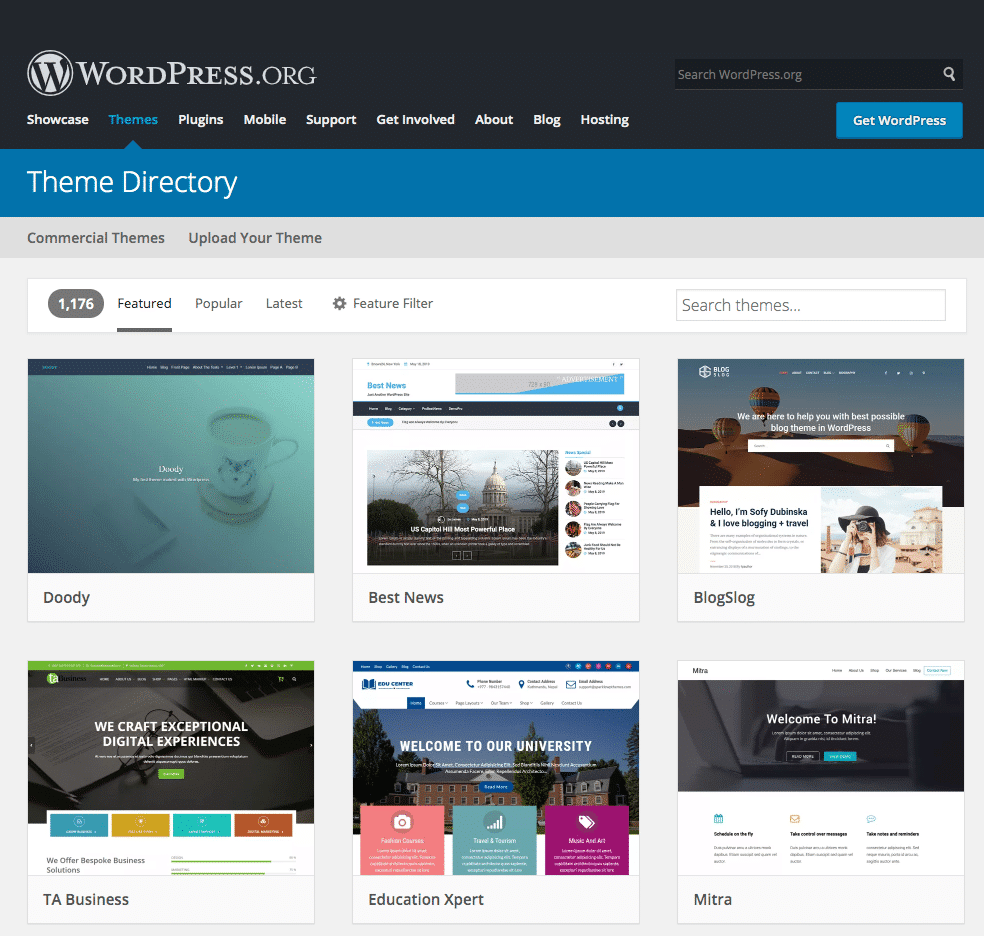
Even without diving into each of these individual pages, you can see that there are a lot of stylistic differences between each option. Therefore, it shouldn’t come as a surprise that when you switch to a new theme, it usually messes with your site’s appearance and even its functionality.
The best-case scenario is that your new theme only breaks a couple of elements, which you can easily replace or revert to a previous status. However, the more your theme is tied into your website’s design, the more likely it is that switching to a new one will have serious repercussions. This can include:
- Affecting some of your site’s core features (i.e., messing with your navigation bar, contact forms, important sections within your pages, etc.)
- Disabling any shortcodes that were added in by your previous theme
- Removing any theme-specific widgets you have on your pages
- Interfering with your pages’ schema data
As a rule of thumb, the more complex the theme you’re using is, the more difficult it will likely be to change it. For example, if you’re using a multipurpose theme with its own page builder, you’re probably in for a very lengthy transition.
That’s not to say, of course, that you should stay away from complex WordPress themes. Every website is different, so you should use whichever theme best suits your site’s specific needs. Still, it’s vital to know how you can change your theme safely, as problems can arise no matter what type of theme you’re using now (or switching over to).
How to Change Your WordPress Theme Safely (In 5 Steps)
Before you do anything else, this is the perfect moment to create a full backup of your WordPress website. Ideally, you’ll have plenty of recent restore points already. Changing themes is a big deal, however, so you’ll want to be fully prepared in case you need to revert for any reason.
Step 1: Set Up a Staging Copy of Your Website
You can think about a staging environment as a lab where you get to do all your testing and important changes to your site before the public gets to see any of it. With a staging copy of your website, you can make any changes you want without fear. If you break something, you can easily start over without any repercussions.
These days, a lot of WordPress hosting platforms offer you staging functionality as a part of their packages. Here at Kinsta, for example, you can set up a staging environment with just a couple of clicks:
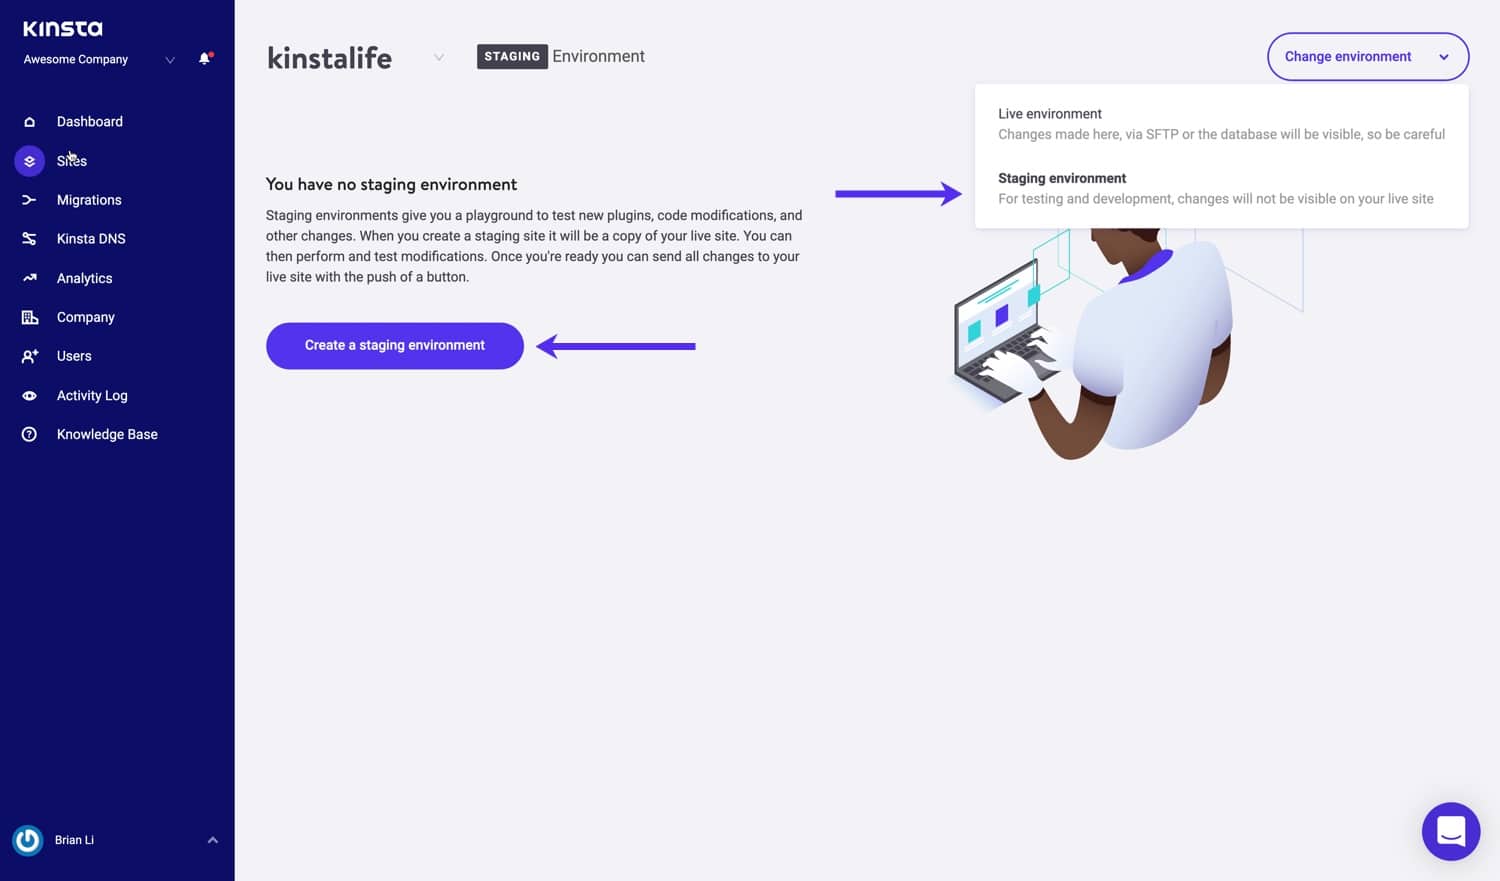
Since changing WordPress themes is such a delicate process, it doesn’t make sense to rush into it within your live site. With WordPress staging, you’ll be able to see what happens to your content after you switch themes, fix any mistakes, and then push the result live when you’re ready.
If your web host doesn’t offer staging functionality, you have other options you can try. For example, you can set up a local WordPress environment, and create a copy of your website using one of your backups.
This approach isn’t quite as straightforward, because you can’t deploy your local website online as easily as you can through your web host. In that case, you’d need to create another copy of the site when you’re done making changes and upload it to your server afterward.
If possible, we recommend using a web host that offers staging functionality. It can make your workflow much easier in a lot of situations, so it’s a feature worth prioritizing.
Step 2: Install Your New Theme and Preview It
At this point, your WordPress staging site should be up and ready to go. It’s now time to access it and install the new WordPress theme you want to use.
Before you activate the theme, however, head to the Appearance > Customize section within your dashboard. There, you can make changes to your WordPress site’s appearance. What’s more, you can also use it to preview what your new theme will look like.
To do that, click on the Change button next to the Active theme section in the left-hand sidebar:
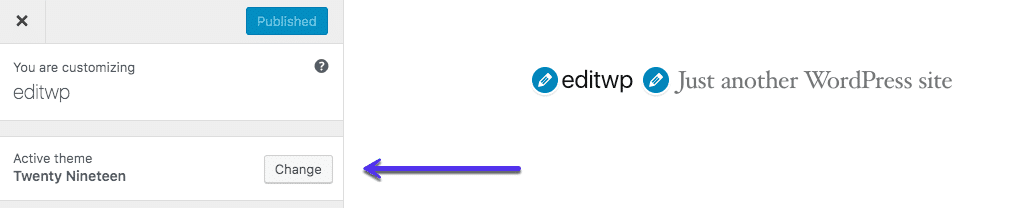
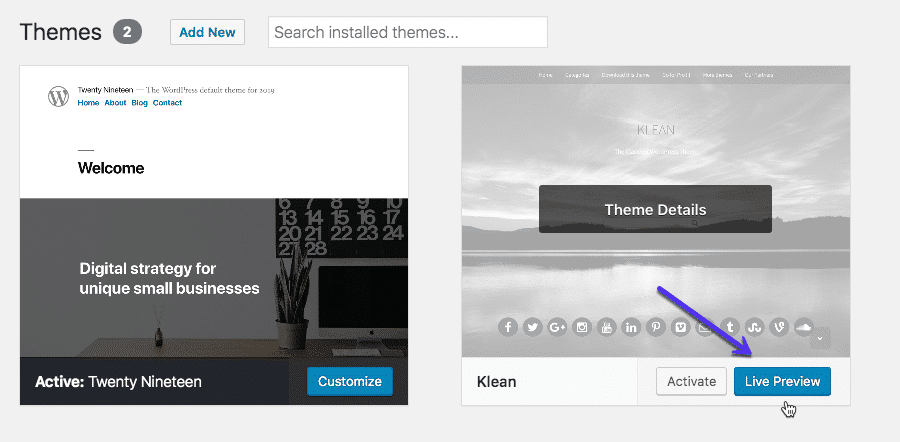
Then, select the theme you want to test and click on the Live Preview button under its name:
Afterward, WordPress will display what your home page will look like once you activate the new theme. Take a moment now to go over your entire website within the Customizer, and make a note of any obvious problem areas or bugs.
If you find any issues, you don’t need to worry about addressing them just yet. First, you’ll need to activate the new theme on your staging site.
Step 3: Activate Your New Theme
You already know what your website will look like once you switch themes, so it’s time to get to work. Close the Customizer, and move to the Appearance > Themes tab. Then, click on the Activate button for your new theme:
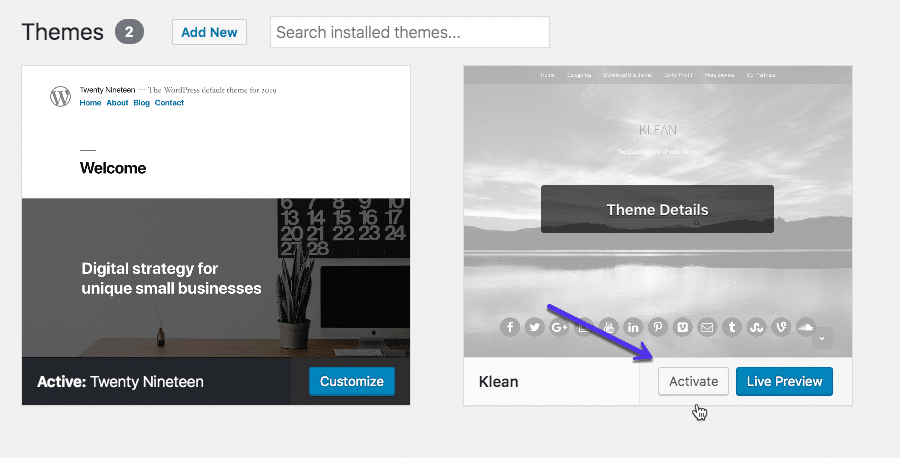
WordPress may take a moment to process the change. Then, you’ll see that your new theme is activated and ready to go. It’s now live on your staging site, which means it’s time to ensure that everything is working properly.
Step 4: Resolve Errors and Replace Missing Elements
Depending on what features your last theme had, you’ll probably need to do some tidying up at this point. In our experience, this is the step that takes the longest amount of time. How intensive it ends up being will wholly depend on how the switch affected your website.
As we mentioned before, changing themes often breaks parts of your site, including:
- Theme-specific widgets and shortcodes
- Your navigation bar and sidebar
- Specific sections within your pages, usually due to formatting issues or missing elements
- Your favicon could disappear.
Your content should all still be in place, since switching themes won’t affect that part of your site. What you need to do now is get to work on customizing your new WordPress theme, until your website looks just the way you want it to.
While you’re at it, you’ll also want to make sure that you’re not missing any key functionality. If your new theme doesn’t include some of the features your last one offered, you can always look for plugins that will help you replace them.
If you’ve added schema markup to your pages (which you should!), remember that you’ll also need to configure your new theme to load it properly. However, if you’re using a plugin approach to handle schema markup instead of adding the data manually, you should be able to skip that task.
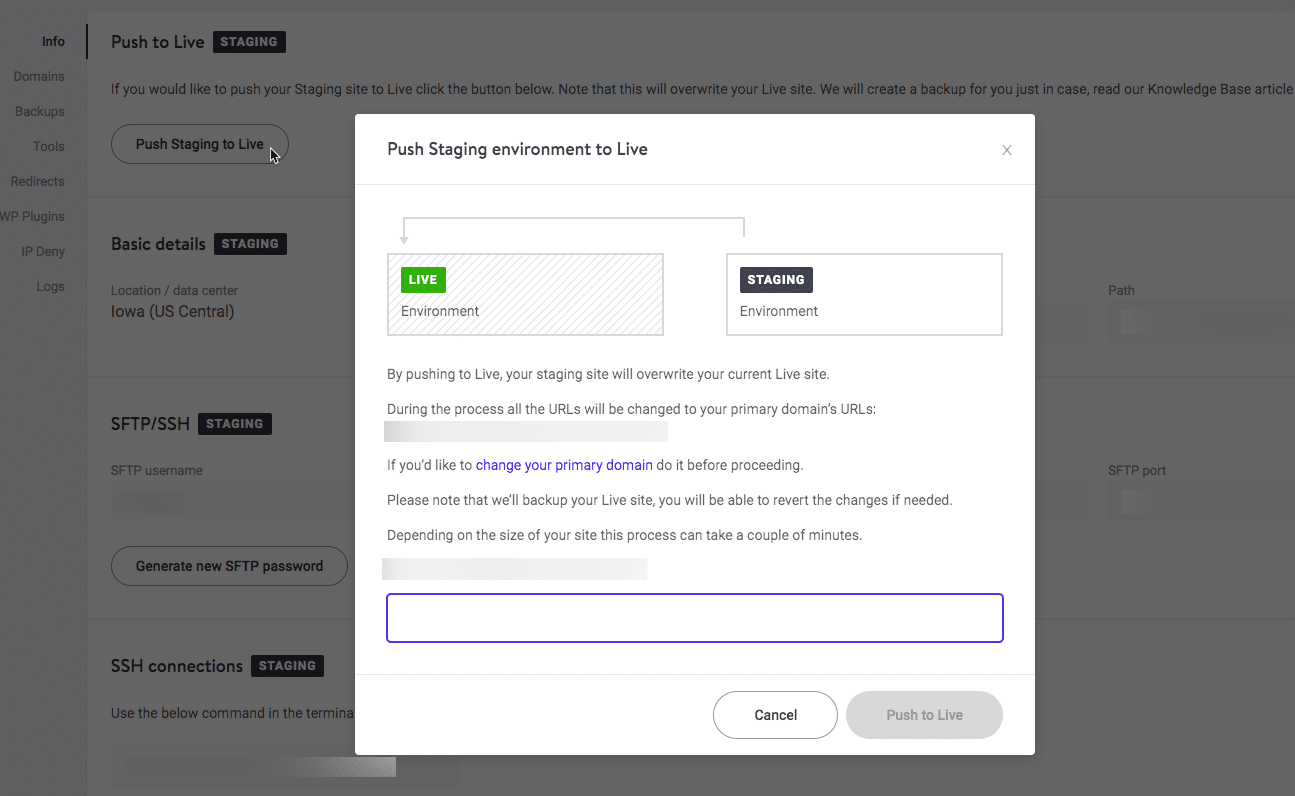
Step 5: Push Your Staging Website Live
Once you make sure that your website is free of bugs and is looking just the way you want it to, it’s time to make it public. If you played it safe by using a staging website as we suggested, that means you’ll need to push your staging site live. In other words, you’ll be replacing your existing live website with the new and improved staging copy.
If you’re using your web host’s staging functionality, this process should be simple. It often only takes a couple of clicks to get the job done:
Keep in mind, though – if you’ve been publishing new content on your live website while tweaking your new theme on its staging copy, that content will be overwritten. So before you push your staging website live, make sure you move all of the new content over to the staging site.
If you tested out your new theme on a local WordPress installation instead, this process will take a bit longer. You’ll need to do a manual backup of your website, and then upload it to your server. It can be a bit of a hassle to do this, but not nearly as much as dealing with a broken website if you decide not to use a staging copy.
When you’re done, your live site will be ready to go with its new theme in place! It’s a good idea to do one more pass of its important pages and content, to make extra sure that each element made the transition smoothly.
Summary
A theme is very important and most users tend to stick with the same WordPress theme for a long time. Little things, such as breadcrumbs and schema markup are things you don’t want to forget about because they can drastically change your site’s UX and rankings if you suddenly change things around.
It shouldn’t come as a surprise, therefore, that switching themes has the potential to wreak so much havoc. If you want to play it safe when you’re changing WordPress themes, I recommend that you follow these five steps:
- Set up a staging copy of your website
- Install your new theme and preview it
- Activate your new theme
- Resolve errors and replace missing elements.
- Push your staging website live
Do you have any questions about how to switch WordPress themes safely? Share them in the comments below!

Head of Content at Kinsta and Content Marketing Consultant for WordPress plugin developers. Connect with Matteo on Twitter.

