
Webflow is a user-friendly platform that helps users create professional websites with an intuitive visual editor. However, if you’ve had your site for a while now, you may be looking for a more flexible and advanced solution, such as WordPress.
Migrating from Webflow to WordPress can feel like a daunting task, especially if your site contains a lot of content. However, the process is more straightforward than you might think, and you can have your new WordPress site up and running in no time.
In this post, we’ll start by briefly discussing the reasons why you may want to move from Webflow to WordPress. We’ll then walk you through the entire migration process.
Let’s get started!
Check out our video guide to Migrate from Webflow to WordPress
Why You Should Consider Moving From Webflow to WordPress
Like most all-in-one website solutions, Webflow enables you to build and launch a website without much hassle. It serves as both a website builder and hosting provider. While this sounds very convenient, it may also feel a bit limiting. Since every aspect of your site is managed by the same service, you may feel restricted when adding new features or optimizing your content.
An open-source Content Management System (CMS) such as WordPress gives you more freedom to customize. While Webflow has a broad range of apps and widgets, it doesn’t compare to the wealth of plugins that WordPress has to offer.
With WordPress, you also have control over your web hosting and budget. You can shop around and choose the right solution for your website. Moreover, the WordPress software is free, as are most of its available plugins. Therefore, migrating from Webflow to WordPress can also help you reduce your website expenses.
Things to Consider Before Migrating From Webflow to WordPress
Whether you run a blog or an ecommerce store, migrating a website can seem like a difficult and time-consuming task. However, the process doesn’t take that long. Moreover, it is possible to carry out the migration on your own if you have access to the right tools.
However, before you start, there are some things you’ll need to do. Let’s look at some essential preparations for your Webflow to WordPress migration.
Finding a WordPress Web Host
As we mentioned earlier, one of the best things about using WordPress is choosing whichever web host you want. Therefore, you can select a service that meets your needs as well as your budget.
While it may be tempting to opt for a cheap hosting service, you may want to consider getting managed WordPress hosting for your site. This service is usually pricier than other options. However, it can help you boost your site’s performance and keep your content safe.
At Kinsta, we offer a range of hosting plans to suit different budgets. Our managed WordPress hosting service comes with a wealth of features, including:
- Quick and easy WordPress installation
- Automatic daily backups
- Hack and malware removal
- 24/7 support
- Free SSL certificates
We also offer unlimited free migrations from all web hosts to help make your move stress-free. Moreover, you can use our user-friendly development tool, DevKinsta, to design your first WordPress website.
Ideally, you’ll have your new hosting account all set up before you start the migration. This preparation will help make the process a bit quicker.
Backing Up Your Data
It’s important to note that you won’t actually be moving your content from Webflow to WordPress during the migration process. You’ll simply download a copy to your computer and then upload it to WordPress. Therefore, your Webflow site will remain as is, so there’s no need to back up your content.
However, you may still choose to perform a backup just in case something goes wrong. To save a backup on Webflow, you just need to hold down Command + Shift + S (on Mac) or Control + Shift + S (on Windows):
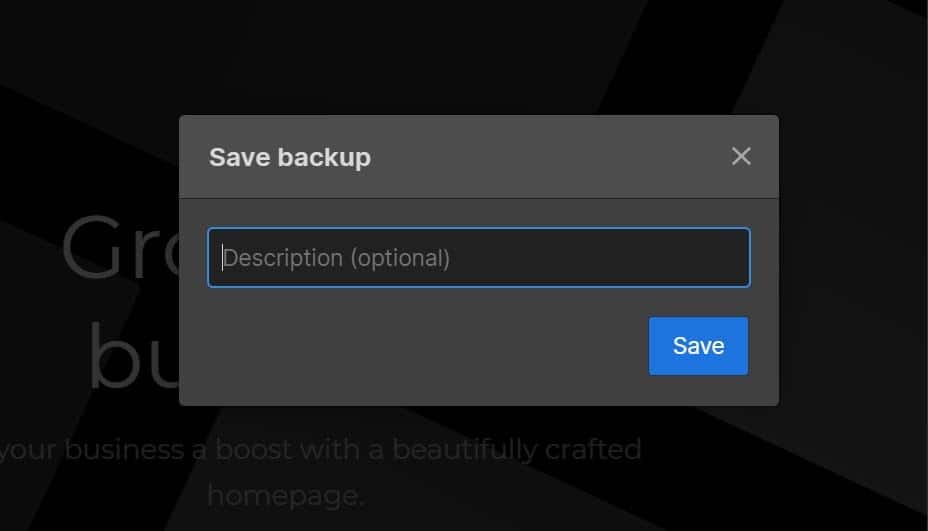
Webflow will then ask you to enter a description for your backup. When you’re ready, click on Save. You can then go to Settings > Backups to make sure that your latest copy has been saved.
How to Migrate From Webflow to WordPress (in 6 Steps)
Now that you’ve set up your hosting account and made a backup of your data, it’s time to move your content from Webflow to WordPress. In this tutorial, we’ll walk you through the entire migration process to help you launch your new site successfully.
Step 1: Set Up WordPress
The first step is to set up WordPress. Most web hosts offer one-click WordPress installs with their plans, which you can access from your hosting account. This feature normally comes with a setup guide to help you complete the process in just a few minutes.
Alternatively, you can download the software manually from WordPress.org:

You’ll then need to upload your WordPress files to your server. The process may take a few minutes. Once it’s ready, you can proceed with the Webflow export to WordPress.
Step 2: Export Your Content From Webflow
Now that you have WordPress set up, you can prepare the content for your new site. Fortunately, Webflow makes it super easy to export your data.
However, you can’t export all of it. Downloadable content from Webflow includes web pages, blog posts, texts, embedded blocks, gallery pages, and images.
To export your content, go to your Webflow designer and click on the CMS Collections panel. Here, you can see all the files and data on your Webflow server:
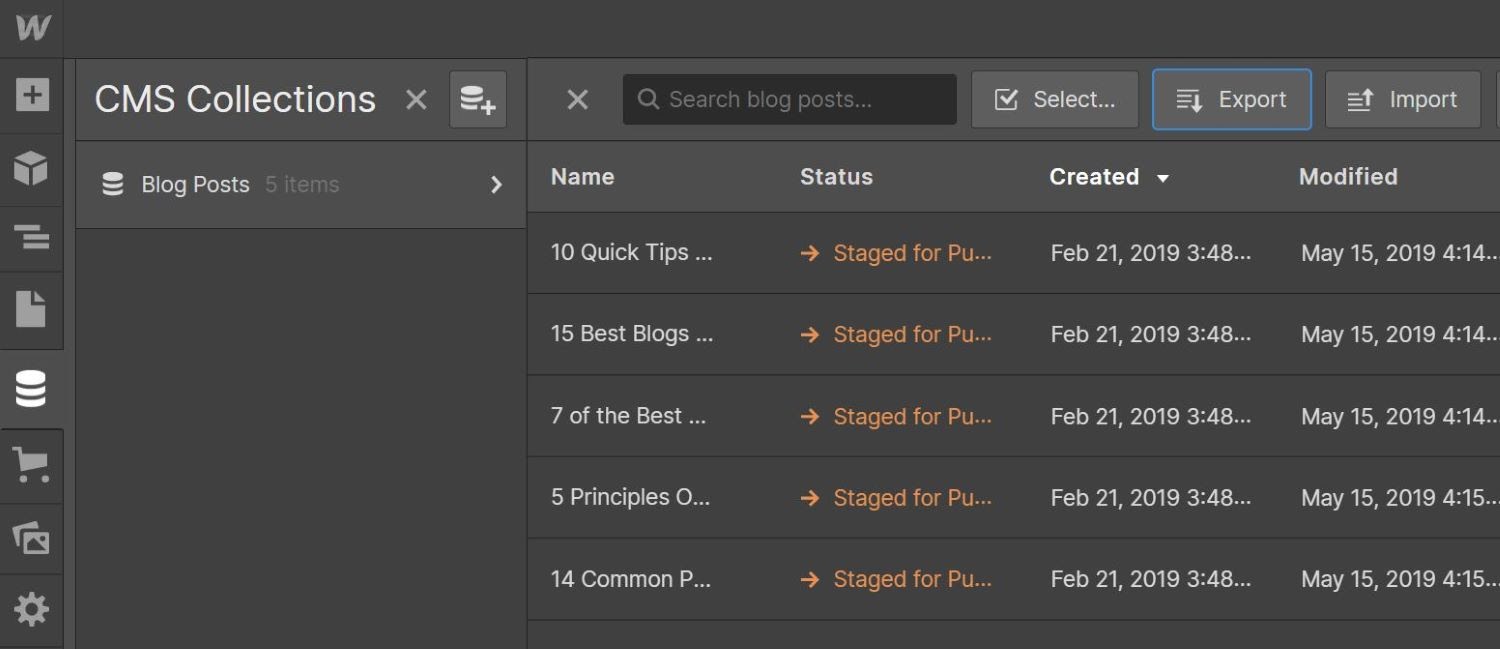
Select the collection you want to download (e.g., blog posts) and click on the Export button near the top of your screen. The content will be downloaded to your computer as a .csv file. You can repeat this process for any other collection you want to export.
Step 3: Import Your Content Into WordPress
The next step is to upload your Webflow content to WordPress. The CMS comes with an import tool that enables you to upload files in XML format. Unfortunately, Webflow only allows you to download content as a CSV file.
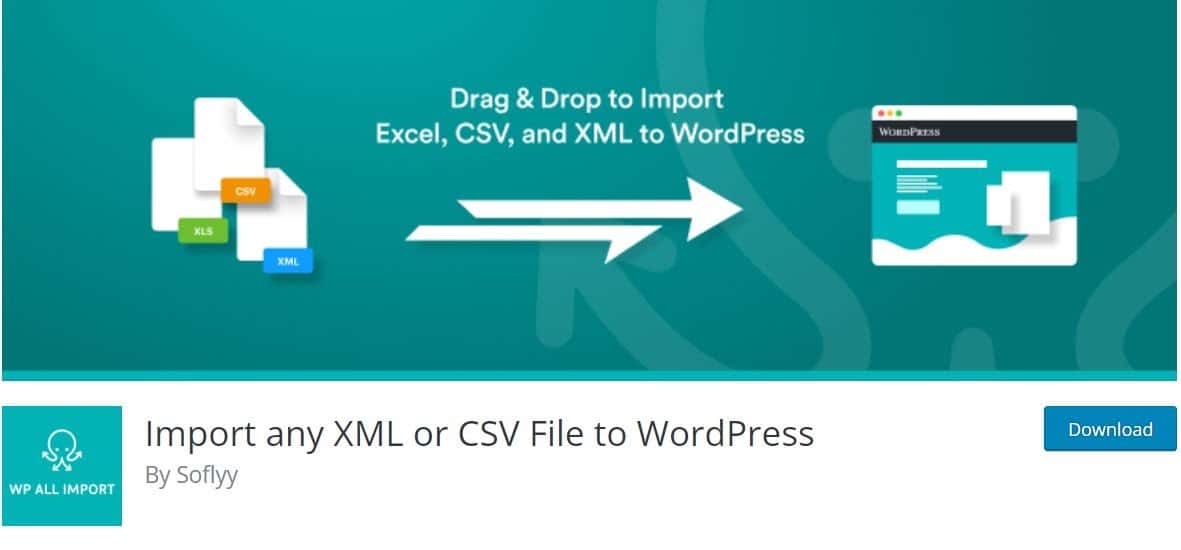
Therefore, you’ll need to use a migration plugin for importing CSV files into WordPress. We recommend WP All Import:
To add the plugin to your website, go to Plugins > Add New in your WordPress dashboard and look for the tool in the search bar.
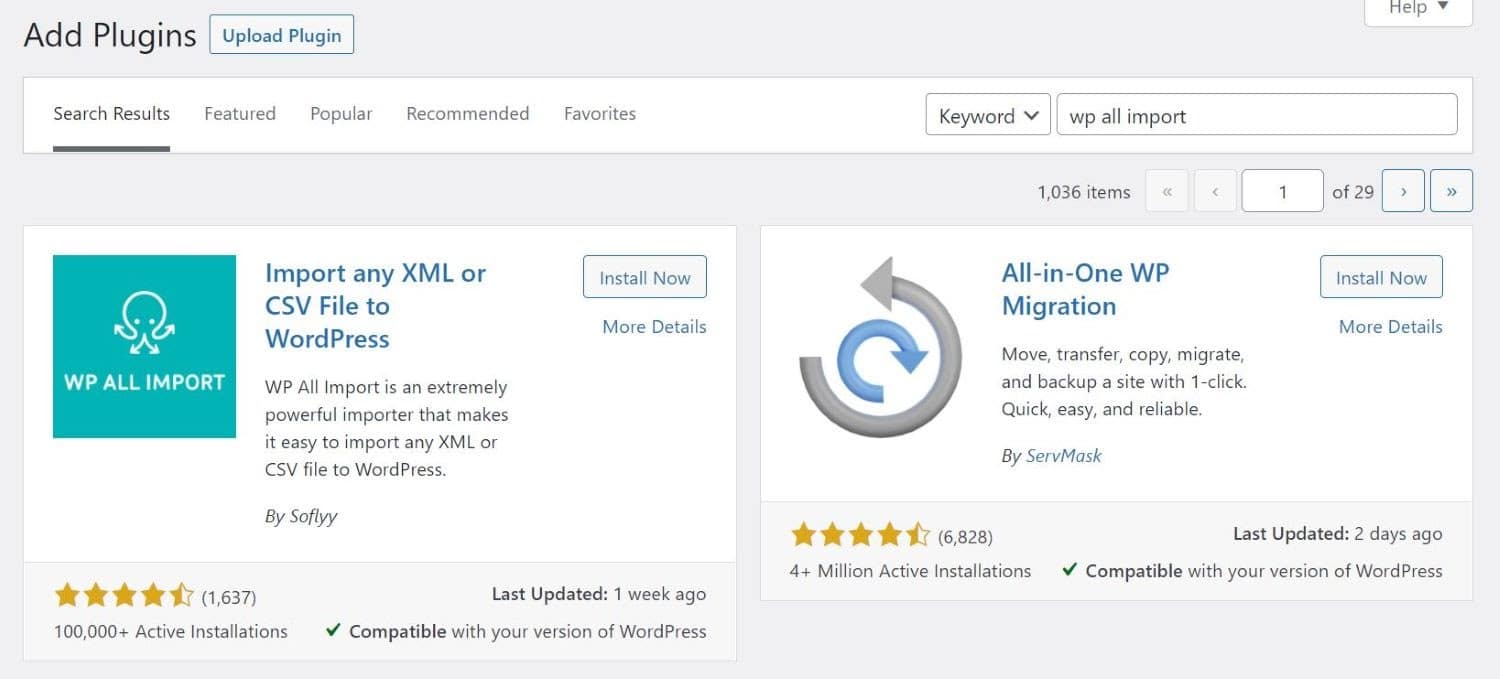
Then, click on the Install Now button, followed by Activate. Once the plugin has been activated, navigate to All Import > New Import:
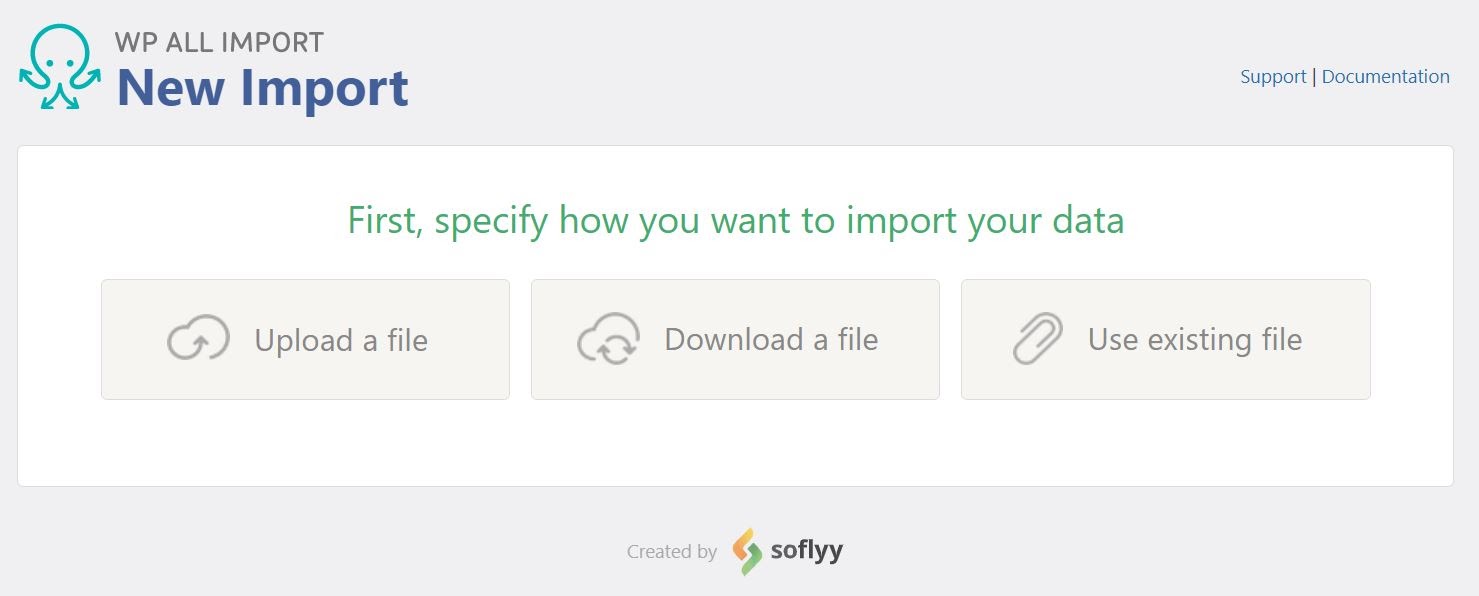
Click on the Upload a file option, then select the CSV file you downloaded earlier. The plugin will then walk you through the import process.
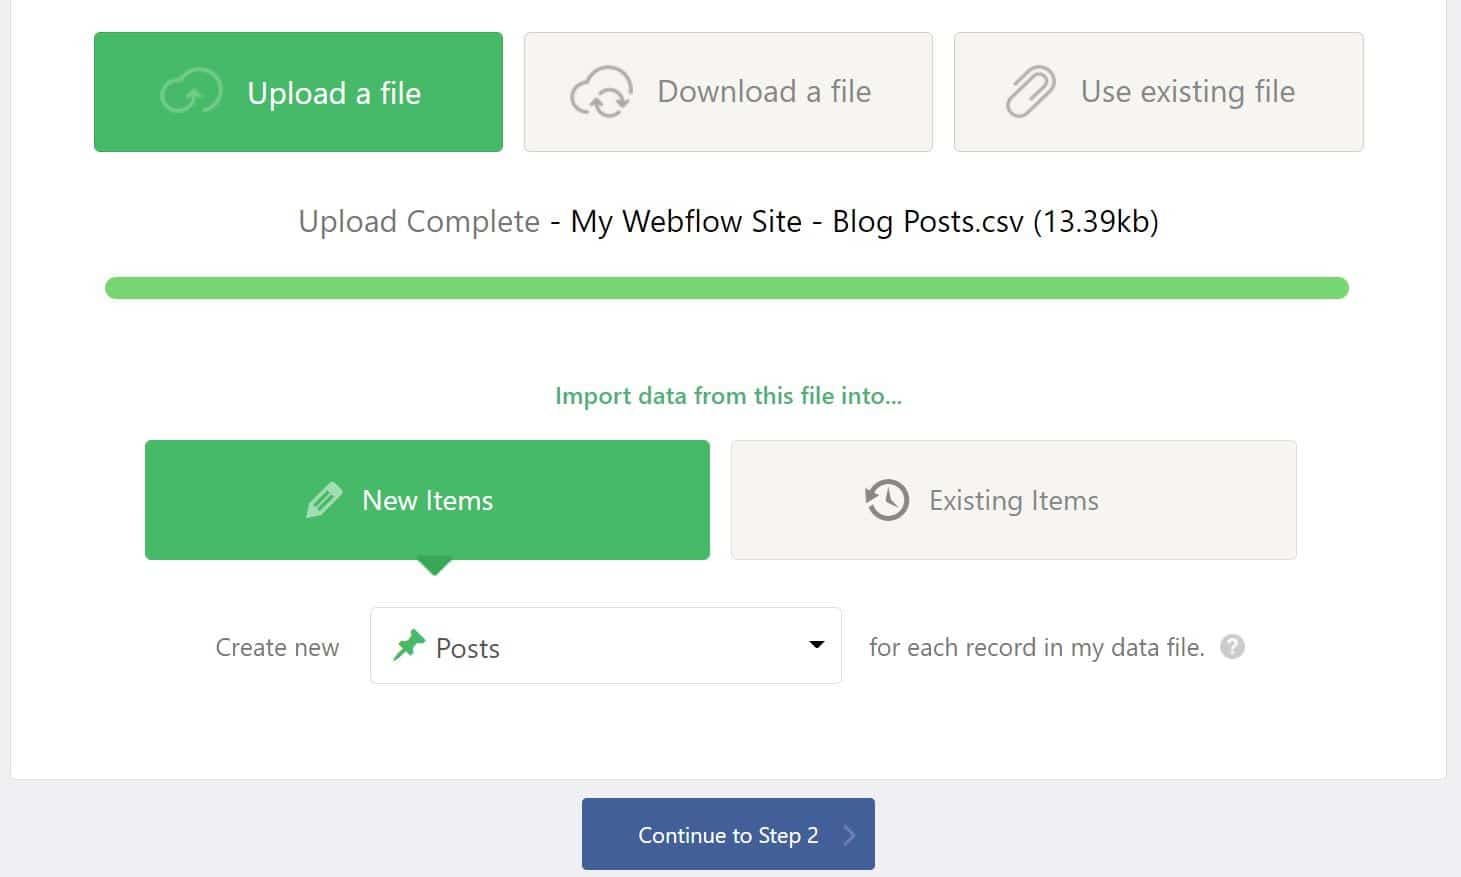
For this tutorial, we’re importing the blog posts from Webflow:
The plugin will ask you to drag elements into the correct fields using a drag and drop interface:
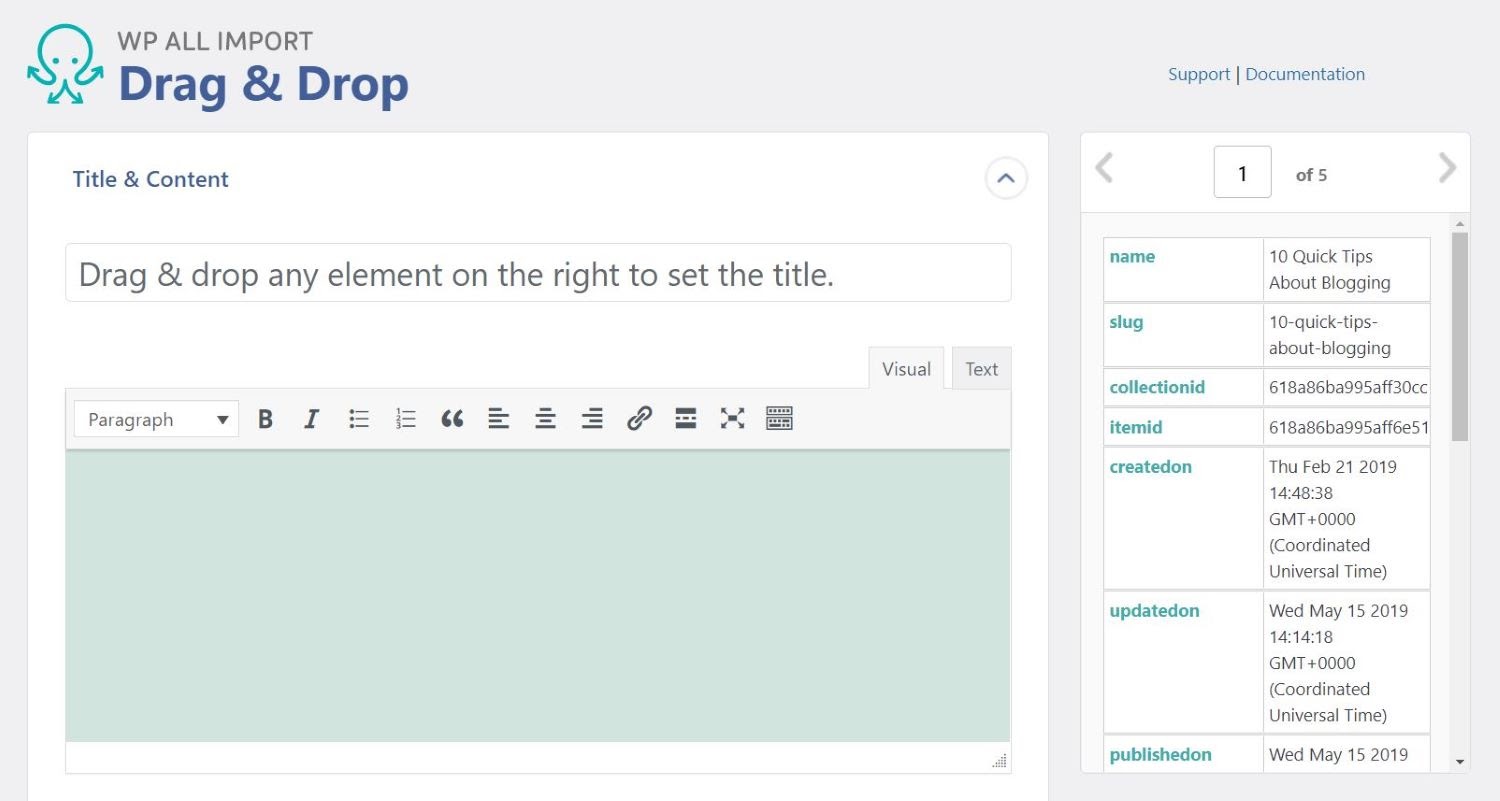
For instance, you’ll need to drag the name of your post (from the right) to the title field and postbody to the relevant area. You’ll also see options for adding taxonomies, such as categories and tags, and configuring other settings, like the post status:
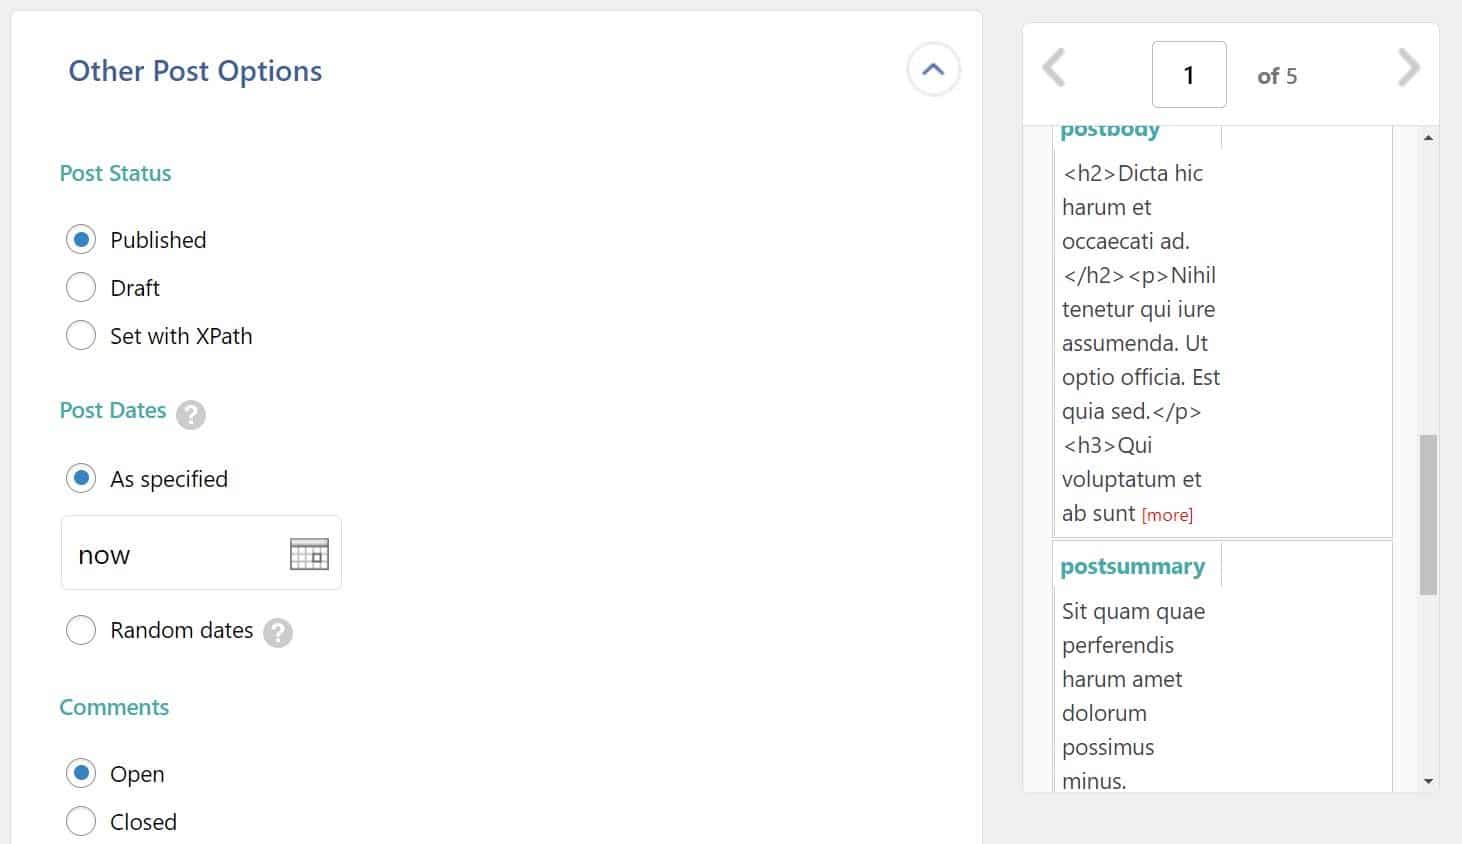
Note that these settings will be applied to every post in your file. Therefore, you won’t have to repeat the process for every post that you’ve imported.
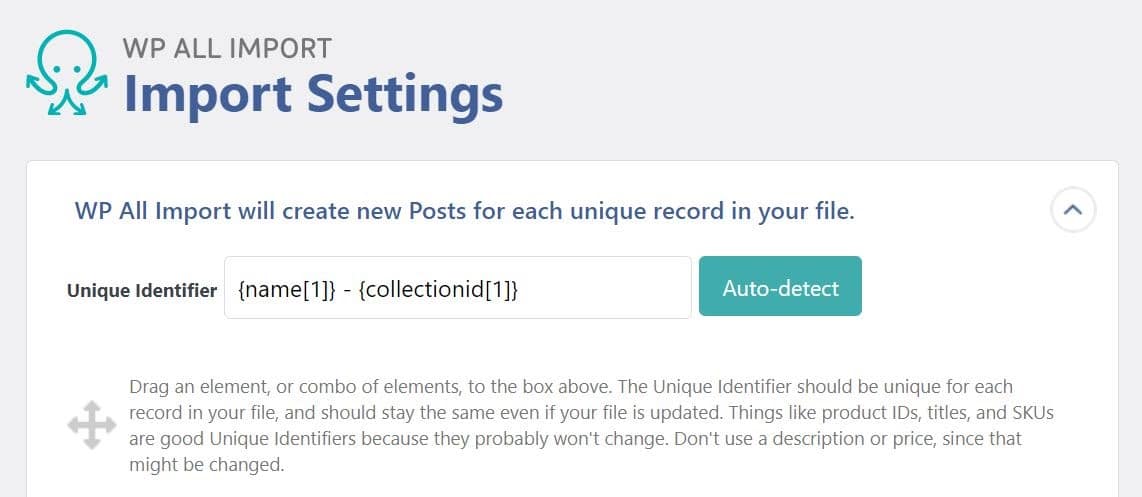
Next, you’ll be asked to define a unique identifier for the posts in your file. You can click on the Auto-detect button to generate an ID:
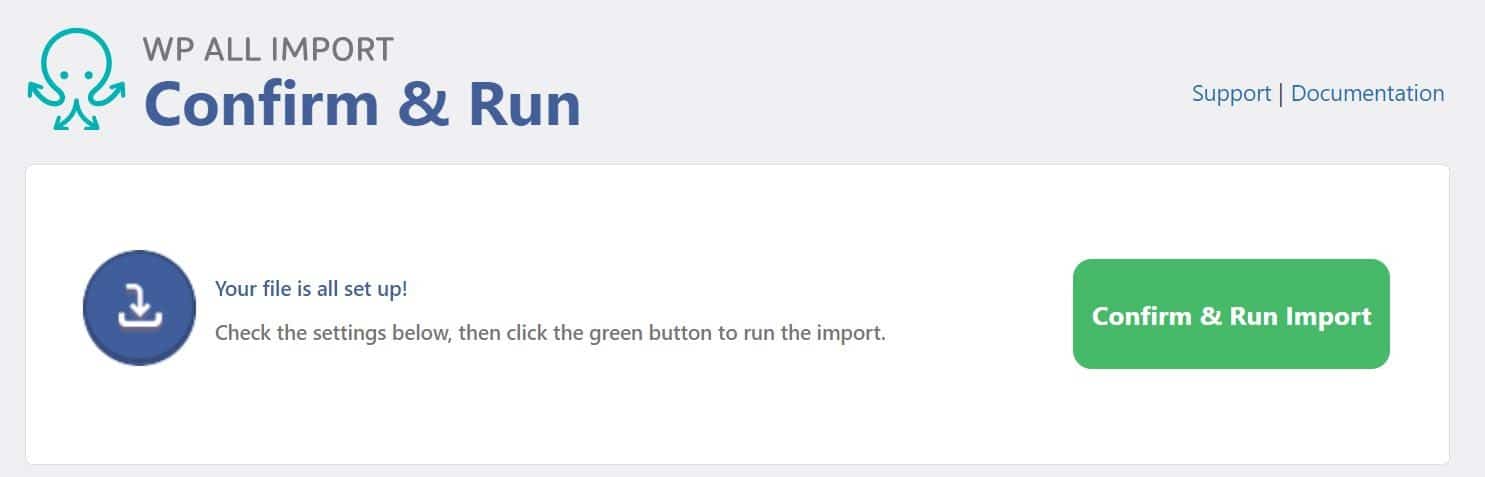
Finally, you’ll need to click on the Confirm & Run Import button to finalize the process:
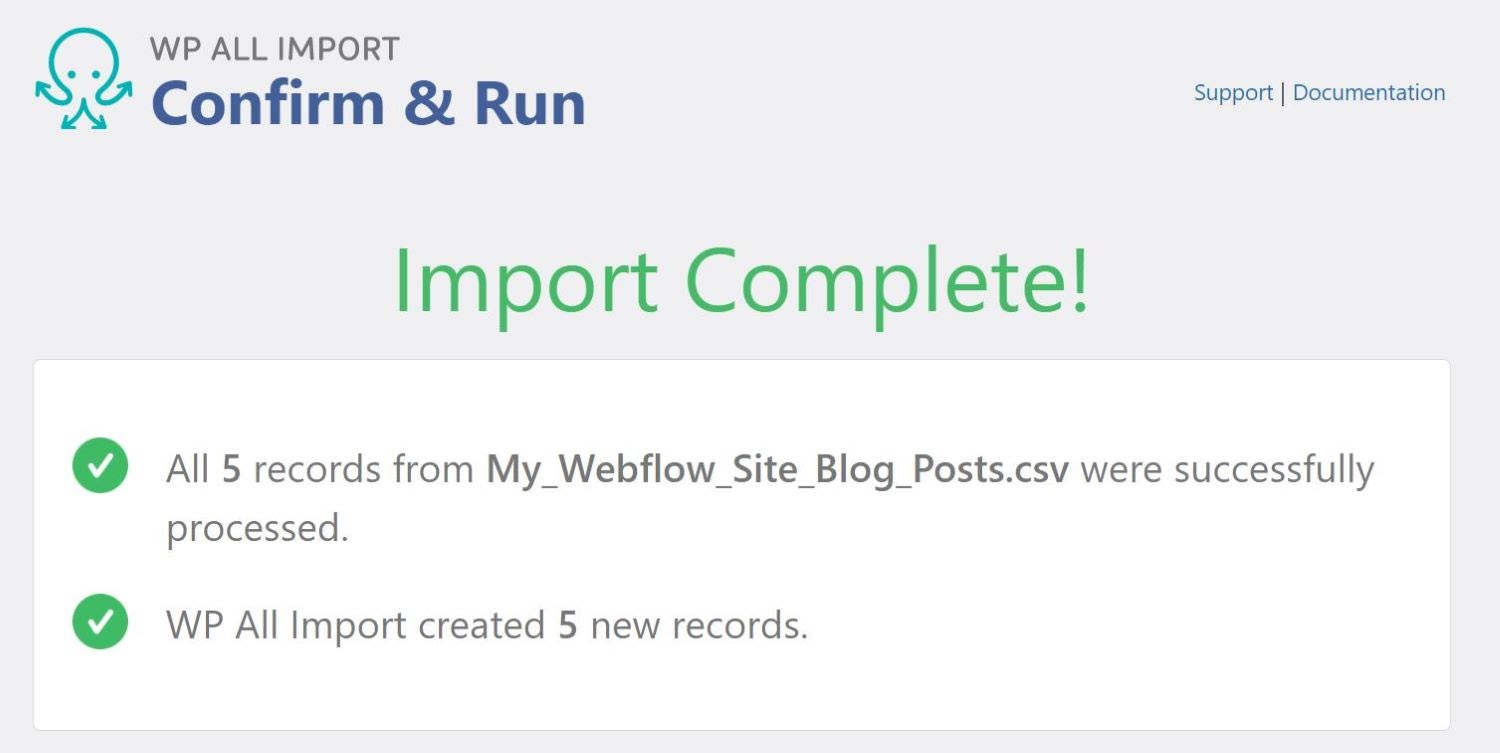
The plugin will let you know when the import process is complete:
Once it’s ready, you can check your content by navigating to Posts or Pages in your dashboard. You’ll also need to repeat the import process for any other Webflow files you downloaded.
Note that WordPress does not support the automatic import of images from other platforms such as Webflow. Therefore, you’ll need to add in your graphics manually or use a plugin such as Auto Upload Images.

This plugin will look for image URLs in your posts and pages. It will then download those graphics and upload them to WordPress, replacing the URLs.
Step 4: Choose a WordPress Theme
Unfortunately, you cannot transfer your Webflow site’s design to WordPress. However, the popular CMS offers thousands of beautiful themes to choose from.
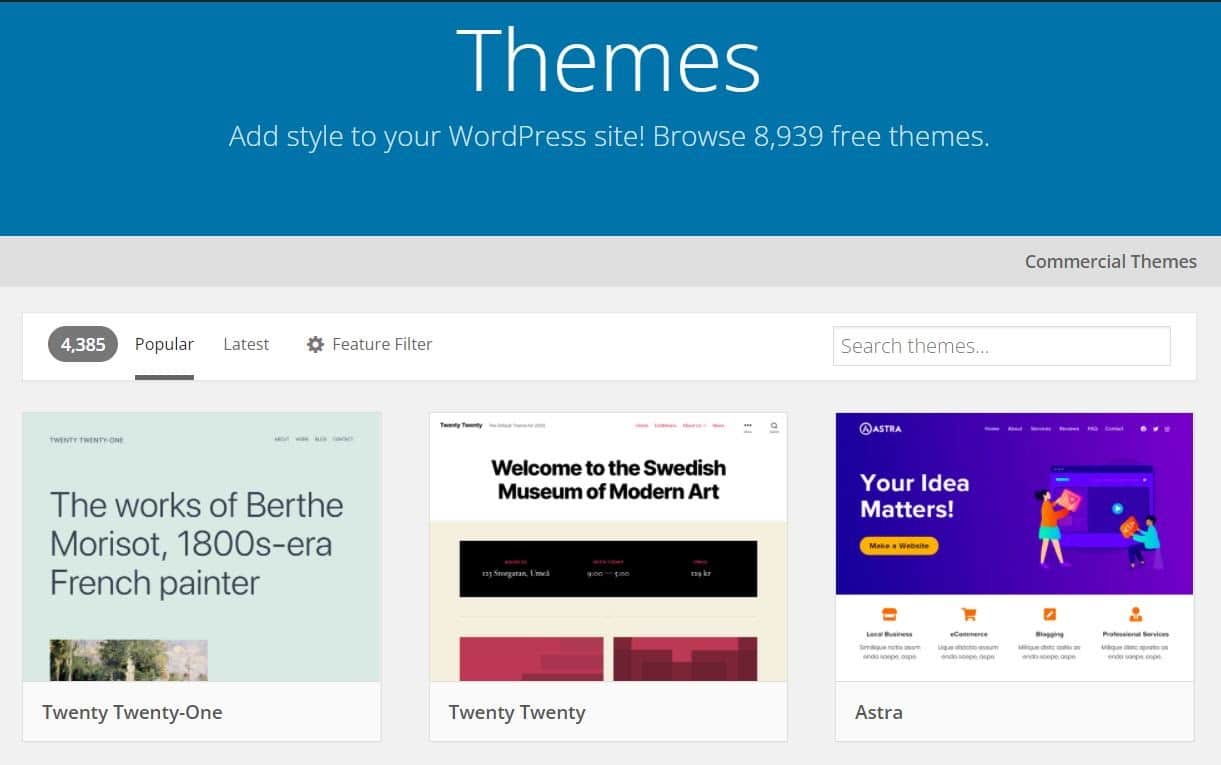
WordPress themes are customizable, so you can modify them to suit your needs. Moreover, most of them are free, although some paid themes can also be quite affordable.
We recommend spending some time customizing your WordPress theme and trying out different options. However, you’ll want to choose a responsive design, as this will help you ensure that your content looks great on all devices.
Step 5: Configure Your WordPress Permalinks
Next, you’ll need to configure your WordPress permalinks. They define the structure of your site’s URL.
To access your permalinks, go to Settings > Permalinks in your WordPress dashboard:
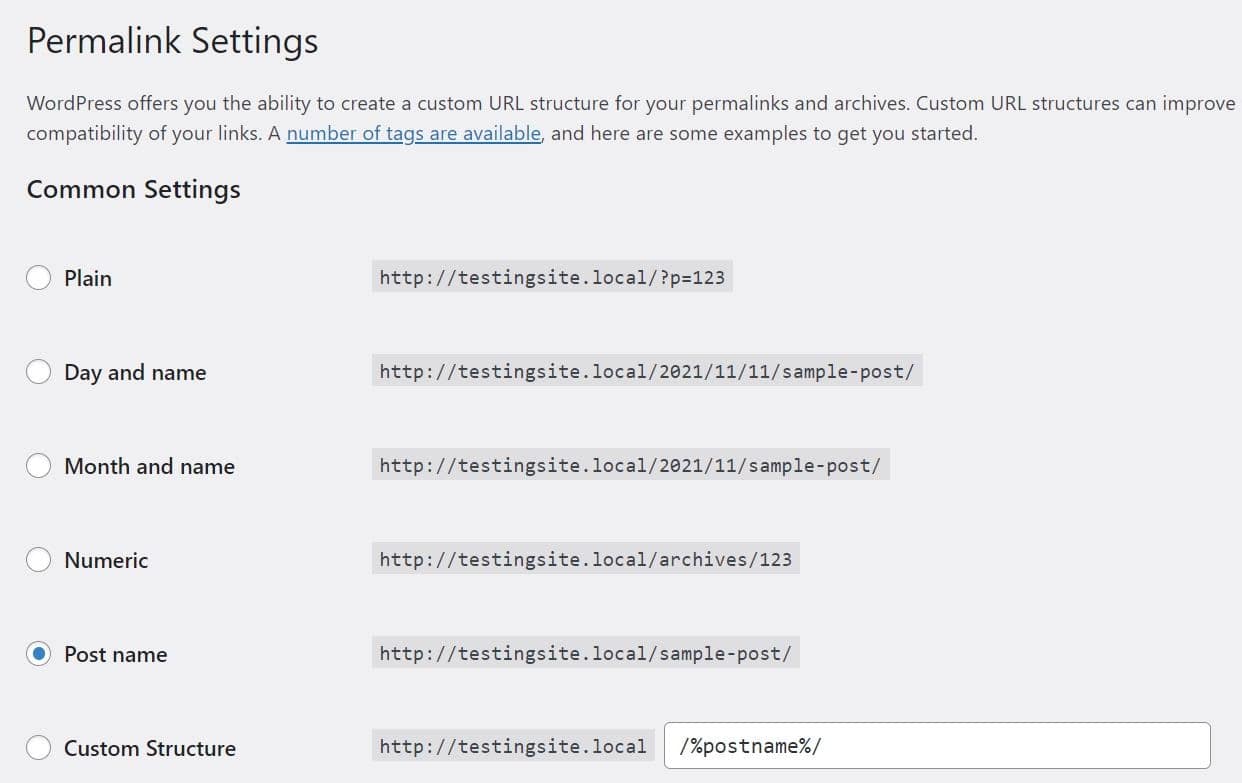
As you can see, you have several options. We recommend that you select Post name. This way, your URLs will be composed of your domain name and the slug you set for that particular page or post. Having short and clean URLs can benefit your site’s Search Engine Optimization (SEO).
When you’re ready, click on Save Changes. You can now move on to the final step.
Step 6: Point Your Domain to WordPress
While you may have imported your site to WordPress, your domain (e.g., mysite.com) still points toward Webflow’s nameservers. If you want to keep the same domain, you’ll need to update your DNS settings so that your domain points to your new web host’s servers.
You can find your host’s nameservers in your hosting account. They typically look something like this:
- ns1.yourwebhost.com
- ns2.yourwebhost.com
- ns3.yourwebhost.com
If you used a domain registrar when you created your Webflow site, you’ll need to log into your account to manage the DNS settings. Your new web host may even let you manage your domain through its control panel. If you’re a Kinsta customer, you can use MyKinsta to point your domain towards your new website.
Now, when visitors type your URL into Google, they’ll be directed to your new site. We recommend that you complete this step once your WordPress website is ready to go live.
Summary
Webflow is an all-in-one website builder that makes it easy to launch and manage your site. However, as your website grows, you may need to switch to a more flexible and powerful platform, such as WordPress.
As we have seen, migrating from Webflow to WordPress can be a smooth process. However, it’s essential to choose the right hosting provider for your new website. You’ll also want to select a responsive WordPress theme, optimize your permalinks, and update your domain settings so that users are directed to your new site.
Do you have any questions about migrating from Webflow to WordPress? Let us know in the comments section below!

Head of Content at Kinsta and Content Marketing Consultant for WordPress plugin developers. Connect with Matteo on Twitter.

