
Headless WordPress has been a big trend in web dev spheres for a while now. Decoupling the front end and back end can lead to a finer degree of control, omnichannel applications, and some interesting usages of this new technology.
Many developers have been enjoying experimenting with frameworks like Vue.js and React.js or even web frameworks like Django and Ruby on Rails, which are usually all but incompatible with WordPress.
There are plenty of frameworks like these that work well with headless WordPress, but SvelteKit is a special one. The UI framework was built specifically to make developing web apps easier with concise and graceful code. It can easily streamline functionality that normally doesn’t play nicely in a decoupled environment.
Interested to learn more? Let’s go over some headless WordPress basics, and then we’ll teach you all about SvelteKit and how to get it working in your environment.
What is headless WordPress?
You may already know the difference between the WordPress front and back end. The back end is where all the underlying CMS operations go: you create posts and pages, install plugins, design your theme, and change settings.
On the other end, the front end is basically the website displayed to visitors. WordPress, alongside its themes and plugins, uses various functions like get_posts() to pull and display the data it needs.
For example, take the Recent Posts widget that displays on the homepage. Using functions like that, it accesses data from the back end and displays your latest posts in the public front end.
The back end and front end of WordPress are tightly woven and, in many ways, rely on each other to function, but that doesn’t mean they’re inseparable.
That’s where the concept of “headless WordPress” comes in: with this, you separate, or decouple, the WordPress back end. You’re then free to hook it to whatever front end technology you wish to use – not just PHP, but any web development framework, or even an application.
This has the additional functionality of allowing you to use the WordPress CMS across multiple channels. Port your blog posts or other CMS items to multiple websites, mobile apps, and wherever you want.
Overall, headless WordPress gives you more control over the CMS and the ability to utilize technologies that are usually incompatible with it. It also saves you from having to write an entire app from scratch—you can use WordPress’ built-in CMS to do part of the work.
What is the REST API?
To get headless WordPress working, you need to connect your applications using an API or Application Programming Interface. APIs allow two different applications to interface with each other, in this case, the WordPress back end and your custom front end application.
While there are many types of APIs, the REST API is one that comes baked into WordPress. This allows external applications to securely retrieve data from the WordPress backend without needing to go through the admin interface.
The REST API is used in a variety of official WordPress functions, including the block editor, and most themes and plugins that require an API to function use this one.
This also applies to headless applications. Many of these use the REST API to interface with WordPress, retrieving data from the back end and dynamically rendering it through your front end app.
The REST API provides endpoints that represent different WordPress resources, such as posts, pages, users, categories, and so on. Accessing these allows you to display this data in the front end.
But while you can use the REST API with it, SvelteKit primarily relies on a different technology for many of its functions: GraphQL.
What is GraphQL?
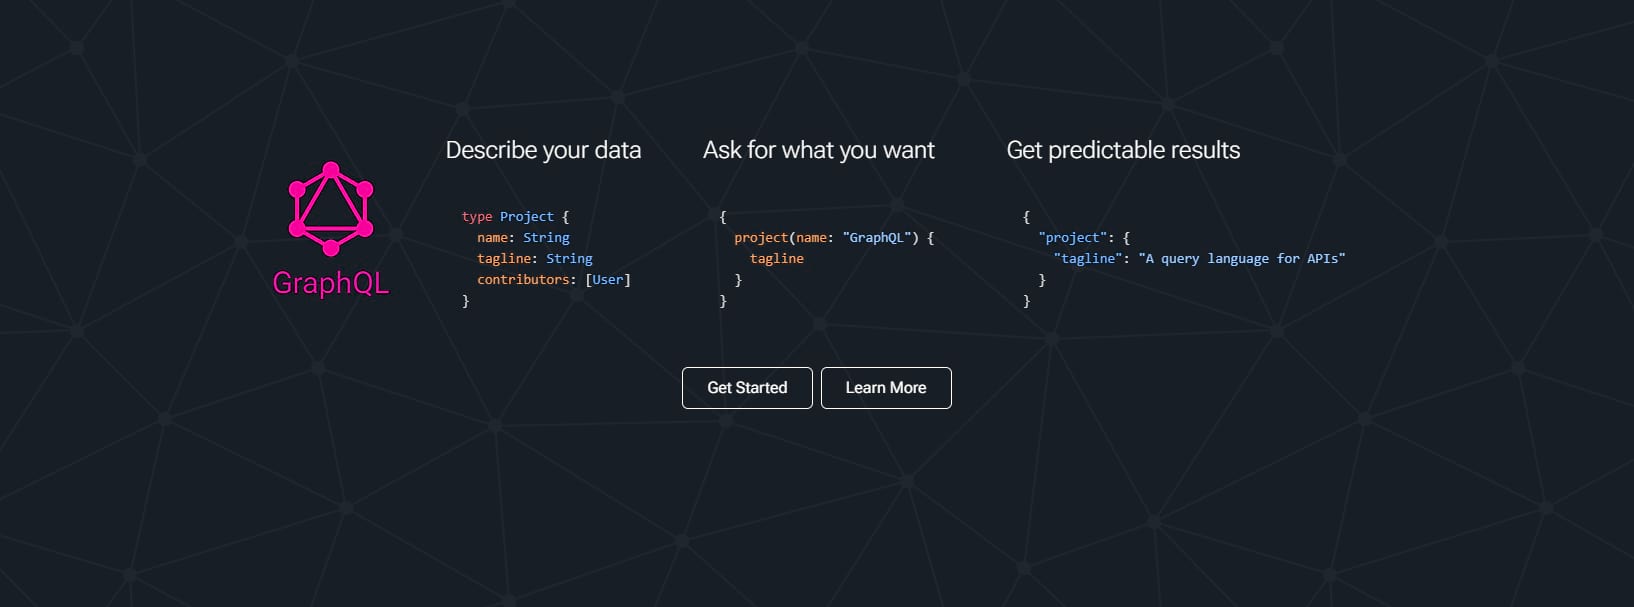
GraphQL is not an API itself but an API query language. Unlike traditional REST APIs, where clients often have to make multiple requests to different endpoints to fetch related data, GraphQL allows you to retrieve all your data in a single request.
Overall, GraphQL was designed to let you make more concise queries in a fast and optimized framework. It is also easier to learn and less complex than the REST API.
Many headless WordPress frameworks use GraphQL rather than or alongside the REST API for these reasons. While GraphQL is not bundled with WordPress like the REST API, there are plugins you can use to bring this functionality into the CMS.
Thanks to the optimized framework, you avoid under-fetching and over-fetching data. You can fetch the exact data you need in a single query, which is much easier on your network and server.
What is SvelteKit?
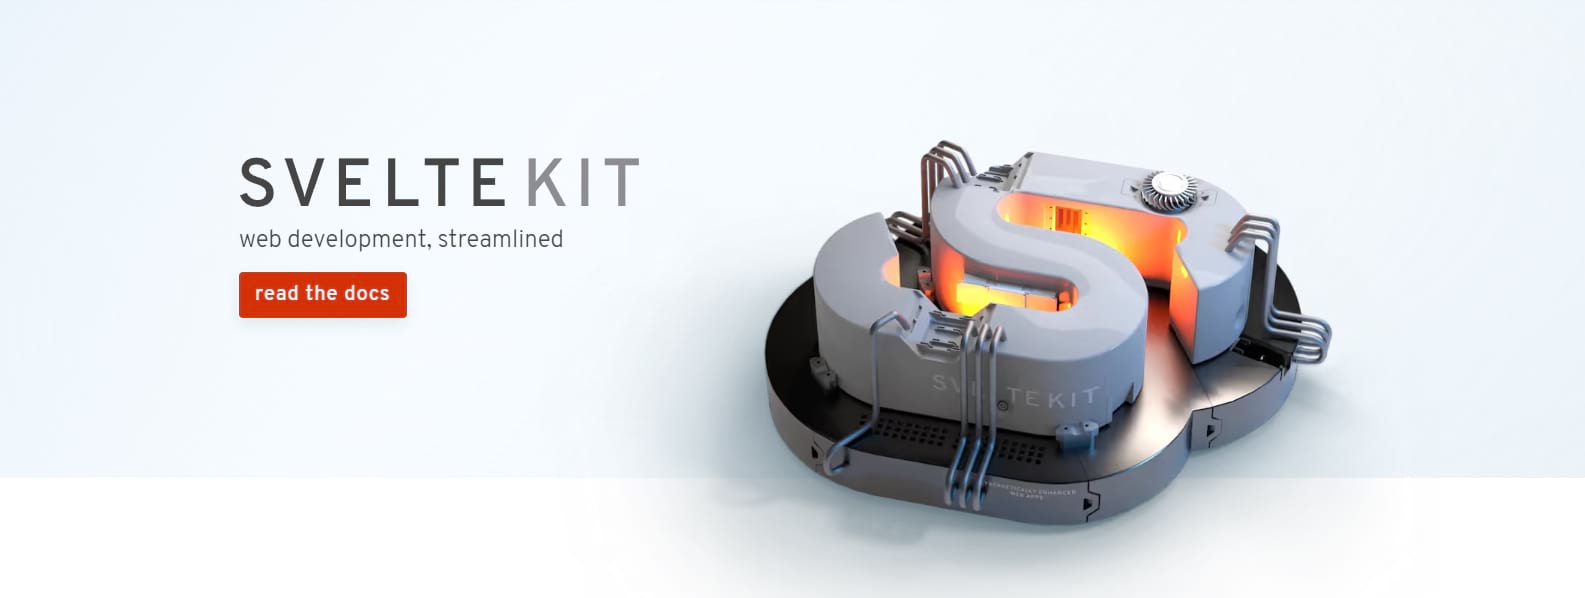
SvelteKit is a web framework built on Svelte, an open source, front-end framework similar to Next.js or React in function. It was built to streamline the process of creating web apps, and while it wasn’t built specifically for headless WordPress, this is just one of many possible applications.
SvelteKit was built on HTML, CSS, and Javascript – nothing more. This makes it super easy to use and framework agnostic, so you can use it alongside other frameworks to create a fully dynamic front end app or build a static site.
Svelte was launched in 2016 and is still actively updated today. The web framework SvelteKit came a few years later, in 2020. Both are well-known and loved in the web development scene, allowing you to write simple and elegant code.
Why you should use SvelteKit for headless WordPress
There are a few aspects of headless WordPress that can be a pain to get working. Thanks to SvelteKit’s minimal design, these issues are minimized and make headless WordPress setup a lot smoother.
Here are just a few of the features SvelteKit offers.
- Javascript only. Unlike other frameworks, you barely need to worry about dependencies and confusing setups. Often, zero configuration is required. SvelteKit works wherever Javascript can run.
- Framework agnostic. SvelteKit plays well with other frameworks due to its simplicity. Bring any technology into your headless WordPress application.
- Extensible. If SvelteKit doesn’t work perfectly in your environment, it’s extremely easy to extend it and fix up anything that doesn’t work well in your setup.
- Lightweight and easy to learn. SvelteKit only relies on Javascript, HTML, and CSS. It’s very light compared to traditional frameworks and is super easy to work with. Create clean, elegant, and simple code with compact and concise components.
- Data fetching made simple. GraphQL, which SvelteKit works well with, simplifies the process of fetching data from WordPress and lets you make more concise and efficient queries.
- Authentication is easy. SvelteKit recently implemented NextAuth.js support, keeping your data safe and secure while being easy to install.
- Server side rendering (SSR) and static site generation (SSG). SvelteKit isn’t just for static sites or dynamic applications. You can do either one easily using this framework, as multiple page rendering options are provided, and static site generation is easily done.
- Sitemaps. If you’ve ever pulled your hair out trying to get a working sitemap on a headless site, you’re not alone. SvelteKit allows you to dynamically render sitemaps with an endpoint.
- Lively community. There are plenty of SvelteKit fans developing apps with the software. If you need help or want to chat about the framework, they’re easy to find all over the internet and on social media. There’s even a Discord server with 60k+ members!
How to create a headless WordPress site with SvelteKit
Ready to get started? This guide will walk you through setting up WordPress in a local environment, installing SvelteKit on your machine, and deploying your headless WordPress instance to Kinsta once you’re finished.
Let’s dive right in.
Step 1. Set up a WordPress site
There are many ways to set up a local WordPress instance on your machine. If you have a Kinsta account already, you could create a website with the MyKinsta dashboard or use the Kinsta API to set one up.
For this tutorial, we’ll be utilizing DevKinsta, a local WordPress development kit. You don’t need to have Kinsta hosting to use DevKinsta – it’s totally free.
Download DevKinsta from the link above. If you need help with installation or want to learn the ropes, consult the DevKinsta documentation.
Once DevKinsta is installed and set up, follow these steps to create a local WordPress environment.
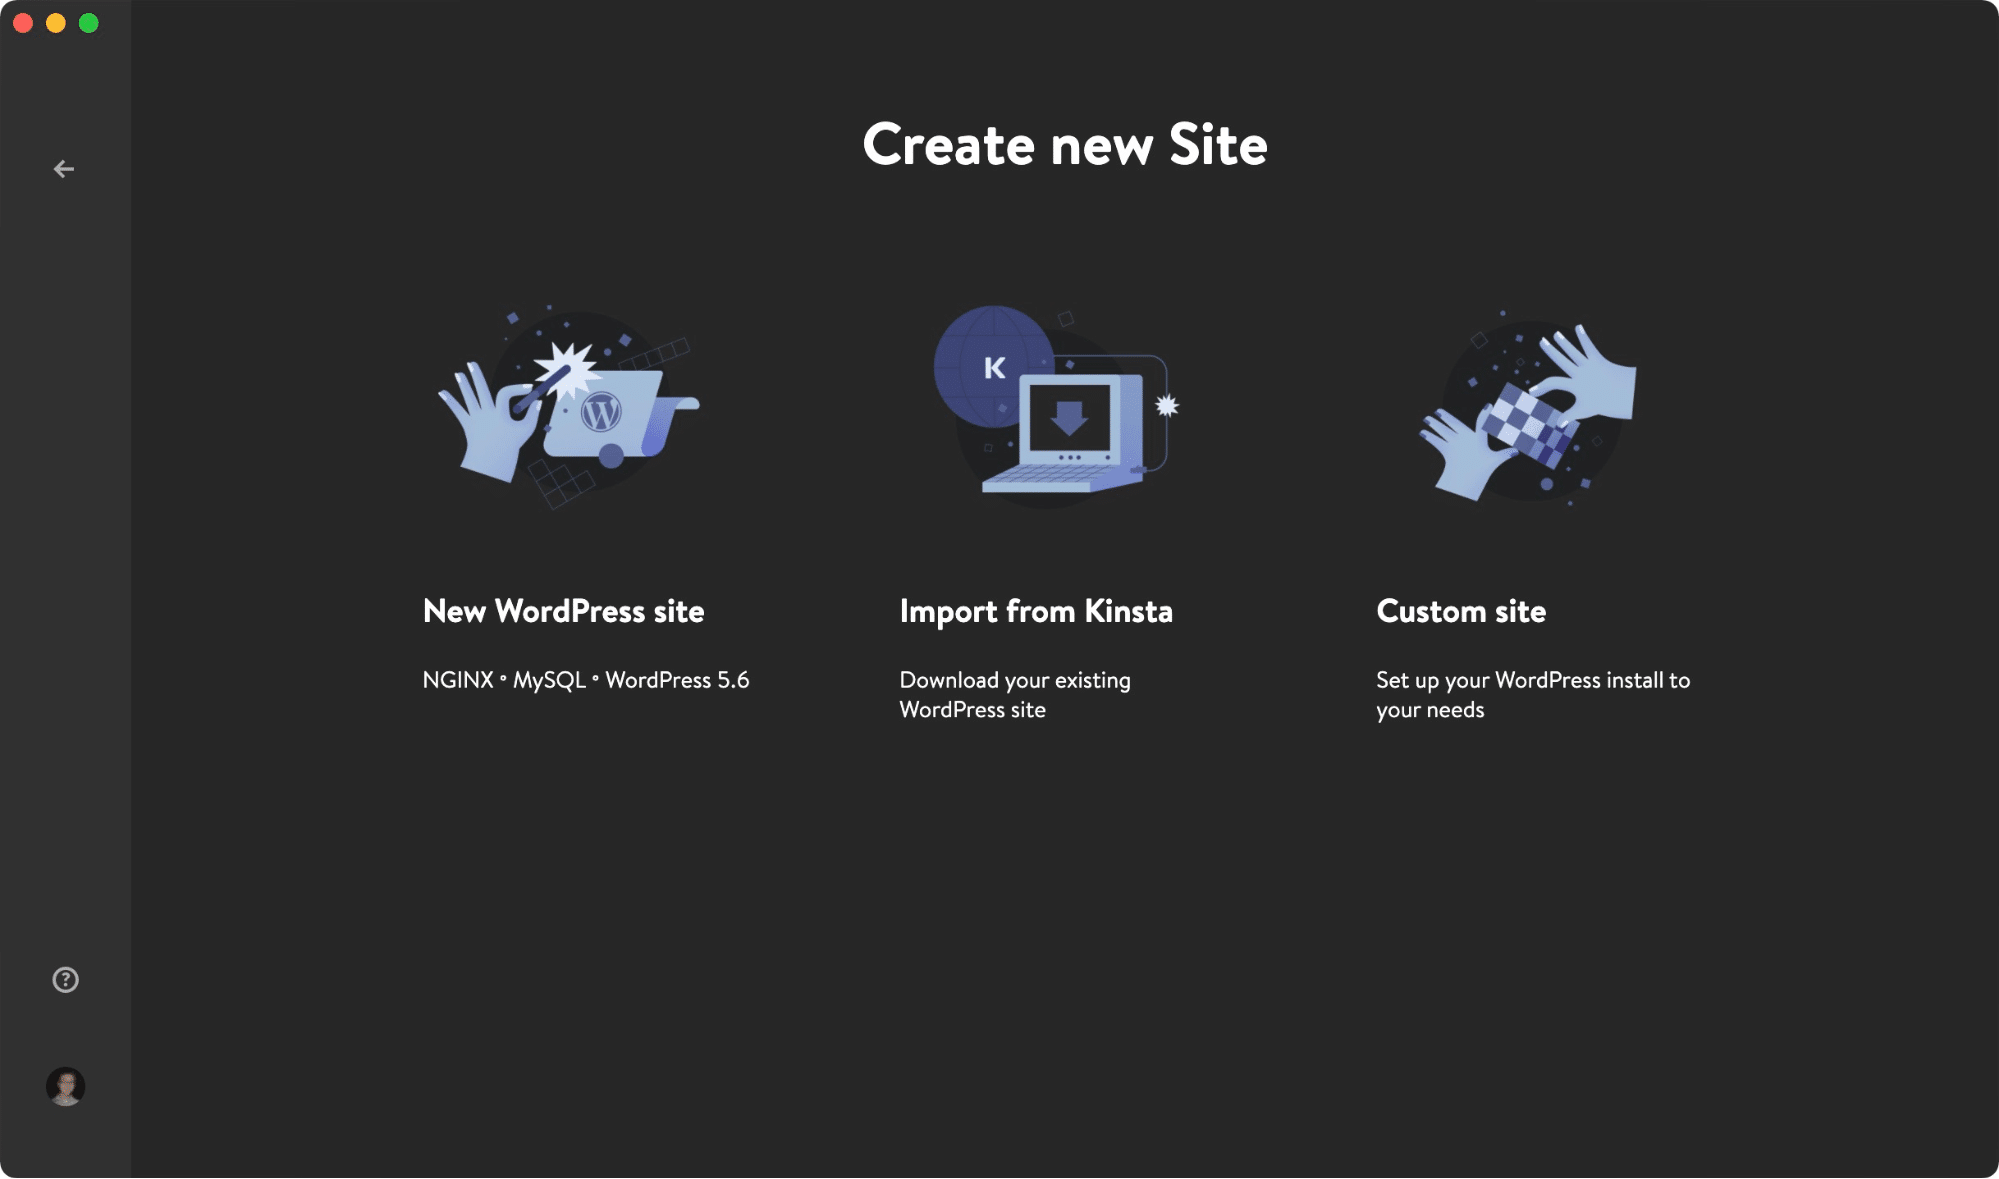
- Create a New WordPress Site or Custom site if you want to change settings like PHP version, multisite, and so on.
- Enter your site name, username, password, and any other info, and click Create site. Wait a bit while DevKinsta sets up your local WordPress environment.
- You’ll be taken to the Site Info screen. Take note of your Site host as this is the local URL you access to open your site.
- Either click Open site and navigate to http://<yoursite>.local/wp-admin, or just click WP Admin to open that page directly. Log in with the credentials you entered earlier.
Set 2. Prepare WordPress for headless deployment
On your brand new admin home screen, you’ll need to take a few extra steps to prepare your WordPress install for going headless.
SvelteKit relies on GraphQL for many of its functions to work, so you’ll need to install WPGraphQL. This plugin allows you to use the GraphQL framework to connect to headless Javascript technologies like NextJS, Gatsby, and, of course, SvelteKit.
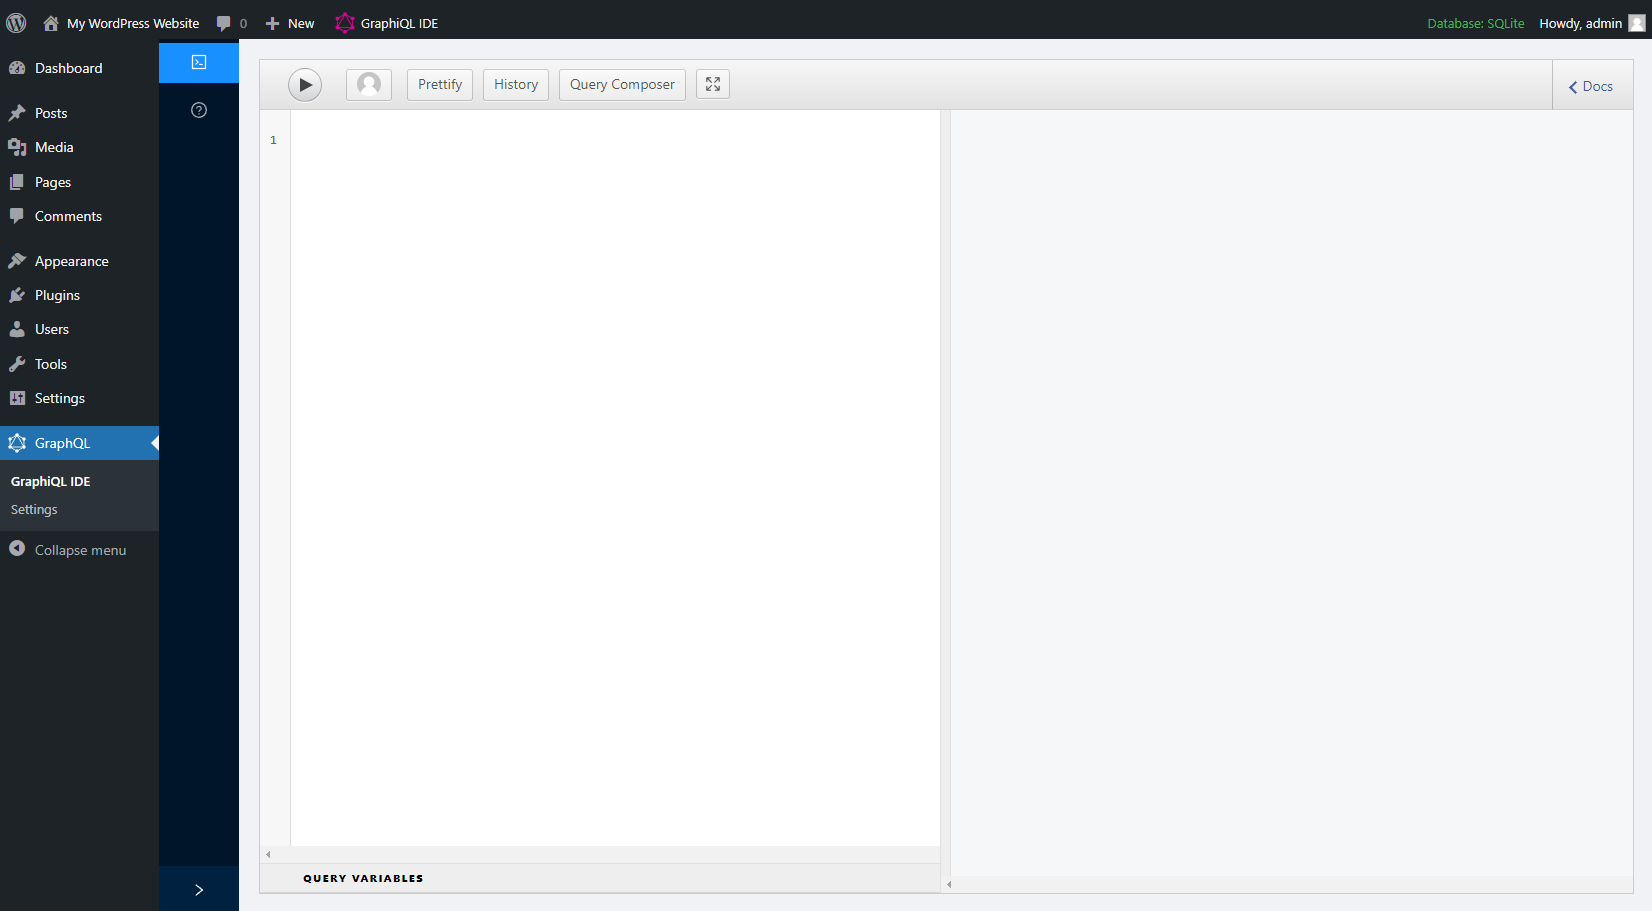
Do this by navigating to Plugins > Add New and installing WPGraphQL. This will add a GraphiQL IDE to your admin bar which you can use to write GraphQL queries within WordPress.
You’ll also need to fix your permalinks. WordPress comes with plain permalinks by default, which won’t work with the JSON API that REST relies on or with SvelteKit itself due to constraints within Next.js.
Head over to Settings > Permalinks and switch the permalinks off of Plain. Try Post name permalinks.
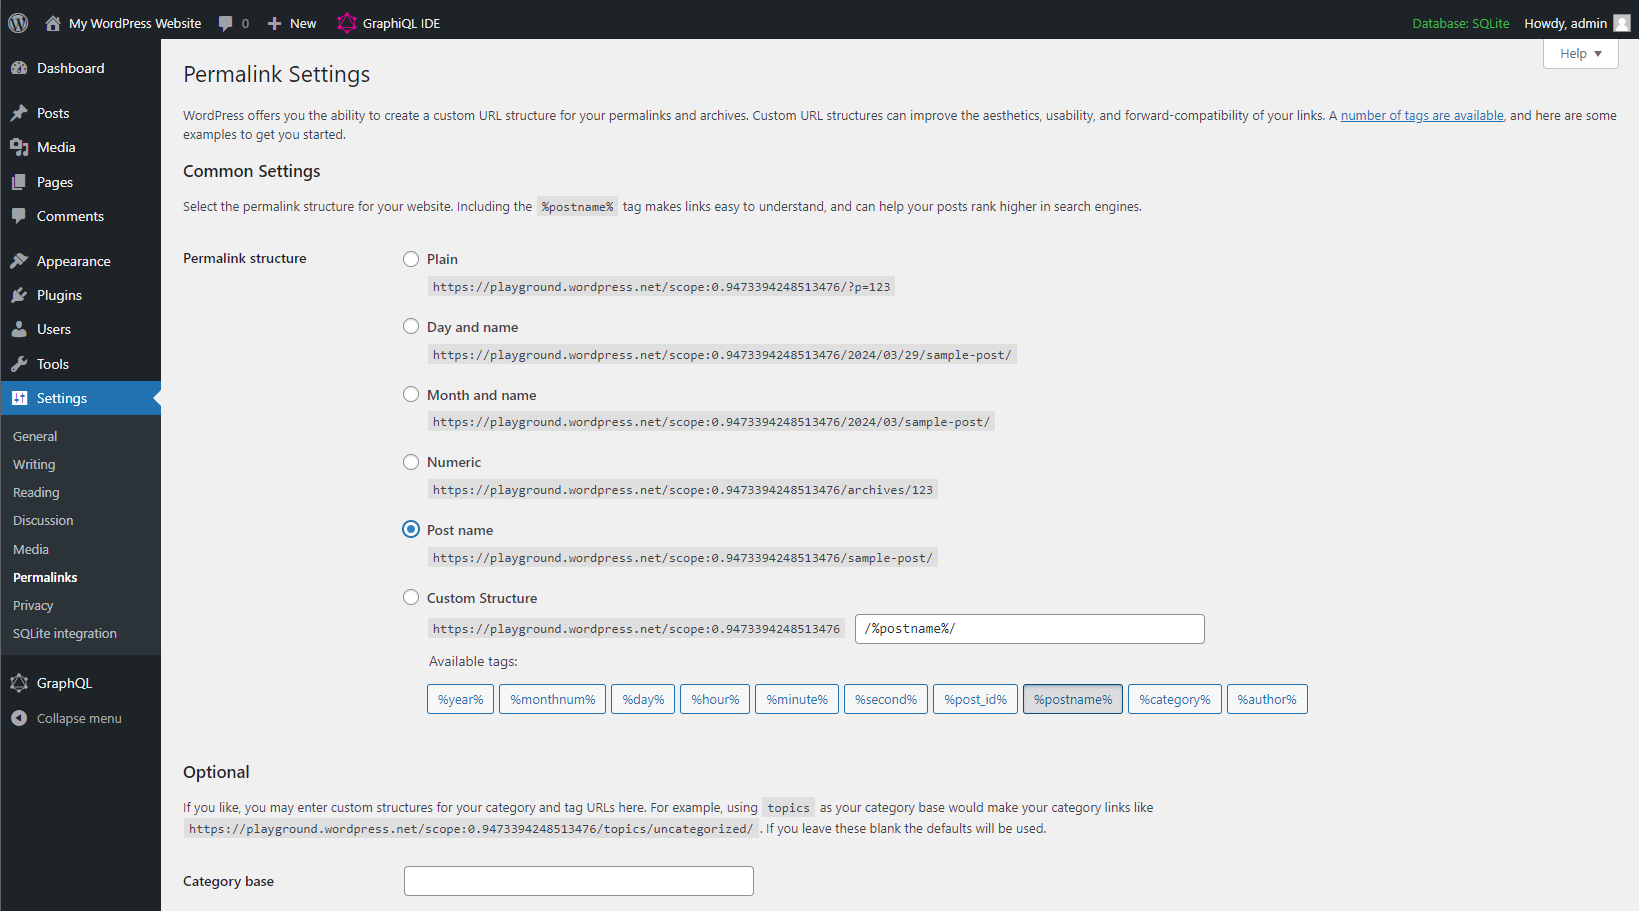
To check if it worked, append “/wp-json” to your local site’s URL. You should see your site content output as JSON data.
Later, you’ll need to use a full site redirect plugin, such as Redirection or All In One SEO Pro, to point your URL to the front end application you build. Install and set up a redirection plugin once you’re ready to redirect users to your SvelteKit app.
With that, you’re all done and ready to install SvelteKit.
Step 3. Set up your SvelteKit environment
First things first, SvelteKit has some basic system requirements including Node 18.13 or higher. Since the framework is so light, it will work on almost any system. Make sure you have npm installed alongside Node, or it won’t work!
You can now install SvelteKit on your system. The documentation provides a full walkthrough, but here are the basics.
First, let’s install Svelte with the create-svelte package. You can name your project (“my-svelte-app”) whatever you want. This command will create a Svelte app with all the basic settings ready to go.
npm create svelte my-svelte-appYou’ll be presented with various prompts; answer yes or no to create your SvelteKit environment.
There are some npm packages you’ll need to install, so access your project’s root with this command (replace “my-svelte-app” with whatever you named it).
cd my-svelte-app/Then run this command to install the needed packages:
npm installAnd finally, run the development server with this command:
npm run devOnce the server is launched, you can check on your in-progress app at this URL: http://localhost:3000
Now, rather than using the default page renderer, you may want to switch to the static renderer to generate a static SvelteKit site.
With that, SvelteKit should be set up successfully, and you can begin creating your headless site.
Step 4. Use GraphQL to Connect SvelteKit and WordPress
As you experiment with GraphQL and your SvelteKit environment, keep these tips in mind.
- Read the introduction to Svelte/SvelteKit to gain a full understanding of how this framework functions. This tutorial is interactive; you can try out the code yourself!
- You may wish to install the SvelteKit GraphQL package if you’re having trouble setting up your GraphQL API manually.
- As part of WPGraphQL, you can also use Gutenberg blocks via wp-graphql-gutenberg, which comes with the standard plugin.
- While you can use the REST API with SvelteKit to an extent, GraphQL’s expanded functionality works best with this framework. If you’d rather use the REST API, check out this SvelteKit headless WordPress demo on GitHub, which uses the REST API to connect the two platforms.
You should also read up on loading data and routing to integrate SvelteKit and WordPress. There are plenty of ways to connect to WordPress and build a headless app.
Step 5. Deploy WordPress and SvelteKit to Kinsta
Once you’ve set up a headless environment and are ready to deploy, you’ll need to take two separate steps: Deploying WordPress and pushing the front end to a static site.
The WordPress part of this is very easy. In DevKinsta, on your Site Info page, you should see a Push to staging button. You’ll need to log in with your Kinsta credentials, but after that, you’re all done.
As for your SvelteKit application, that’s pretty easy, too. Kinsta offers free static site hosting, which works great with most apps built in SvelteKit. Here’s how to do it.
- Push your SvelteKit application to Bitbucket, GitHub, or GitLab.
- Create a Kinsta account and log in to the MyKinsta dashboard.
- Log in to your Git account of choice and authorize Kinsta.
- In MyKinsta, click Static Sites and then Add Site.
- Select your application’s repository, and add the proper build settings.
- Click Create site.
If you created a complex application where a static site won’t cut it, you may wish to instead deploy with Kinsta’s application hosting.
Either way, your headless site is now deployed! You’re ready to show off your brand-new headless WordPress application.
Summary
Headless WordPress is a big deal these days, but setting it up isn’t always easy. SvelteKit was specifically built to make web development cleaner and easier, and the framework is perfect for a headless WordPress setup.
Now that you know how to create a local WordPress instance, work with SvelteKit, and deploy to Kinsta, you’re ready to take headless WordPress to the next level.
Whether you’re creating a static site or a dynamic web application, SvelteKit is uniquely suited to the task. Kinsta’s application hosting or free static hosting is the best place to host it, thanks to its lightning-fast infrastructure built on Google Cloud and Cloudflare.
Have you worked with SvelteKit yet? Does the framework live up to the hype? Share your thoughts in the comments!


Leave a Reply