
Images and other media files are an important part of any WordPress website. To use them effectively, it helps to have a firm grasp on how the WordPress media library works.
This handy WordPress feature enables you to store and manage your images and other media over time. With some insider knowledge and a few simple tricks, there’s a lot you can do to improve your site via your Media Library.
In this comprehensive guide, we’ll walk you through everything there is to know about the WordPress Media Library, including how to import and download content. We’ll also cover image editing, long-term file management, and four hacks for incorporating advanced functionality.
Let’s get started!
An Introduction to the WordPress Media Library
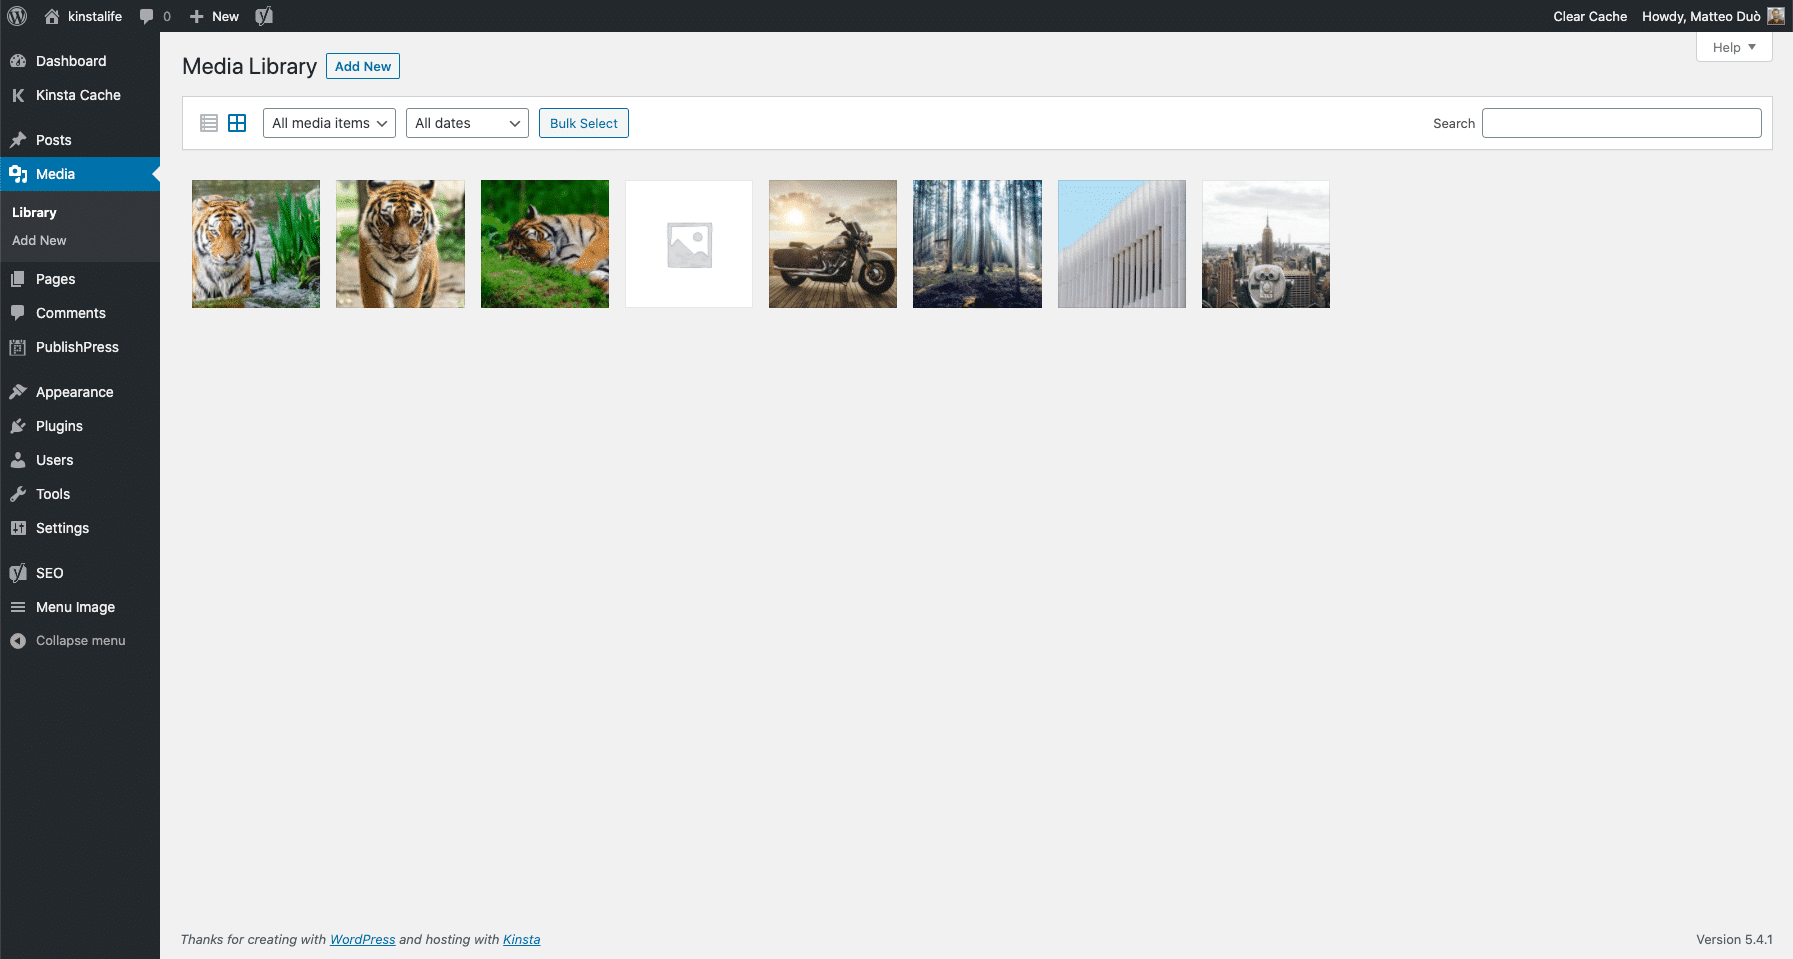
At its core, your WordPress Media Library is exactly what its name implies: a catalog of all the media files you’ve uploaded to your site:
WordPress is capable of hosting a variety of types of media, including:
- Images (.jpg, .jpeg, .png, .gif, and .ico).
- Audio files (.mp3, .m4a, .ogg, and .wav).
- Videos (.mp4, .m4v, .mov, .wmv, .avi, .mpg, .ogv, .3gp, and .3g2).
- PDFs.
- Word documents.
- Excel spreadsheets.
- PowerPoint presentations.
- Adobe Photoshop documents.
It also has some limited photo-editing capabilities, so you can make adjustments as needed right from your dashboard.
Unfortunately, WordPress doesn’t support webp images out of the box yet.
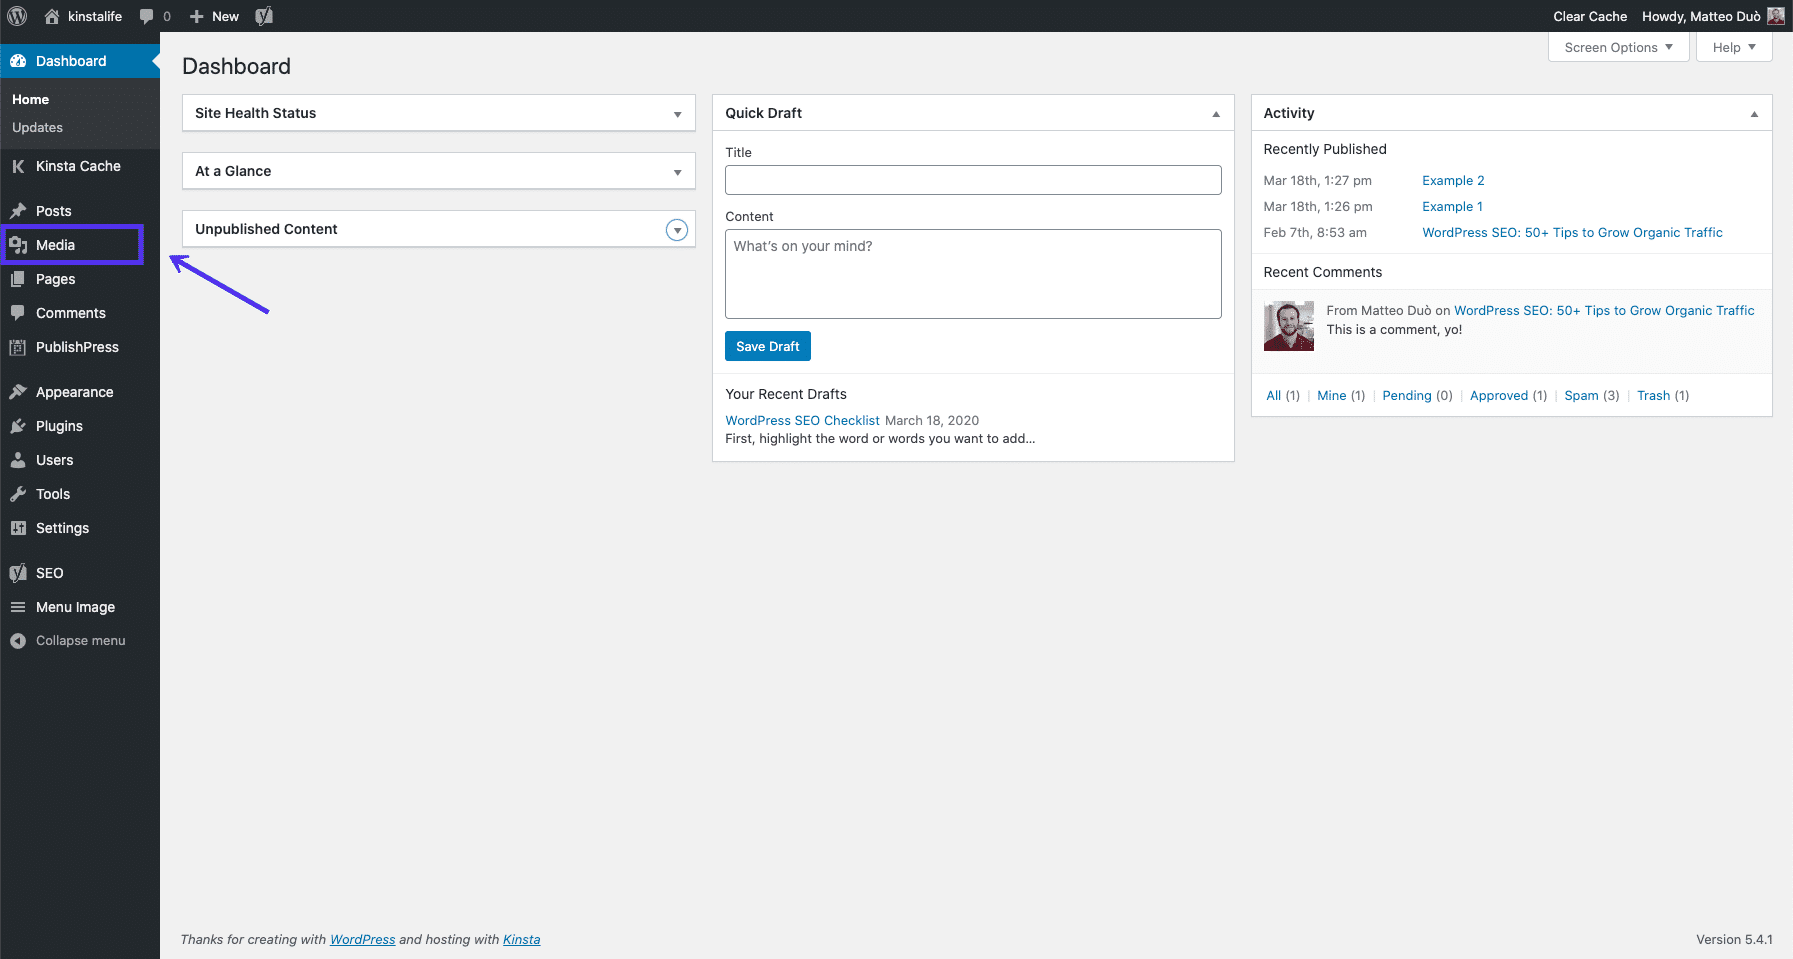
To access your Media Library, simply click on Media in your admin sidebar at any time:
There are a few basic options available here.
First, you can determine if you want to see your files in a list or grid view by clicking on the relevant icons:
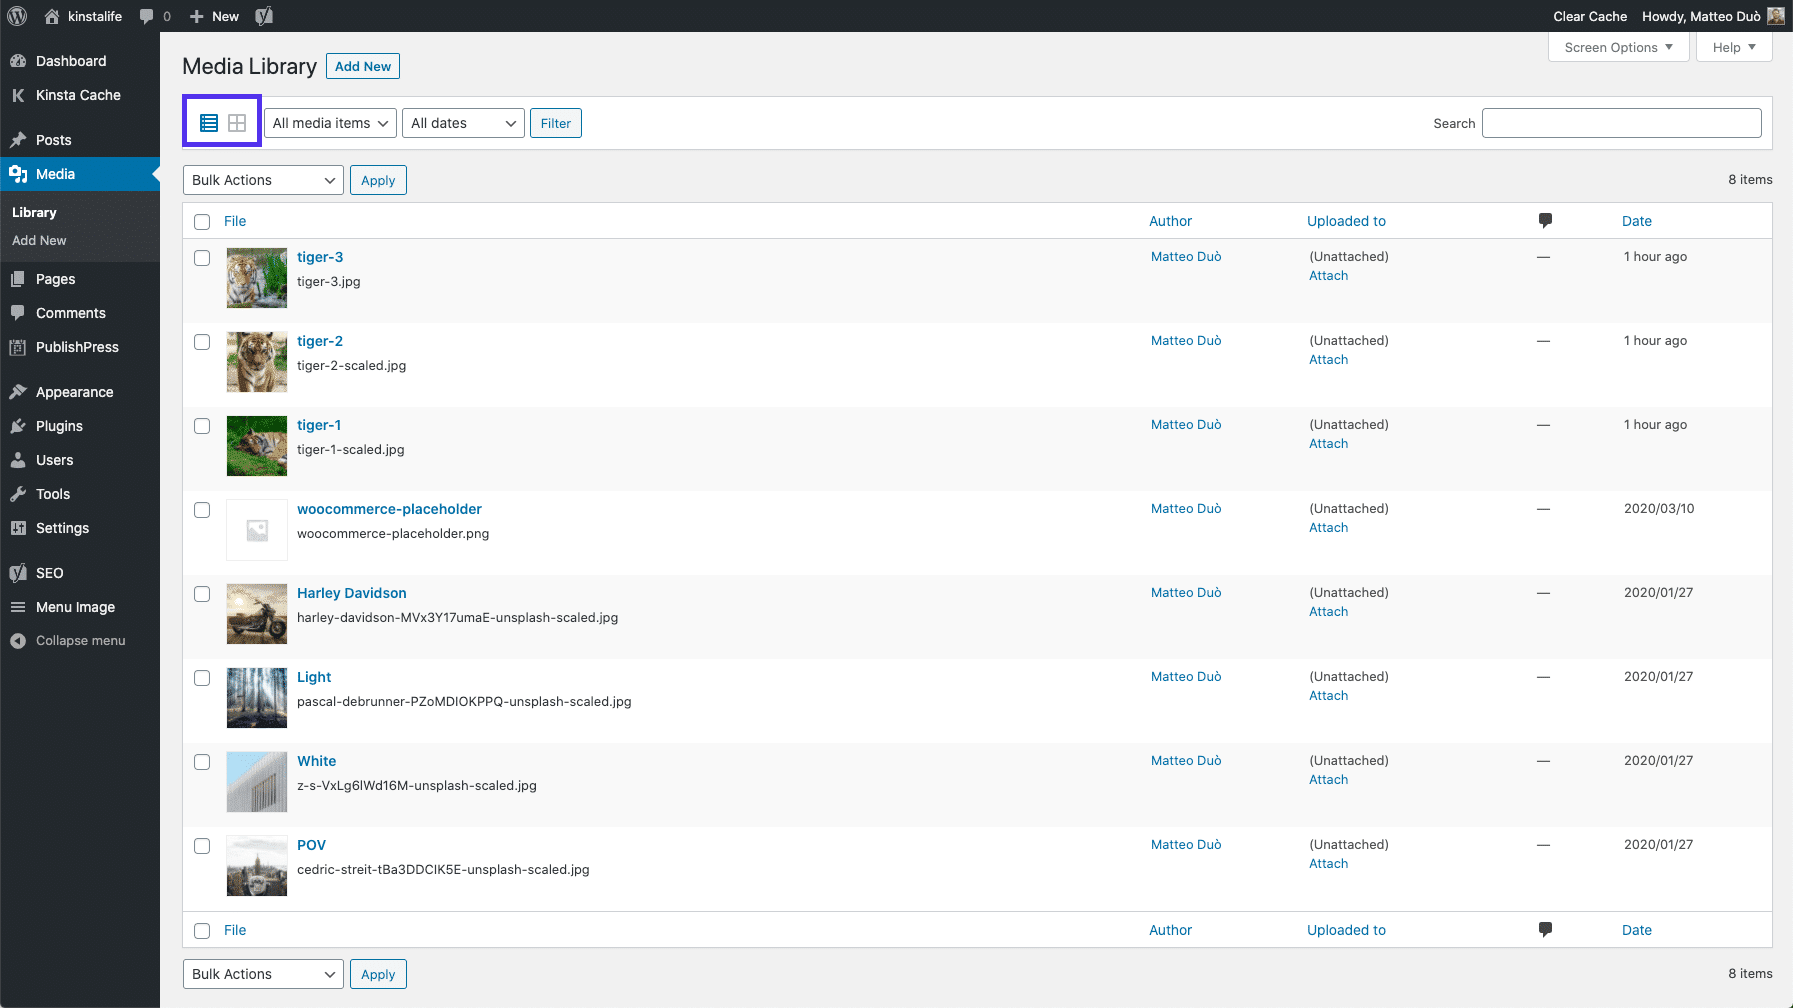
You can also filter your files using the drop-down menus:

The first menu enables you to view your media by type, while the second will filter your library’s contents by the dates on which they were uploaded.
You can also use the search bar to look for specific files by name:

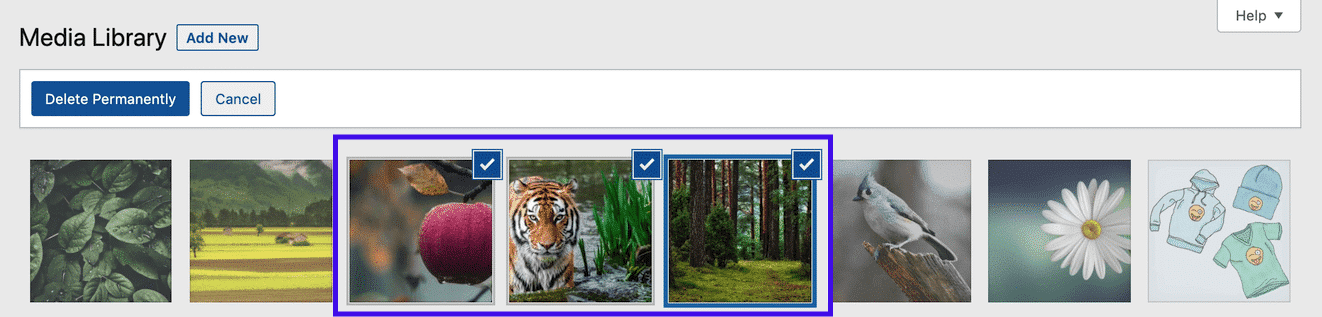
Finally, there’s also a Bulk Select button. This feature lets you delete several files from your WordPress installation all at once:
This covers all of the native functionality available in the WordPress Media Library screen.
As you’ll see later, there are many modifications you can make to enhance it. First, however, we need to discuss how to add files to WordPress.
How to Add Files to Your WordPress Media Library
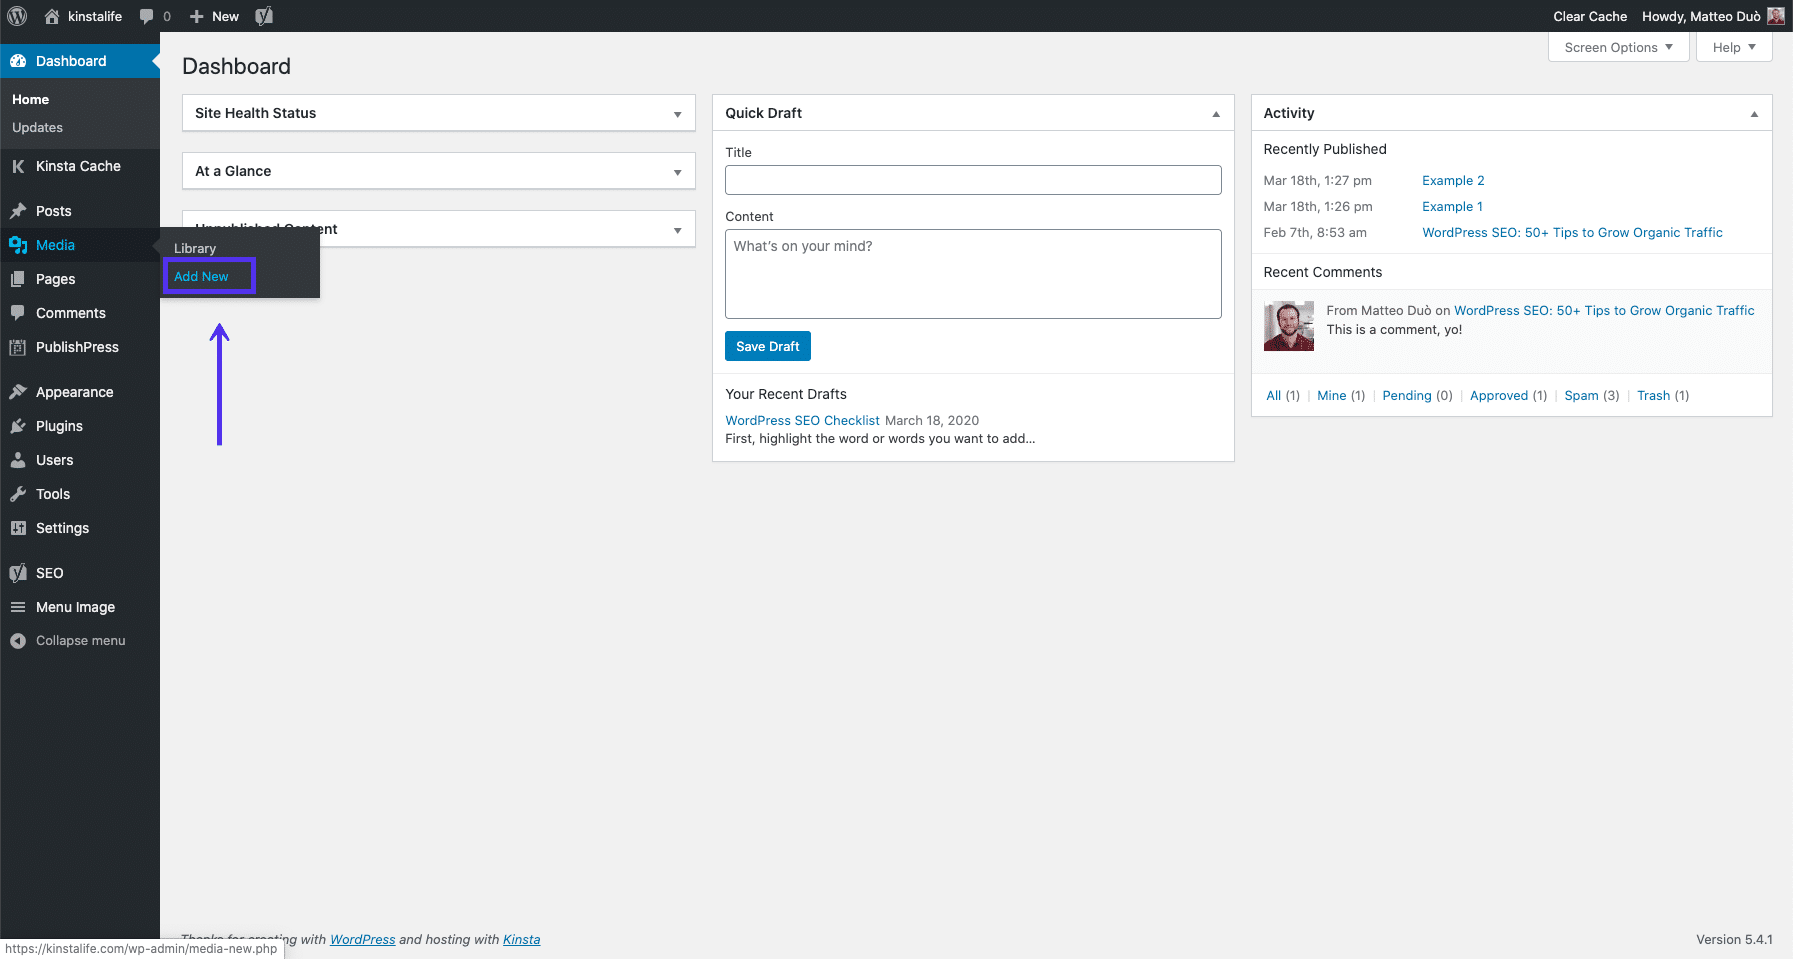
There are a few different ways you can add files (e. g. your site’s favicon) to your WordPress Media Library. The first is to navigate to Media > Add New:
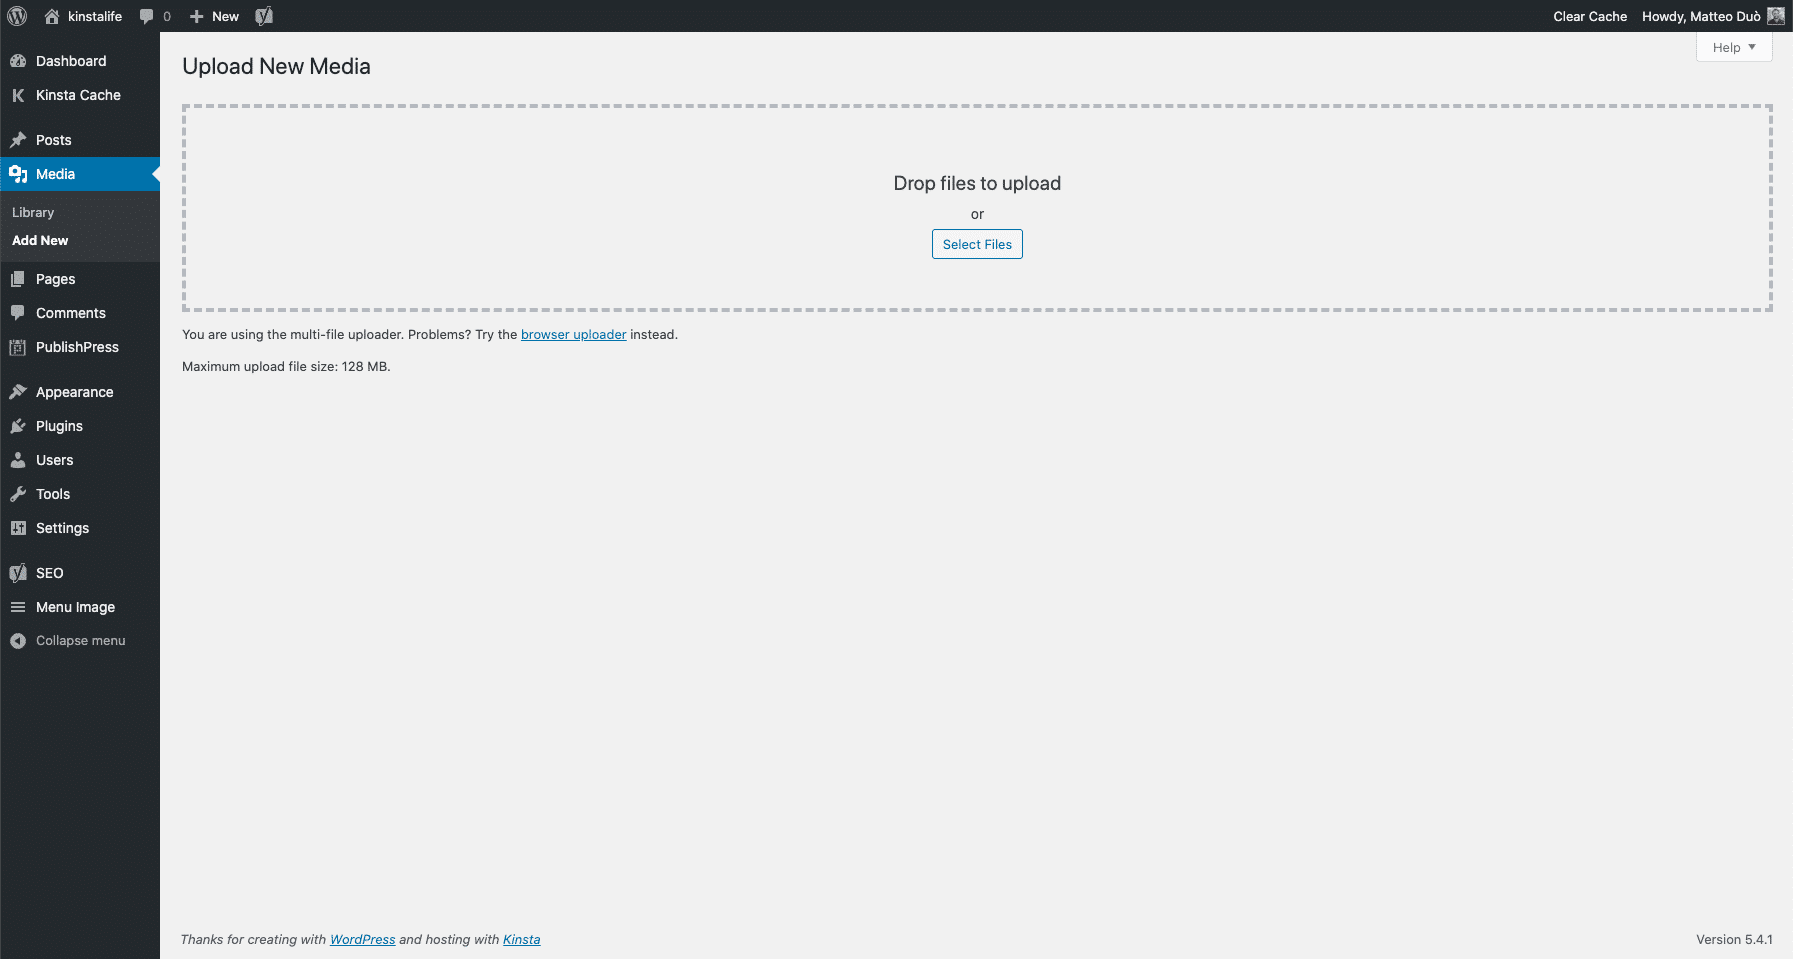
Here, you can upload files that are saved on your computer or another device:
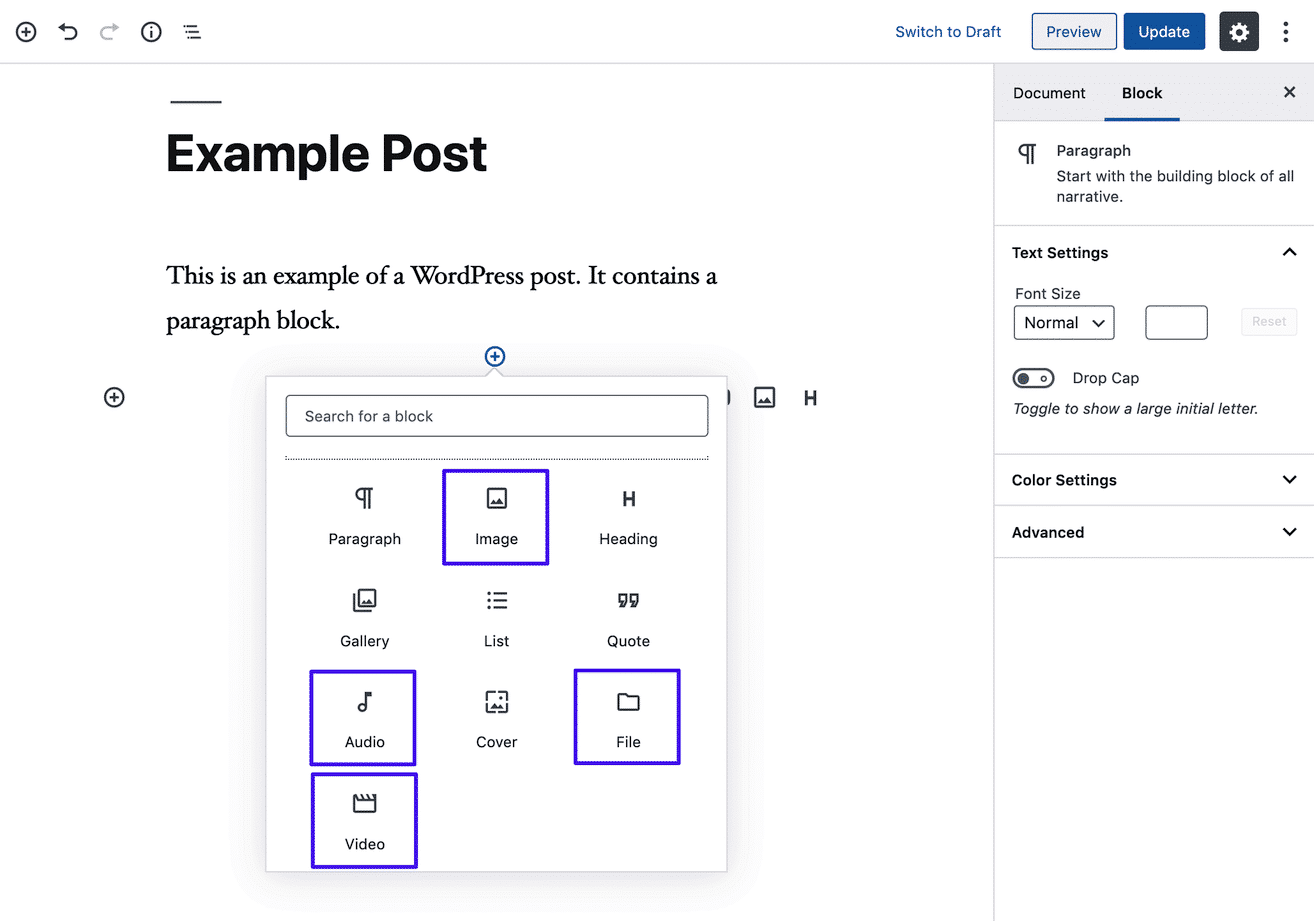
You can also add media directly from the WordPress editor. In the Block Editor, start by adding the corresponding block for the type of media you want to incorporate:
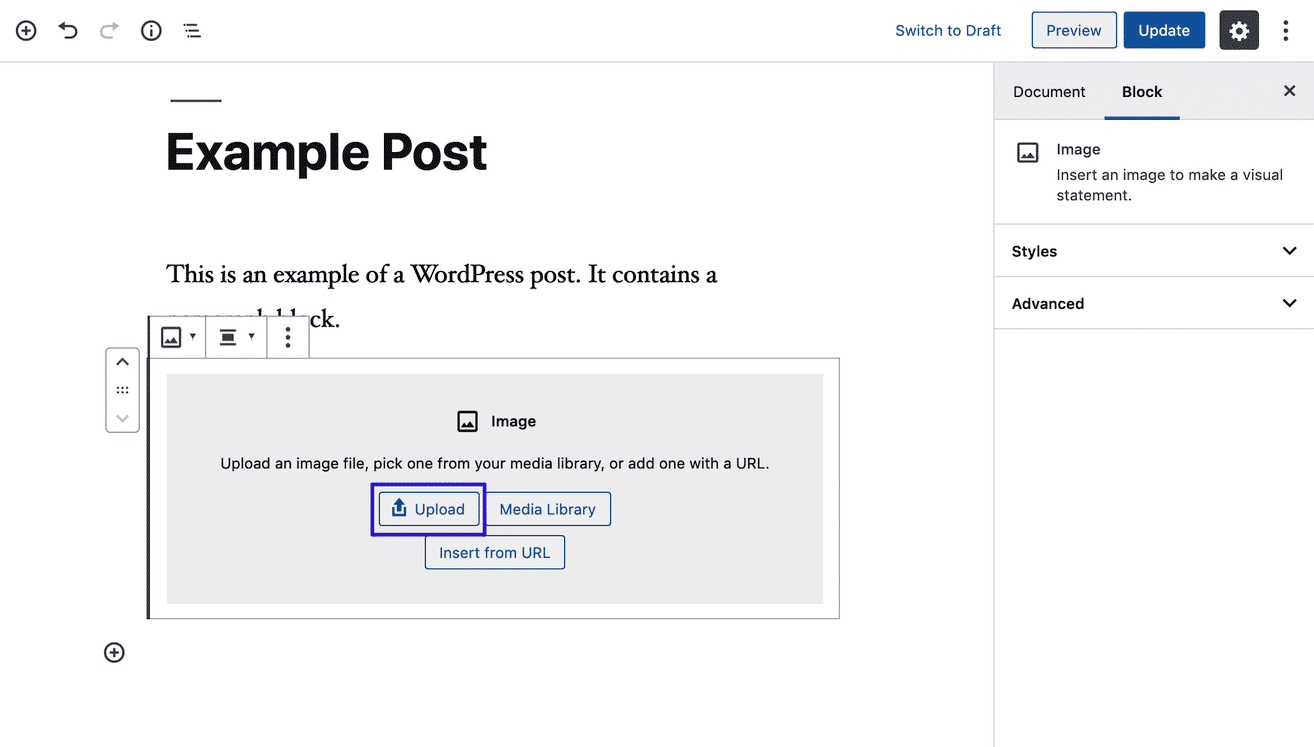
In the resulting placeholder, select Upload and choose a file from your computer:
Alternatively, you can simply drag and drop the file from your desktop into the relevant block.
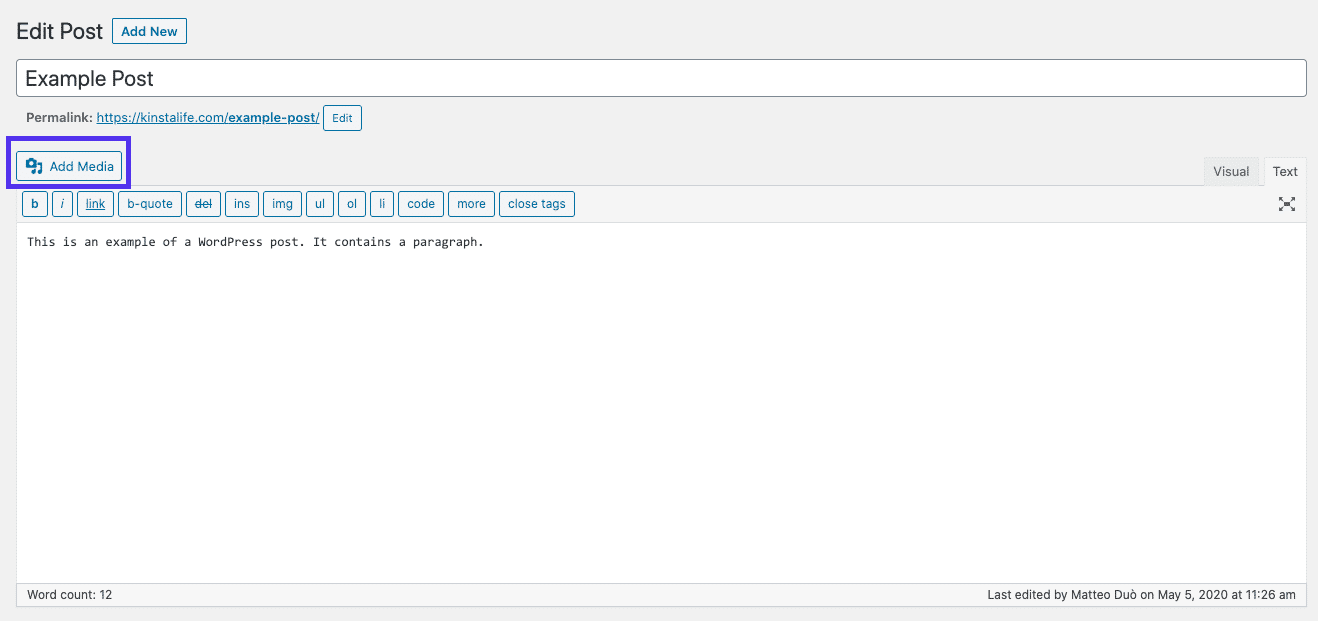
In the Classic Editor, you’ll need to click on the Add Media button:
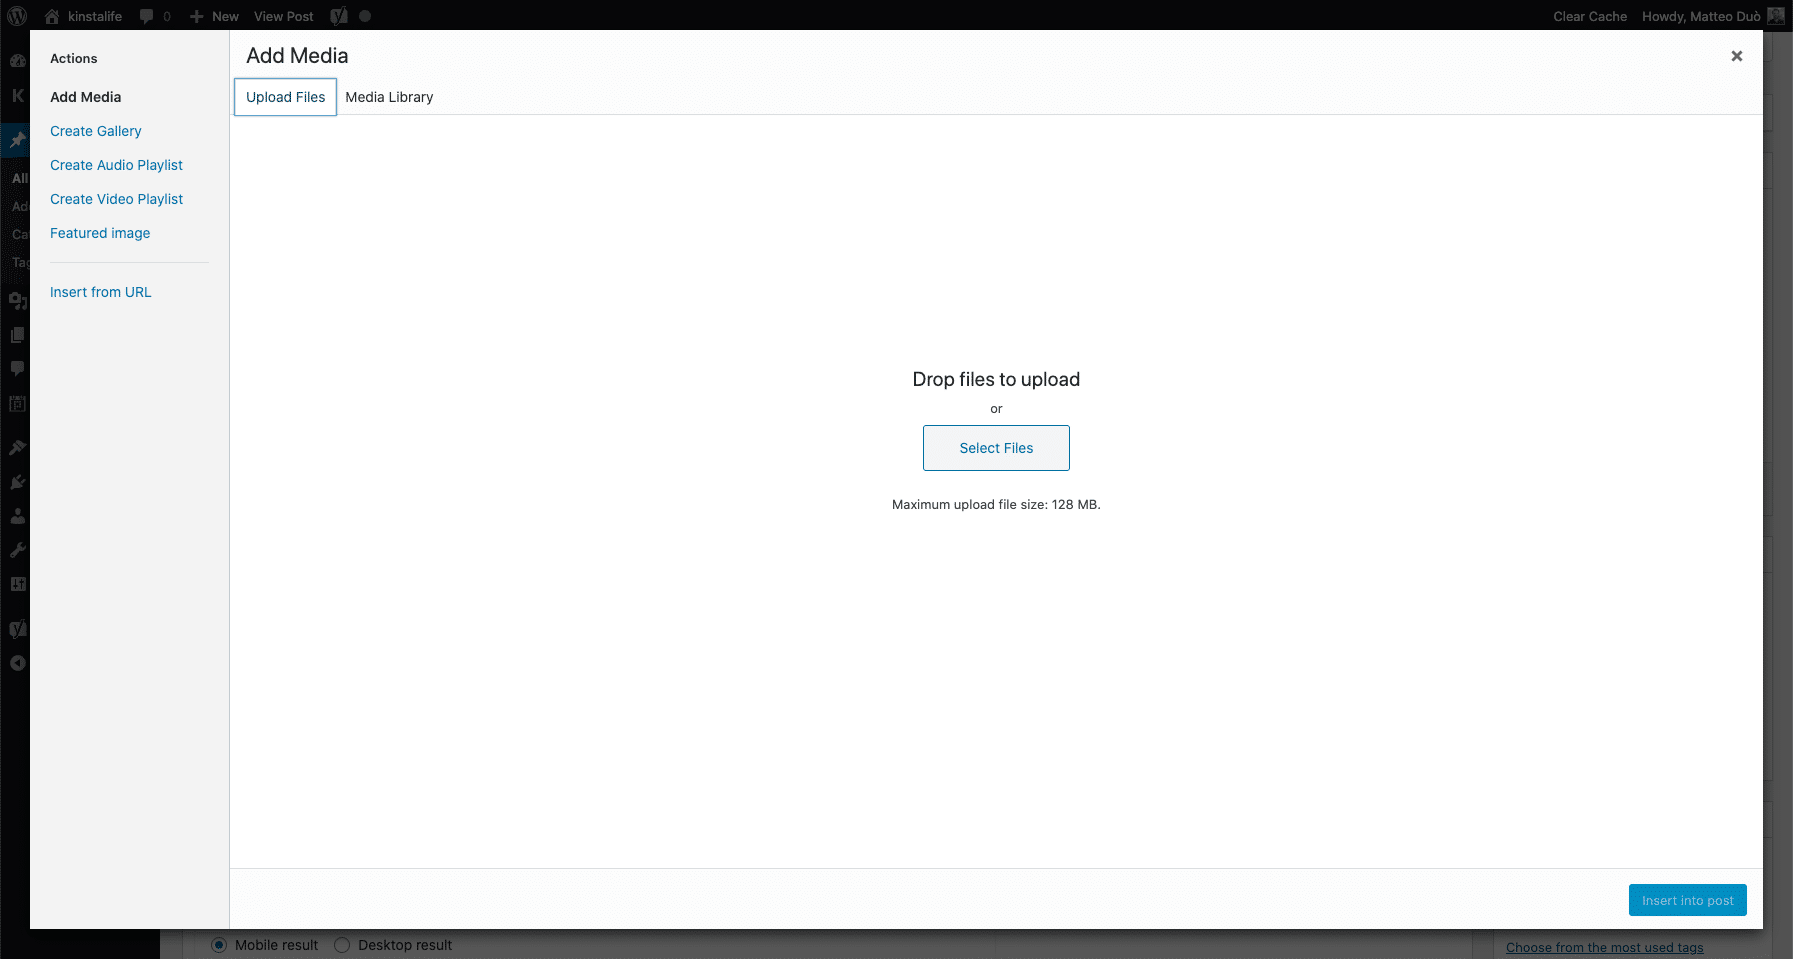
Then navigate to the Upload tab and select a file from your computer:
You can also drag and drop files from your desktop directly into the editor at any time.
In some cases, you may find that you need to manually upload media files to your WordPress site via FTP. You can do this using a client such as FileZilla.
Once you connect to your server, navigate to wp-content > uploads:
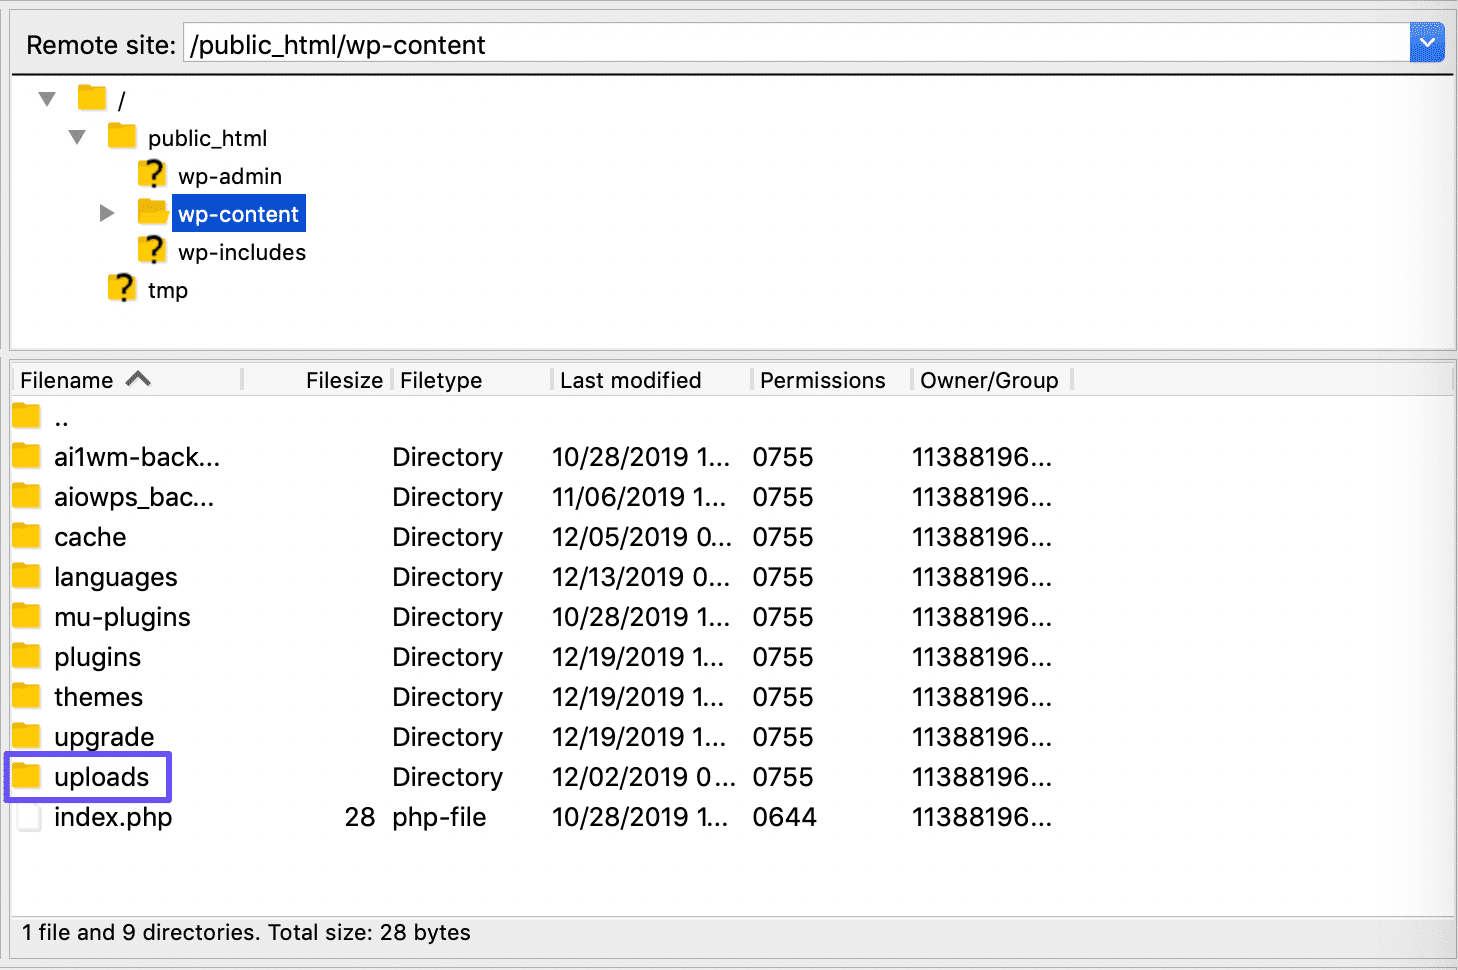
Upload files to this directory to add them to your Media Library.
Downloading Content from the WordPress Media Library
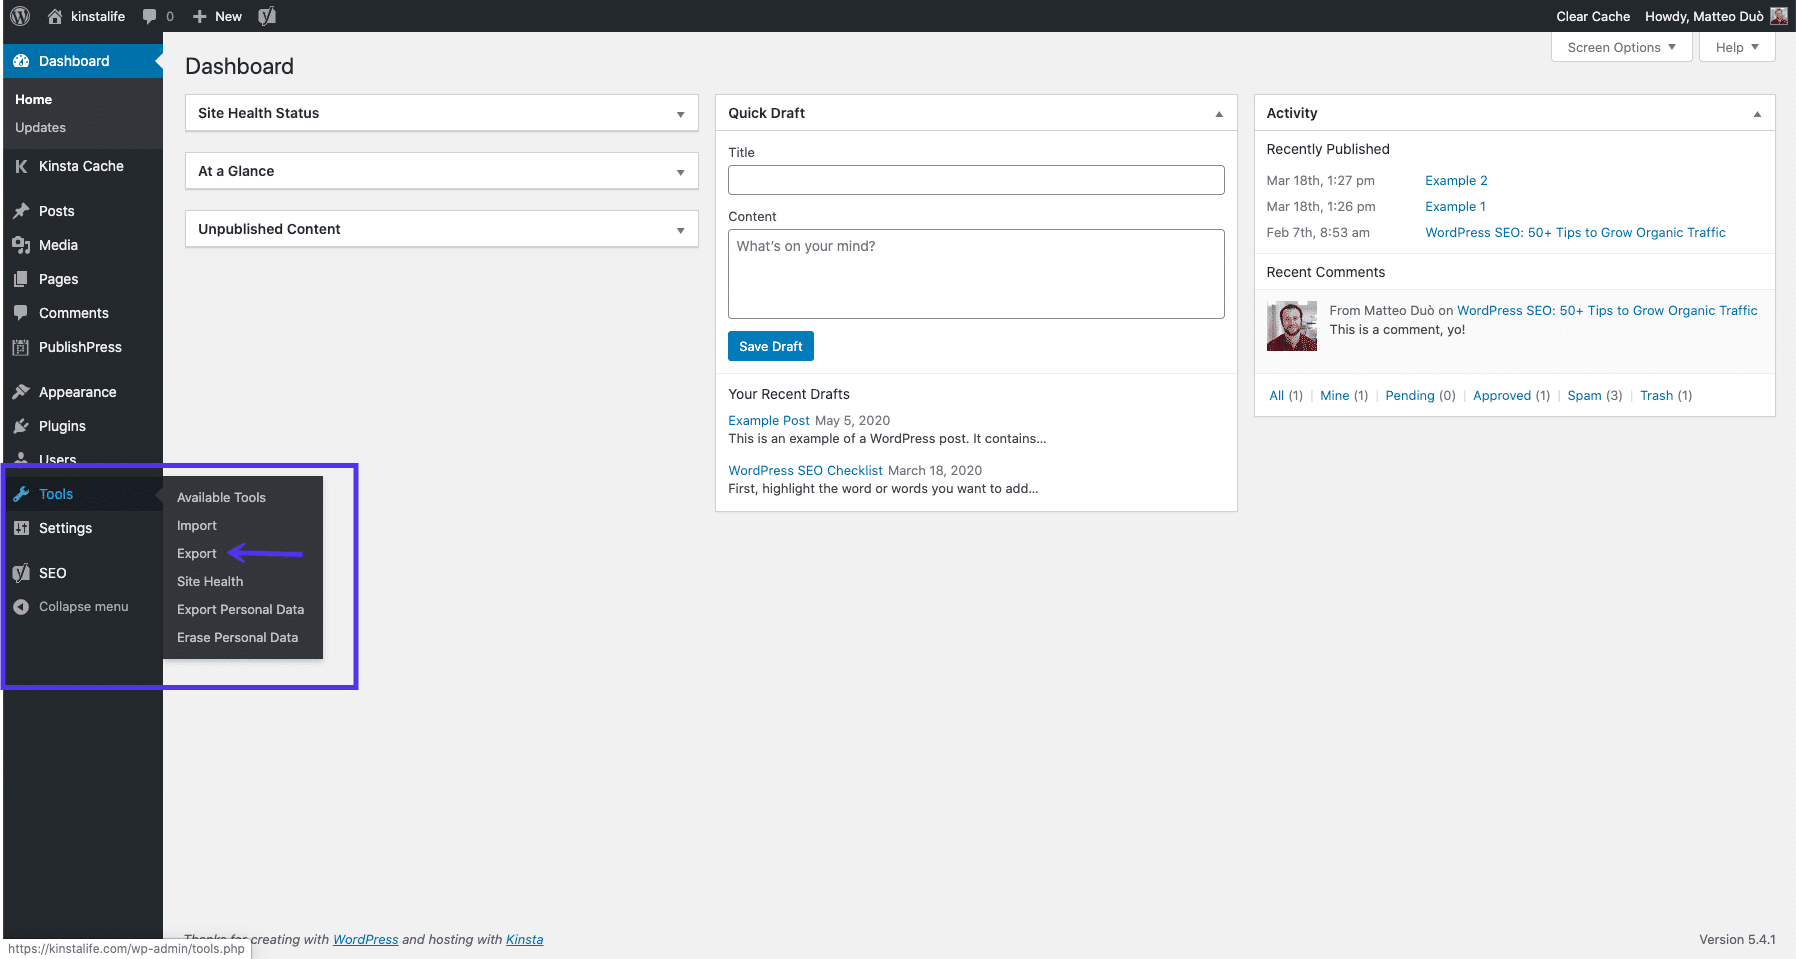
In some circumstances, you may need to download files from your Media Library onto your computer. WordPress enables you to do this natively by navigating to Tools > Export:
Then select the Media option. If you only need files that were uploaded within a specific time frame, you can use the dropdown menus to specify your request:
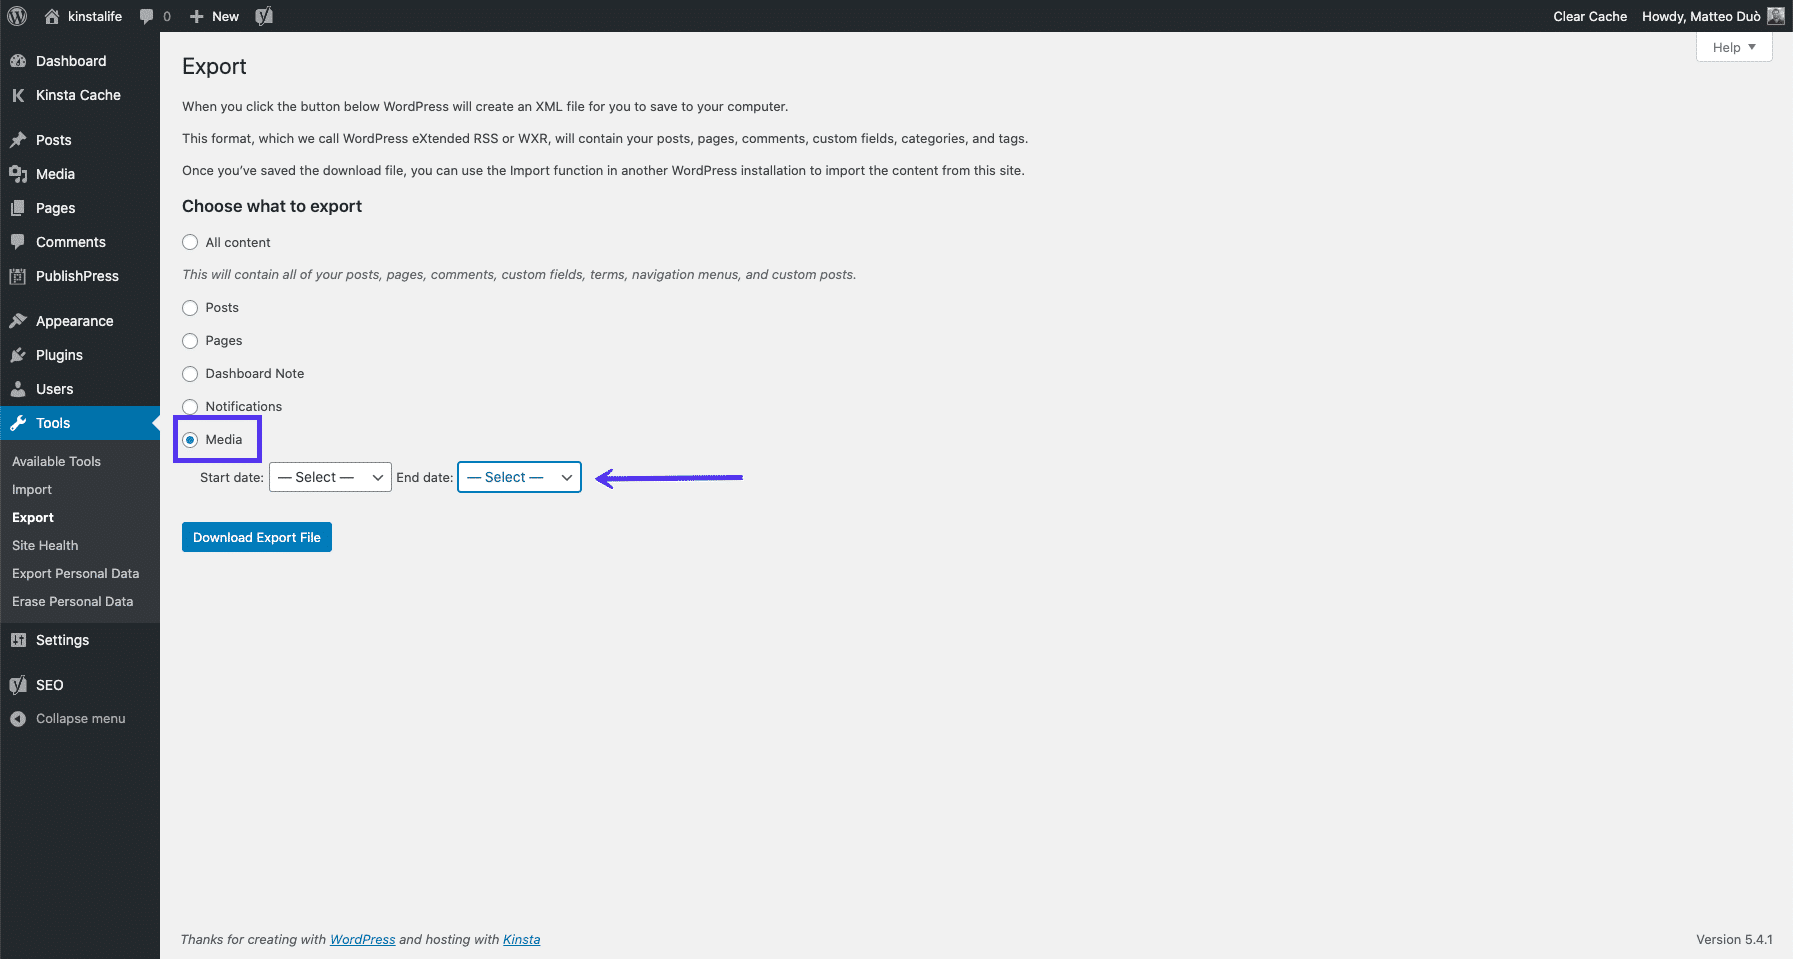
Finally, click on the Download Export File button. This will download the relevant media files to your computer.
How to Edit Images in the WordPress Media Library
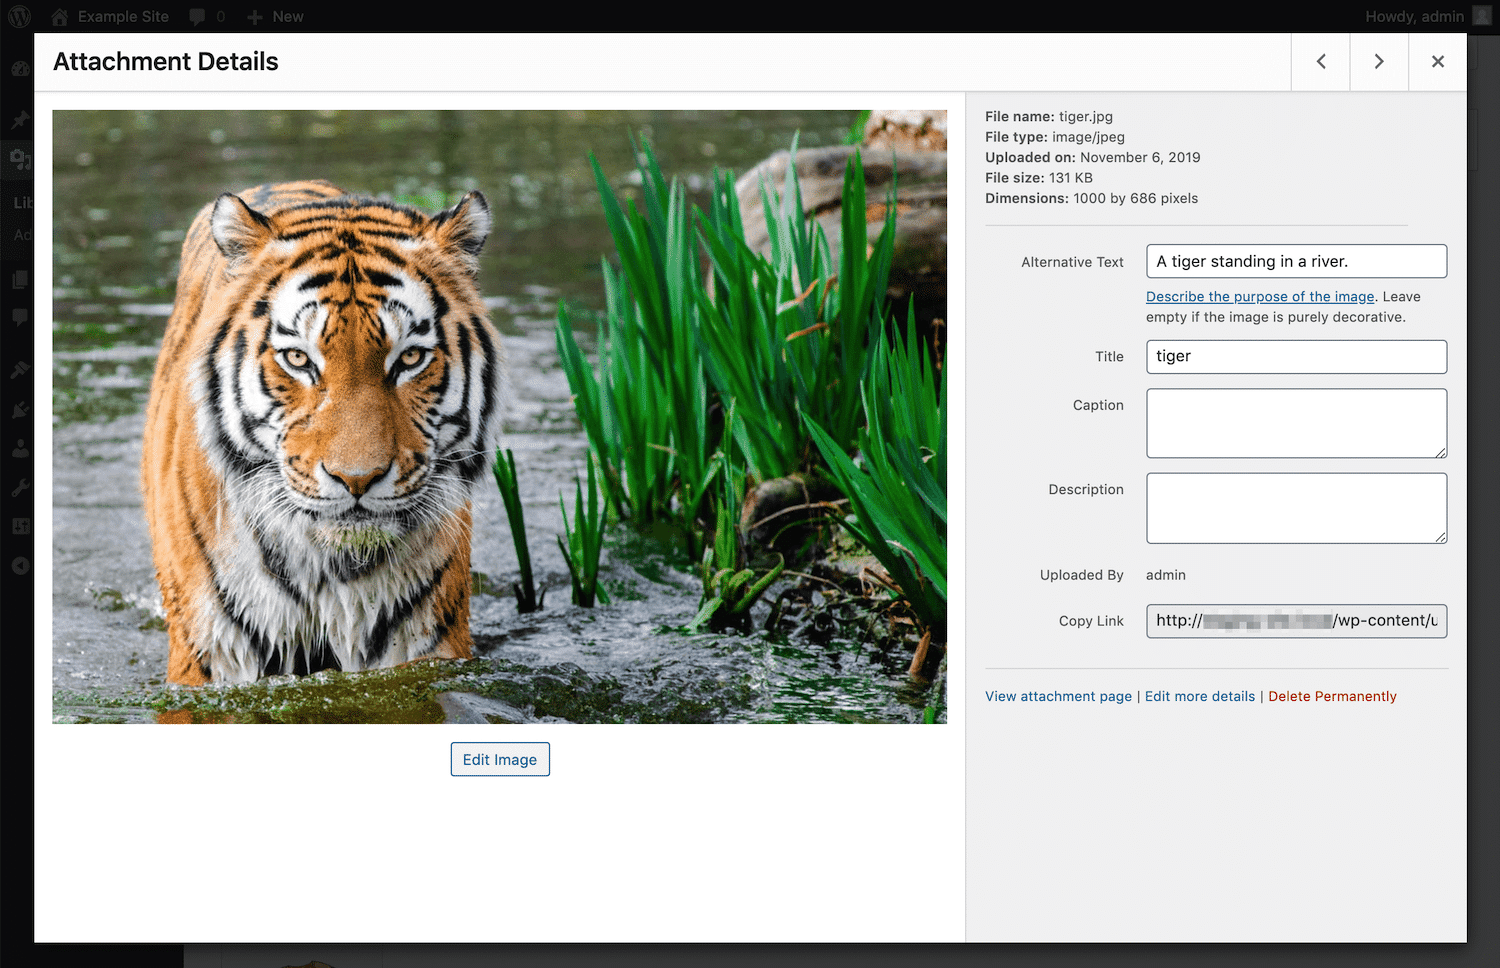
As we mentioned earlier, WordPress has a few native image editing features. To access them, navigate to your WordPress Media Library and select the file you want to edit. Then, click on the Edit image button:
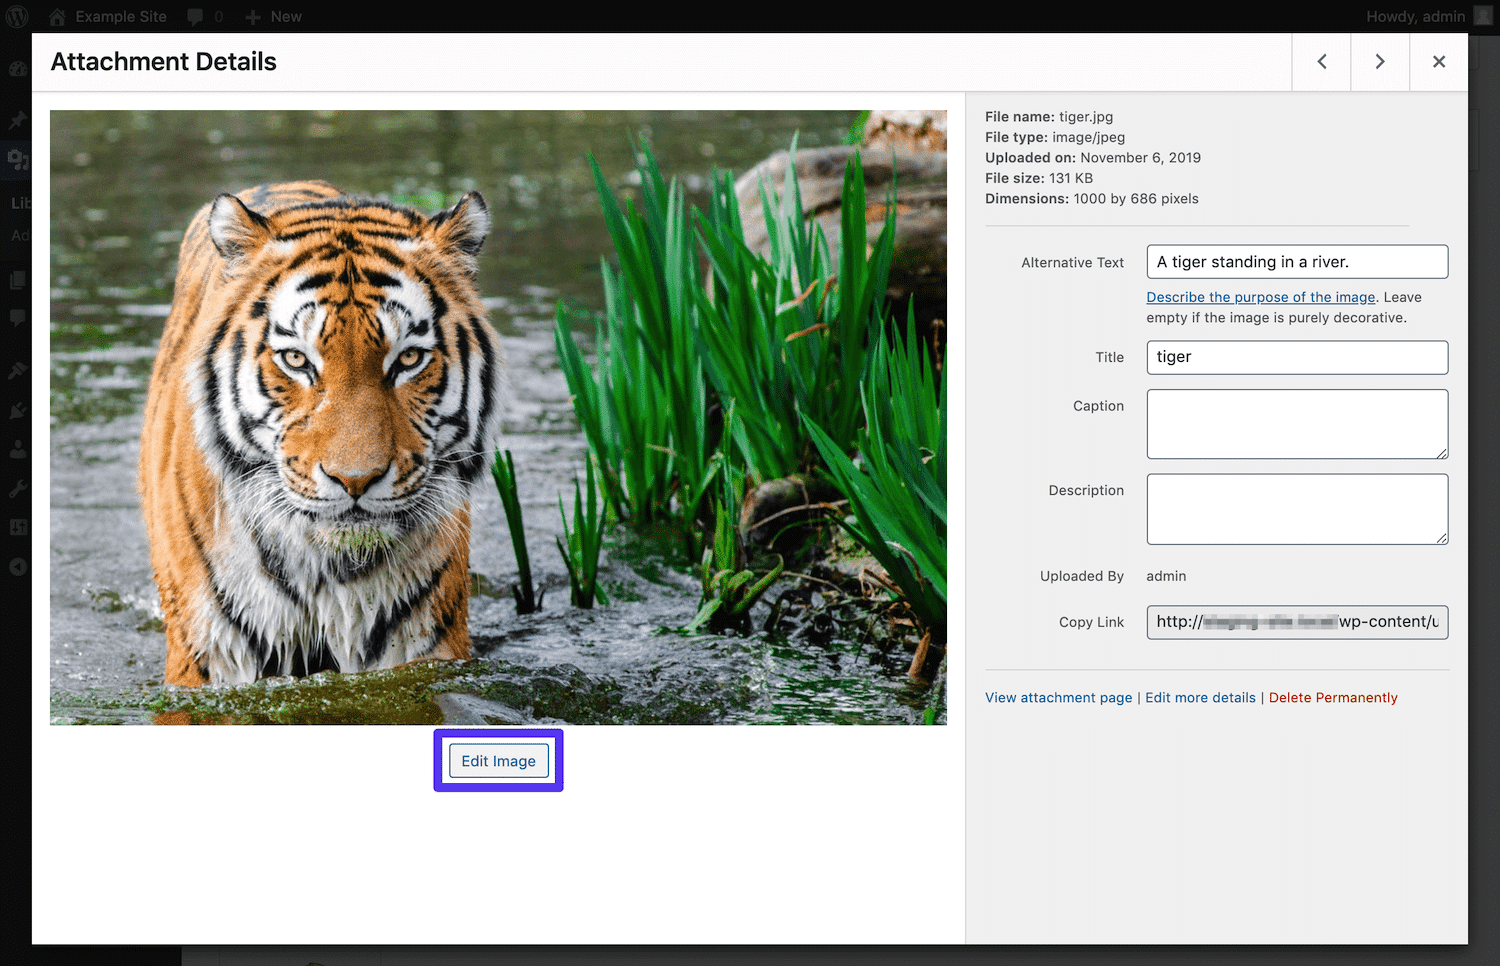
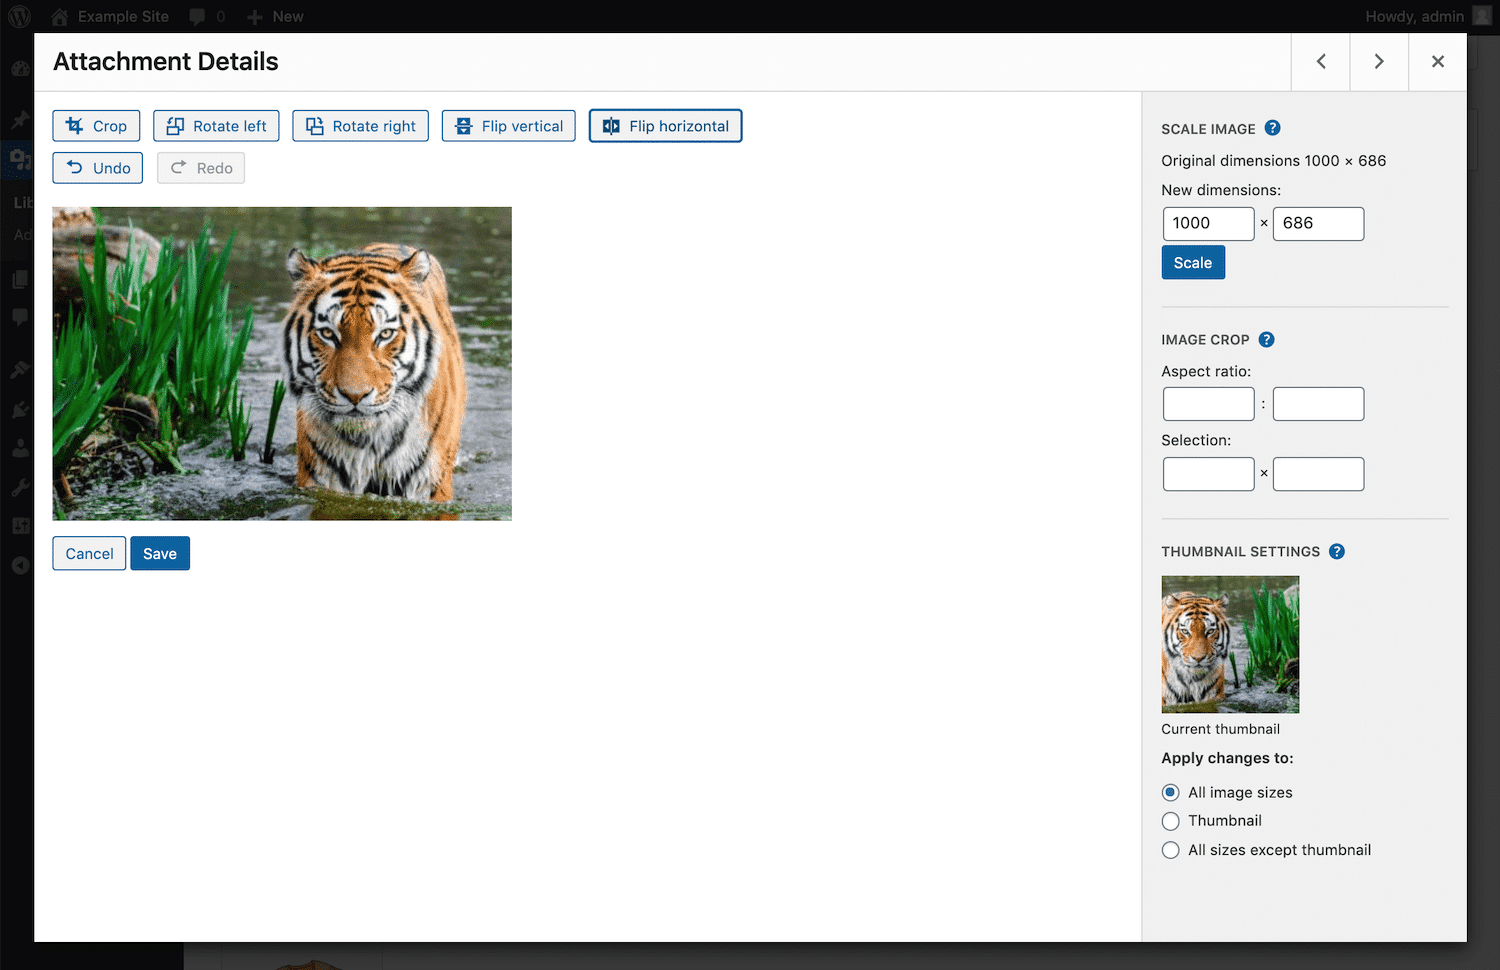
This will open the image editor:

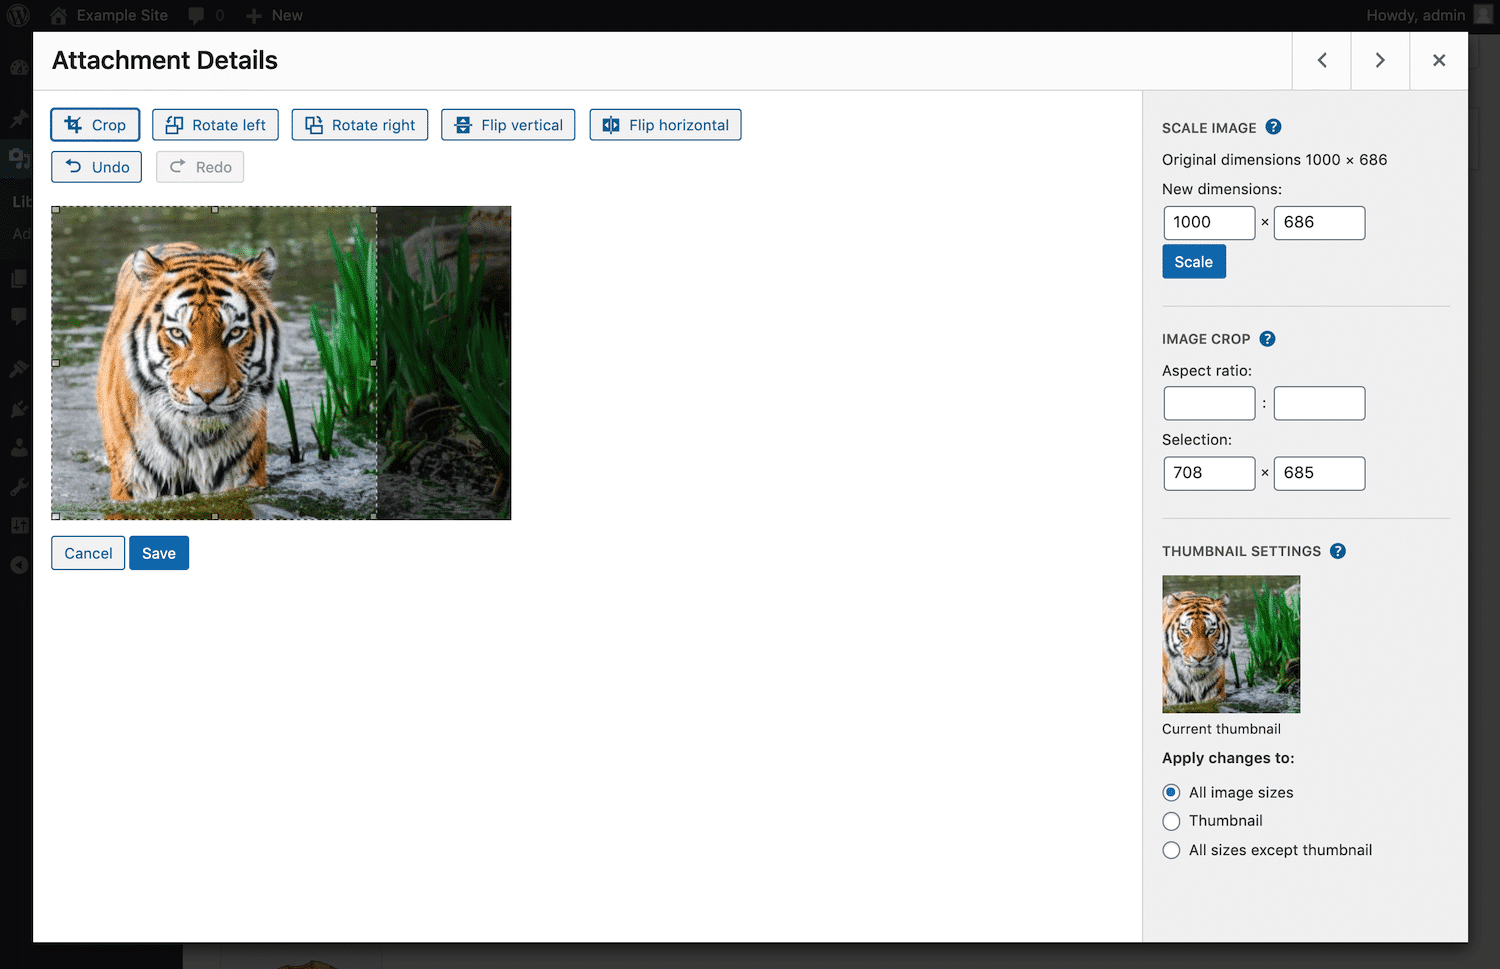
There are five basic edits you can make:
Cropping enables you to cut sections of the image out:
Rotating the image will turn it either counterclockwise or clockwise by 90 degrees:
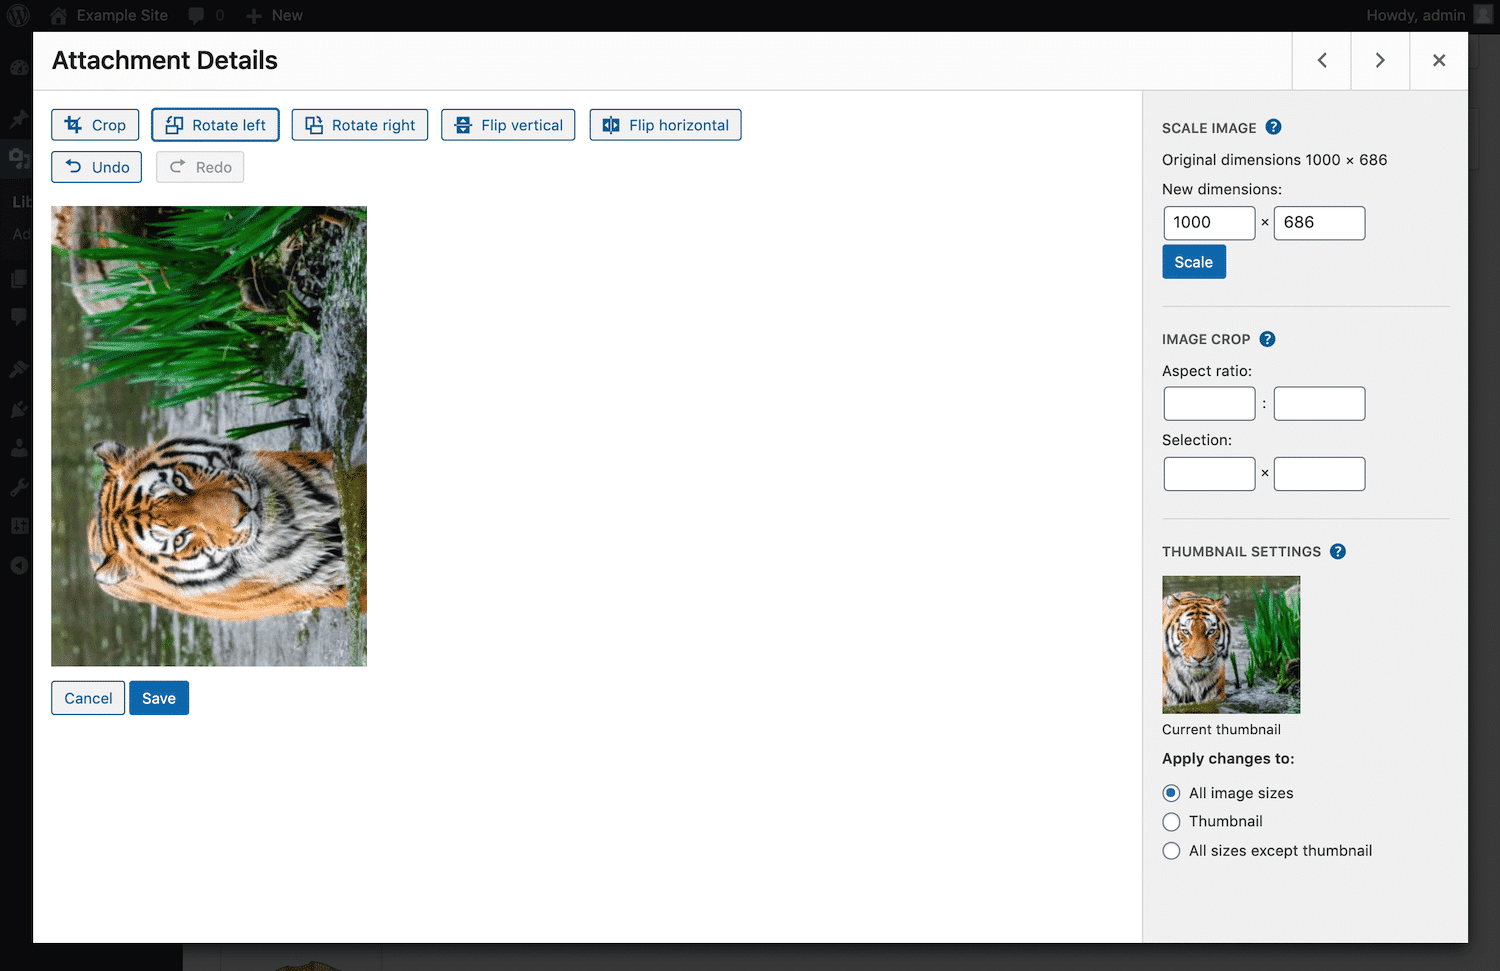
Flipping the image will reflect it either vertically or horizontally:
The other three settings are in the sidebar. The first enables you to change the size of the image by scaling it. Simply enter your desired height or width, and the other field will auto-populate. Then click on the Scale button:
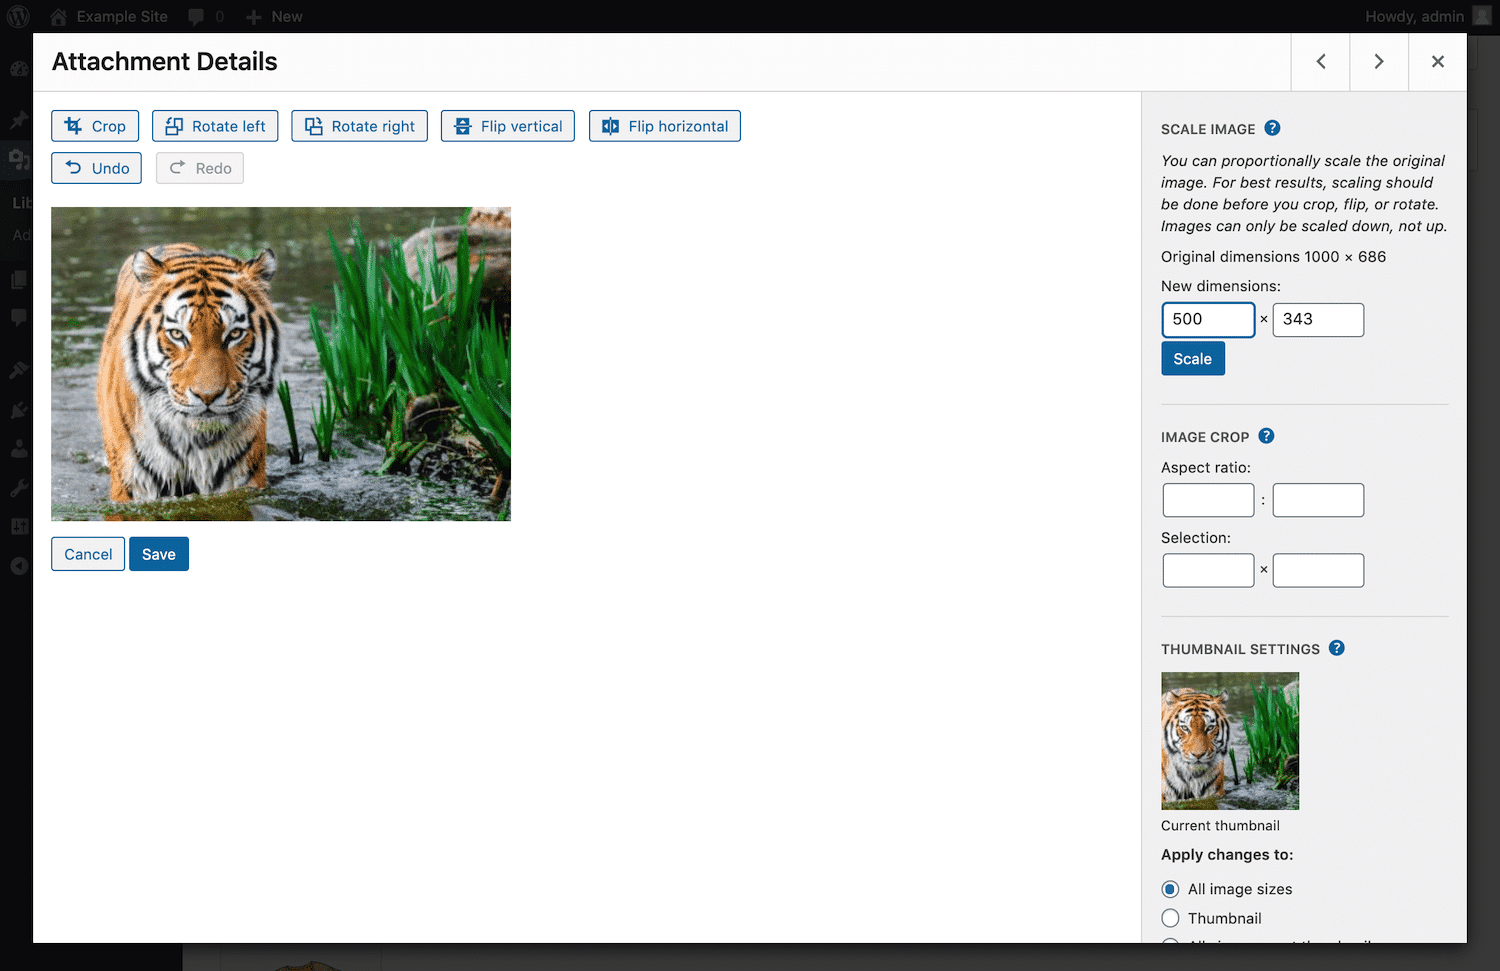
It’s important to note that resizing images in WordPress can sometimes negatively affect their quality.
Additionally, you can only take large images and scale them down. You can’t scale images up to a larger size!
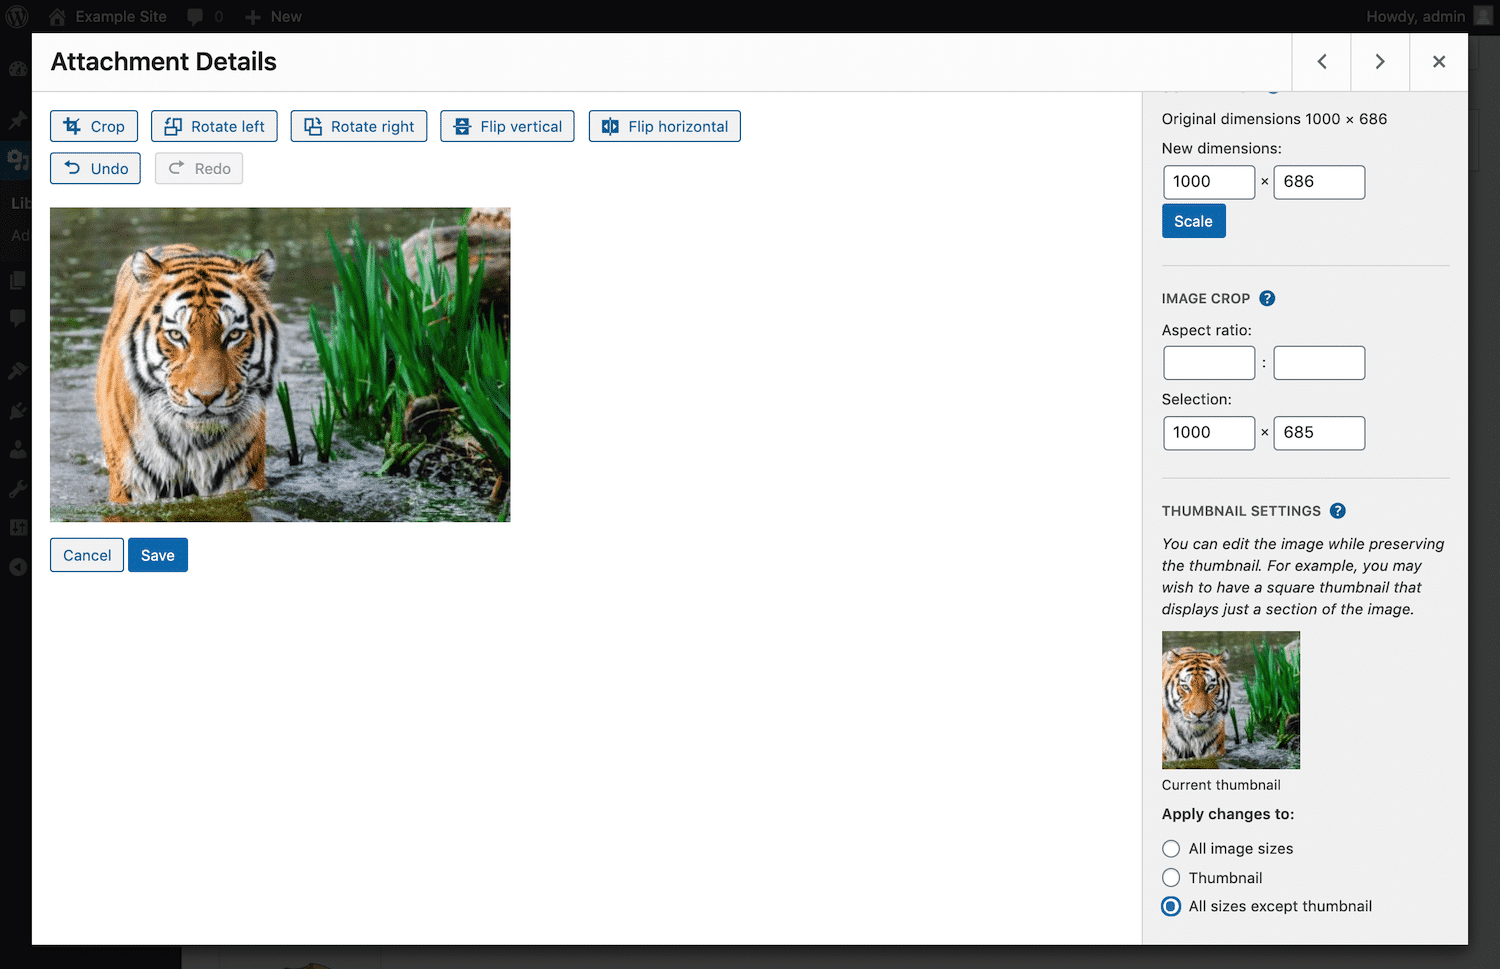
To crop your image so that it has a specific aspect ratio or dimensions, you can use the Aspect Ratio and Selection fields under Image Crop:

Finally, if you wish to preserve the existing image thumbnail, you can do so using the Thumbnail Settings. Just select the radio button for whichever version of your image you want to apply changes to:
WordPress’ default image editing is useful but limited. It won’t replace any software you might use for more extensive modifications, especially if you’re running a photography site or photoblog.
Understanding WordPress Media Library Errors
Unfortunately, WordPress errors occur. And the WordPress Media Library is no exception.
One issue that commonly shows up is an unspecified “HTTP error” that can appear when you’re uploading a new file from within the editor:
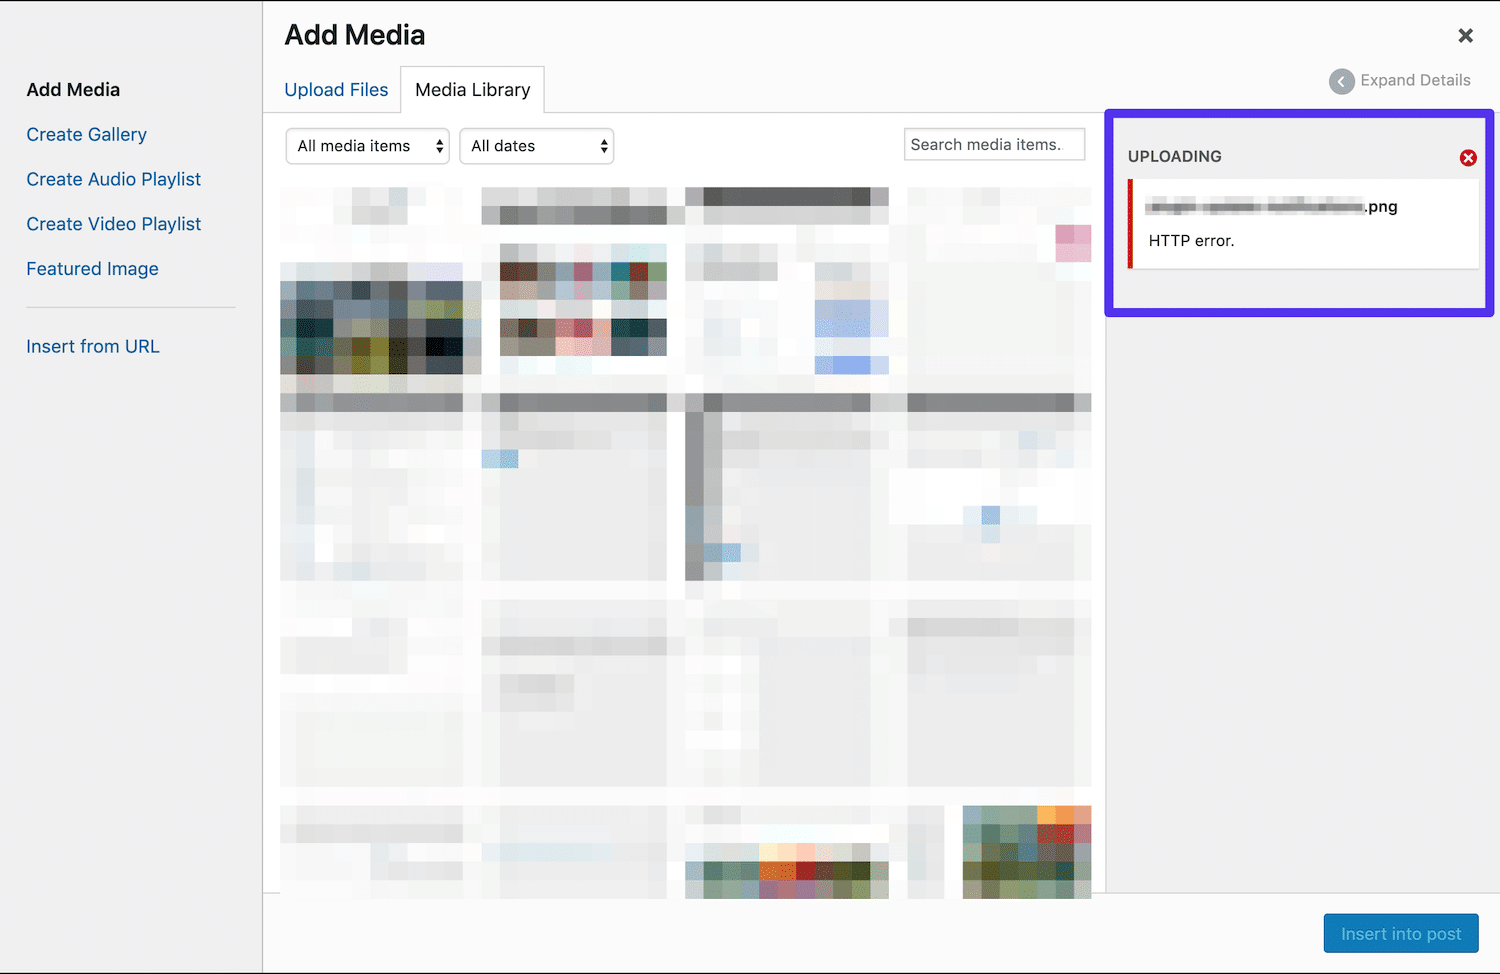
Usually, you can simply wait for this error to disappear and try your upload again after a few minutes. If the HTTP error reoccurs, it may be that your WordPress session has expired. You’ll need to log in again and then retry your upload.
Another problem some users face is the Media Library failing to load. This is often due to a conflict with your plugins and/or theme. To troubleshoot this error, try deactivating all of your plugins and switching to a WordPress default theme.
If your Media Library loads properly again, you’ll need to troubleshoot the plugin conflict further in order to resolve the issue permanently.
Sometimes you can encounter the “Upload: Failed to Write File to Disk” error when you start uploading your files through the media library. Usually, this problem occurs when your upload directory is set to Not Writable. You can check your filesystem permissions via WordPress’s Site Health tool.
Long-Term Media Library Management
So far, we’ve focused exclusively on WordPress’ native functionality when it comes to the Media Library. However, as you use this feature over time, you’ll likely run into some trouble that requires help from external solutions.
For example, the more files you add, the more disorganized your WordPress Media Library will become. Aside from the search and filter options discussed towards the beginning of this post, WordPress doesn’t provide much help for dealing with unruly volumes of media.
There are, however, a few plugins that enable you to arrange your media files into folders.
WordPress Media Library Folders plugin is the most popular option:

In addition to enabling you to create media file folders, this plugin also integrates with MaxGalleria to let you create image galleries directly from the Media Library:
Upgrading to WordPress Media Library Folders Pro provides additional integration with the NextGEN Gallery plugin and Advanced Custom Fields. It also enables you to create categories and tags to further organize your files.
Another functionality WordPress lacks is the ability to replace media files with new versions. Since these types of files can be quite large, you don’t want to simply keep adding new ones whenever you need to update your content.
This means that after uploading a new file, you’ll need to locate the old version and delete it. You can save yourself some time by directly replacing old images with Enable Media Replace.
With this plugin, you can also replace all links pointing to the old file. This is helpful for avoiding broken media throughout your site.
Real Media Library is another folders and files manager worth checking out to make your file management a breeze.
Thanks to it, you’re able to take care of plenty of files such as pictures, videos, and documents directly in WordPress. Nice thing to know: Real Media Library is available in 12 languages. If the free version isn’t enough for your needs, they also provide a buy the PRO version with more features.
4 Handy WordPress Media Library Hacks
The WordPress Media Library can handle most of the common requirements of a site administrator. However, WordPress provides a number of functions and hooks that enable users to enhance specific features of the Media Library, without the use of third-party plugins. Let’s dive into these functions and hooks with four practical examples.
1. Add Custom Metadata to Attachment Post Types
Any time you upload a media file, WordPress generates an attachment post type.
Just like any other post type, attachments are registered in the wp_posts table, and their respective metadata can be found in the wp_postmeta table in your database:
The wp_posts table stores data that includes post_content (attachment description), post_excerpt (attachment caption), post_author, post_title, post_status, and post_mime_type.
The wp_postmeta table stores any kind of metadata, such as the attached file URL, image dimensions and mime types, and Exchangeable Image File format (EXIF) and International Press Telecommunications Council (IPTC) metadata.
You may occasionally need to add custom metadata to attachments, such as the name of the author of a document, an associated URL, or the location where a photo was taken. Adding meta fields to attachments is a bit different from adding meta fields to posts, and requires specific hooks and functions.
First, you’ll need to add all necessary custom fields to the Edit Media screen. You can accomplish this task by filtering the available attachment fields through the attachment_fields_to_edit filter in wp-admin/includes/media.php:
function media_hacks_attachment_field_to_edit( $form_fields, $post ){

	// https://codex.wordpress.org/Function_Reference/wp_get_attachment_metadata
	$media_author = get_post_meta( $post->ID, 'media_author', true );

	$form_fields['media_author'] = array(
		'value' => $media_author ? $media_author : '',
		'label' => __( 'Author' )
	);
	return $form_fields;
}
add_filter( 'attachment_fields_to_edit', 'media_hacks_attachment_field_to_edit', 10, 2 );
The function has two arguments: the $form_fields array of form fields and the $post object. First, get_post_meta retrieves the existing ‘media_author’ value, then a ‘media_author’ element is added to the $form_fields array.
Finally, the callback returns $form_fields (see the code on Gist).
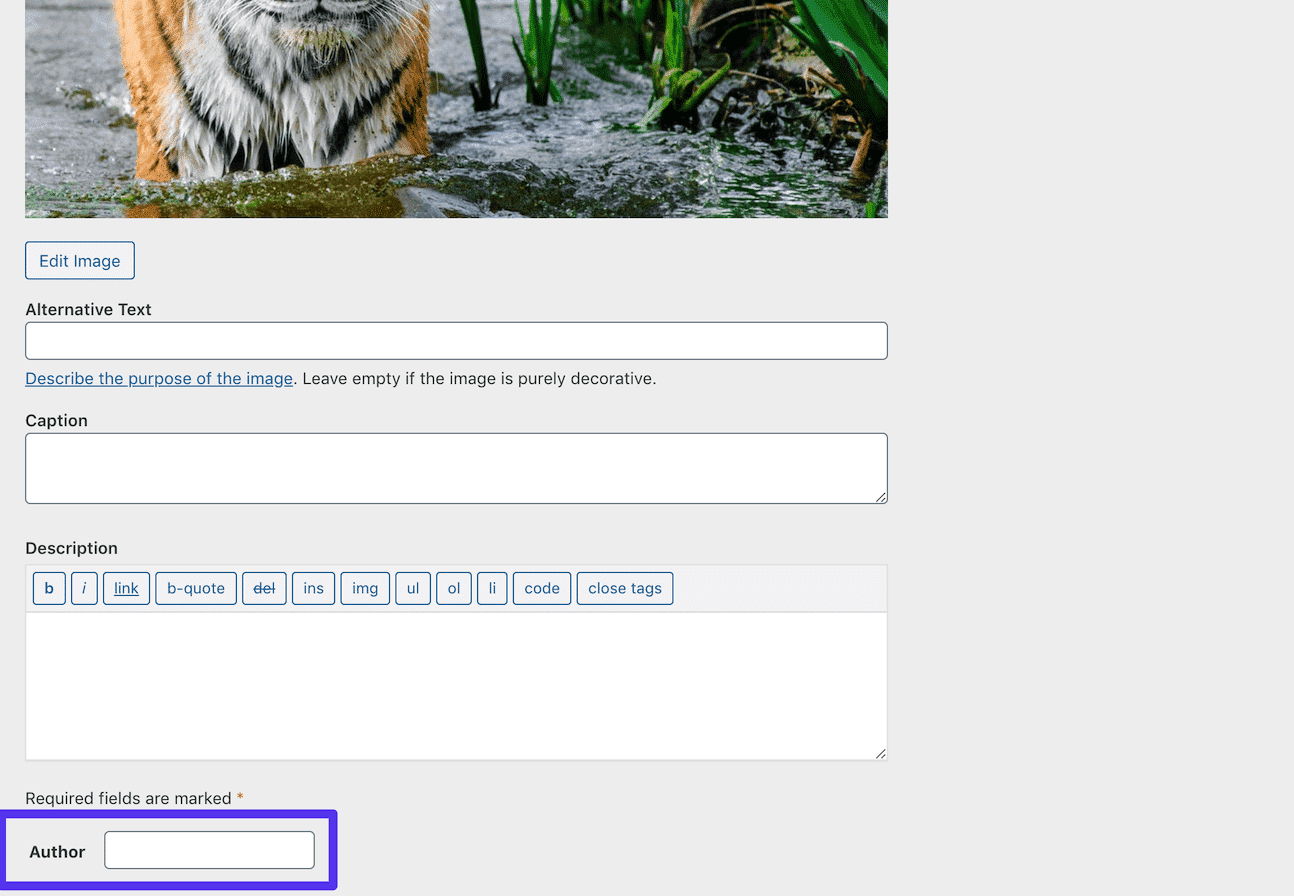
This will display a new field on the Edit Media page, which you can access by selecting the relevant image from your Media Library and clicking on the Edit more details link:
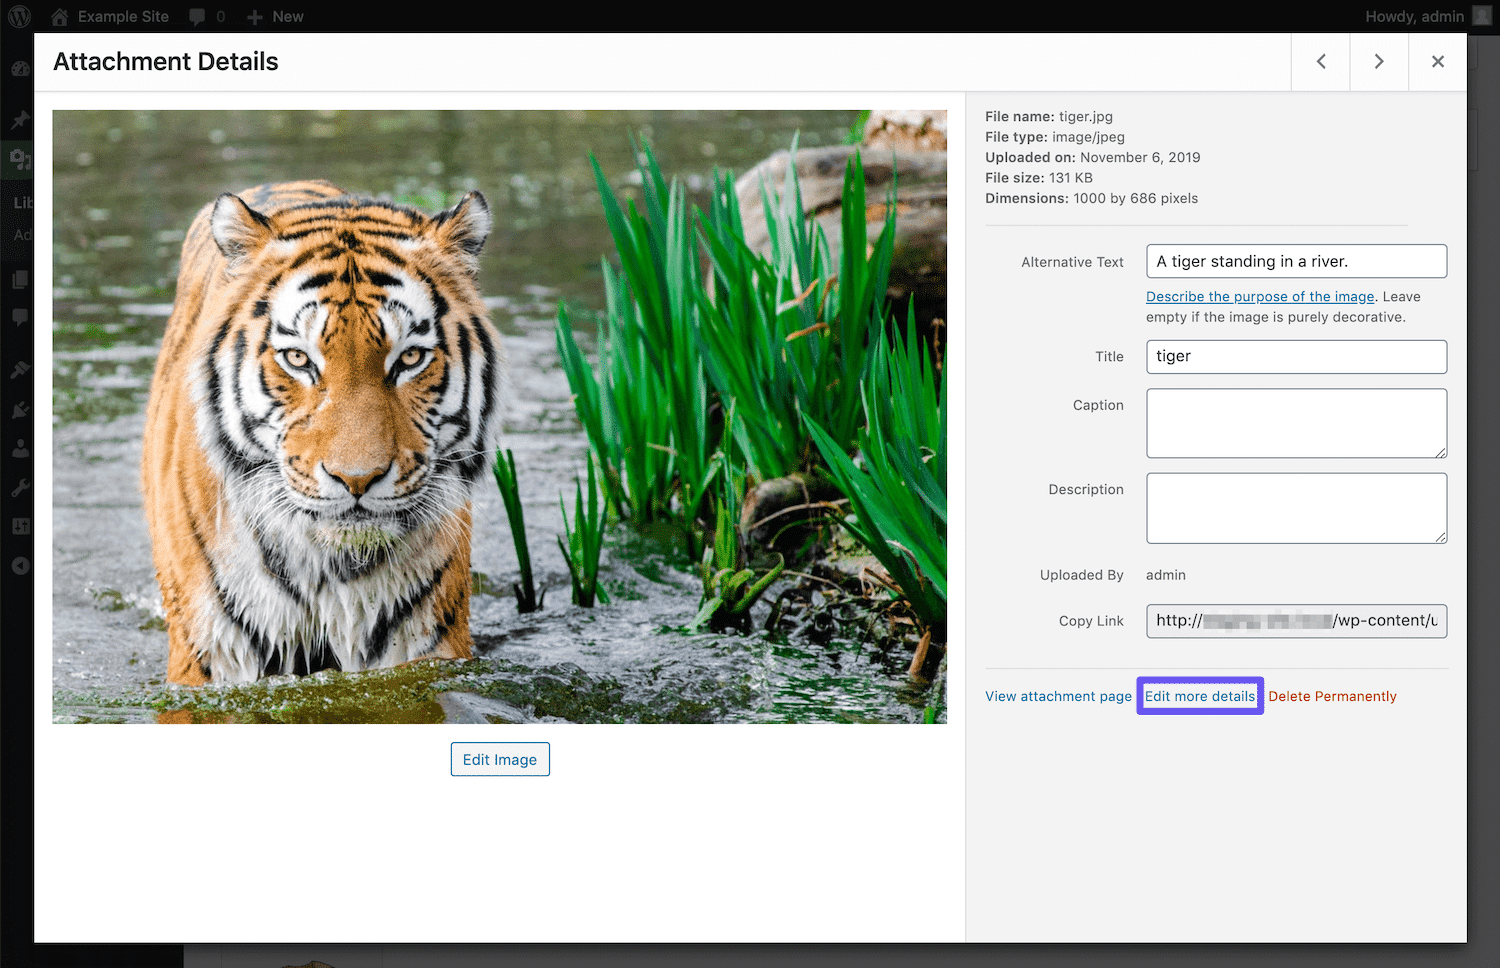
On the resulting screen, you’ll see your new custom metadata field at the bottom:
The next step is saving the user input. You can accomplish this by hooking a new function to the edit_attachment action:
function media_hacks_edit_attachment( $attachment_id ){
	if ( isset( $_REQUEST['attachments'][$attachment_id]['media_author'] ) ) {

		$media_author = $_REQUEST['attachments'][$attachment_id]['media_author'];

		update_post_meta( $attachment_id, 'media_author', $media_author );
	}
}
add_action( 'edit_attachment', 'media_hacks_edit_attachment' );
This function keeps just one argument: the $attachment_id of the current media file. First, the function checks to see whether a valid value for the custom meta field has been sent. Then it registers the value thanks to the update_post_meta function (see the code on Gist).
Now, you can retrieve the ‘media_author’ value thanks to the get_post_meta function:
$media_author = get_post_meta( $post->ID, 'media_author', true );After that, you can display it anywhere in the frontend.
2. Display EXIF and IPTC Metadata in the Edit Media Screen
WordPress automatically stores extended metadata for JPEG and TIFF mime types. Now that you know how to add fields to the Edit Media screen via media.php, you can display this data.
To accomplish this task, you have to change the first callback function as follows:
function media_hacks_attachment_fields_to_edit( $form_fields, $post ){

	// get post mime type
	$type = get_post_mime_type( $post->ID );

	// get the attachment path
	$attachment_path = get_attached_file( $post->ID );

	// get image metadata
	$metadata = wp_read_image_metadata( $attachment_path );

	if( 'image/jpeg' == $type ){

		if( $metadata ) {

			$exif_data = array(
				'aperture'          => 'Aperture',
				'camera'            => 'Camera',
				'created_timestamp' => 'Timestamp',
				'focal_length'      => 'Focal Length',
				'iso'               => 'ISO',
				'shutter_speed'     => 'Exposure Time',
				'orientation'       => 'Orientation' );

			foreach ( $exif_data as $key => $value ) {

				$exif = $metadata[$key];
				$form_fields[$key] = array(
					'value' => $exif ? $exif : '',
					'label' => __( $value ),
					'input' => 'html',
					'html'  => "ID][$exif]' value='" . $exif . "' />
				);
			}
		}
	}
	return $form_fields;
}
add_filter( 'attachment_fields_to_edit', 'media_hacks_attachment_fields_to_edit', 10, 2 );
This snippet uses the following WordPress functions:
- get_post_mime_type retrieves the mime type of an attachment based on the ID.
- get_attached_file retrieves the attached file path based on the ID.
- wp_read_image_metadata gets EXIF or IPTC metadata, if available.
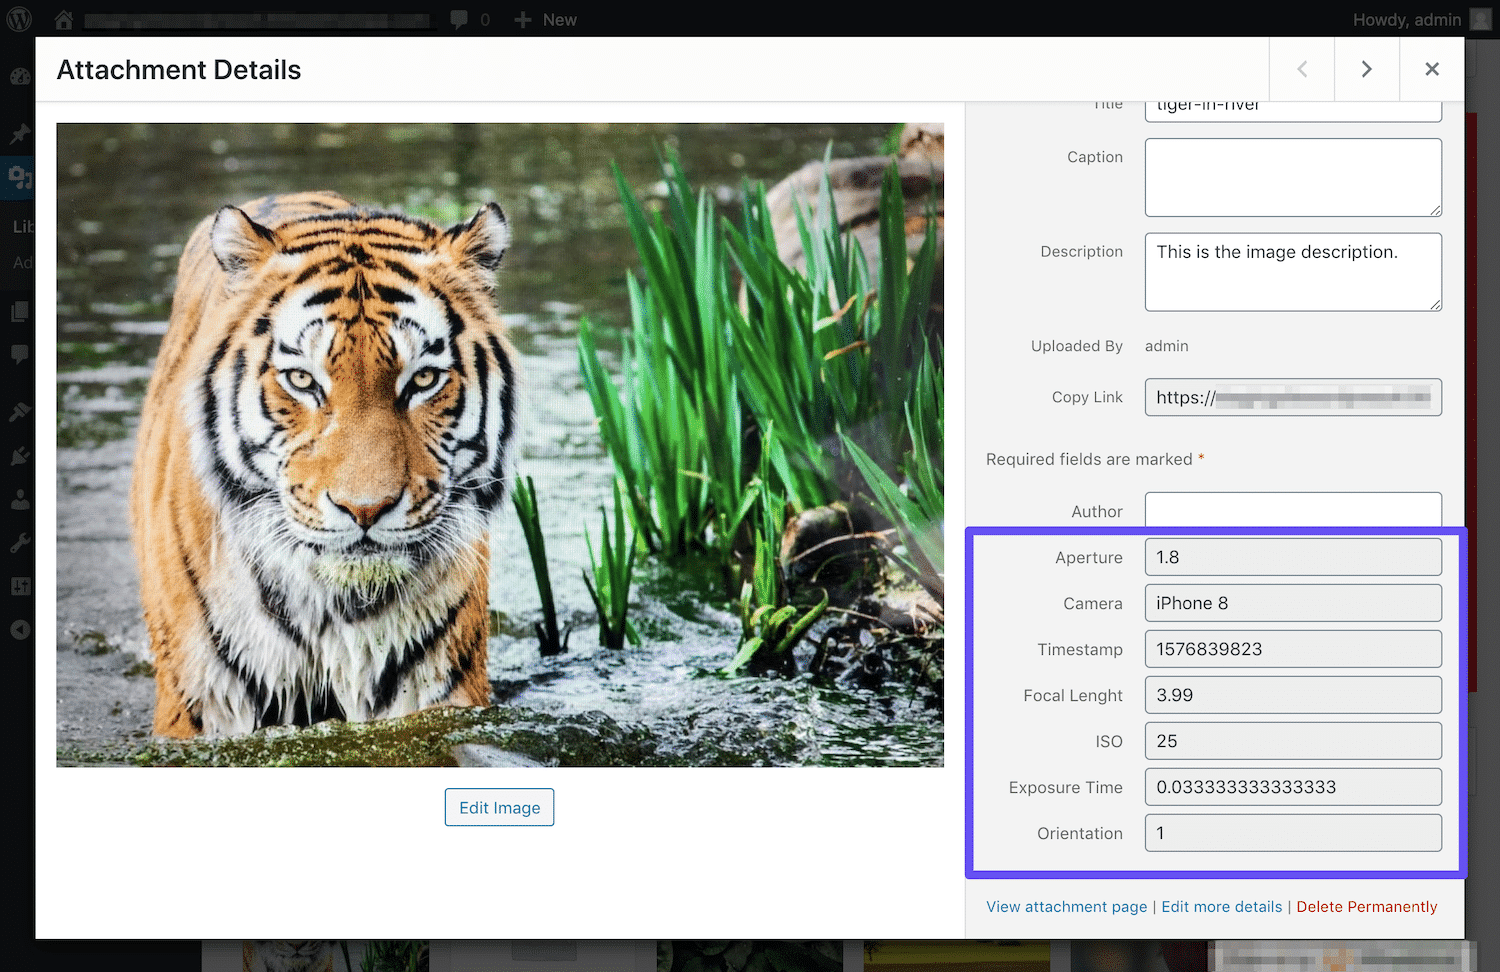
If image mime type is “image/jpeg”, and if metadata exists, then an array of required metadata is declared, and a form field for each element in the array is created:
The form fields of this example are a bit more complex, as we’re setting a value for the ‘html’ form element (see the code on Gist). You don’t need to save EXIF and IPCT metadata, as WordPress automatically stores them into the wp_postmeta table when uploading images.
3. Show Extended Metadata on the Frontend
Having all of this information for yourself on the back end is useful. However, if you also want to show extended metadata for your media files on the frontend, you’ll need to do a little more tinkering.
To do so, you can append this information to the attachment description using a the_content filter in wp-admin/includes/post.php, like so:
function media_hacks_the_content( $content ){
	global $post;

	if( is_attachment() && 'image/jpeg' == get_post_mime_type( $post->ID ) ) {

		$fields = wp_get_attachment_metadata( $post->ID );
		$meta = $fields['image_meta'];

		if( ! empty( $meta['camera'] ) ){
			$custom_content = "
			<ul>
				<li>Camera: {$meta['camera']}</li>
				<li>Created timestamp: {$meta['created_timestamp']}</li>
				<li>Aperture: {$meta['aperture']}</li>
				<li>Focal length: {$meta['focal_length']}</li>
				<li>ISO: {$meta['iso']}</li>
				<li>Shutter speed: {$meta['shutter_speed']}</li>
				<li>Orientation: {$meta['orientation']}</li>
			</ul>";
			$content .= $custom_content;
		}
	}
	return $content;
}
add_filter( 'the_content', 'media_hacks_the_content' );
Here, the wp_get_attachment_metadata function is called. If the current post type is “attachment”, and if the current mime type is “image/jpeg”, then the available image metadata is retrieved and used to build an unordered list of fields, which is appended to the post content.
The callback function returns $content (see this code on Gist):
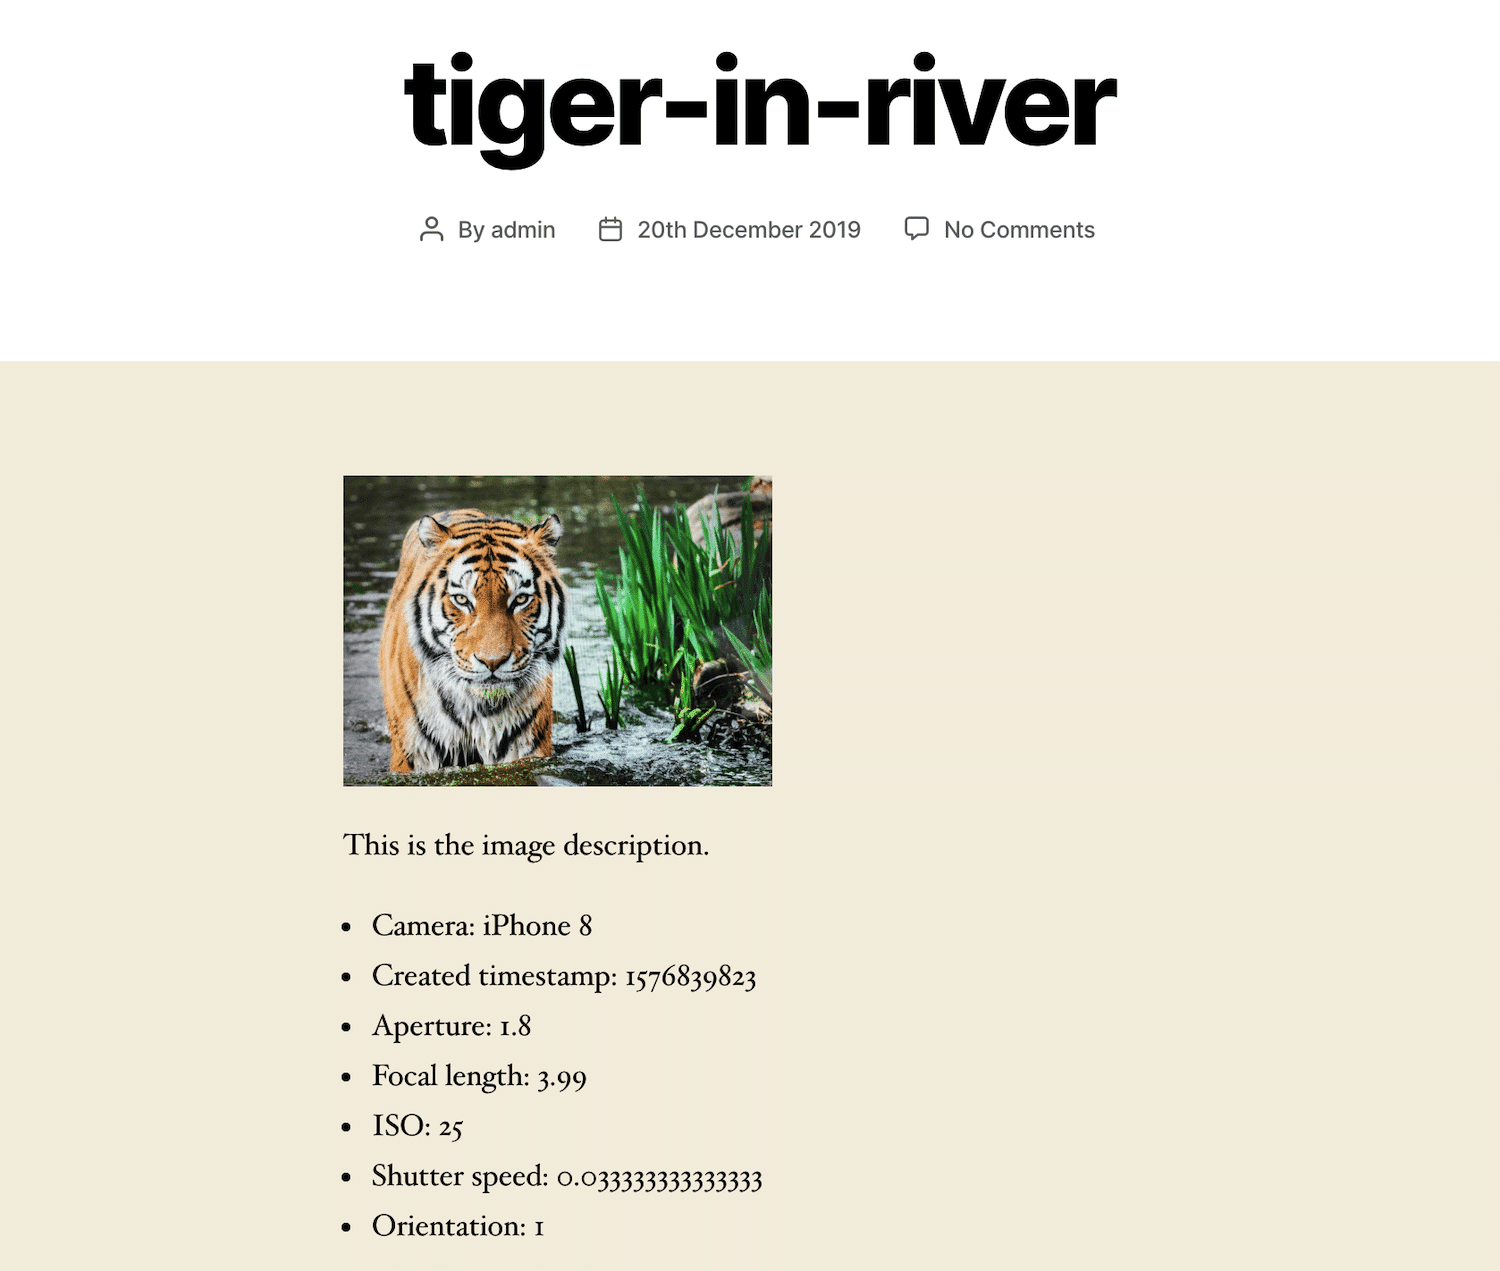
Above you can see the new attachment post with the metadata appended to the description.
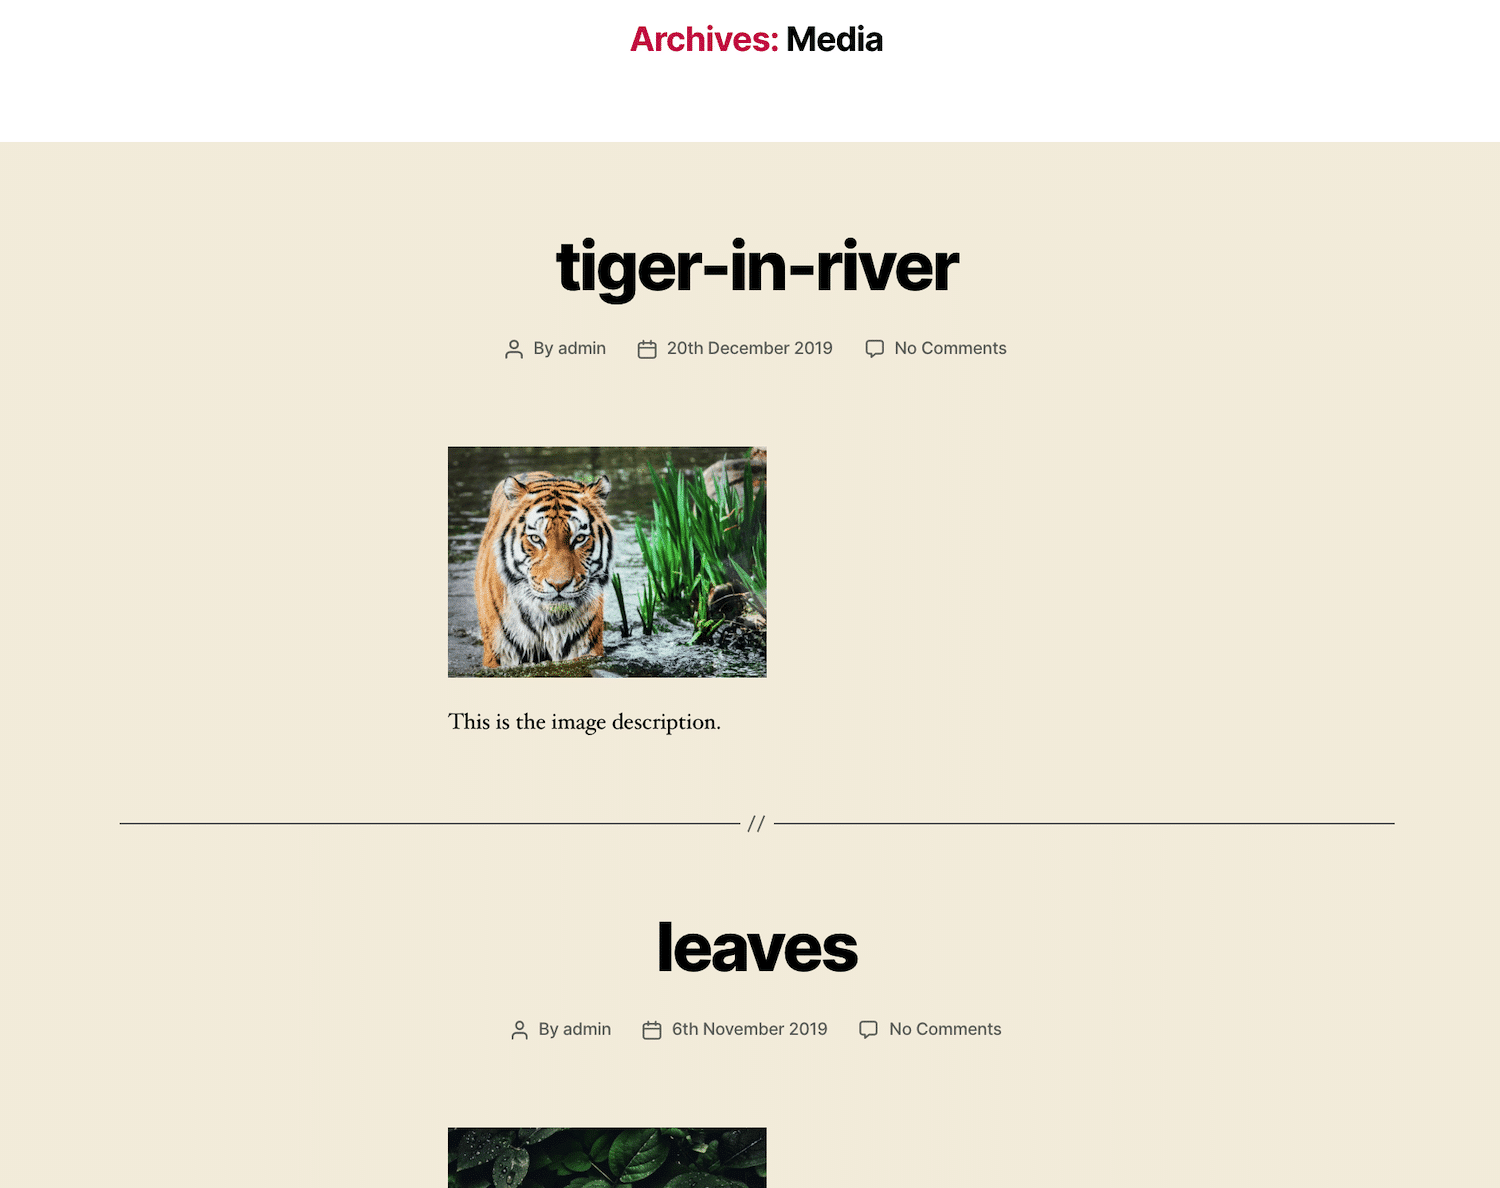
4. Publish a Photo Archive
Out of the box, WordPress does not display archives of attachments. This happens because the has_archive option of the attachment post type is set to false.
Moreover, while the default post_status parameter of the $query object is set to “publish”, the default attachment post_status is set to “inherit”. This means that no attachments will be shown in archives unless we explicitly set the query post_status to “inherit” or “any” (see WP_Query Type Parameters for further information).
With that being said, in order to show image archives, you have to define two functions. The first function filters the arguments of a specified post type, and sets the attachment has_archive property to true:
function media_hacks_register_post_type_args( $args, $post_type ){
	if( $post_type == 'attachment' ){
		$args['has_archive'] = true;
	}
	return $args;
}
add_filter( 'register_post_type_args', 'media_hacks_register_post_type_args', 10, 2 );
The second function sets custom values for the post_mime_type and post_status query variables:
function media_hacks_pre_get_posts( $query ){
	if ( !is_admin() && $query->is_main_query() ) {

		if( is_post_type_archive('attachment') ){
			$query->set('post_mime_type', 'image/jpeg');
			$query->set( 'post_status', 'inherit' );
		}
	}
}
add_action( 'pre_get_posts', 'media_hacks_pre_get_posts' );
The function is hooked to the pre_get_posts action hook, which is fired after the query has been created, but before it’s executed. The $query object is passed by reference, not by value, which means that any changes to the current instance of $query will affect the original $query object.
For this reason, it’s important to verify which query you’re going to change (see this code on Gist). Then if you enter https://yourdomain.com/?post_type=attachment in your browser, you should see an archive of JPEG images:
The full code for all of these hacks is available as a plugin in a public Gist, which we’ve linked to through this section. You can download it as a .zip file and upload it to your WordPress site to implement all four of these hacks, without having to edit your files manually.
Summary
Images, videos, audio files, and documents can be extremely valuable to your site’s users. The WordPress Media Library is essential to uploading, publishing, and even modifying these files in order to meet the needs of your content.
Do you have any other questions about the WordPress Media Library? Let us know in the comments section below!

Carlo is a passionate lover of webdesign and front-end development. He has been playing with WordPress for more than 20 years, also in collaboration with Italian and European universities and educational institutions. He has written hundreds of articles and guides about WordPress, published both on Italian and international websites, as well as on printed magazines. You can find him on LinkedIn.

