
Starting a WooCommerce store can be a daunting task. There are so many things to consider, from setting up your shop to adding products and managing your inventory. And that’s to say nothing of the tasks related to creating your products, marketing, and so much more. It’s understandable that the prospect of even getting started could feel overwhelming.
Thankfully, there are plenty of plugins and tools to help you get the job done right. In this article, we’ll show you how to add and manage products in WooCommerce the right way with step-by-step instructions you can follow along with.
Plus, we’ve found nine plugins that can assist you with this task and streamline your product-adding efforts.
First up, the tutorial!
How To Add Products in WooCommerce
Adding products in WooCommerce is a pretty straightforward process, but there are still a few things to keep in mind. Here’s how to get started:
Step 1: Log Into your WordPress and Install WooCommerce
Before you add new products, you need to log into your WordPress site. Once you’re logged in, you’ll be taken to the WordPress Dashboard. If you need help setting up WordPress, to begin with, be sure to consider MyKinsta, our WordPress-centric control panel solution that streamlines the process of setting up and managing websites from start to finish.

Assuming you have WordPress installed, it’s time to install the WooCommerce plugin if you haven’t done so already. You can do this by following the same plugin installation instructions you would for any other plugin.
You will also need to set up and configure WooCommerce before adding products. Our comprehensive WooCommerce setup guide should help you get started.
With the setup completed, you can start adding products.
Step 2: Add a New Product
Now that you have WooCommerce installed, it’s time to start adding products.
In the WordPress Dashboard, locate the menu item that reads WooCommerce on the left-hand side of the screen. Beneath this, click Products > Add New.
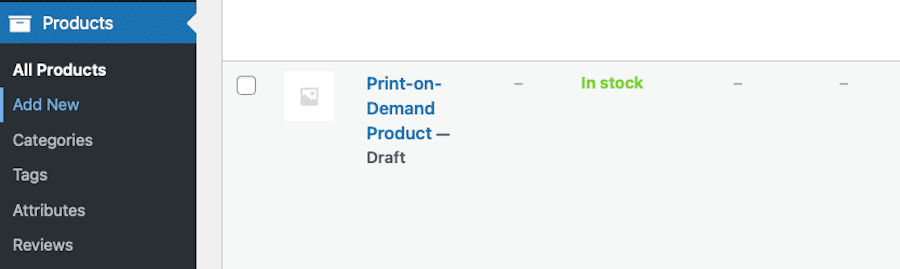
This will take you to a new page where you can start filling out your product’s details.
Step 3: Add a Name and Description
The first thing you need to do is add a name and description for your product.
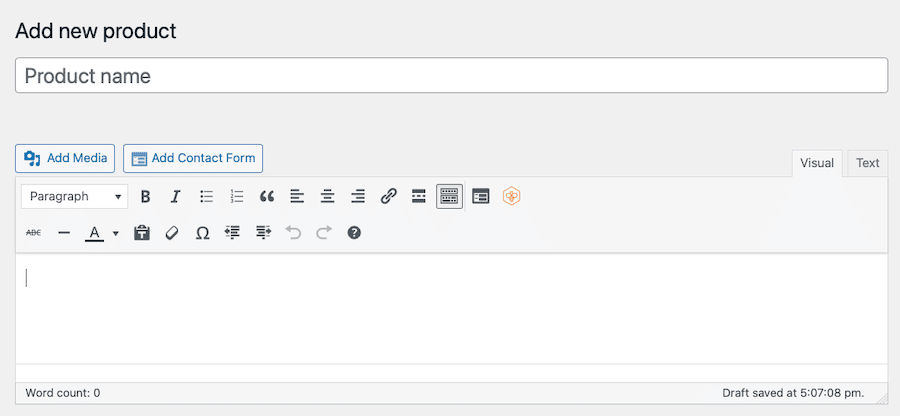
The name will be how your product is listed on your WooCommerce shop page. The description is where you provide more details about the product and what it does.
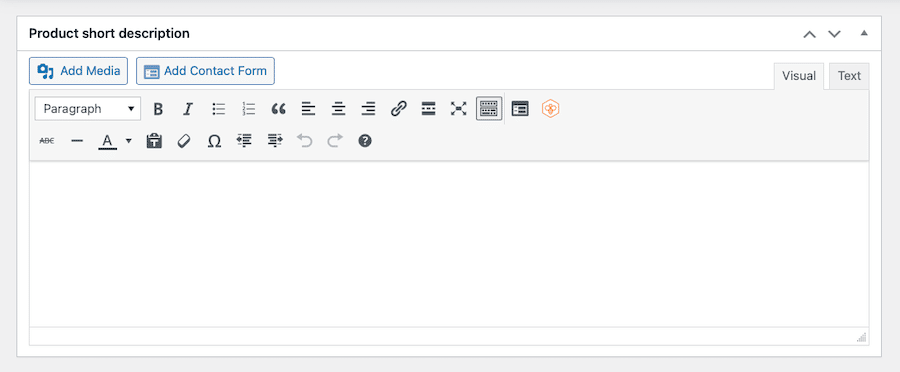
You can also scroll down the page and add a short description, which will appear on your shop page beneath the product name.
Both the name and description fields support rich text editing so that you can add things like headings, lists, and links.
Step 4: Add Product Data
Once you’ve added a name and description, it’s time to start filling out the product data.
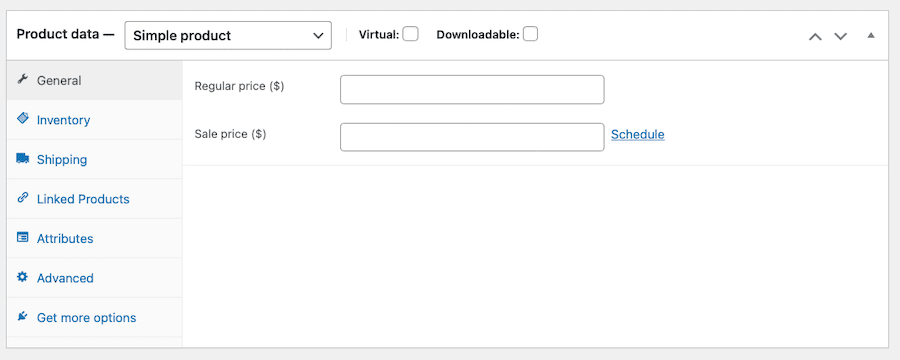
At the top of this section, you’ll see Product data, and next to it is a dropdown menu that’s set to Simple product by default. Here is where you can choose different product types, including the following:
- Simple product
- Grouped product
- External/Affiliate product
- Variable product
To the right of this, you can select checkboxes for virtual or downloadable as well, which you would select if your product is intangible or can be downloaded after purchase.
Below this section, you’re met with several tabs on the left-hand side of the screen. This is where you’ll be inputting product data info. And this is a very straightforward process for the most part — you just input the information in the appropriate field. But let’s review some of your options here and explain what each data point is in detail, separated by the section in which it’s contained:
General
The General section is where you can add a regular price and a sale price for your product.
If your product is currently on sale, you’ll want to enter the regular price in the first field and then the sale price in the second. If your product is not on sale, you can leave the second field blank.
Inventory
The Inventory section is where you can track stock levels for your product and manage the inventory of the product.
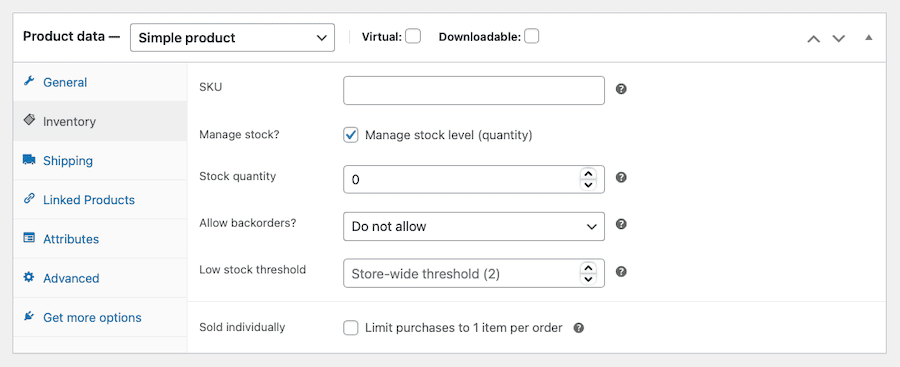
If your product has variations, you’ll need to select the Manage stock? checkbox for each variation in order for stock options to appear. Note that you can also track stock by variation in this section. The fields present here include:
- SKU: A product SKU (stock keeping unit) is a unique identifier for each product you have in stock. It’s up to you whether or not to enter an SKU, but if you do have one, you can input it here.
- Stock Status: If your product is in stock, leave this set to In stock. If it’s not, you can change the status to Out of stock.
- Sold individually: Checking this box will mean that a customer can only buy one of these products at a time.
If you select the Manage stock? option, new selections appear, including:
- Stock Quantity: This is where you input how many items of this product you have in stock. If your product doesn’t have variations, you’ll input the number here. If it does have variations, you’ll need to input the number for each variation.
- Allow backorders: A backorder is when a customer orders a product that’s out of stock. If you select the Allow backorders? option, customers will still be able to purchase the product, and you can choose one of the following three options: Do not allow, Allow, but notify customer, and Allow.
- Low stock threshold: This is the point at which you will receive a low stock notification. You can choose the number that works for you.
Shipping
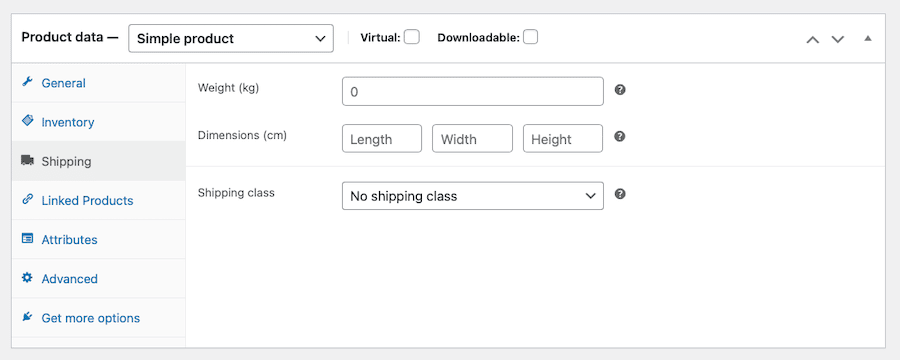
The Shipping section is where you can input shipping data for your product. It offers just a handful of options by default:
- Weight: This is the product weight, which you’ll need to input in either pounds or kilograms.
- Dimensions: Here, you can input the product length, width, and height. You’ll need to input these numbers in centimeters.
- Shipping class: This allows you to assign a shipping class to your product.
Linked Products
The Linked Products section is where you can upsell or cross-sell products to customers.
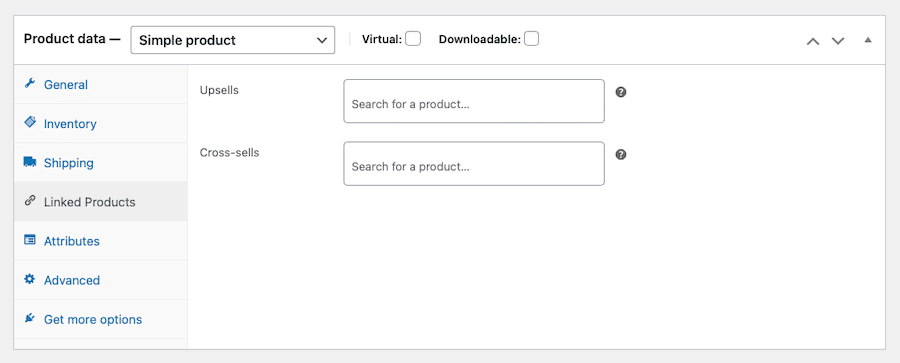
You have two options here:
- Upsells: If you have a product that’s a higher-end version of the product currently being viewed, you can link to it here. For example, if someone is looking at a standard pair of headphones, you could upsell them to a noise-canceling version.
- Cross-sells: If you have a product that would complement the one currently being viewed, you can link to it here. To continue with our headphones example, you could cross-sell them a portable charger.
Attributes
The Attributes section is where you can add more info about the different versions of products you sell. Attributes are pieces of data that help describe a product, such as color, size, or material. For example, if you were selling a shirt, you might use the color attribute to offer different colors and the size attribute to offer different sizes.
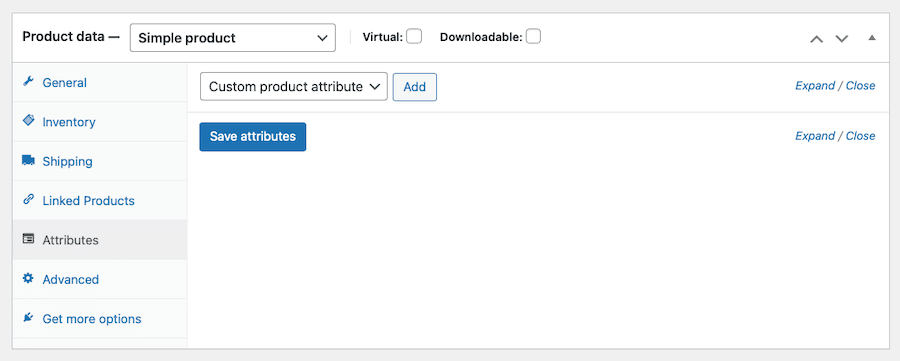
To add an attribute, click the Add button. A new row will appear where you can input the name and value of the attribute. When you’re done, click the Save Attributes button.
Advanced
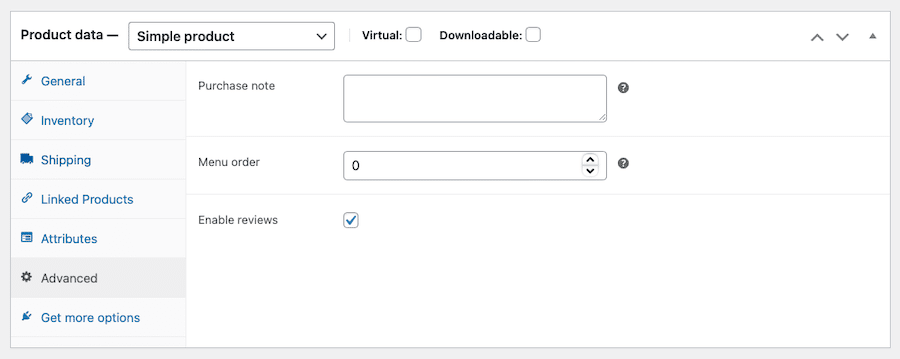
Lastly, the Advanced section allows you to set a purchase note, enable reviews, and add a menu order.
- Purchase note: A purchase note is a short message that’s sent to customers after they purchase a product. You can input your message here.
- Enable reviews: Checking this box will allow customers to leave reviews for the product.
- Menu order: This is the order in which the product will appear in relation to other products. For example, if you set the menu order to 1, it will be the first product listed.
Once you’re done adding all the necessary information to your product, make sure to click Save Draft to save your progress so far.
Step 5: Add Product Images
The next thing you need to do is add images for your product.
To do this, locate the Product image section and click on the Set product image link.
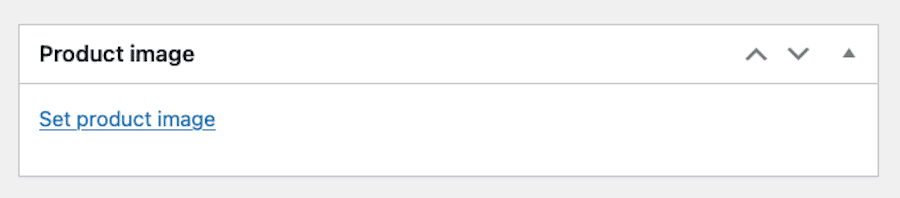
This will open the WordPress media library, where you can upload images from your computer or select images that have already been uploaded to your site.
Once you’ve selected the images you want to use, click on the Set product image button.
You can also add a product gallery, which allows customers to view multiple images of the product on a single product page.
To do this, locate the Product gallery section and click on the Add product gallery images link.

This will open the WordPress media library, where you can upload images from your computer or select images that have already been uploaded to your site.
Once you’ve selected the images you want to use, click on the Add to gallery button.
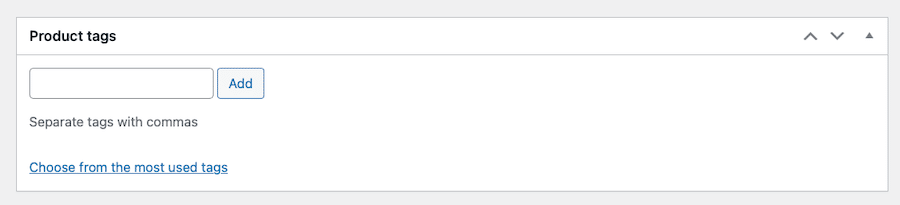
Step 6: Add Tags and Categories
The next thing you need to do is add tags and categories for your product.
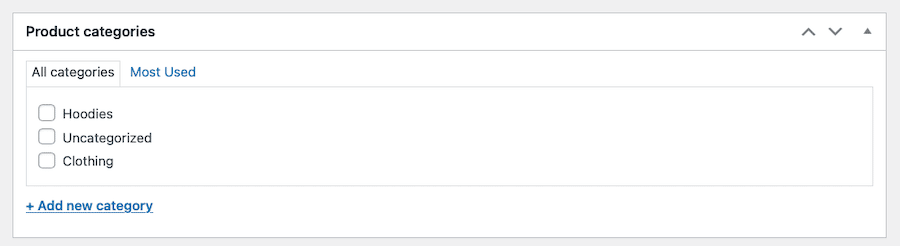
Tags are used to describe the product, and they help customers find similar products on your website. Categories, on the other hand, are used to group products together.
For example, you might have a category for t-shirts and another category for pants.
To add tags, first, scroll down to the Tags section and start typing in the tags you want to use. As you type, WooCommerce will suggest existing tags to insert. If you don’t see a tag you want to use (or haven’t created any yet), you can create a new one by typing it in and then clicking on the Add button.
Adding categories is a similar process. If you’ve created categories in the past, click the checkbox next to the applicable category/categories that apply to your product. If not, click the +Add new product category at the bottom of the section.
Step 7: Publish Your Product
Once you’ve finished configuring all the settings for your product, the last thing you need to do is publish it.
To do that, scroll back up to the top of the page and click on the Publish button.
If you have plugins or WooCommerce extensions installed, you may have additional options available to you, like configuring product filtering, more selections for stock options, or more product variable settings. But the above should get you prepped and primed for launching your first product with a default WooCommerce installation.
And hopefully, you see that product page converting for you soon.
Top 10 Plugins for Adding Products in WooCommerce
Now that you know how to add products in WooCommerce let’s take a look at some plugins that can help you do it even better. These plugins are designed to streamline the process of adding products to WooCommerce and add more features so you can further optimize and customize how your products appear in your store. Remember: be careful with installing plugins, however. Doing so could impact site speed.
1. Product Add-Ons
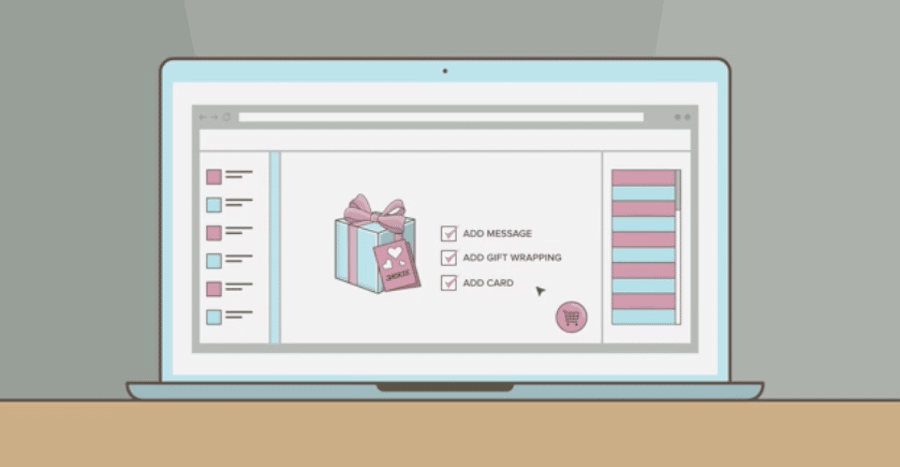
Product Add-Ons is a plugin that allows you to add extra options to your products, such as checkboxes, text fields, and select boxes. This is useful if you want to give customers the option to customize their purchase or add additional items to their order.
So, let’s say you want to sell a t-shirt that can be personalized with the customer’s name. With the Product Add-Ons plugin, you can add a text field to the product page where a customer can enter their name.
Or, you can use it to designate percentage fees, dropdowns with predefined options, image-based selections, and more.
You can also use the plugin to upsell products by adding checkboxes for additional items that can be added to the order, like gift wrapping.
Product Add-Ons is a premium plugin that starts at $49 per year for a single site license.
2. Variation Swatches for WooCommerce
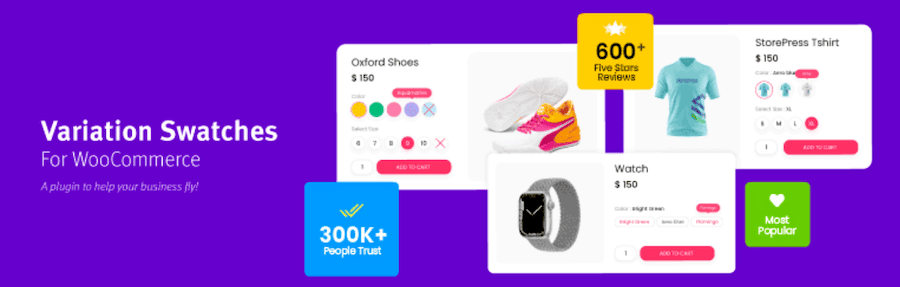
If you plan on selling variable products in your WooCommerce store, then you’ll want to check out the Variation Swatches for WooCommerce plugin.
This plugin allows you to replace the default dropdown menus for product variations with radio buttons, color swatches, and image swatches.
This is useful because it allows customers to see all the available options for a product at a single glance.
It also makes it easier for customers to select the variation they want, which can lead to more sales.
Variation Swatches for WooCommerce is free and available on the WordPress plugin directory. A PRO version is also available that offers expanded features and starts at $49 per year for a single site license.
3. WooCommerce Product Add-Ons Ultimate
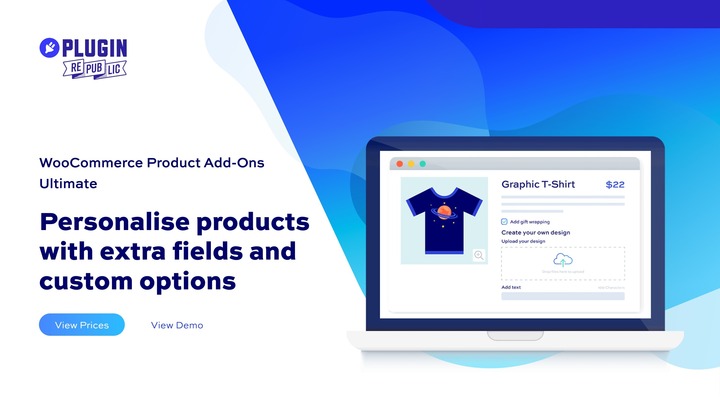
WooCommerce Product Add-Ons Ultimate allows you to add nearly 20 different kinds of extra fields to your product pages.
Customers can personalize your products using checkboxes, dropdowns, radio buttons, images, swatches, uploads, and many more.
Its advanced features include conditional logic, percentage pricing, and global fields. You can even use other products as add-on options, allowing your customers to build up complex composite products.
Product Add-Ons Ultimate is a well-established plugin, available since 2018, with first-class support and documentation. It’s intuitive and easy to use with many dedicated tutorials and YouTube videos.
4. Product Addons for Woocommerce

Another plugin worth considering is Product Addons for Woocommerce. This plugin allows you to add text, checkboxes, select boxes, radio buttons, images, and more to your product pages. The aim is to make it much easier to personalize the product ordering process by adding custom fields and product options.
It’s similar to the Product Add-Ons plugin we mentioned earlier but it’s free and available in the WordPress plugin directory.
5. WPC Composite Products for WooCommerce
WPC Composite Products for WooCommerce is a plugin that allows you to create composite products. Composite products are products that are made up of multiple other products.
For example, let’s say you sell bicycles and you want to offer a build-your-own-bicycle option on your website. With this plugin, you can create a composite product that includes all the individual parts that make up a bicycle.
Customers can then select the parts they want and add them to their order.
This plugin is available for free in the WordPress plugin directory. A premium version is also available starting at $29 per year for a single site license.
6. Subscriptions for WooCommerce

If you plan on selling products that need to be replenished on a regular basis, then you’ll want to check out the Subscriptions for WooCommerce plugin.
This plugin allows you to sell products that are automatically shipped to customers on a recurring basis. Customers can choose how often they want to receive the product, such as monthly, quarterly, or yearly.
This plugin is great for selling products like coffee, tea, pet food, and more.
The Subscriptions for WooCommerce plugin is available for free from the WordPress plugin directory. The Pro version tacks on additional features like greater payment gateway compatibility and more flexibility for subscription schedules (plus expanded support and updates) for a one-time fee of $99.
7. Extra Product Options For WooCommerce
If you’re looking for even more options to add to your product pages, then you’ll want to check out the Extra Product Options For WooCommerce plugin.
This plugin allows you to add text fields, select boxes, checkboxes, radio buttons, and more to your product pages. You can also use the plugin to create pricing rules, add conditional logic, and much more.
This plugin makes it so you can add up to 19 different custom product field types, create custom sections, set display rules, and more.
The Extra Product Options for WooCommerce plugin is available for free. However, this is a premium version available that includes even more field types, price alteration methods, and complex field validation options starting at $39 per year for a single site license.
8. WooCommerce Pre-Orders
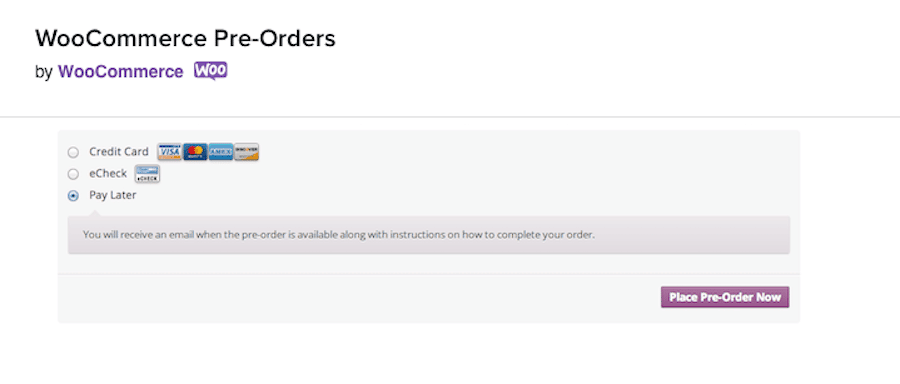
If you plan on selling products that aren’t yet available, then you’ll want to check out the WooCommerce Pre-Orders plugin.
With this plugin, customers can place orders for products that aren’t yet released. When the product is released, the plugin will automatically charge the customer’s credit card and ship the product.
The checkout experience for pre-orders can be fully customized using this plugin. You can also offer customers incentives for placing pre-orders, such as discounts or free shipping.
The WooCommerce Pre-Orders plugin is available starting at $129 per year for a single site license.
9. Wholesale For WooCommerce

If your aim is to sell products to wholesale customers, the Wholesale for WooCommerce plugin is a must-look.
This plugin allows you to create a separate wholesale store for your wholesale customers. You can offer different pricing for different customer groups and manage inventory for each customer group separately.
The plugin also includes features like order minimums, back ordering, and automatic tax calculation.
The Wholesale for WooCommerce plugin is available starting at $99 per year for a single site license.
10. Advanced Product Fields (Product Addons) for WooCommerce

Last on our list today is the Advanced Product Fields (Product Addons) plugin, which offers even more ways to customize your product pages
Basically, it allows you to add a wide range of further customizations to the checkout process by offering customers as many opportunities to personalize a product as they see fit.
With this plugin, you can add text fields, select boxes, checkboxes, radio buttons, image uploads, file uploads, and more. You can also offer conditional logic, pricing rules, and much more.
The Advanced Product Fields (Product Addons) for WooCommerce plugin is available for free. A premium version is available as well that provides more field types to choose from, expanded conditional logic, as well as repeatable fields, and more integrations. The premium version starts at $59 per year for use on a single site.
Summary
Adding and managing products in WooCommerce doesn’t have to be a headache. By using the right plugins, you can make the process as easy and streamlined as possible.
You can make the entire process of managing your WooCommerce store easier by investing in our managed WooCommerce hosting as well. Our hosting plans are designed specifically for WooCommerce stores and include features like one-click installation, SEO, and ultra-fast load times.
Do you have any questions about how to add or manage products in WooCommerce? Let us know in the comments below!


