
React has become an essential tool for modern web development, and getting it set up on your machine is the first step to start building amazing user interfaces.
It’s a popular JavaScript library for building UIs, focusing on performance and reusability, and has revolutionized web development by making it easier to create fast, responsive, and maintainable interfaces that really work for people.
Its component-based architecture and focus on how it performs in real-world settings have made it an attractive choice for developers looking to build modern web applications.
In this comprehensive guide, we’ll guide you through the process of installing React on Windows, macOS, and Linux operating systems. But first, let’s discuss the importance of React and how it can benefit your development workflow.
Onward!
What is React?
React is a powerful JavaScript library specifically designed for building user interfaces. It was developed by Jordan Walke, a software engineer at Facebook, in 2013.
React focuses on creating and managing UI components, which are reusable pieces of code that can manage their state and render UI elements. Its component-based architecture encourages developers to create modular and reusable components, reducing the amount of duplicate code and speeding up development time.
The use of a virtual DOM in React enhances rendering, resulting in faster and more efficient performance in comparison to traditional DOM manipulation techniques. This focus on performance and reusability has made React a popular choice among developers.
Who Uses React?
React has gained popularity among a wide range of developers, as it provides a powerful and flexible way to build user interfaces for web applications. Here’s a look at some of the people who commonly use React:
- Web Developers: They use React to create engaging and responsive user interfaces for websites and web applications. React’s component-based architecture allows them to build modular applications that are easier to maintain and update.
- Front-end Developers: These developers use React to create user-facing components that interact with backend services and APIs. React simplifies the process of building complex user interfaces by breaking them down into smaller, more manageable components.
- Full-stack Developers: Full-stack developers use React in conjunction with backend technologies like Node.js, Express, and MongoDB to build full-featured web applications. React’s flexibility makes it easy to integrate with various backend systems, streamlining the development process.
Many prominent companies in the tech industry also use React, showcasing its versatility and widespread adoption. Some examples of companies using React in their tech stack include:
- Facebook: As the creator of React, Facebook uses it extensively throughout its web applications, including the main Facebook site, Instagram, and WhatsApp Web.
- Airbnb: Airbnb uses React to build its user interfaces, allowing them to create a seamless and performant experience for its users across various platforms.
- Netflix: Netflix employs React to create its web application, taking advantage of its performance optimizations and component-based architecture to deliver a smooth user experience.
- Uber: Uber uses React to power its web applications, making it easier for them to create intuitive and responsive interfaces for its users.
- Pinterest: Pinterest leverages React’s component-based architecture to build a visually stunning and highly interactive web application for users to discover and save creative ideas.
- Reddit: Reddit utilizes React to develop its web application, providing a fast and engaging user experience for millions of users across the platform.
- Dropbox: Dropbox takes advantage of React’s performance optimizations and component-based architecture to create a user-friendly and efficient web application for managing and sharing files.
By using React, these companies demonstrate the power and flexibility of this popular JavaScript library, making it an essential tool for modern web development.
Advantages of Using React
React offers several advantages that make it a popular choice for modern web development.
Here are some key benefits:
Component-Based Design Promotes Reusability
React’s architecture allows developers to create modular and reusable components, reducing code duplication and making it easier to maintain and update applications. This approach promotes consistency and simplifies the development process.
Virtual DOM for Improved Performance
React uses a virtual DOM to optimize rendering, making it faster and more efficient than traditional DOM manipulation. By only updating the parts of the DOM that have changed, React minimizes the time spent on rendering and improves overall application performance.
Strong Community Support
The React community is extensive and highly engaged in developing the technology. They regularly share their expertise through online platforms such as forums, social media, and blogs. This strong community support ensures that React continues to evolve and improve while also providing valuable resources for developers to learn from and troubleshoot issues.
Wide Range of Third-Party Libraries and Tools
The React ecosystem is vast, with a plethora of libraries and tools available to help developers build and optimize their applications. These resources can save time and effort by providing pre-built solutions and enhancements for common tasks and challenges.
Popular Choice for Modern Web Development
React has gained widespread adoption among developers and companies, making it a popular choice for building modern web applications. This popularity means that developers with React skills are in high demand, making it a valuable skill set to have in the job market.
React Prerequisites
Before diving into installing and using React, it’s essential to have some foundational knowledge and tools in place. Here are the prerequisites for getting started with React:
- Basic knowledge of HTML, CSS, and JavaScript: Familiarity with these core web technologies is necessary for understanding how to build and style components in React.
- Familiarity with command line/terminal: React development often involves using command line tools and interfaces, so it’s important to be comfortable navigating and executing commands in your system’s terminal or command prompt.
- Node.js and npm installed: React relies on Node.js and npm (Node Package Manager) for managing dependencies and running build scripts. Make sure you have both installed on your system before proceeding with React installation.
System Requirements
Before installing React, it’s important to ensure your system meets the necessary requirements. Here’s what you need:
- Operating System: Windows 10 or 11, macOS 10.10, or Ubuntu 16 are recommended for the best compatibility and performance.
- Hardware: At least 4GB of RAM and 10GB of storage space are required to run React and its associated tools smoothly.
- A web browser and Internet access: A modern web browser (such as Google Chrome, Mozilla Firefox, or Microsoft Edge) and Internet access are necessary for viewing and testing your React applications.
- Node.js and npm installed: As mentioned earlier, React relies on Node.js and npm for managing dependencies and running build scripts. Make sure you have both installed on your system.
How To Install React
Each operating system has slightly different requirements when installing React. Follow along with the appropriate set of instructions below for the operating system you use.
How To Install React on Windows
In this section, we’ll guide you through the process of installing React on a Windows machine.
Follow these steps to get started:
Step 1: Install Node.js and npm
Before installing React, you need to have Node.js and npm (Node Package Manager) installed on your system. If you haven’t already installed them, follow these steps:
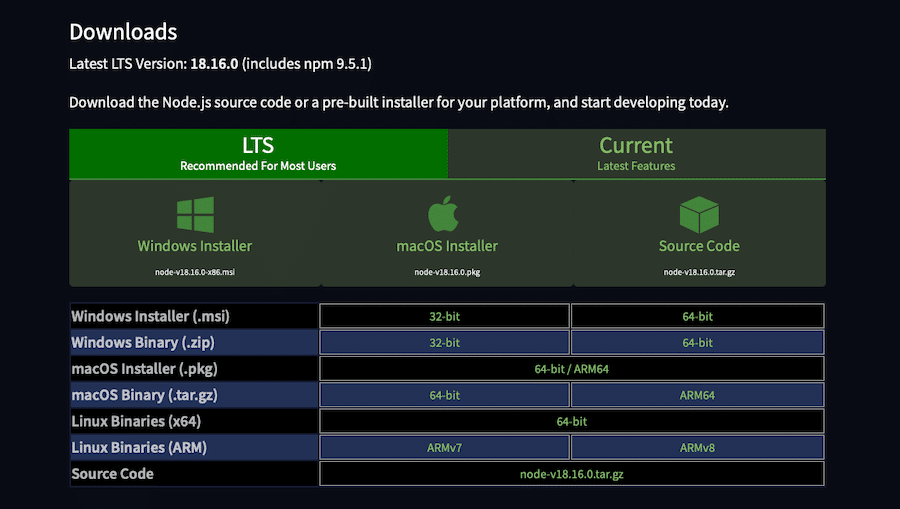
- Visit the Node.js download page at: https://nodejs.org/en/download/
- Download the installer for your Windows system (either the LTS or Current version is fine, but the LTS version is recommended for most users)
- To install Node.js and npm, please run the installer and carefully follow the provided prompts.
After the installation is complete, you can verify that Node.js and npm are installed by opening a command prompt and running the following commands:
node -v npm -vThese commands should display the version numbers for Node.js and npm, respectively.
Step 2: Install Create React App
Create React App is a command-line tool that simplifies the process of setting up a new React project with a recommended project structure and configuration. To install Create React App globally, open a command prompt and run the following command:
npm install -g create-react-appThis command installs Create React App on your system, making it available to use in any directory.
Step 3: Create a New React Project
Now that you have Create React App installed, you can use it to create a new React project. To do this, open a command prompt, go to the directory where you want the project to live, and run the following command:
create-react-app my-appReplace “my-app” with the desired name for your project. Create React App will create a new directory with the specified name and generate a new React project with a recommended project structure and configuration.
Step 4: Go To the Project Directory and Start the Development Server
Once the project is created, head over to the project directory by running the following command in the command prompt:
cd my-appReplace “my-app” with the name of your project directory. Now, start the development server by running the following command:
npm startThis command launches the development server, which watches for changes to your project files and automatically reloads the browser when changes are detected.
A new browser window should open with your React application running at http://localhost:3000/ that looks like this:
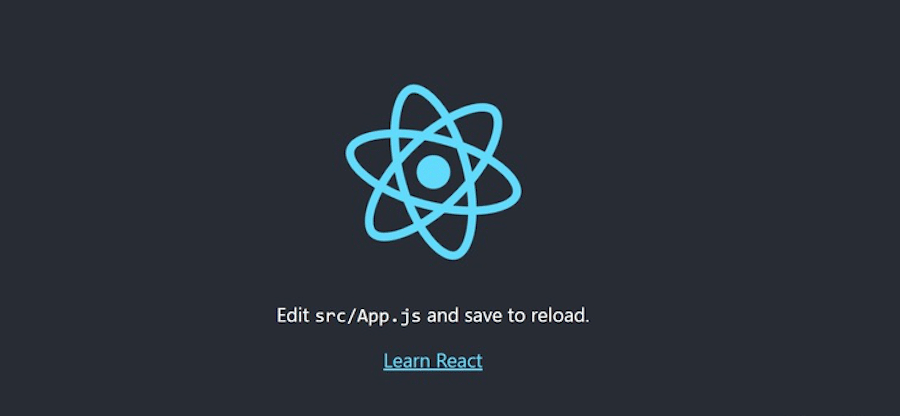
Congratulations! You have successfully installed React on your Windows machine and created a new React project. You can now begin building your user interfaces with React.
How To Install React on macOS
Now, let’s walk through the process of installing React on a computer running macOS:
Step 1: Install Node.js and npm
As with the Windows installation process, you need to have Node.js and npm (Node Package Manager) installed on your macOS system as well. If you haven’t already installed them, follow these steps:
- Visit the Node.js download page
- Download the macOS installer
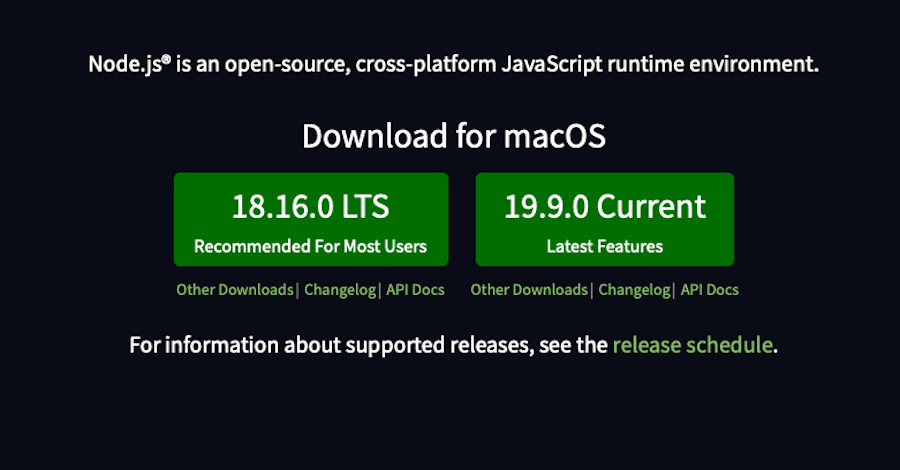
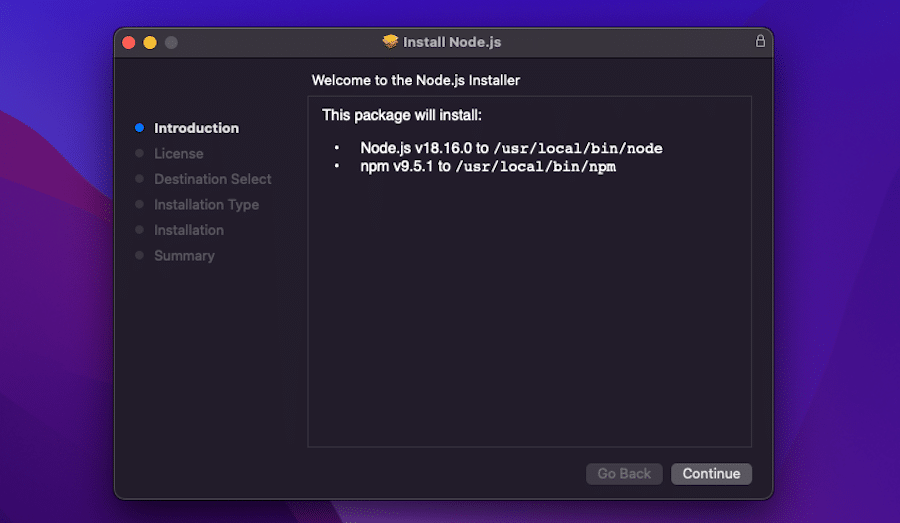
- Once downloaded, click the .pkg file in your Downloads folder to run the installer.
- Follow the instructions that appear on your screen, including accepting the License Agreement, selecting the target destination for the installed files, and selecting the installation type.
After the installation is complete, you can verify that Node.js and npm are installed by opening a terminal and running the following commands:
node -vnpm -vThese commands should display the version numbers for Node.js and npm, respectively.
Alternatively, you can install Node.js and npm via the command line. To do this, open Terminal then input:
brew install nodeWait for the installation to complete then verify its installation in the same way as above, by entering:
node -vAnd then:
npm -vStep 2: Install Create React App On Your macOS
Now, let’s get started with installing Create React App on macOS.
Create React App is a convenient way to set up a single-page application with minimal steps and no configuration.
Let’s proceed with the installation steps.
First, open the terminal and create a folder named react-app by typing the following command:
mkdir react-appNext, navigate to the react-app directory with this command:
cd react-appTo verify that you’re in the correct directory, type the following command and press Enter:
pwdOnce you’ve confirmed that you’re in the right directory, you can create a new React project.
Step 3: Create a New React Project
Now that you have Create React App installed, you can use it to create a new React project. type the command below:
npx create-react-app my-appnpx is a module included with npm. The installation steps will take some time, so be patient.
Step 4: Go To the Project Directory and Start the Development Server
After the command has been executed successfully, navigate to the my-app directory:
cd my-appFinally, type:
npm startUpon successful execution of the command, your default web browser will open at
http://localhost:3000/:
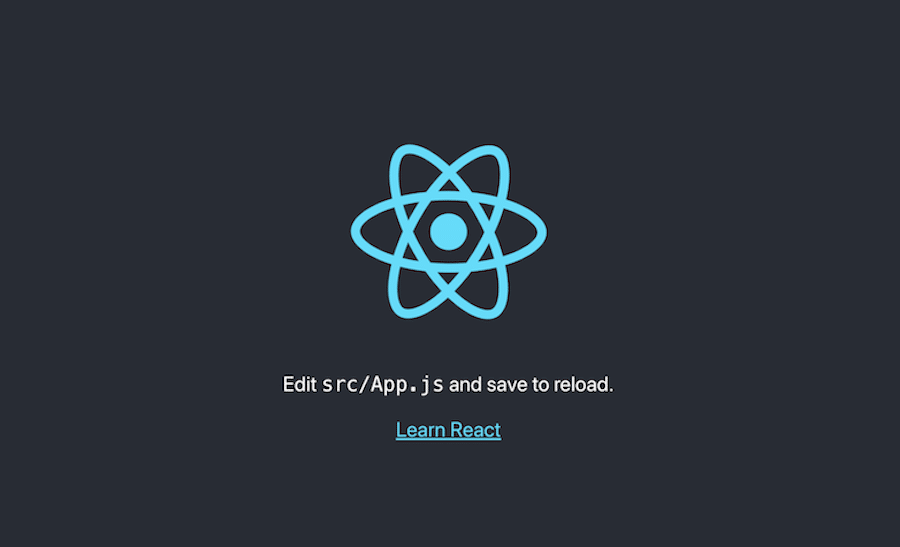
And that’s it! React is now installed and ready to use on your macOS.
How To Install React on Linux
If you have a Linux-based system, you’ll want to follow this set of steps to install React:
Step 1: Install npm
Login to your server as a sudo user and run the following command:
sudo apt install npmOnce the installation is complete, verify the version of npm installed using the command:
npm --versionThe installation of npm also installs Node.js. Confirm the version of Node installed using the command:
node --versionStep 2: Install create-react-app Utility
create-react-app is a utility that allows you to set up all the tools required for a React application.
It saves time and effort by setting everything up from scratch, giving you a head start.
To install the tool, run the following npm command:
sudo npm -g install create-react-appOnce installed, confirm the version of create-react-app by running:
create-react-app --versionStep 3: Create and Launch Your First React Application
Creating a React application is simple and straightforward. We will create a React app called my-app as follows:
create-react-app my-appThis process takes about 5 minutes to install all the packages, libraries, and tools needed by the application. Patience is key.
If the application was created successfully, you’ll receive a notification with the basic commands you can run to start managing the application.
To run the application, navigate into the app directory:
cd my-appThen run the command:
npm startYou’ll see an output showing you how to access the application in the browser.
Open your browser and navigate to your server’s IP address:
http://server-ip:3000
And, as with the Windows and macOS installation processes, you should see the React logo in your browser:

This demonstrates that the default React app is up and running.
You’ve now successfully installed React on Linux and created an application in React!
Summary
Hopefully, you’ve found this guided through the process of installing React on Windows, macOS, and Linux helpful. We covered the prerequisites and system requirements needed to set up a React development environment, as well as the installation of Node.js and npm. We also demonstrated how to use the create-react-app utility to create a new React project and start a development server.
Now that you have React installed on your machine, it’s time to dive in and start following along with tutorials, learning best practices, and figuring out how to build amazing user interfaces. React’s design, performance perks, and strong community support make it an excellent choice for modern web development.
As you progress in your React journey, you might want to consider using Kinsta’s Application Hosting Service for your React projects. Kinsta provides a high-performance, scalable, and secure hosting platform that can help you get the most out of your React applications.
Good luck!


