WordPress is a great platform, but it can also be a bit unorganized sometimes – at least from a code perspective. This is because the code has gone through many iterations, and as updates roll out, sometimes things aren’t coded as efficiently as they could be.
However, this doesn’t mean your development process must follow suit. While messy code is often excused due to fast production schedules, as a web developer, you have the opportunity to stand out and excel by adopting a proper workflow.
This article covers some tips to help you develop WordPress sites in the right way with the right tools on hand. It also provides a step-by-step walk-through to help you follow these tips.
By following this guide, you can avoid some of the common problems that occur when developing WordPress sites. And you can create a site that is easy to maintain and update.
So, let’s get started!
Attributes of High-Quality Code
Before we delve into our full guide on creating a WordPress development workflow, let’s pause a moment to discuss why high-quality code actually matters.
When thinking about the code for your site, there are a few key attributes that you should keep in mind. These attributes help ensure your code is clean, well-organized, and easy to understand.
Here are some attributes of high-quality code:
- Streamlined
- Easy to follow
- Modular
- Well-commented
- Reusable and maintainable
These attributes may seem like a lot but don’t worry. We’ll fully cover how to attain each in this guide. But first, let’s understand why your development workflow must abide by these standards.
Why WordPress Development Needs Top-Tier Coding Practices
In order for a WordPress website to function properly, the code that makes up the site needs to be high quality. This is especially important for WordPress websites because they are often complex, with many different moving parts.
There are many reasons why coding practices are important for WordPress development:
- WordPress websites are complex.
- A single line of code can have a big impact.
- Well-written and well-tested code is essential.
- High-quality code is easier to maintain.
- Quality code can help improve performance.
Keeping these points in mind as you move through your development planning process can help you keep your eye on the prize, so to speak.
WordPress Workflow Improvement Tips
Now that we’ve talked about why it’s important to have well-written code let’s go over some tips to help you improve your WordPress workflow for every single project. Each of the following tips can help to ensure your WordPress code is clean and optimized, which is what your priority should be.
Choose a Good Hosting Provider
When it comes to hosting your WordPress website, selecting the right provider is crucial for ensuring optimal performance, security, and overall user experience. A reliable hosting service can significantly impact your website’s speed, stability, and scalability. Kinsta stands out as an excellent choice for hosting your WordPress site, offering a wide range of features and benefits that contribute to an outstanding hosting experience.
- Containerized Site Management: Kinsta adopts a container-based approach to site management. This means each website is isolated within its own container, preventing any interference from other sites on the same server. This isolation ensures superior security and stability, eliminating the risk of resource contention.
- Advanced Caching Mechanisms: Caching is vital for speeding up your website and reducing server load. Kinsta incorporates server-level caching, edge caching, automatic page caching, and content delivery network (CDN) integration. This intelligent caching system ensures your pages load quickly and efficiently for visitors worldwide. You can also explore the Kinsta API to clear your site’s cache or edge cache.
- Performance Optimization: Kinsta is committed to providing top-notch performance optimization tools. They offer features like PHP support, HTTP/3, and MariaDB for faster database queries. With Kinsta’s performance-focused infrastructure, your website will be well-equipped to handle any traffic spikes.
- Free Staging Environment: Each WordPress installation at Kinsta can have its own staging environment at no extra cost. This allows you to safely test updates, plugins, and changes before deploying them to the live site, ensuring a seamless user experience.
- Security Measures: Kinsta takes security seriously, implementing measures like DDoS detection, hardware firewalls, and uptime monitoring.
- Developer-Friendly Features: For developers, Kinsta offers features like SSH access, WP-CLI, and Git integration. These tools enable easier development, version control, and efficient collaboration among team members.
Utilize Staging
A staging site is a copy of your live site that you can use to test changes before making them on your live site. This is a valuable tool because it allows you to experiment with changes without affecting your live site.
There are many benefits of using a staging site:
- Test changes before making them on your live site.
- Avoid potential problems by testing on a staging site.
- Make sure that your changes are working as intended.
- Avoid potential downtime on your live site.
- Reduce the risk of breaking your live site.
At Kinsta, you have the ability to create a separate staging environment for each WordPress install, allowing you to test new versions, plugins, code, and perform general development work. This staging environment can be easily set up and shared with your team. For additional staging environments, staging environments closely matching your live setup, or resource-intensive testing and development, you can use the Premium Staging Environment add-on.
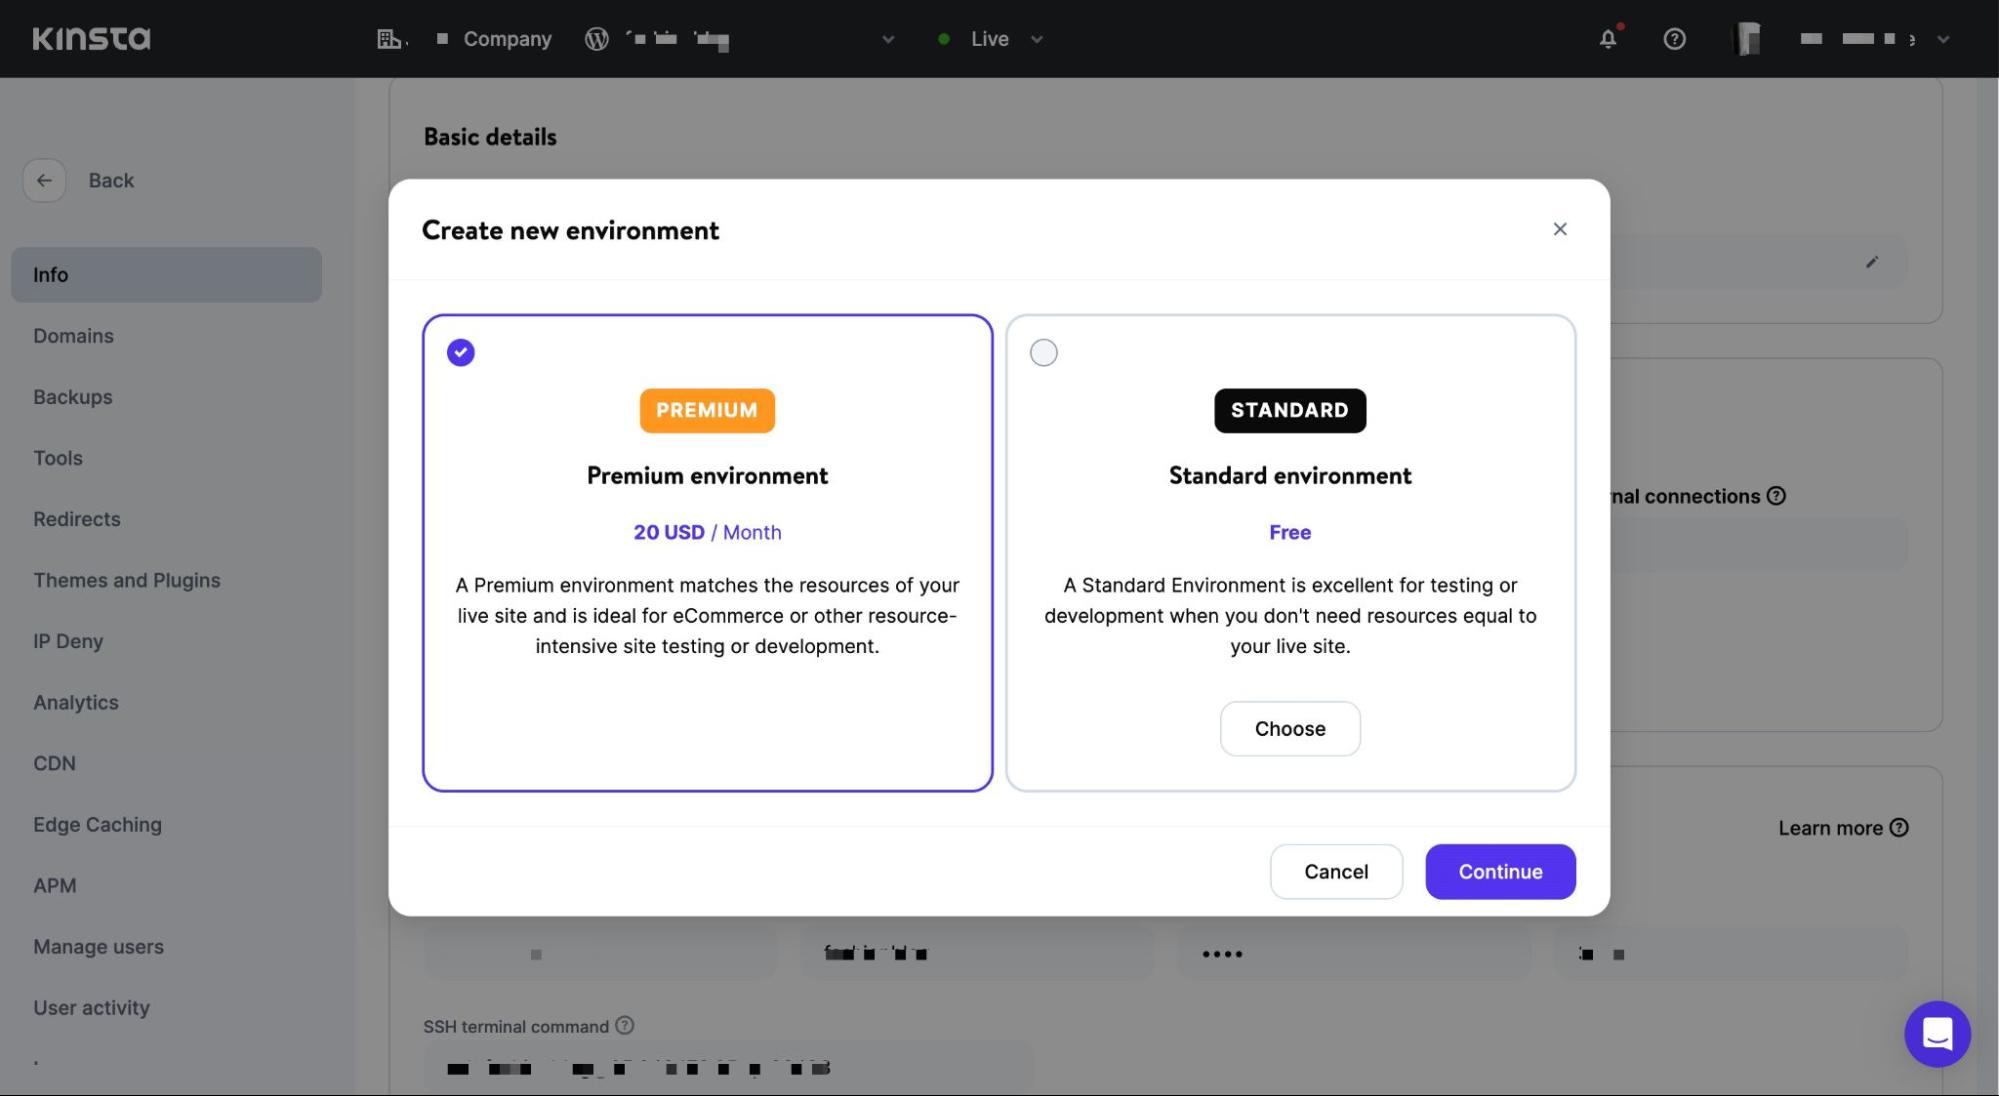
Moreover, Kinsta offers the convenience of programmatically creating these environments through the Kinsta API. This allows you to access your site’s environment details, perform actions such as deleting or cloning an environment, and even create plain environments without a WordPress installation or with one already installed.
WordPress core, plugins, and themes are written in PHP. Kinsta always supports the most recent version of PHP and supports different versions for staging environments. Switching between PHP versions takes just a few clicks in the MyKinsta dashboard.
Implement Version Control
Version control is a system that tracks changes to files over time. This is valuable for WordPress development because it allows you to track changes and revert back to earlier versions if necessary.
For most, this means using Git, which is a popular version control system supported by Kinsta. Git is a free and open-source distributed version control system designed to handle everything from small to very large projects with speed and efficiency. With Kinsta, you can easily connect to your Git repository from GitHub, GitLab, and Bitbucket.
It’s especially useful when working with a large distributed team. The last thing you want to run into is multiple versions of your functions.php file, all named something slightly different, in your WordPress installation because multiple people were making changes at once.
Schedule Automated Backups
One of the most important aspects of WordPress development is backups. Backups are vital because they allow you to restore your site if something goes wrong.
There are many ways to automate backups. When you use Kinsta, you automatically have access to six types of backups: free automatic/daily, optional hourly, manual, system-generated, downloadable, and Premium external backups sent automatically to your Amazon S3 or Google Cloud Storage, that you can use as part of your disaster recovery strategy.
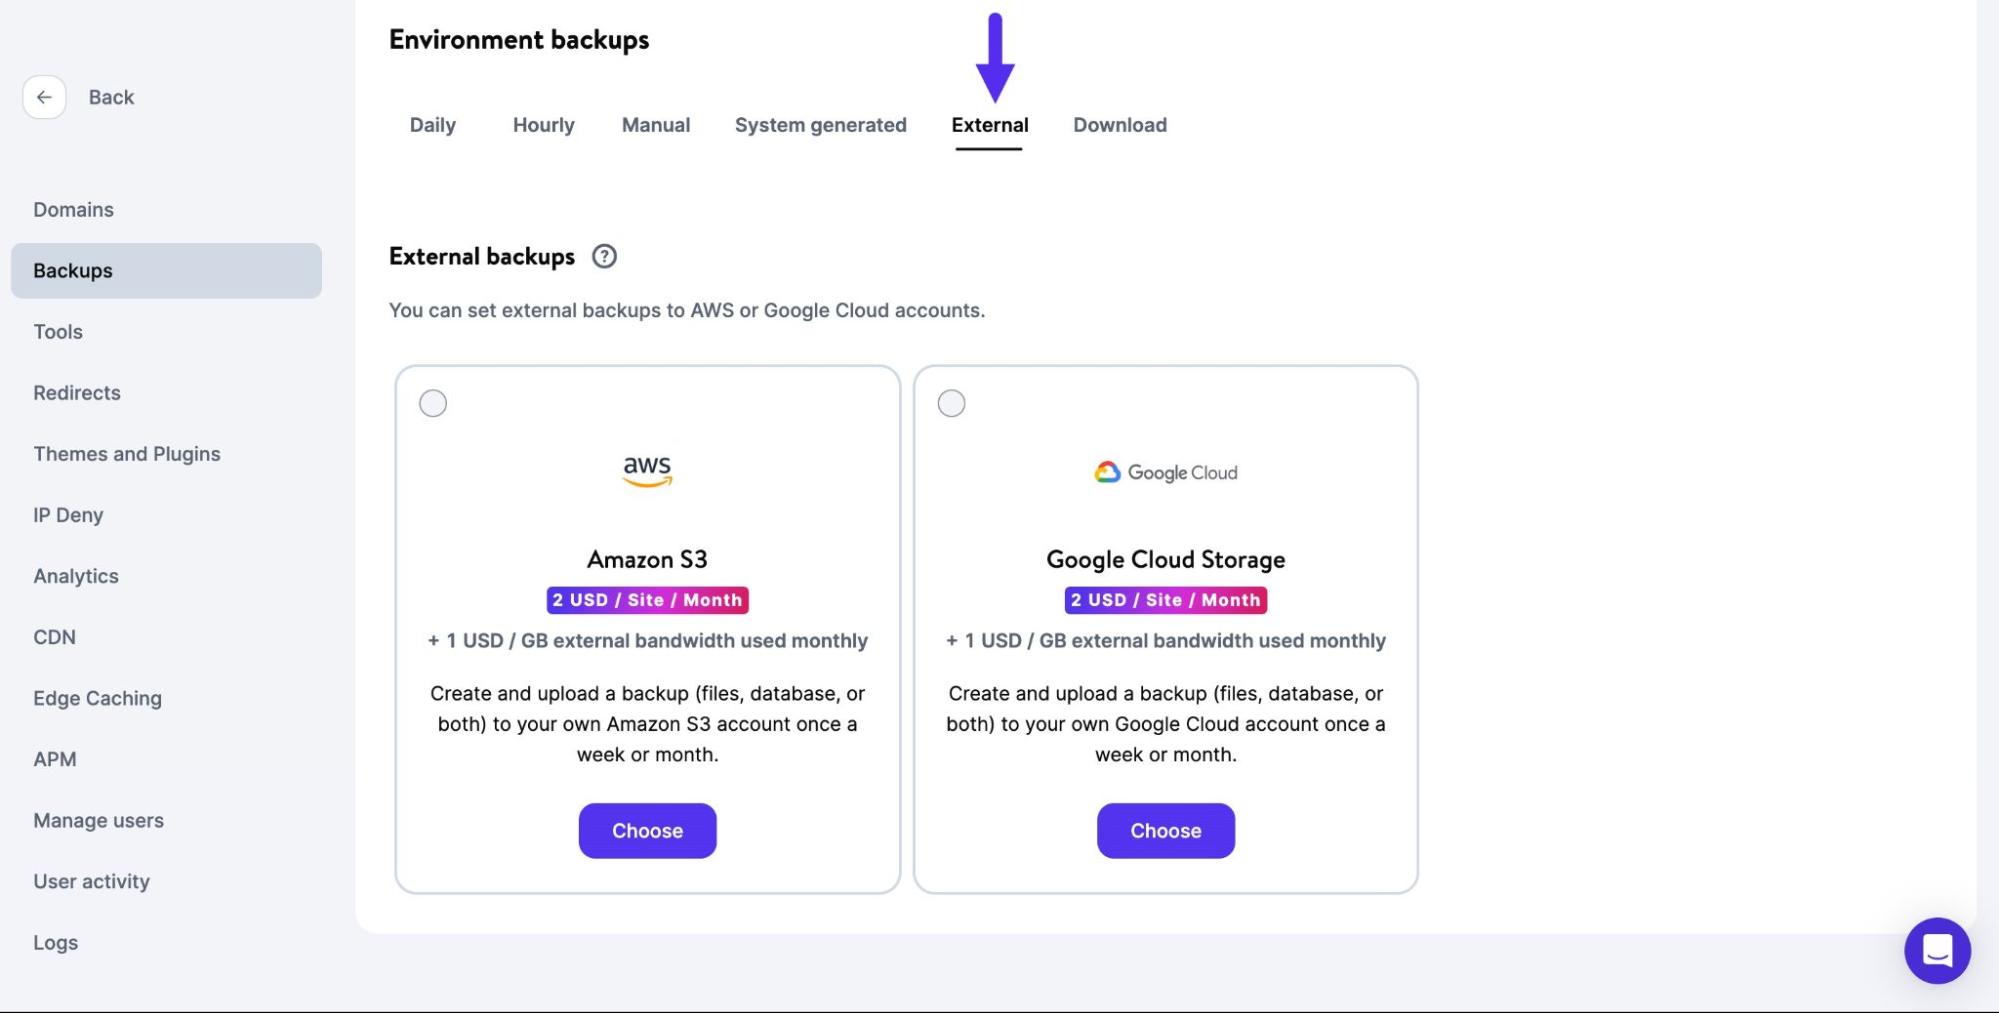
This add-on automatically creates backups of your WordPress site on a configured frequency and stores them on an external server.
If you don’t use Kinsta, you can use WordPress plugins for backup. It’s a viable strategy, but keep in mind that plugins can conflict with each other and compromise your website’s performance.
Take Advantage of Linting
Linting is the process of checking code for errors. This is valuable for WordPress development because it can help you find and fix errors in your code.
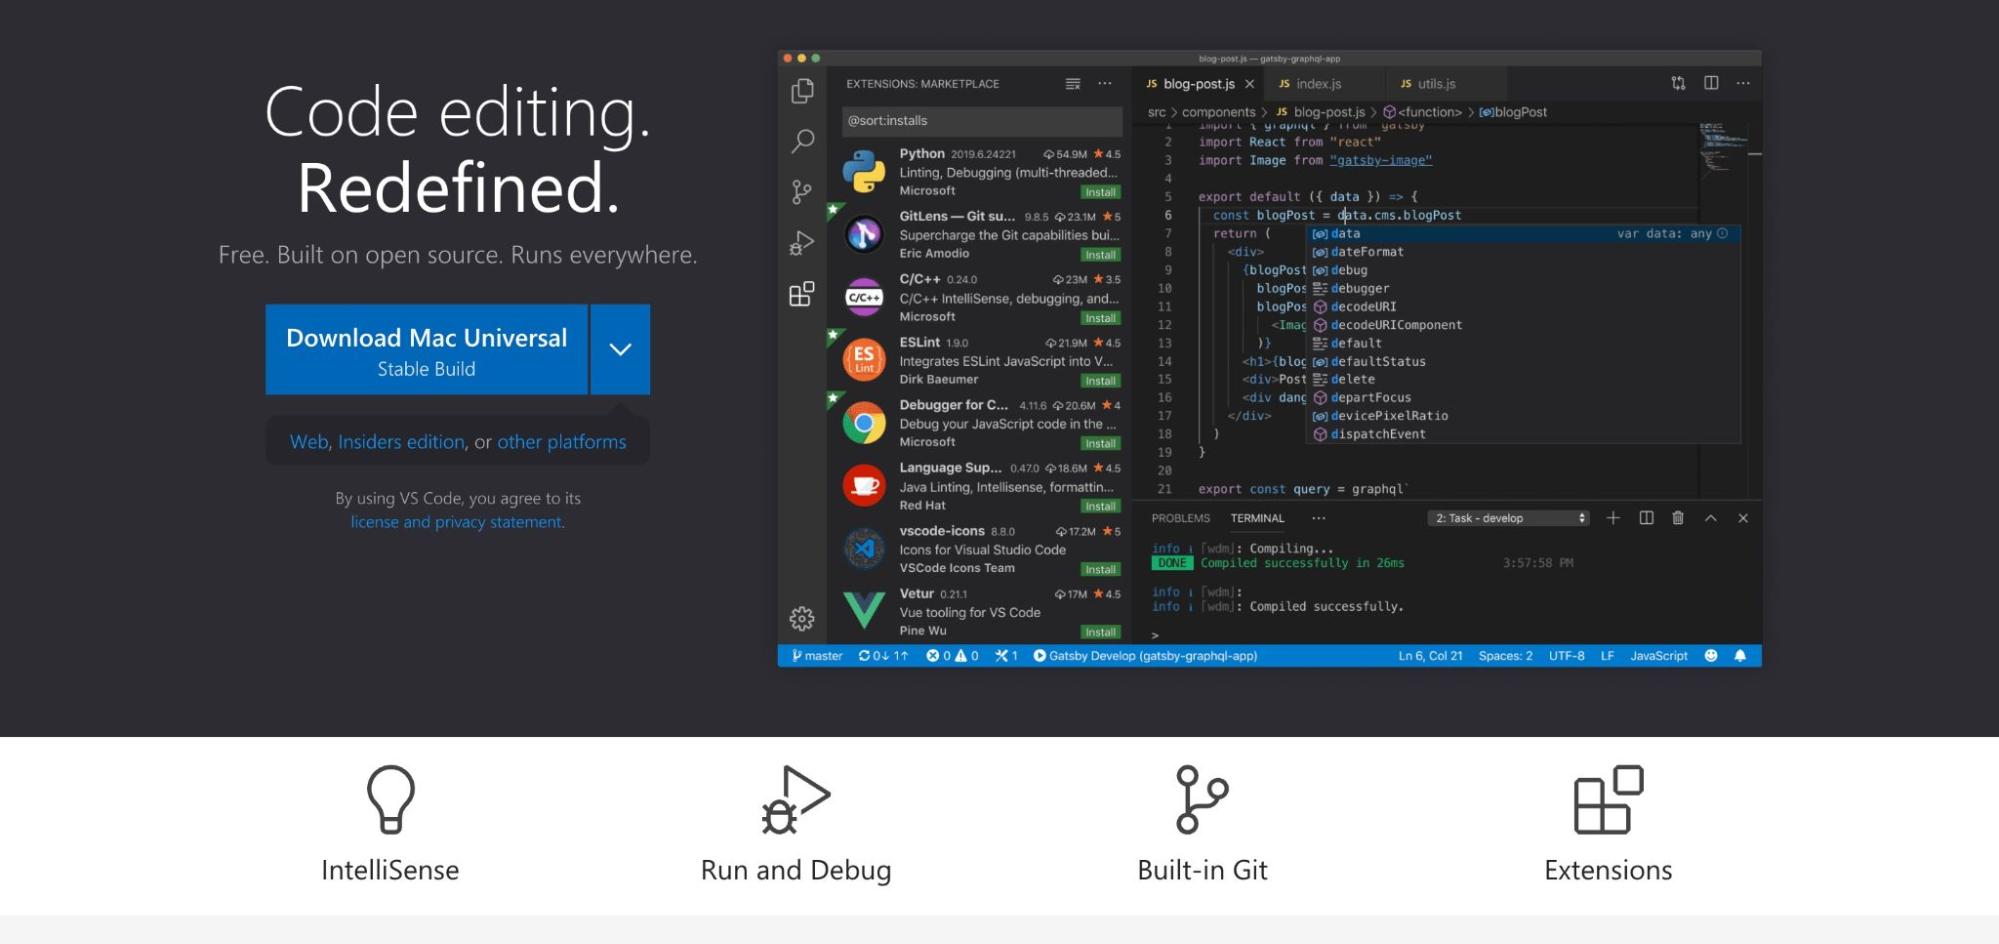
Many code editors do this automatically, but if you want to be certain yours offers this feature, consider using one of the following code and text editors:
- Visual Studio Code: This code editor has linting available by default alongside plugins to help enforce linting such as ESLint.
- Sublime Text: This code editor has many features, including linting.
- Atom: This code editor also has linting built-in.
- Vim: This text editor also offers linting as well as many other features.
- PHPStorm: This is a paid developing environment that has linting available.
If you build your website from a script, you can also include linter packages to test it as you build it.
Use a Code Generator
A code generator is a tool that can automatically generate code for you. This is valuable for WordPress development because it can save you time and help you avoid errors.

There are many code generators available, but some of the most popular include:
- GenerateWP: This code generator can generate code for custom post types, taxonomies, meta boxes, and more.
- Hasty: This code generator can generate code for custom post types, taxonomies, and fields.
- Nimbus Themes Code Generator: This code generator can generate code for custom post types, taxonomies, and fields.
Use WP-CLI
WP-CLI is a command line interface for WordPress. This is valuable for WordPress development because it allows you to manage your WordPress site from the command line. You have access to the WP-CLI on all Kinsta plans as it comes as a default feature on all Kinsta servers.
This is especially useful when you need to do tasks that are repetitive or require a lot of steps. For example, WP-CLI can be used to install WordPress, create posts and pages, install plugins and themes, and much more. It’s also helpful when you need to make changes to multiple sites at once.
Use a WordPress Development Framework
A WordPress development framework is a tool that can help you streamline your workflow. This is valuable for WordPress development because it can save you time and help you avoid errors.

There are many WordPress development frameworks available, but some of the most popular include:
- Genesis: This framework from StudioPress is designed to help you build WordPress sites faster.
- Underscores: This framework from Automattic is designed to help you start developing WordPress themes quickly.
- Foundation: This framework from Zurb is designed to help you create responsive WordPress sites.
- Bootstrap: This framework from Twitter is a super helpful way to create responsive designs for WordPress websites.
Use Task Runners
A task runner is a tool that can automate tasks. This is valuable for WordPress development because it can save you time and help you avoid errors. It also allows you to run multiple tasks simultaneously.
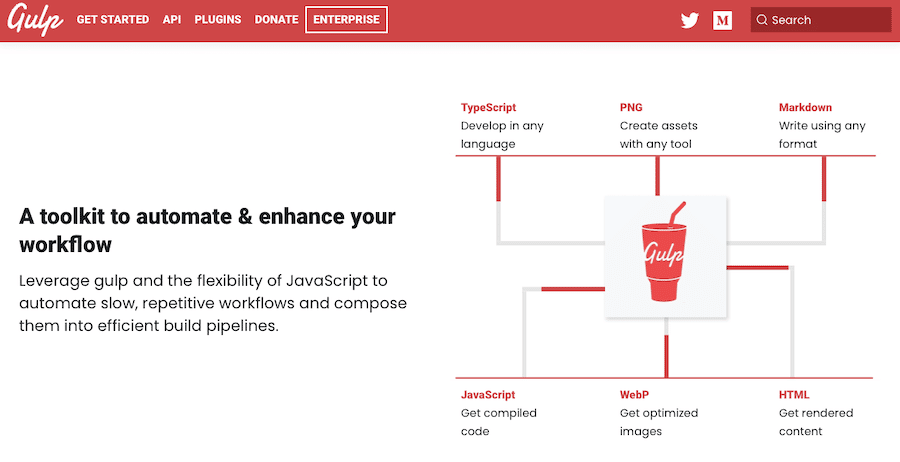
There are many task runners available, but some of the most popular include:
- Gulp: This task runner can be used to automate tasks like CSS preprocessing, JavaScript linting, and more.
- Grunt: Grunt is a Javascript task runner that helps to automate many of your more repetitive tasks.
- Webpack: This task runner can be used to automate tasks like bundling JavaScript files and more.
Get Familiar with Vue.js or React Now
Although you may not be using Vue.js or React right away, it’s important to get familiar with these frameworks now. This is valuable for WordPress development because they are becoming more popular and are being used more and more as time goes by.
Vue.js is a JavaScript framework that allows you to create reactive user interfaces. React is a JavaScript library for building user interfaces.
Both Vue.js and React are popular choices for WordPress development because they are fast, lightweight, easy to use, and essential for turning WordPress into a headless CMS.
Here is a detailed guide on how to create a headless WordPress site with Vue.js and with React.js.
Why Spending Time on WordPress Workflow Planning is Vital
WordPress websites are complex, and it’s important to have a well-planned workflow before starting any project. By planning your workflow, you can save time and avoid potential problems down the road.
There are many benefits to planning your WordPress workflow:
- Save time by knowing what needs to be done.
- Avoid potential problems by planning ahead.
- Ensure all the necessary tasks are completed.
- Ensure that your workflow is efficient and effective.
- Prevent issues when handing off projects to collaborators or clients.
The Ideal WordPress Workflow for Development
There are many ways to approach WordPress workflow, but there are some essential steps that should be included in your development process.
Step 1: Setup a Local Development Environment
The first step in any WordPress workflow should be setting up a local development environment. This is important because it allows you to work on your WordPress site offline, which can save time and prevent errors.
There are many ways to set up a local development environment, it just depends on what setup you prefer to use. We recommend DevKinsta for this (WordPress multisite is supported). With DevKinsta, you can clone and develop your projects locally. Once your updates are ready, you can push them to Kinsta.
DevKinsta is fully integrated with MyKinsta and Kinsta’s hosting platform, so you can develop locally and push updates directly to a staging environment on Kinsta. We recommend using Kinsta Staging and the Premium Staging Environments add-on. This gives you a complete WordPress development environment with a one-click push to live.
You can also work on multiple projects at the same time and merge changes before going live. It also comes with built-in A/B testing, plugin compatibility testing, and resource-intensive testing to help further ensure your builds are structured appropriately.
To get started with the Premium Staging Environments add-on, purchase it through your Kinsta account. To turn on the staging environment, go to MyKinsta, then click the drop-down with default environment Live then click Create new environment at the top of the screen.

Step 2: Set Up Version Control
The second step in any WordPress workflow should be setting up version control. This is important because it allows you to track changes to your code and revert back to previous versions if necessary.
To do this, you can use Git which is supported by Kinsta by following the process below:
1. Create a Git Repository
You can create a repository on GitHub, GitLab, or Bitbucket to store your code. For the purpose of this demonstration, we’ll describe how to create it in GitHub. For the other supported platforms, the workflow is very similar.
To create a repository on GitHub, follow the steps below:
- Log in to your GitHub account and click on the + sign in the top right corner.
- Select New repository from the dropdown menu.
- Enter a name for your repository and a description, then click Create repository.

2. Clone the Repository to Your Local Development Environment
To clone a GitHub repository, follow the steps below:
- Click the Clone button of your GitHub repository.
- Copy the URL for your repository.
- Open up your terminal or command prompt and change to the directory where you want to clone your repository.
- Type the following command, substituting in the URL you copied from GitHub:
git clone https://github.com/YOUR_USERNAME/YOUR_REPOSITORY.gitThis will clone your repository to your computer. You can now add files and make changes and, when ready, push them back to GitHub.
3. Add Files and Commit Changes
- Add the files you want to track with Git to the repository directory on your computer.
- Type
git addfollowed by the name of the file, or usegit add .to add all of the files in the directory. - Type
git commit -mfollowed by a message describing the changes you’ve made. - To push your changes to GitHub, type
git push.
You can continue making changes to the files on your computer and pushing them to GitHub. When you want to retrieve the latest version of the files from GitHub, you can use the git pull command.
Step 3: Develop Locally
After you have set up your local development environment and version control, it’s time to start developing your WordPress site locally.
When developing locally, you can test changes on your staging site before pushing them live. This is important because it allows you to catch any errors or bugs before they affect your live site.
To push changes from your local development environment to your staging site, you can use DevKinsta with just a few clicks.
Step 4: Use WP-CLI
WP-CLI is a command line interface for WordPress that allows you to manage your WordPress site from the terminal. This can be useful for tasks like creating and managing users, installing and updating plugins, and much more.
To install WP-CLI, follow these steps:
- Download the WP-CLI.phar file.
- Move the file to a directory in your PATH (for example, /usr/local/bin).
- Rename the file to wp.
- Make the file executable (for example, chmod +x /usr/local/bin/wp).
- Test that WP-CLI is installed by running
wp --version.
From there, you can use WP-CLI to manage your WordPress site from the terminal. For a full list of commands, you can check out our in-depth guide to WP-CLI v2.
Step 5: Automate Your Workflow With Gulp
Gulp is a task runner that allows you to automate tasks like minifying CSS and JavaScript files, compiling Sass files, and much more.
To use Gulp, install it globally on your system. To do this, ensure you have Node.js and npm installed on your computer by running node -v and npm -v. If it displays a version for both, you can proceed to install Gulp by running the following command:
npm install gulp-cli -gOnce Gulp is installed, you can create a gulpfile.js file in the root of your project. This file contains the code for your Gulp tasks.
For example, the following gulpfile.js file contains a task for minifying CSS files:
var gulp = require('gulp');

var cleanCSS = require('gulp-clean-css');

gulp.task('minify-css', function() {

return gulp.src('src/*.css')

.pipe(cleanCSS({compatibility: 'ie8'}))

.pipe(gulp.dest('dist'));

});
To run this task, you can use the following command:
gulp minify-cssStep 6: Use Linting
Linting tools are static code analysis tools that help you find errors in your code. For this article, we’re using Atom.io with the following linting packages:
- atom-beautify
- atom-ternjs
- linter
- linter-eslint
- linter-php
- linter-sass-lint
In your terminal, navigate to the directory you want to lint and run the following command:
find . -name "*.js" -o -name "*.scss" | xargs eslint --fixThis will lint all of the JavaScript and Sass files in your project.
If you want to lint a specific file, you can run the following command:
eslint --fix file-name.jsReplace file-name.js with the name of the file you want to lint.
Step 7: Use a CSS Preprocessor
A CSS preprocessor is a tool that allows you to write CSS in a different language and then compile it into CSS. The two most popular CSS preprocessors are Sass and Less.
In this tutorial, we’ll be using Sass. To use Sass, you first need to install the Sass command line tool. To do this, run the following command:
gem install sassOnce Sass is installed, you can use the following command to compile a Sass file into CSS:
sass input.scss output.cssReplace input.scss with the name of your Sass file and output.css with the name of the CSS file you want to create.
If you want to watch your Sass file for changes and automatically re-compile them into CSS, you can add the --watch flag to the command:
sass --watch input.scss output.cssYou can also watch a Sass directory and output to another directory. This is useful when you have multiple Sass files and want to handle to entire process with one command. To do this, you’d separate both directories with a colon:
sass --watch app/sass:public/stylesheetsSass will continuously monitor all files within the app/sass folder for any modifications and then compile the resulting CSS files into the public/stylesheets folder. Feel free to adapt the folder paths according to your specific folder structure.
Step 8: Make Use of WordPress Rest API
The WordPress REST API is a powerful tool that allows you to interact with your WordPress site from outside of the WordPress admin interface.
The WordPress REST API can be used to build custom solutions for your WordPress site. For example, you could use the WordPress REST API to build a mobile app for your WordPress site or to create a custom dashboard.
To get started with the WordPress REST API, you need to interface with it via the WordPress Command Line Interface. We published a tutorial on how to set up the WordPress REST API that can walk you through each step.
Step 9: Create and Follow a Style Guide
A style guide is a set of guidelines for coding and designing your WordPress site. A style guide helps to ensure that your code is consistent and easy to read.
There are a number of different style guides you can use for your WordPress project. We recommend using the WordPress Coding Standards as a starting point. However, you’ll likely make numerous modifications and additions as time goes on.
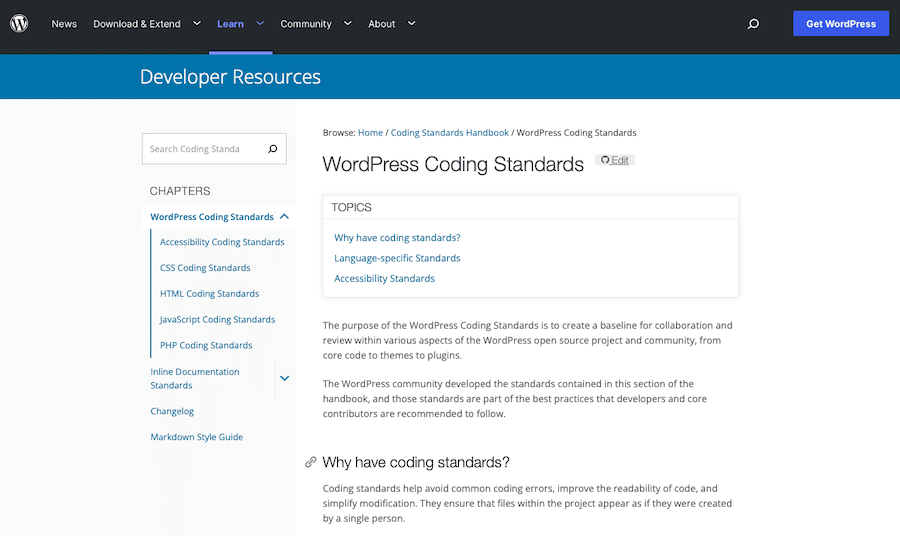
Any style guide you create is likely to be changing all the time. But the important point is that it provides a defined collection of steps to take and guidelines to follow for all developers on your team.
Step 10: Push Your Site Live
Once you’ve completed all of the steps above, your WordPress site is ready to be pushed live. If you’re using a deployment plugin like WP Pusher, this process is as simple as pushing your code to your remote Git repository.
You can do this directly within Kinsta by going to MyKinsta > Sites, selecting your site, then clicking Environment actions. From there, click Push to Live.

Next, check the box next to Files or Database (to check both), type in the site name, then click Push to Live.
If you’re not using a deployment plugin or Git, you can simply export your WordPress database from your local development environment and import it into your live server. You can do this by going to Tools > Export in your WordPress admin dashboard.
Then, select All content from the export options and click on the Download Export File button. Once you have your database file, you can import it into your live server by going to Tools > Import in your WordPress admin dashboard. Select the database file you just exported and click on the Upload file and import button.
You can also manually transfer your WordPress files from your local development environment to your live server using an SFTP client like FileZilla. Simply connect to your live server using FTP, then drag and drop your WordPress files into the public_html directory.
Once you’ve pushed your WordPress site live, you can take your time to test everything out and make sure that everything is working as it should.
This would also be a good time to make sure Kinsta APM is up and running properly. This performance monitoring tool will keep an eye on your server performance and make sure that your site is running as fast as possible. It provides you with key WordPress performance insights and metrics without the need to pay for third-party subscriptions to other APM services.
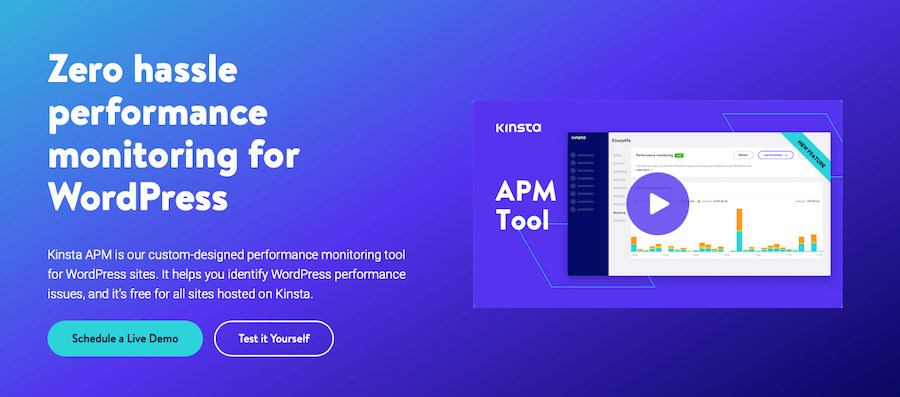
To enable the APM tool, log in to MyKinsta, choose the site you want to monitor, navigate to your site’s APM tab, and click the Enable APM button. You can read more in our documentation.
Summary
As you can see, there’s a lot that goes into properly creating a WordPress development workflow. But following these steps will help to ensure that your WordPress site is well-organized, easy to manage, and running smoothly.
And you can’t go wrong by leaning on Kinsta products like DevKinsta, Premium Staging Environments add-on, and Kinsta AMP. These tools will make your WordPress development workflow even easier and more efficient.
And other Kinsta features such as containerized sites on high-performance servers with 27 data centers available, premium integration with Cloudflare for a High-Performance CDN that serves your site from 300+ Points of Presence (PoPs), Enterprise-Level Firewall DDoS Protection, Malware Security Pledge, Edge Caching, one-click PHP version switch, and uptime monitoring (with 99% uptime guarantee), ensure your website runs fast, secure, and is reliably available to the internet.
Do you have any questions about creating a WordPress development workflow? Let us know in the comments below!


