To keep your site in tip-top shape, you need to test it regularly. However, there’s one GTmetrix error message that’s been confusing WordPress website owners: “Remove the following redirect chain if possible.”
If you’re encountering this error, there are ways to figure out what’s causing so many redirects. Once you’ve identified the culprit, stripping out all of those performance-sapping redirects may be as straightforward as pressing a few buttons in your WordPress dashboard.
In this post, we’ll discuss what redirect chains are and why they’re bad news for your traffic, conversions, and search engine rankings. We’ll then share four ways to resolve this error and get your WordPress website back on track.
Let’s get started!
Check Out Our Video Guide to Fixing the “Remove Following Redirect Chain” Error
An Intro to Redirect Chains (and Why They’re Bad for Your Website)
It’s important to test your site regularly. There are plenty of tools available, but GTmetrix is a popular choice. It offers real-time performance tracking, plus the option to schedule your tests.
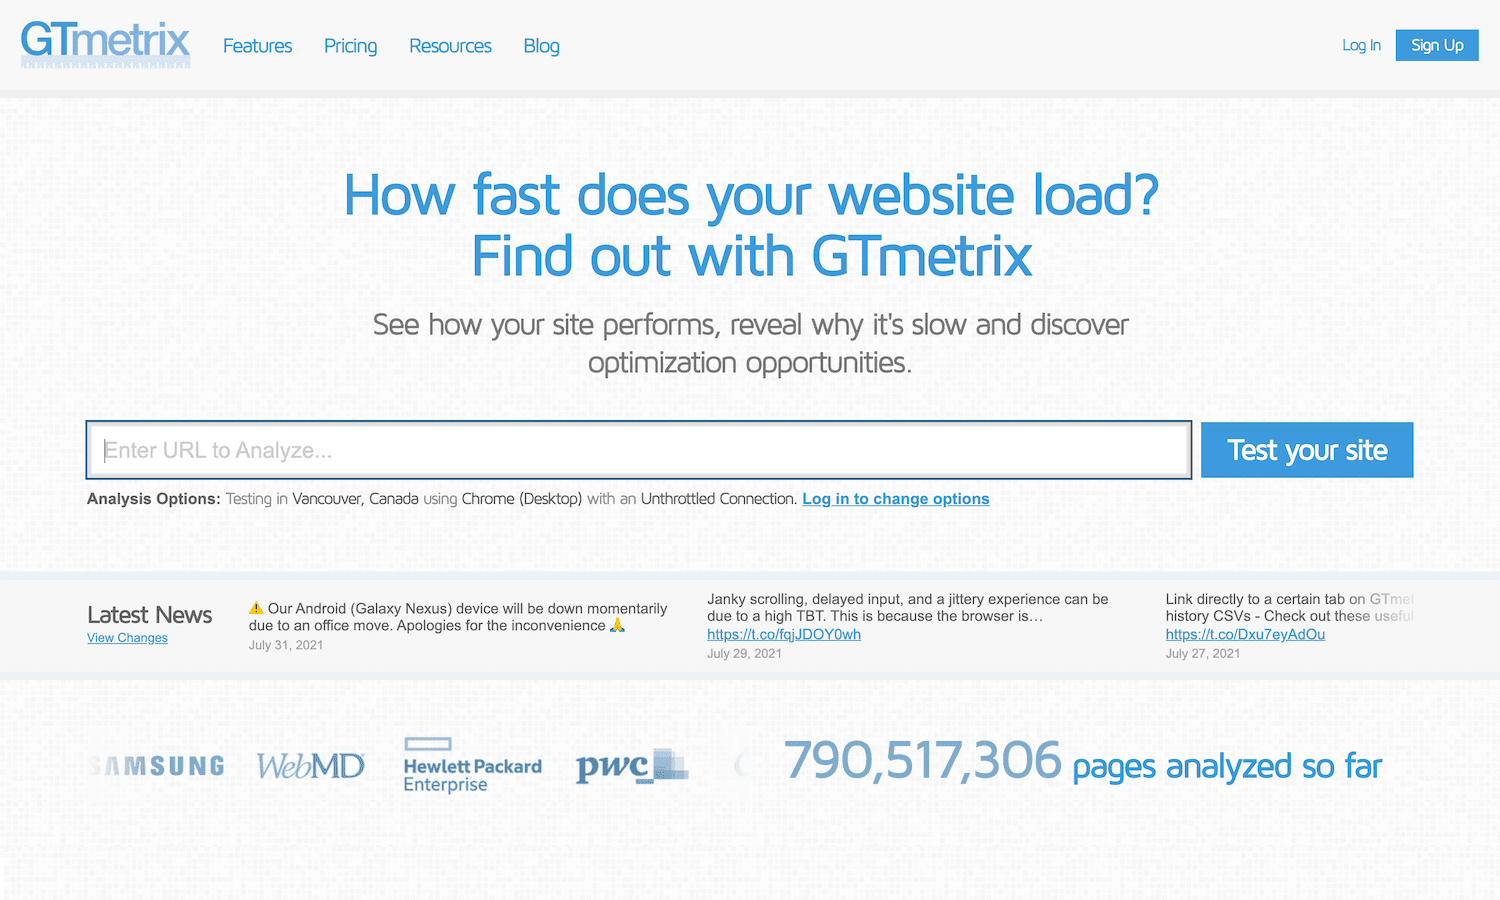
However, GTmetrix may occasionally warn you that many redirect chains are present on your site. If you explore these messages in more detail, GTmetrix will advise you to “Remove the following redirect chain if possible.”
A chain occurs when there are multiple redirects between the requested URL and the destination URL. These chains require multiple round-trips to the server and additional requests.
As a result, the destination web page will take longer to load.
Slow page loading times can negatively impact the visitor experience. In fact, 40% of people abandon a site that takes longer than three seconds to load. In this way, redirect chains can impact your traffic levels, conversions, and sales.
Unlike the err_too_many_redirects error, where one of the redirects in a chain points back to the first redirect, causing an infinite loop, redirect chains aren’t always obvious to site owners or visitors. But redirect chains don’t only affect your visitors, search engine crawlers will also notice slow page load times. When placing your website in the search results, Google considers many different ranking factors, including speed. In particular, Google’s Core Web Vitals initiative measures how visitors perceive your website’s speed, responsiveness, and visual stability. If a redirect chain has many hops, search engines may abandon crawling all together, meaning your page may be dropped from the search results.
With over 50% of all traffic originating from organic search, Search Engine Optimization (SEO) is vital for achieving online success. If redirect chains are damaging your page loading times, then your search engine rankings will almost certainly suffer as a result.
If you’re going to boost your rankings and wow potential customers, you must optimize your site’s loading times. So if GTmetrix is warning you about redirects, removing these chains should be a top priority.
What Causes GTmetrix’s Redirect Chain Error
Various issues seem to cause the redirect error. However, WordPress plugins appear to be the most common culprits.
In particular, members of the WordPress community have reportedly encountered GTmetrix’s redirect warning after installing the following plugins:
- ShortPixel Adaptive Images
- a3 Lazy Load
- Smush
- Autoptimize
- Smash Balloon
- W3 Total Cache
Many of these tools are related to optimization. There seems to be a direct link between redirect chains and optimization activities delivered via a Content Delivery Network (CDN).
That means you may encounter GTmetrix’s warning if you’re using an alternative image optimization plugin or a CDN with these features, even if your specific software isn’t listed above.
You may also struggle with redirect chains after migrating your site to a new platform or changing your domain name. As part of this migration, you’ll often need to implement a large number of redirects. Over time, these can grow into unruly chains.
If you suspect that GTmetrix’s warning may be related to a recent site migration, we recommend manually reviewing all of your redirects. Although this may be time-consuming, it gives you the best possible chance of spotting problems with your website.
Now, let’s get into actually fixing the problem.
How to Resolve the “Remove Following Redirect Chain” Error (4 Methods)
Frustratingly, this error can be due to a wide range of different plugins, settings, and third-party software, such as firewalls.
While there’s no one-size-fits-all solution, there are ways to chase down the root cause for your particular website. Let’s take a look at how you can cut through the confusion and strip away those performance-destroying redirect chains.
1. Review Your CDN Settings
If you’re using a CDN and a firewall, your firewall may prevent the servers from accessing your images.
If you suspect this may be the case, we recommend “allowlisting” the IP addresses on your CDN. The “allowlisting” process will vary depending on the CDN and firewall in question, so you may need to refer to your provider’s documentation for more information.
Similarly, your image files may not be publicly accessible. For example, you might have password-protected your website or defined rules that are inadvertently preventing the CDN from accessing your images.
If this sounds plausible, try disabling all settings and rules that could block your CDN. In particular, if you’ve created rules to prevent hotlinking, this can often interfere with CDNs, resulting in redirect chains.
Depending on your CDN subscription, there’s also a chance you may have exceeded your monthly traffic quota. When this occurs, some providers will redirect requests to the original image, resulting in chains.
To check your subscription status, try logging into your CDN account or console. You should see more information about your usage here.
If none of these fixes solve your problem, you may get positive results by flushing the redirected images from your CDN.
The flushing process can vary, but typically involves logging into your provider’s dashboard or accessing the CDN plugin settings. You can then look for any options related to the cache.
If you’re stuck, it’s a good idea to check the CDN’s documentation for more information. Alternatively, you can always reach out to your provider for help.
2. Check the Error Message for Specific Plugins
It’s also good to inspect the error message itself, as it may name the plugin responsible for the redirect chain. Take this example that a member of the WordPress community posted about receiving in GTmetrix:
Remove the following redirect chain if possible: wp-content/plugins/a3-lazy-load/assets/images/lazy_placeholder.gif
This message seems to indicate that the a3 Lazy Load plugin is generating the redirect chains.
If your error message names a specific plugin, check to ensure that you’re running the latest release. If you’ve fallen behind on updates, the developer may have already addressed this error in a subsequent patch.
If you have the latest version, the next step is reaching out to the plugin’s developer. There’s a chance they may be completely unaware of the issue.
If you downloaded the plugin from the official WordPress Plugin Directory, the listing should contain the name of the person or team behind this particular plugin:
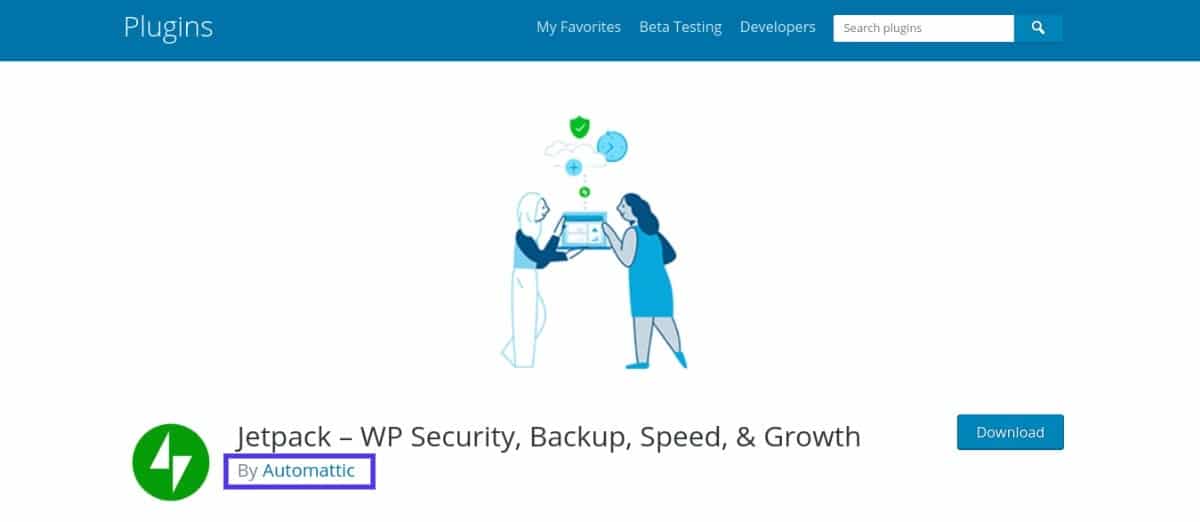
Even better, this page may contain a link to the developer’s website. From there, you can often find their contact details.
Alternatively, each WordPress repository listing contains a Support tab. By posting about your issue, you may get help from the developer or even other users.
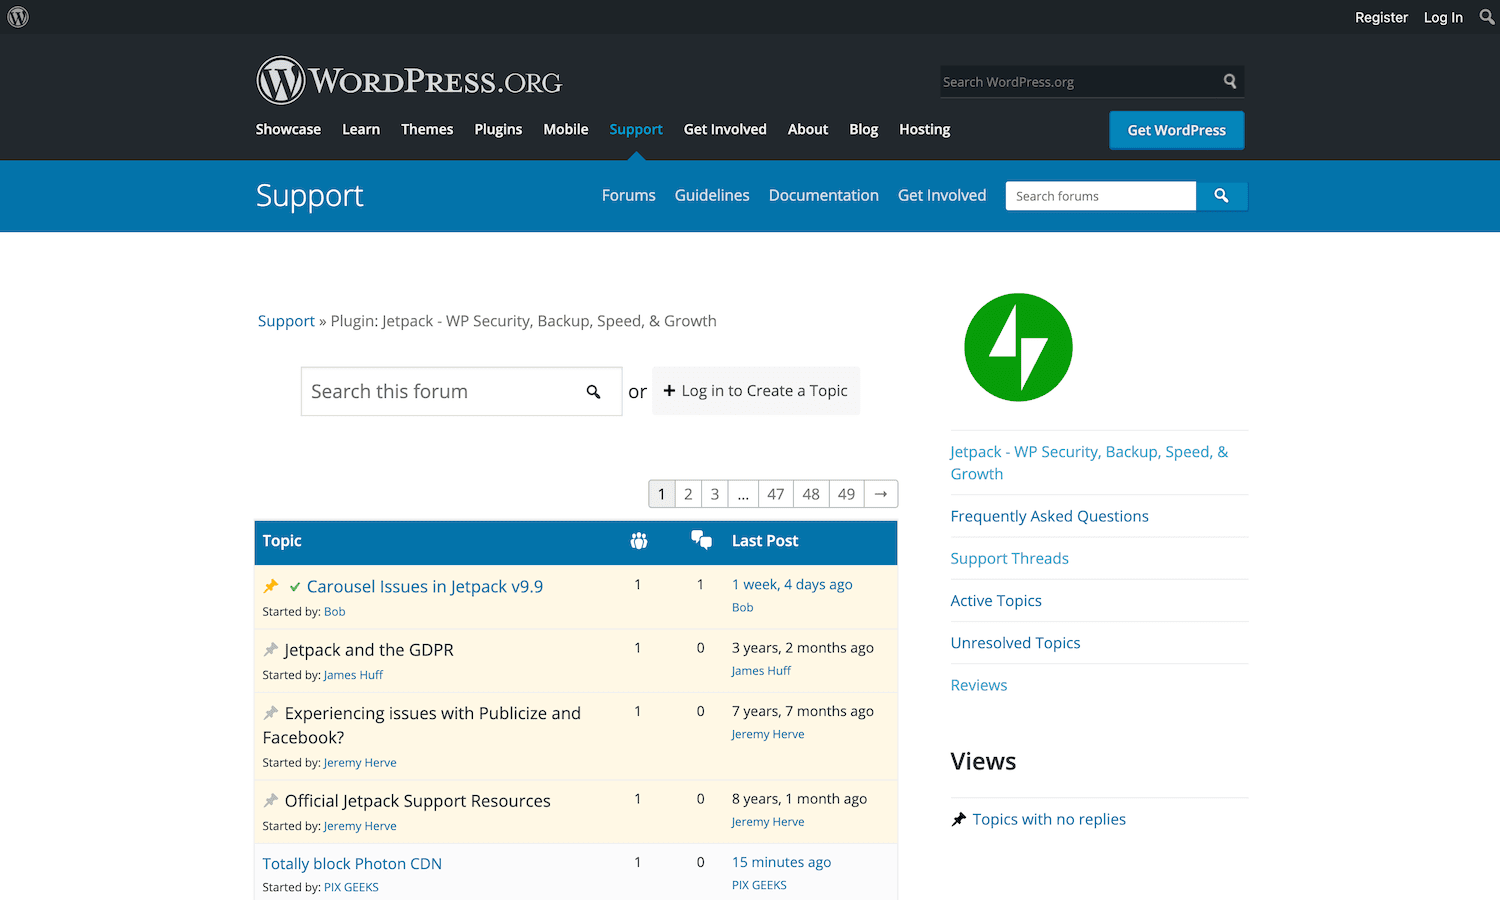
Ideally, if you manage to make contact, the developer will confirm that they’re aware of the problem and are already working on a patch.
However, it’s not unusual for developers to abandon their plugins, which can complicate matters. If you suspect that this particular piece of software is no longer under active development, you may need to disable it and look for an alternative.
The good news is that with almost 60,000 free plugins in the WordPress repository alone, you should have no problems finding a suitable replacement.
3. Disable (and Then Re-Enable) All of Your Plugins
Sometimes, the error message may not mention a specific plugin. If GTmetrix is vague, then it’s time to do your investigative work.
You can check to see whether a plugin is responsible by deactivating every plugin across your website. If the error message disappears, you’ll know that a WordPress plugin is to blame.
However, deactivating these add-ons can affect how your site displays and functions. It’s often bad news for the user experience (UX). For this reason, it’s wise to place your site into maintenance mode throughout the test.
If you don’t feel comfortable coding your maintenance message, you can use a plugin like WP Maintenance Mode:

For added security, we also recommend creating a backup before you begin switching your plugins off. If you encounter any serious problems, this will prove invaluable for restoring your site to its former configuration.
Your host may offer an automatic backup option, just like Kinsta does. If not, there are multiple backup plugins available that you can use instead.
Now that you’re ready with a backup and maintenance mode, you can disable your plugins.
This practice helps verify whether a plugin is generating all of those redirects. However, it would help if you still pinpointed the exact culprit.
The next stage is re-enabling each plugin one by one, running a new GTmetrix test after each. As soon as the error reoccurs, you’ll have identified the misbehaving plugin.
It’s not always feasible to deactivate and delete a troublesome plugin, though. Maybe it’s tied in too closely with your website theme, or you aren’t finding a good option for a speedy replacement.
If this is the case, you might consider contacting the developer. They may be able to indicate when you can expect a patch or perhaps even share a workaround. For example, disabling a specific setting may enable you to continue using the plugin without encountering the redirect chain error.
However, sometimes the developer may not intend to fix the issue, mainly if the software is no longer under active development. If this is the case, it often makes sense to search for an alternative that provides similar functionality but doesn’t spawn dozens of unnecessary redirects.
4. Review Your .htaccess File
If you’ve previously set up redirects or installed any add-ons that manage redirects for you, then it’s worth taking a look at your site’s .htaccess file. Short for “hypertext access,” this is a critical configuration file created automatically when installing WordPress.
Note that .htaccess files are only available on servers that run Apache. Nginx servers, like those we run here at Kinsta, don’t have this Apache-specific file.
Modifications to this file may occasionally result in a large number of redirect chains. Luckily, there are several ways to review this file, including via a file manager or a control dashboard like cPanel. You’ll find the .htaccess file inside your website’s public_html folder.
Alternatively, you can connect to your server over Secure File Transfer Protocol (SFTP) using a client such as FileZilla.
In the FileZilla client, navigate to File > Site Manager:
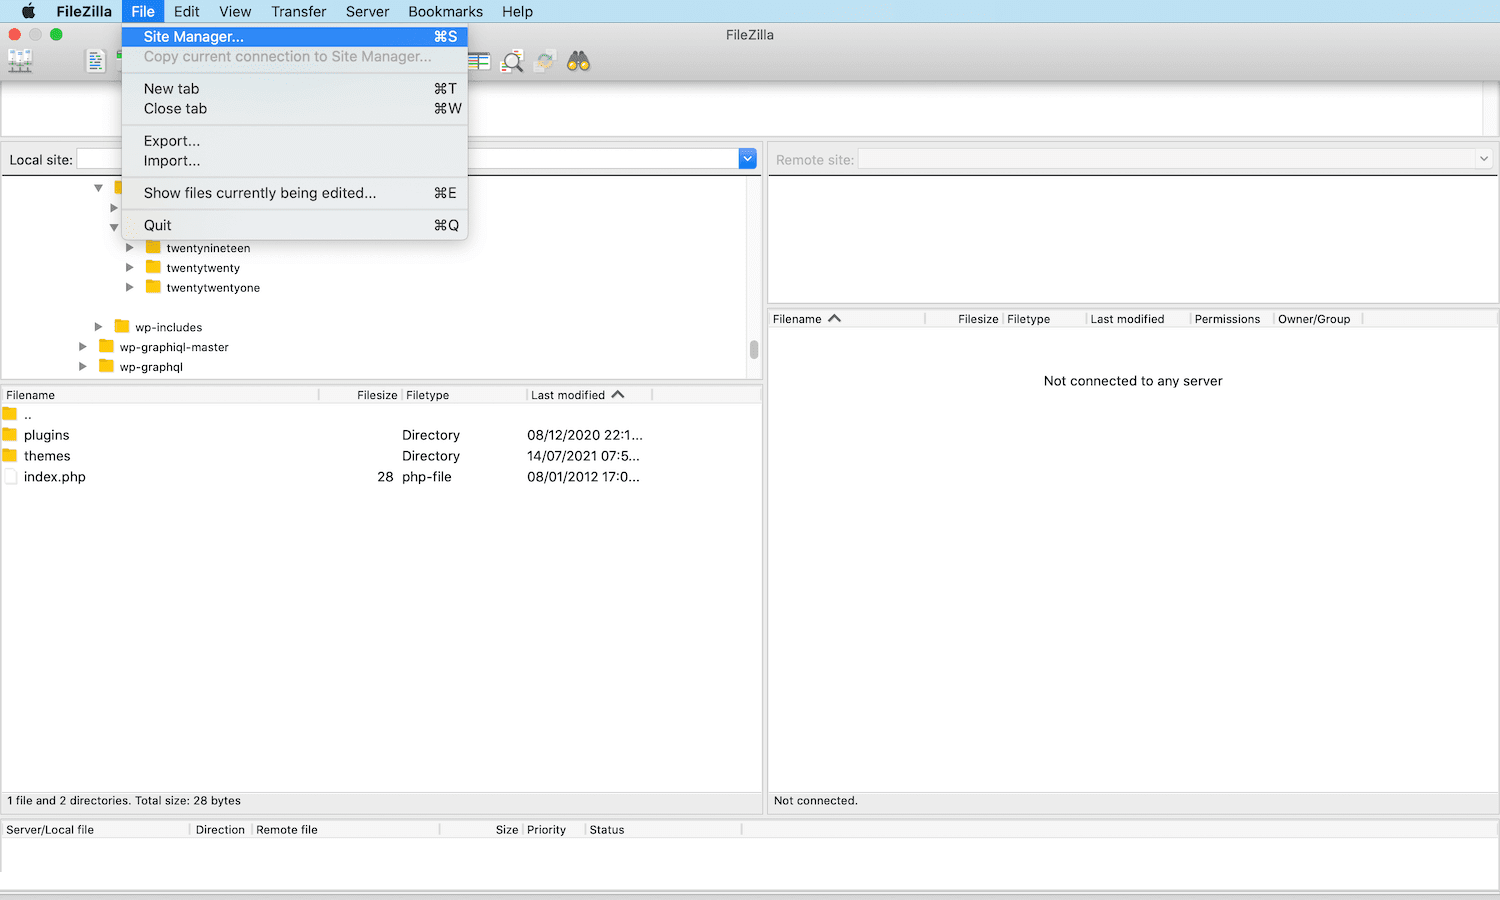
If you’re connecting to your server for the first time, select New Site. You can then assign a name to this connection:
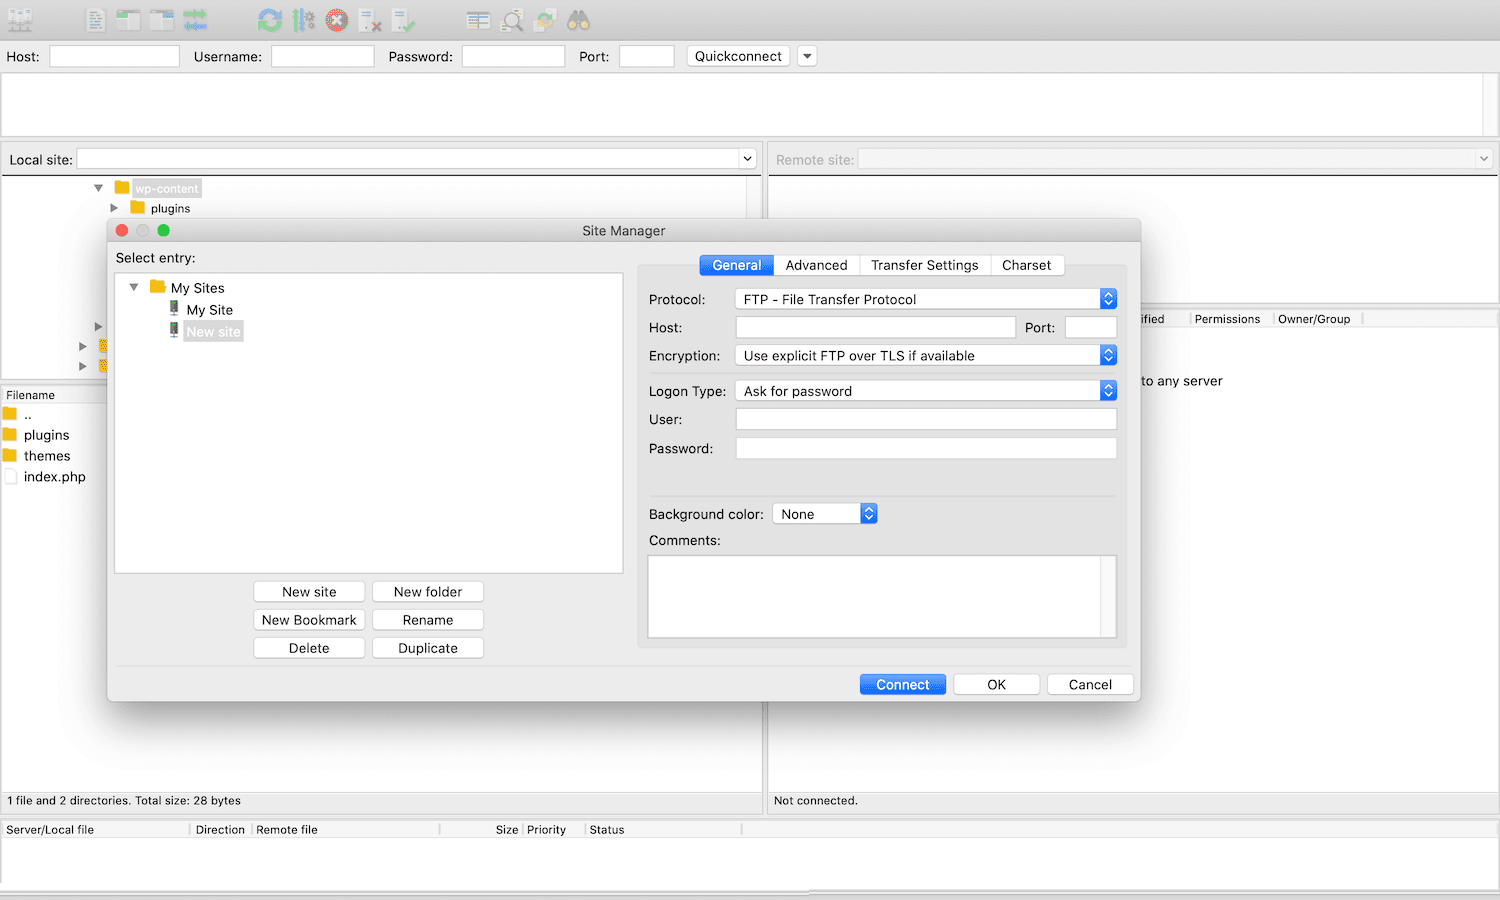
Enter a Port value of 22 if you’re connecting by SFTP. Otherwise, enter 21.
Then you can open the Logon Type box and select Ask for password. Next, enter your SFTP username and password, then click on the Connect button.
All of your website’s files should appear in FileZilla’s right-hand window if the connection is a success.
In this panel, navigate to your site’s public_html directory. You should now have access to your .htaccess file. (If you can’t see it, you may need to elect to show hidden files first.)
If you spot any unique code in this file, it’s a good idea to copy and paste this strange code into your favorite search engine. It’s often the quickest and easiest way to decipher what impact this code has on your website and whether it might be behind all of those redirect chains.
Summary
There seem to be many different plugins and settings that can result in redirect chains. However, by following some simple steps, you can narrow down what’s causing this problem for your particular website.
To restore your site’s performance, let’s quickly recap four potential ways to resolve GTmetrix’s redirect chain error:
- Review your CDN.
- Check the error message for specific plugins.
- Disable (and then re-enable) all of your plugins.
- Review your .htaccess file.
By following these troubleshooting steps, you should have that “Remove the following redirect chain if possible” error knocked out in no time.
Do you have any questions about how to reduce redirects in WordPress? Let us know in the comments section below!


