New Relic Monitoring
New Relic is a monitoring tool that gives you detailed performance breakdowns on a granular level.
To monitor your website with New Relic, you’ll need to sign up for your own New Relic license key.
New Relic plan tiers
New Relic has four tiers of plans – Free, Standard, Pro, and Enterprise. To choose the right one for your site’s needs, check out and compare their plans on New Relic’s pricing page.
Get a New Relic license key
If you haven’t already, sign up for a New Relic account. There are several API keys available for various features in New Relic. The key you’ll need to add to MyKinsta is the one they refer to as the license key (aka ingest – license). This is the primary ingest key used for APM ingest and other data ingest.
Once you’re logged into your New Relic account, click Copy license key.
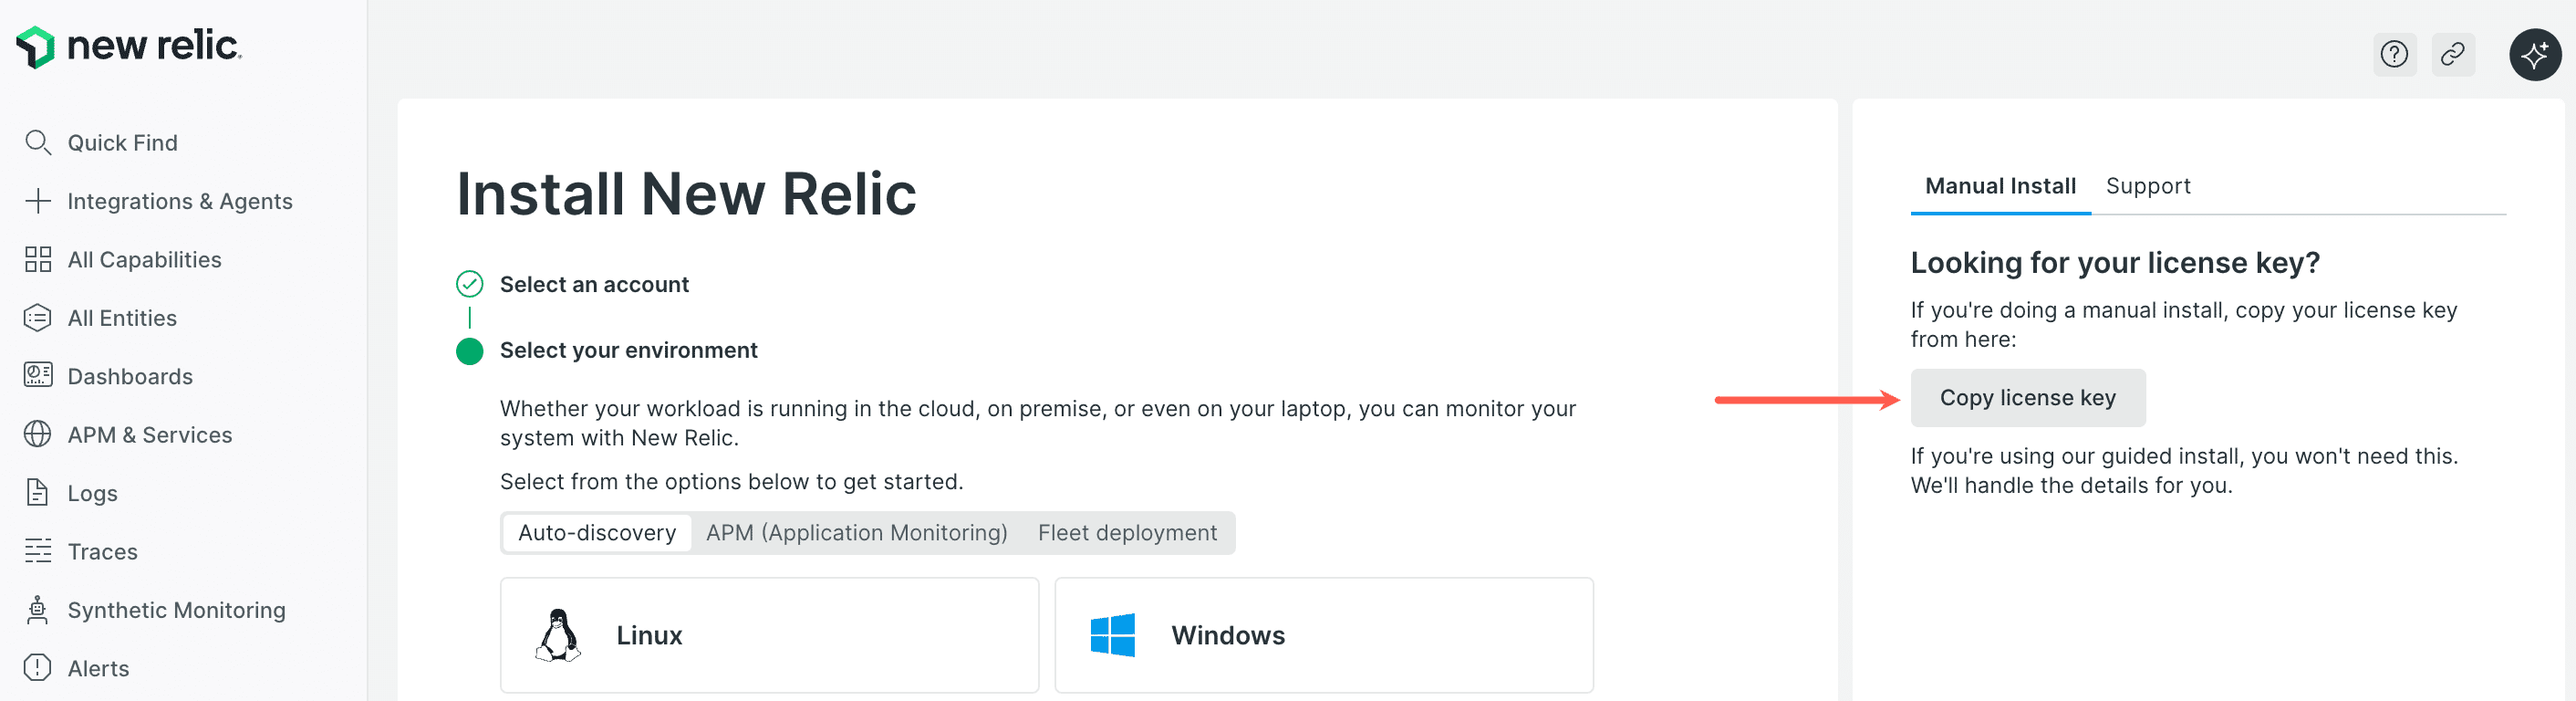
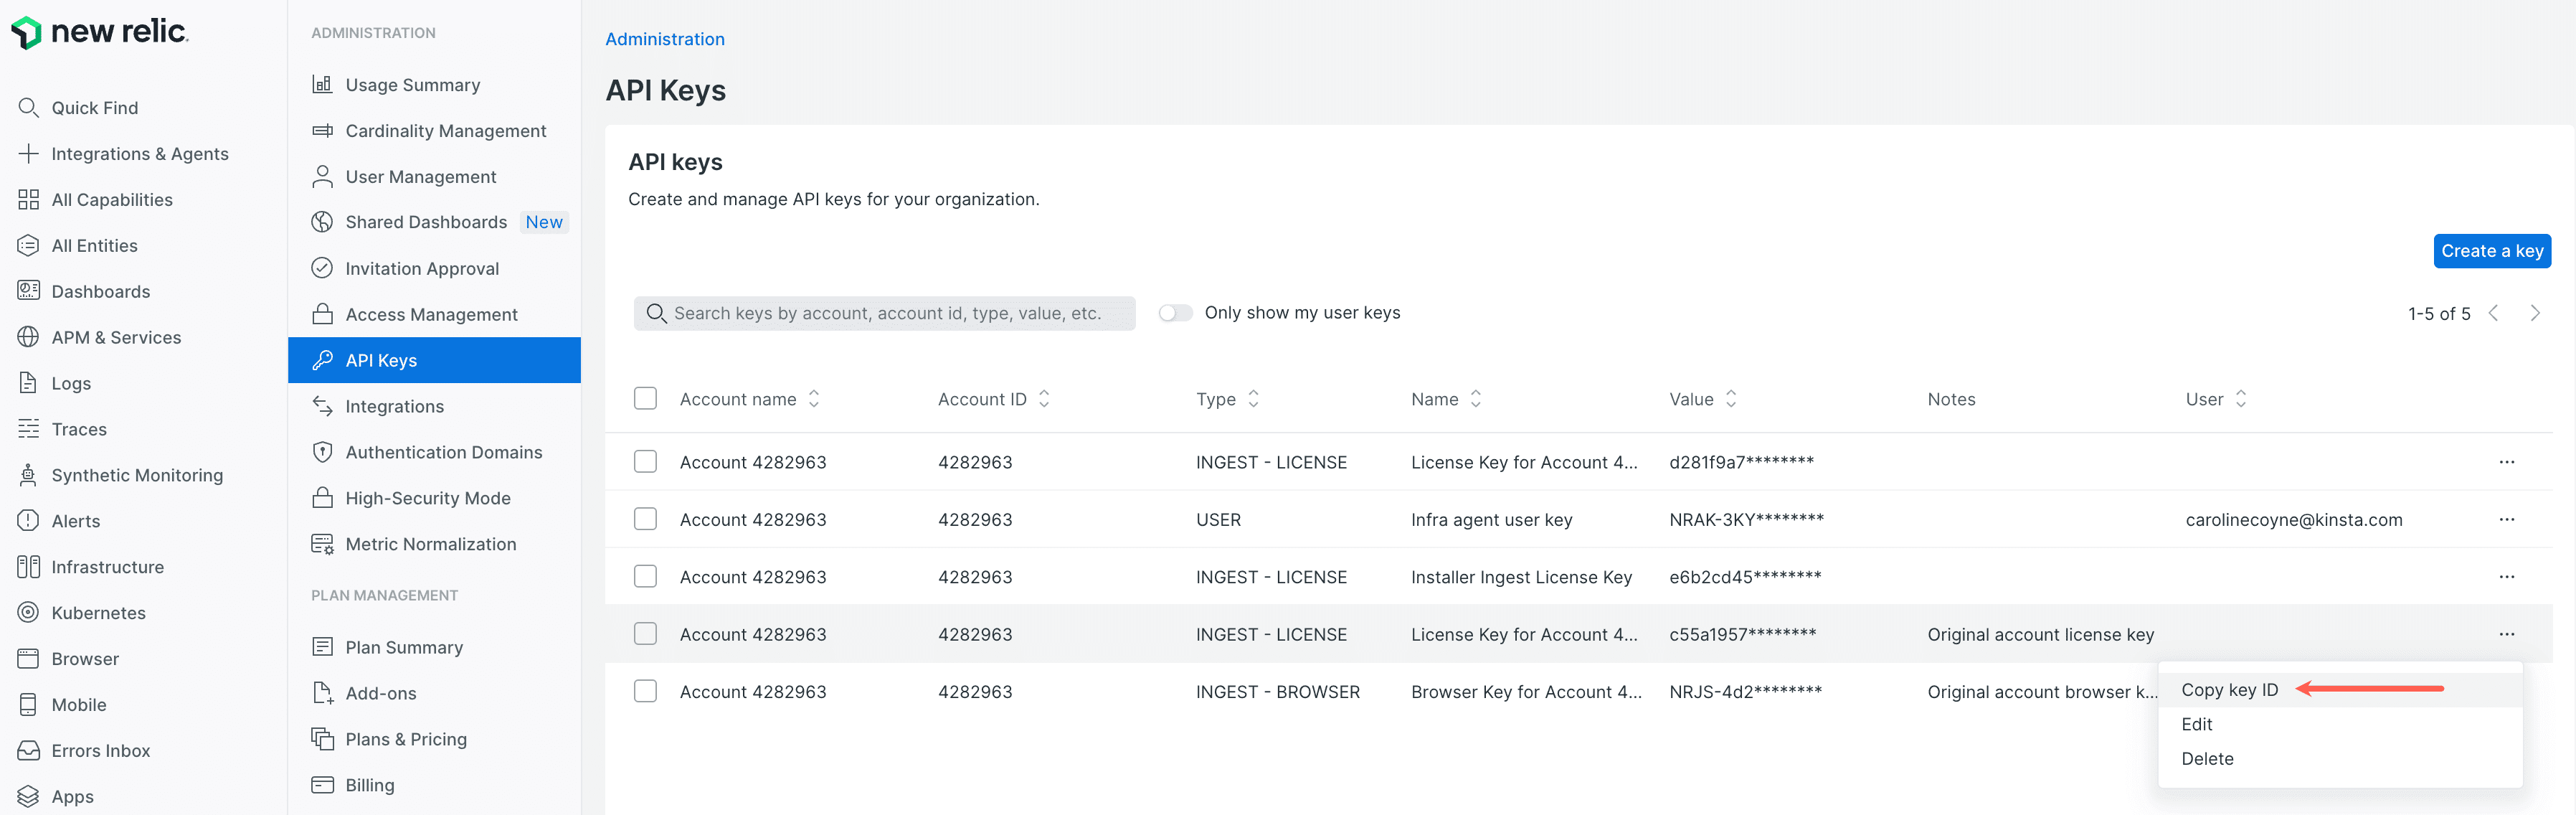
If you don’t have this option, click your username > API keys, and copy the INGEST – LICENSE key.
Add New Relic monitoring in MyKinsta
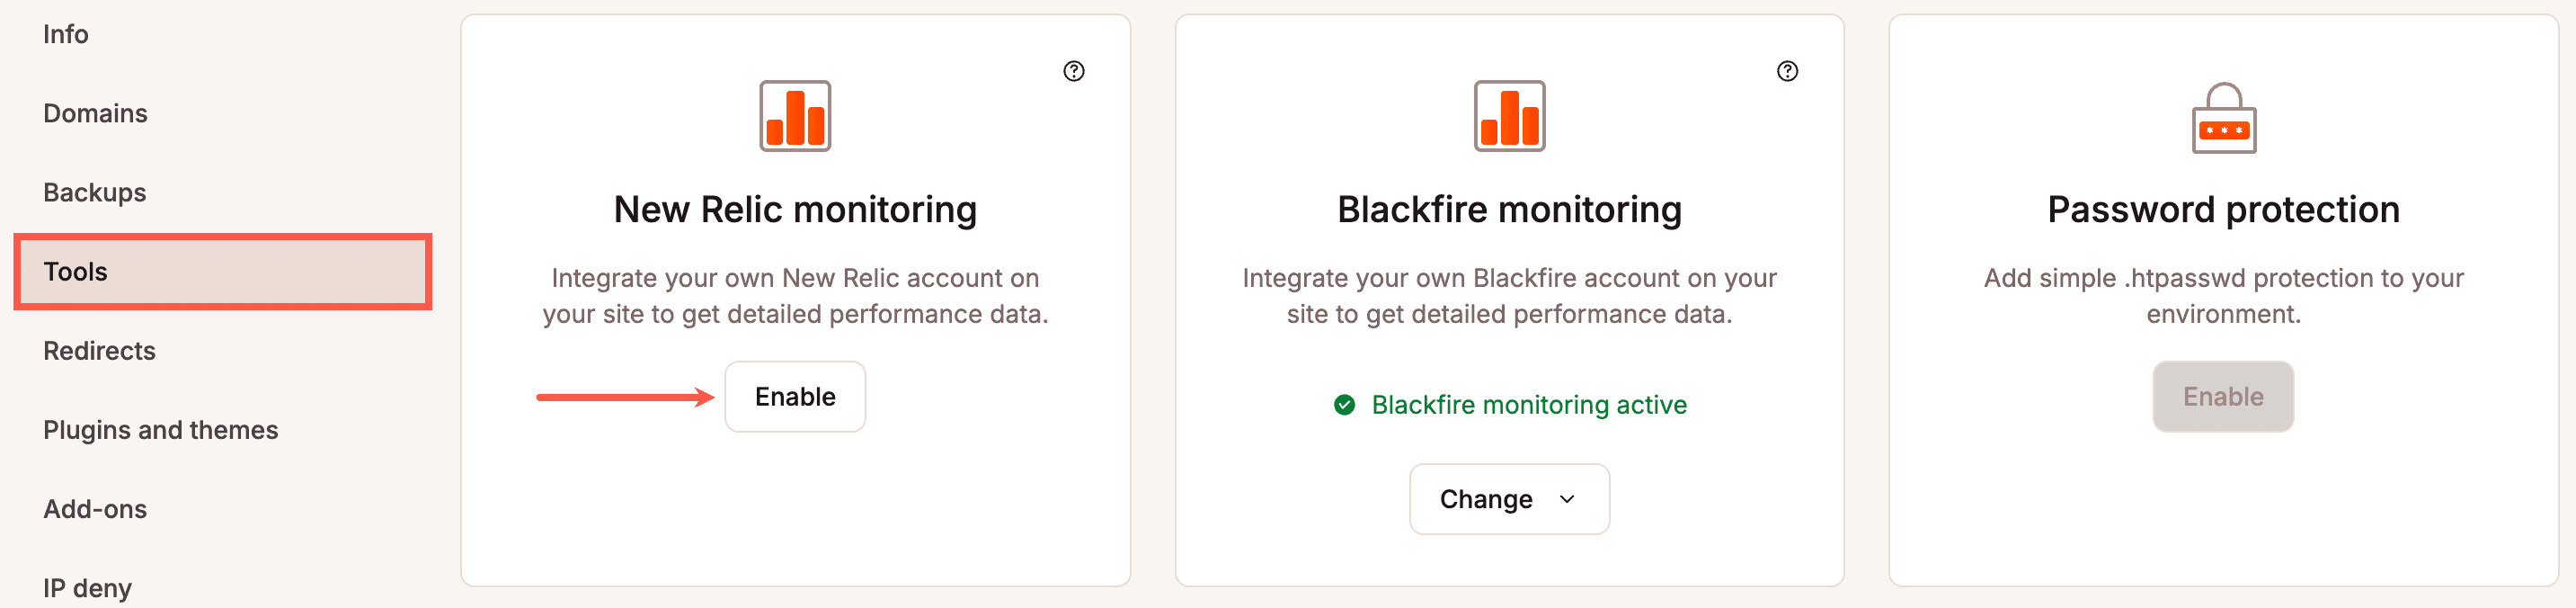
To add your New Relic license key to MyKinsta, begin by logging in to MyKinsta. Go to your site’s Tools page and click Enable under New Relic monitoring.
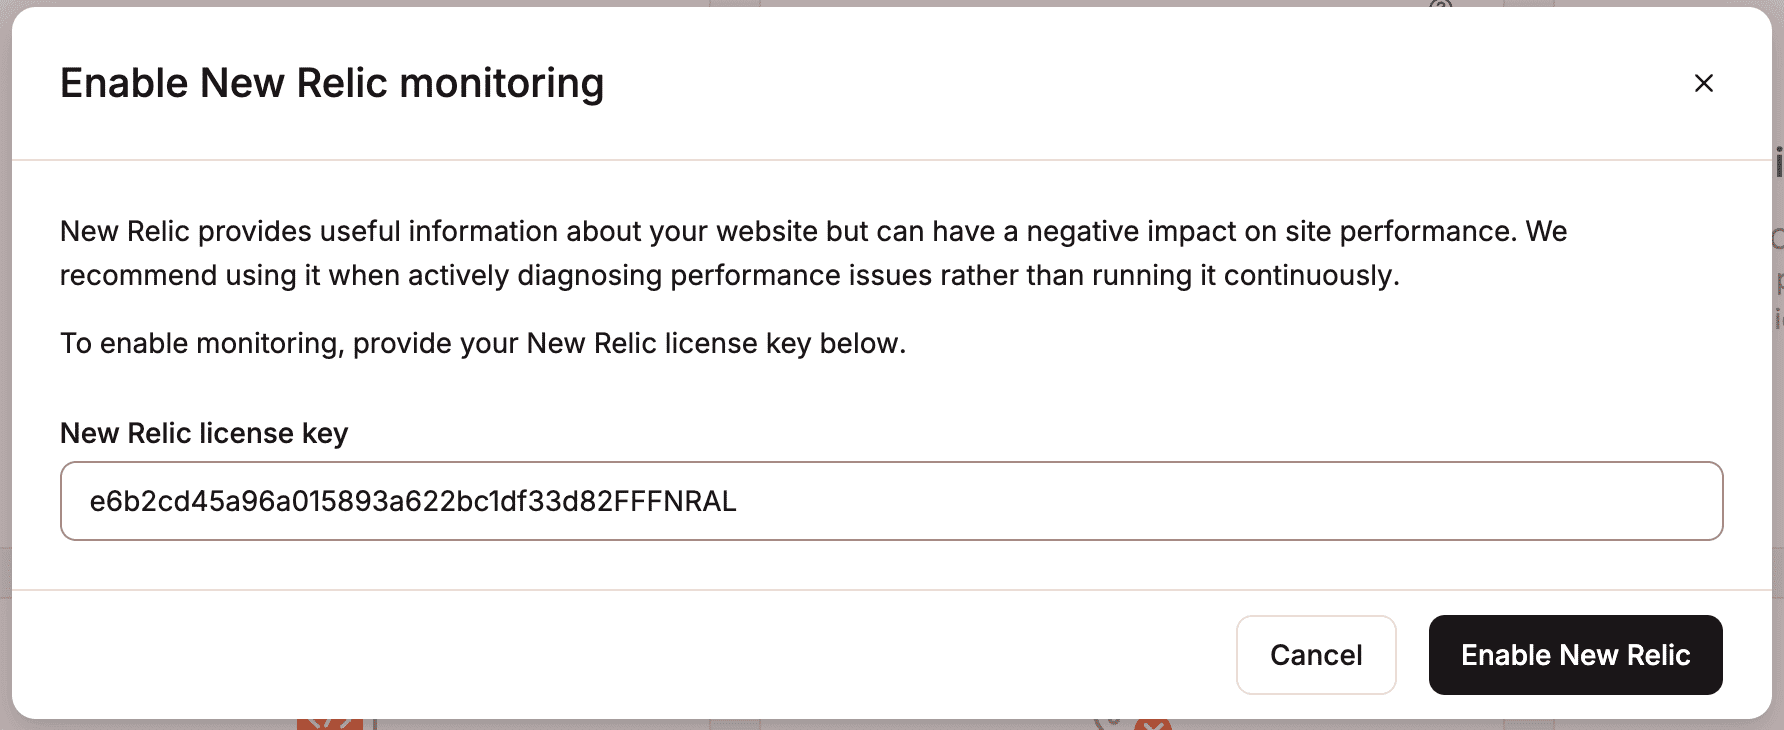
Enter your New Relic license key and click Enable New Relic.
Monitor your WordPress site with New Relic
After adding your license key in MyKinsta, you’ll be able to view performance data for your WordPress site in New Relic. If your data doesn’t show up after a few minutes, try logging out and logging back into your New Relic account.
If you do not see your site on the All Entities page in New Relic, click APM & Services. You should see your WordPress site. It will have the same name it has in MyKinsta.
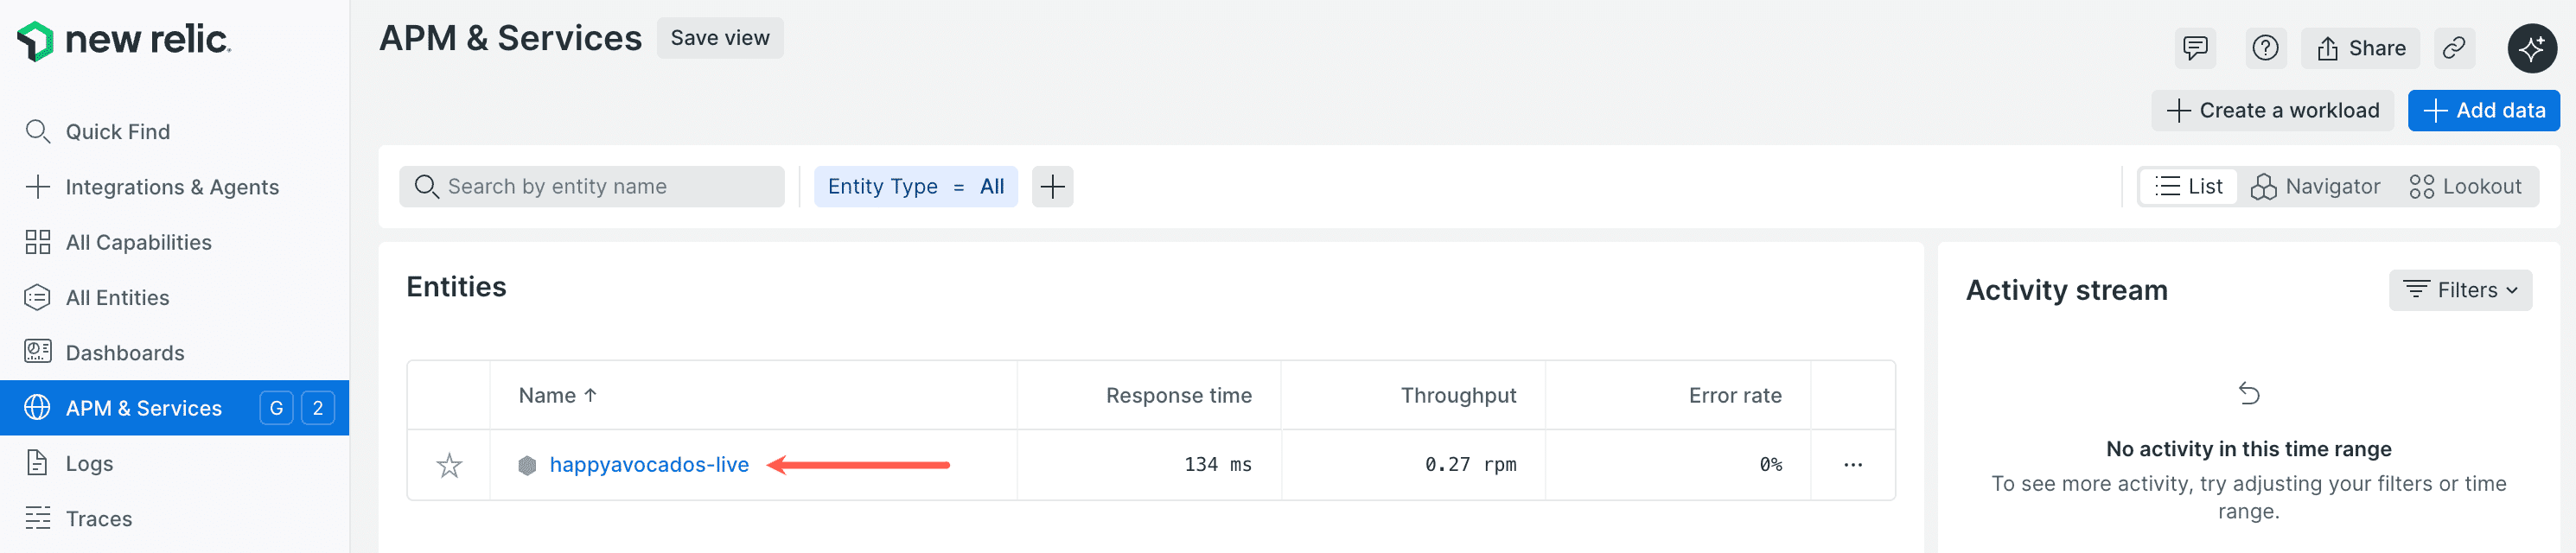
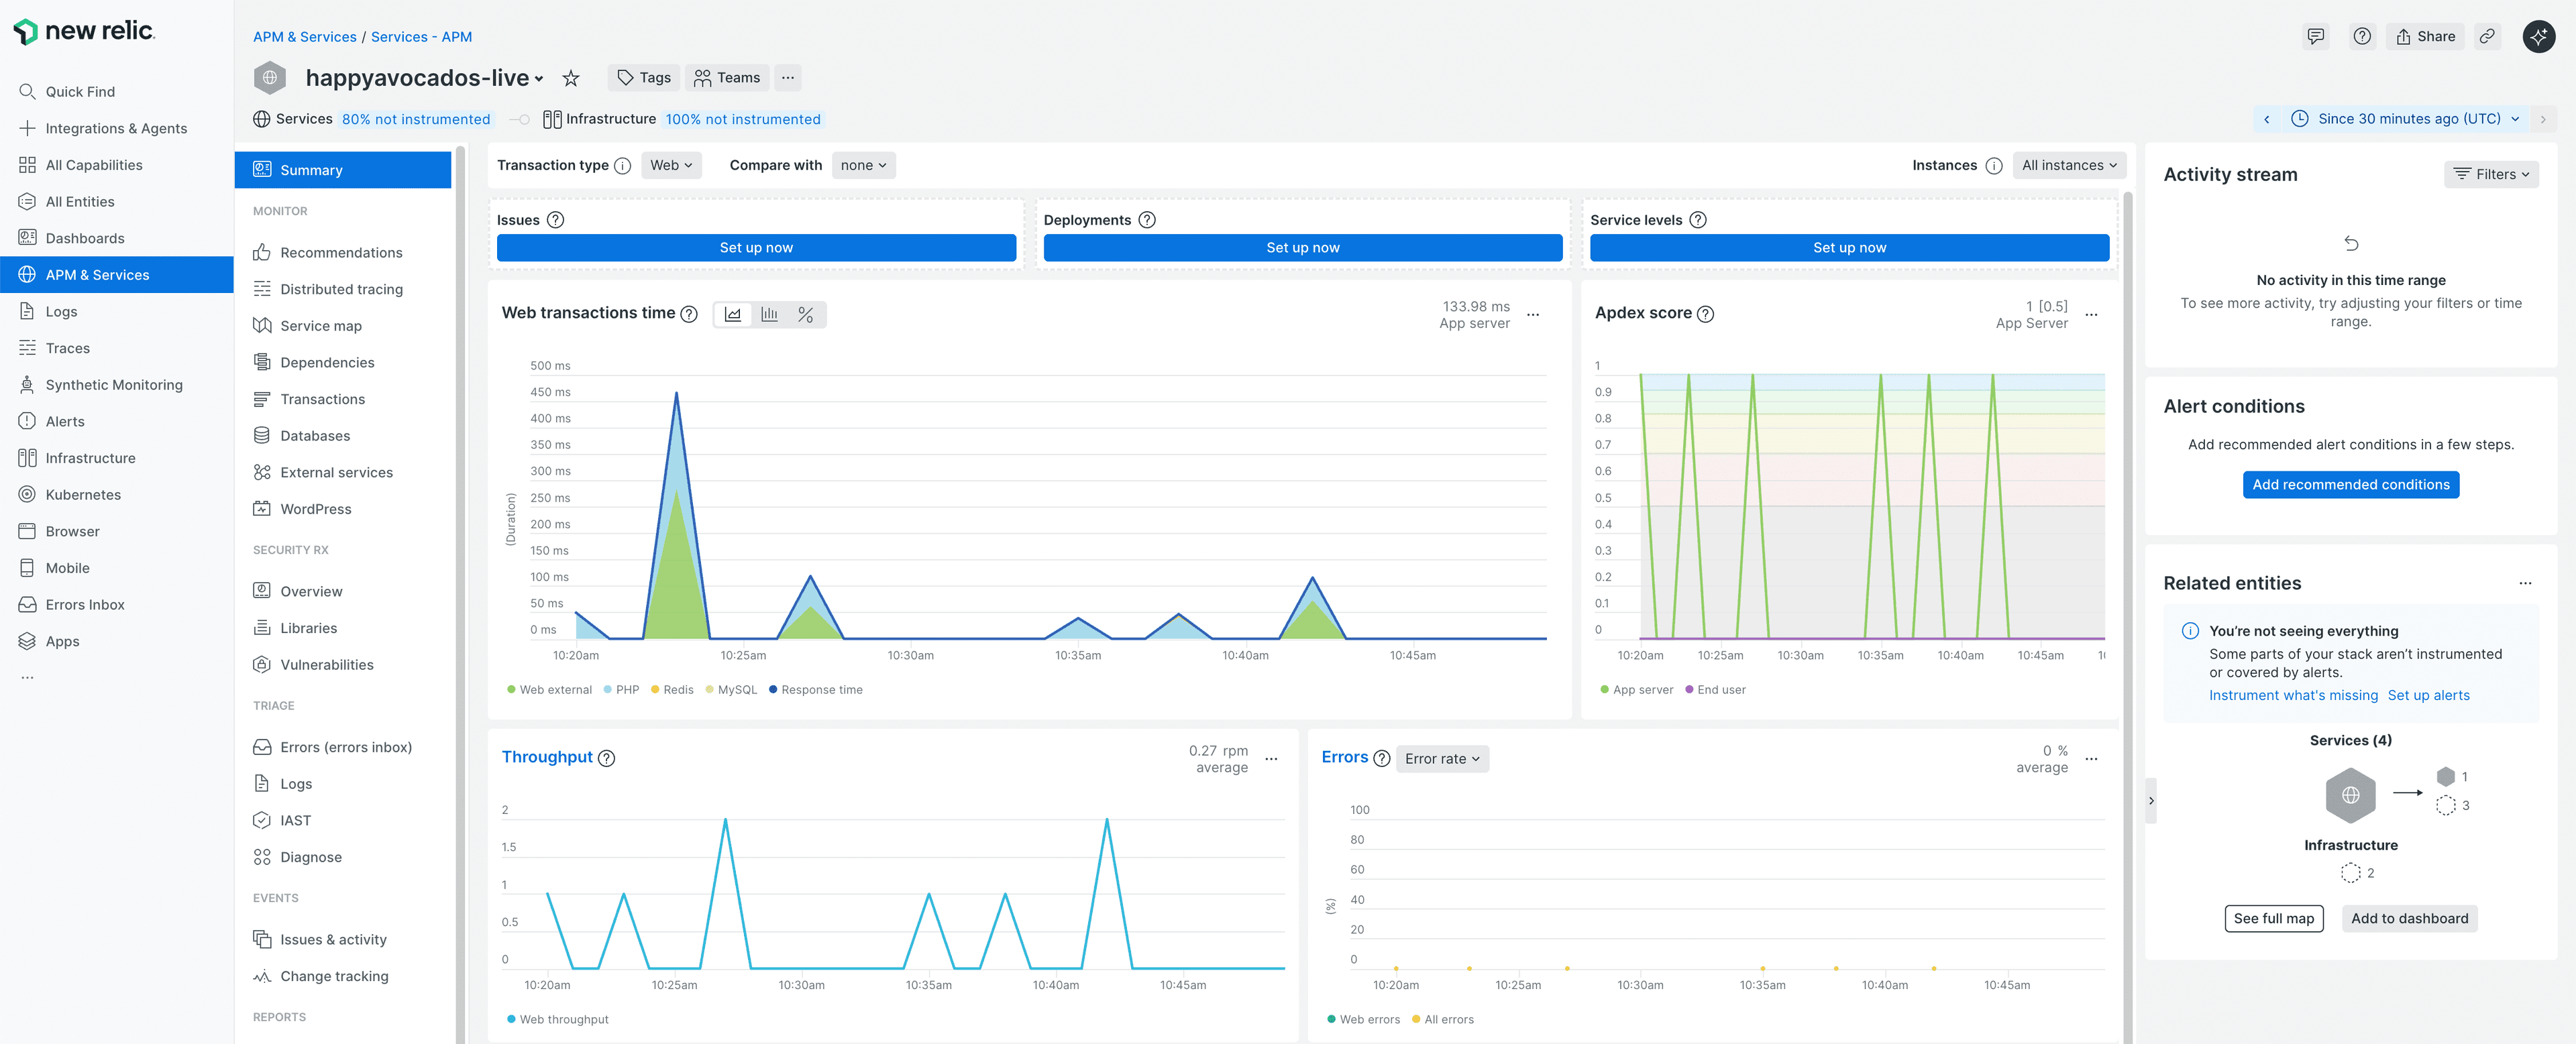
Click on your site name, and you can see the associated APM data in New Relic.
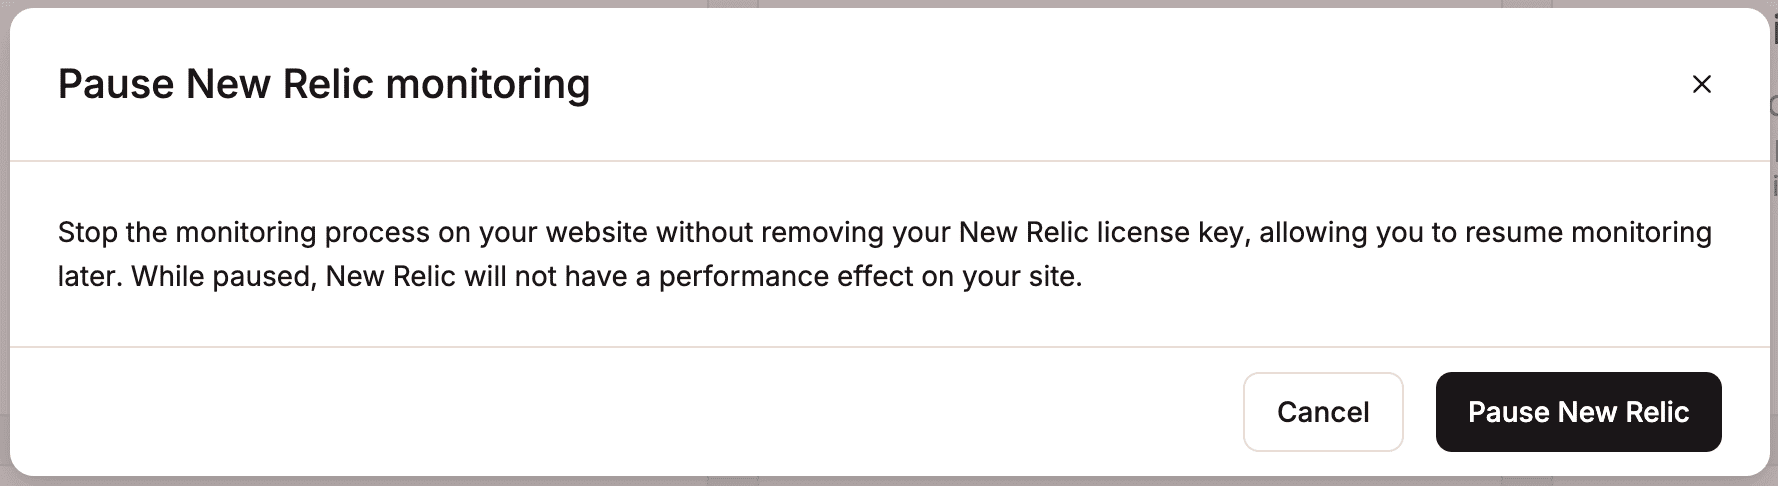
Pause monitoring
If you pause New Relic monitoring, your license key is retained if you wish to resume it at a later time. When it is paused it does not have any impact on the performance of your site.
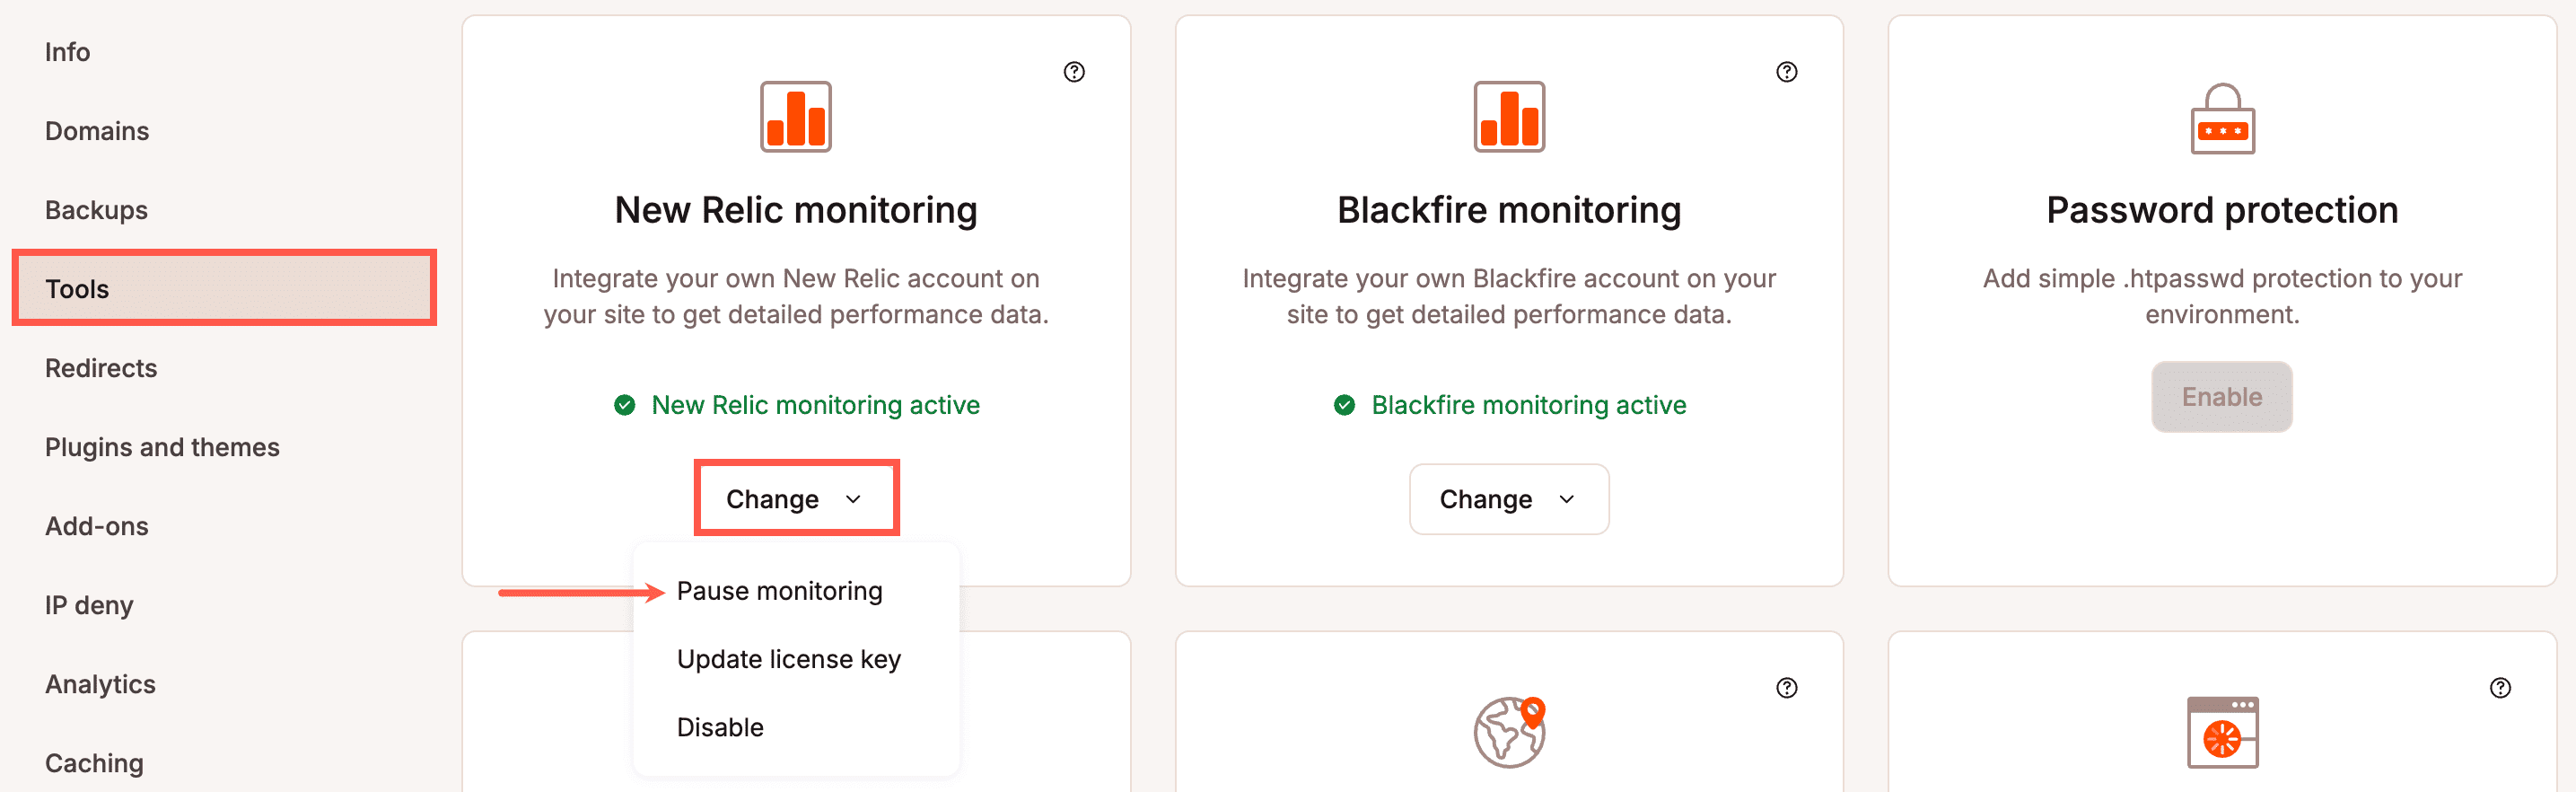
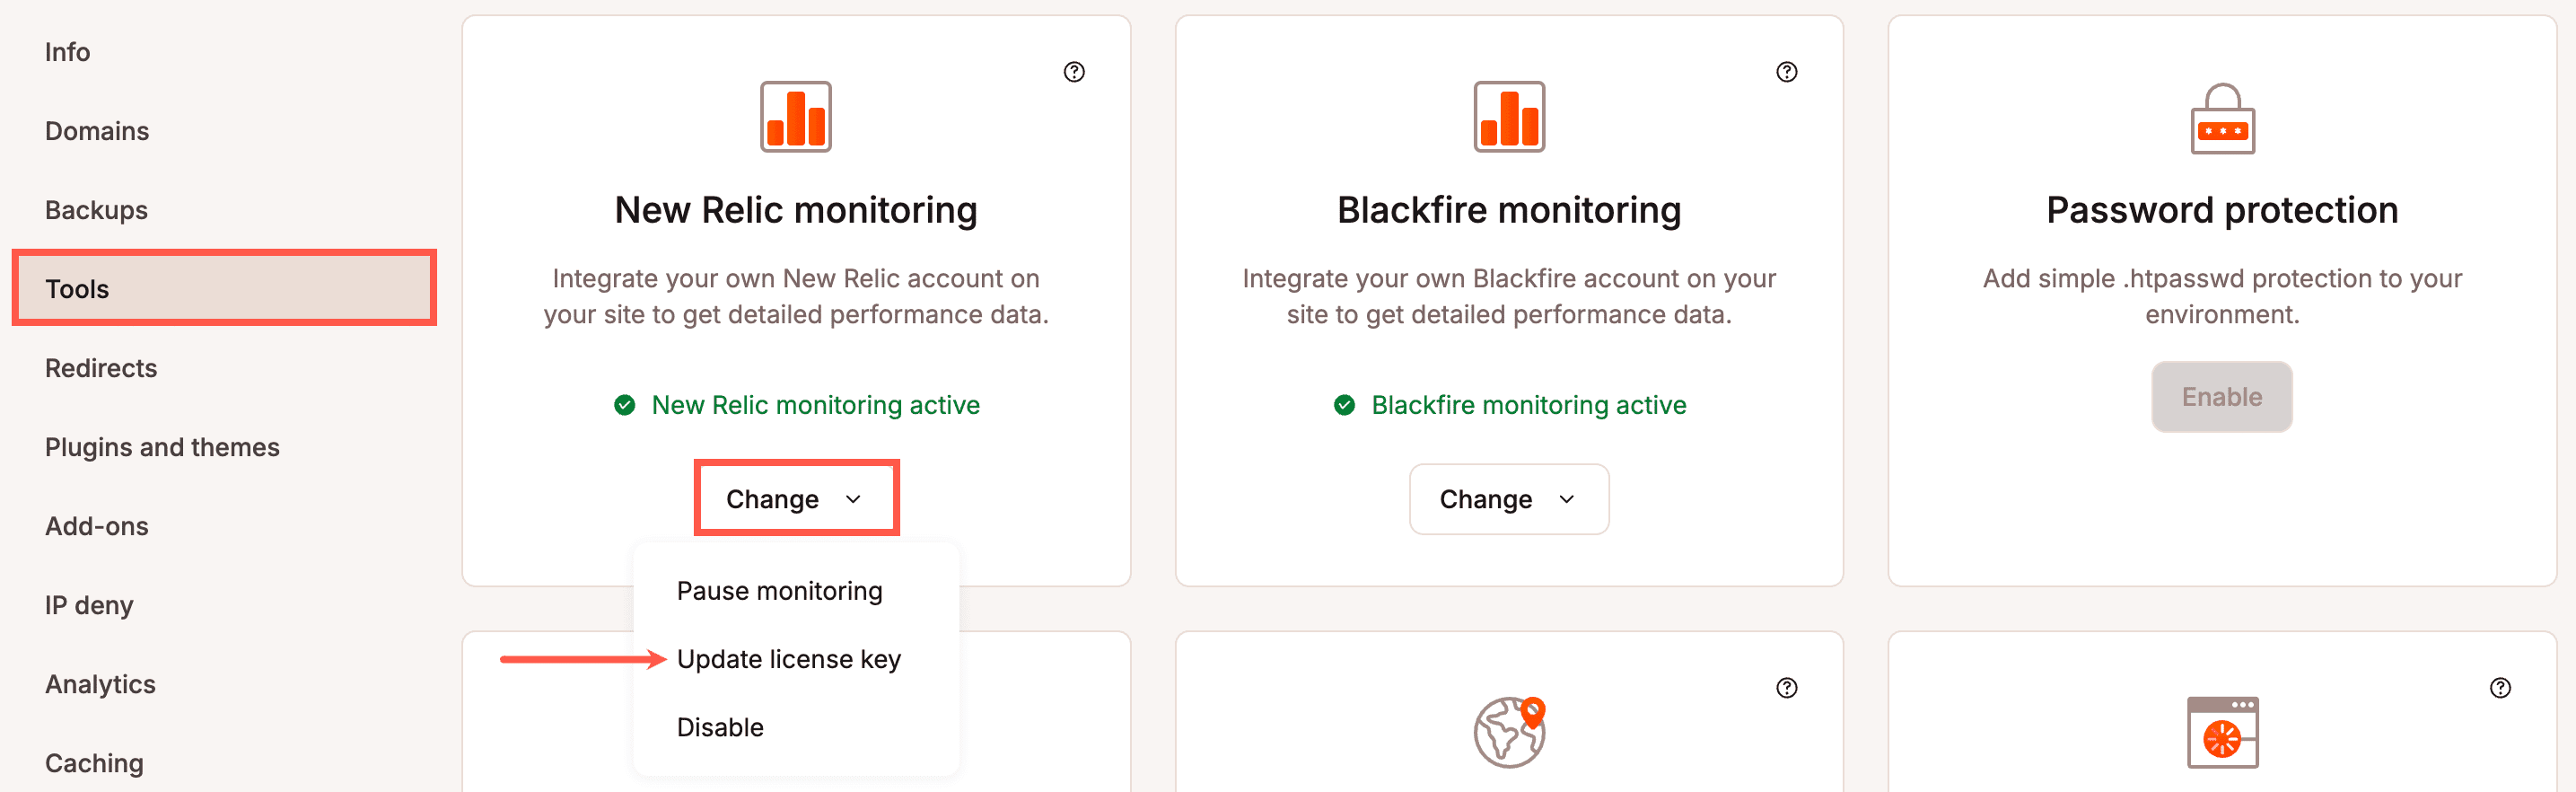
To pause New Relic monitoring, within Sites > sitename > Tools > Change > Pause monitoring.
To confirm you want to pause monitoring, click Pause New Relic.
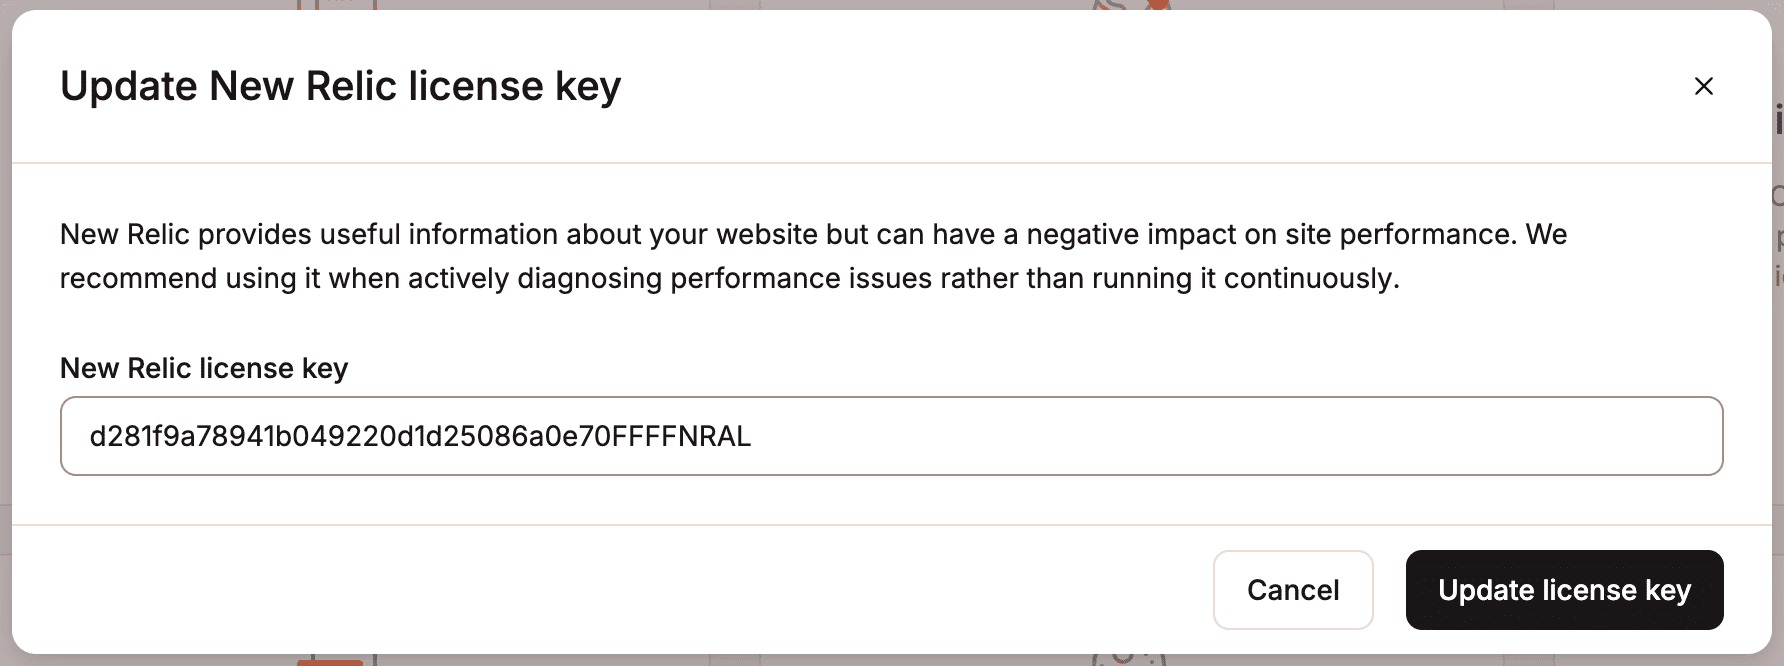
Update your New Relic license key
To change your license key for New Relic, within Sites > sitename > Tools > New Relic monitoring, click Change > Update license key.
Enter your new license key and click Update license key.
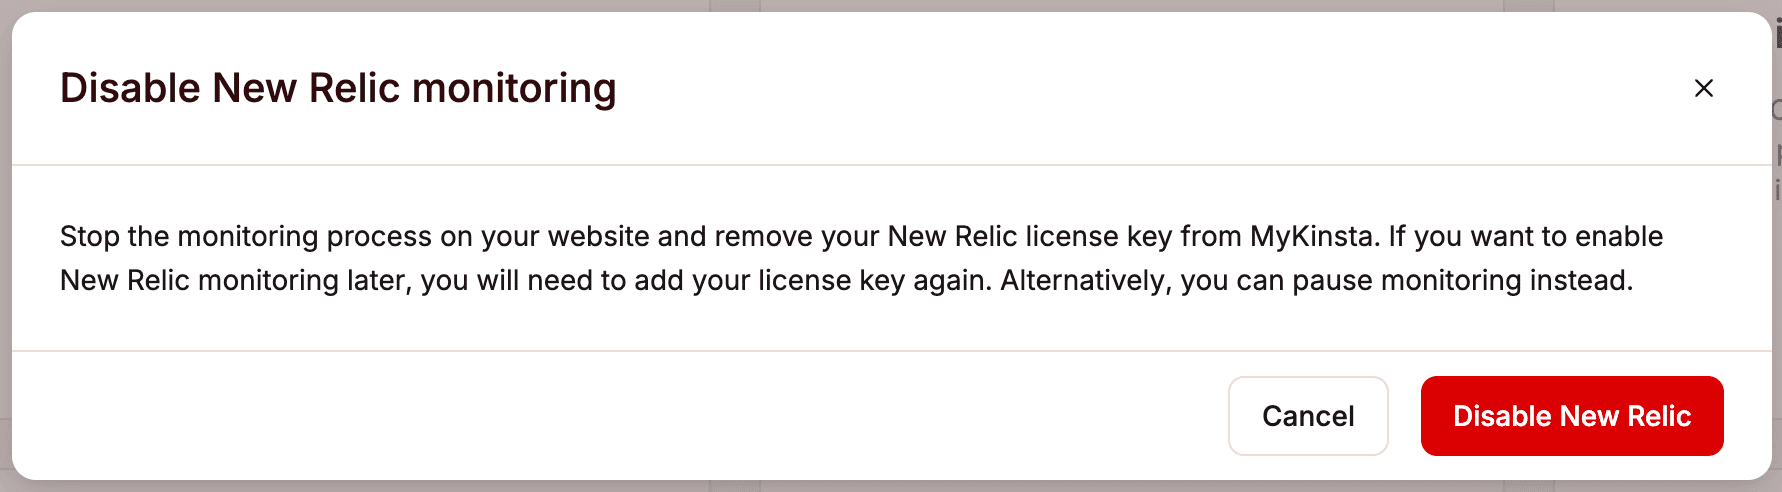
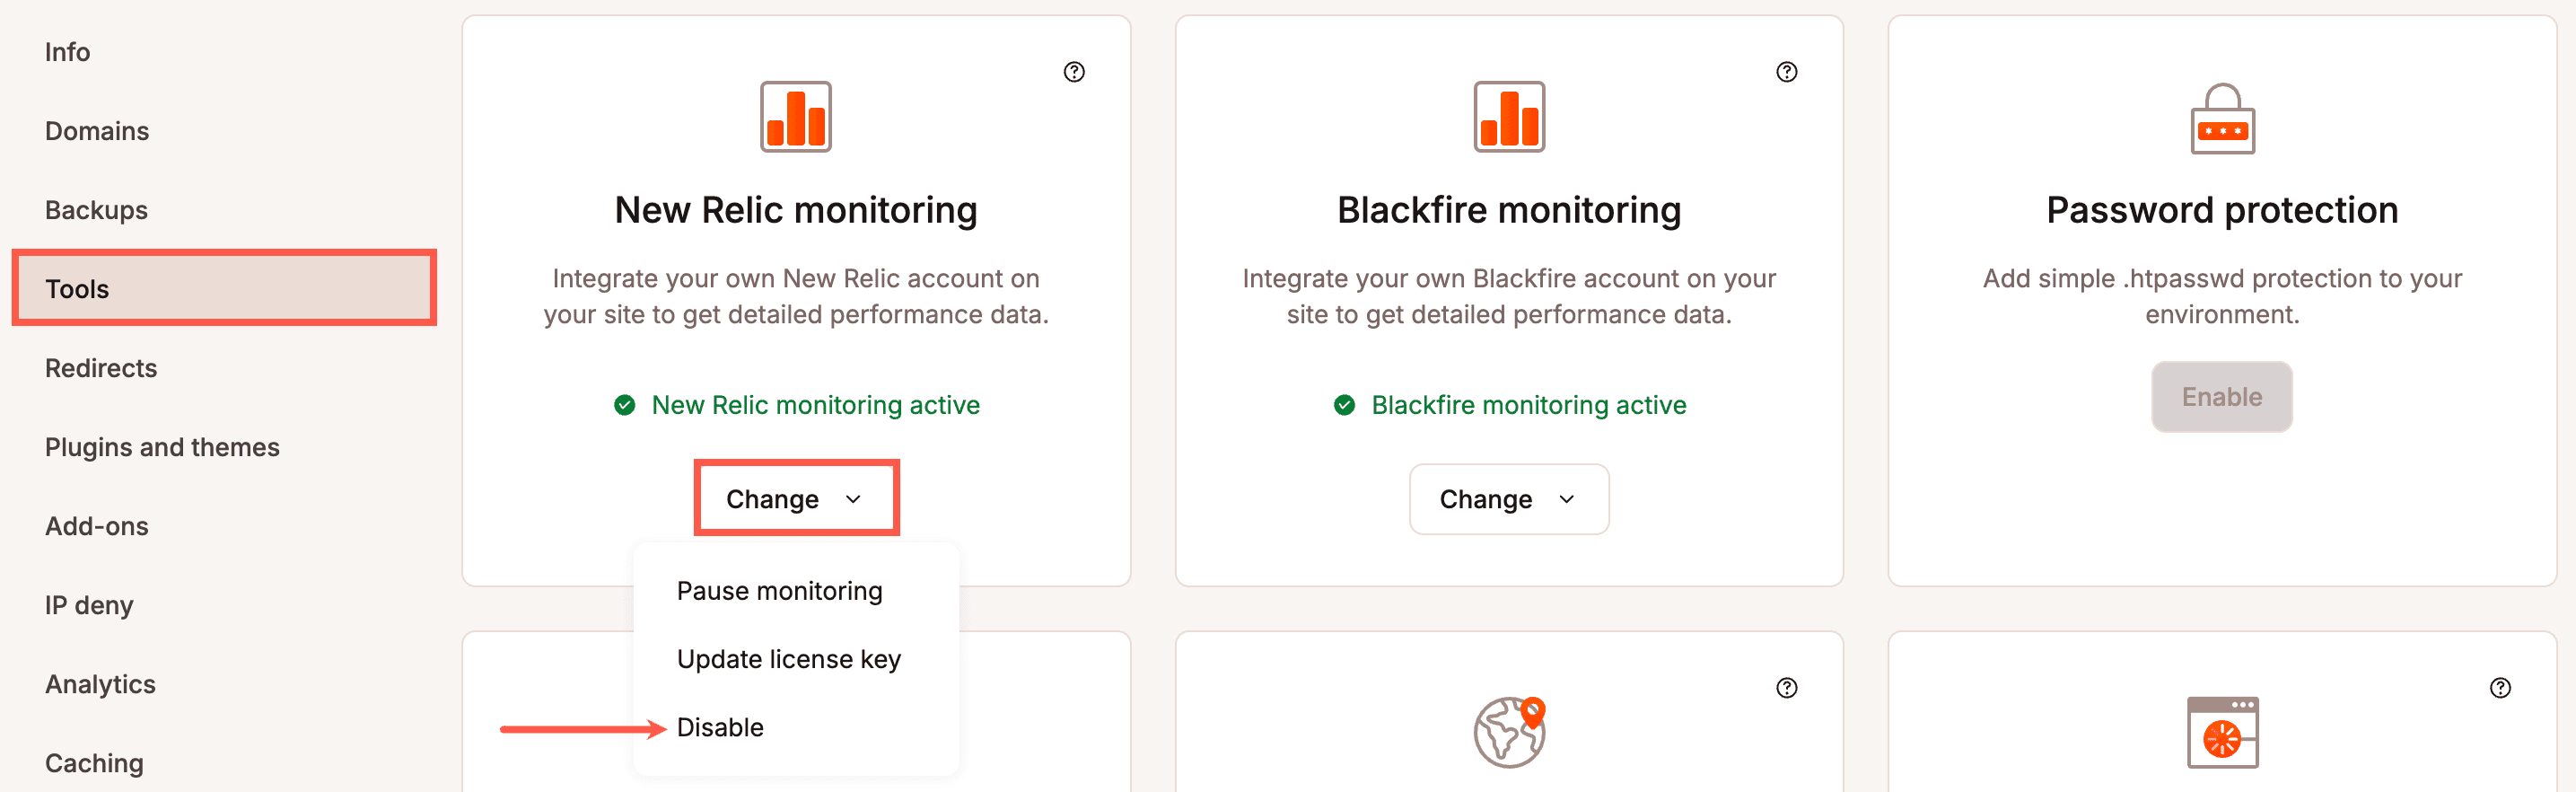
Disable New Relic monitoring
If you disable New Relic, this stops the monitoring on your site and removes the New Relic license key. If you only want to stop it without losing your license key, you can Pause monitoring.
To disable New Relic monitoring on your site, within Sites > sitename > Tools > New Relic monitoring, click Change > Disable.
To confirm you want to disable New Relic, click Disable New Relic.