Labels
Kinsta’s site labeling tool allows you to easily organize and filter your WordPress sites based on unique tags. This tool is especially useful for WordPress agencies and users managing a large number of sites.
You can add or remove labels on the Sites page or an individual site’s Info page (Sites > sitename > Info). Site labels can be managed in Company settings, then Site labels.
Label sites on the WordPress sites page
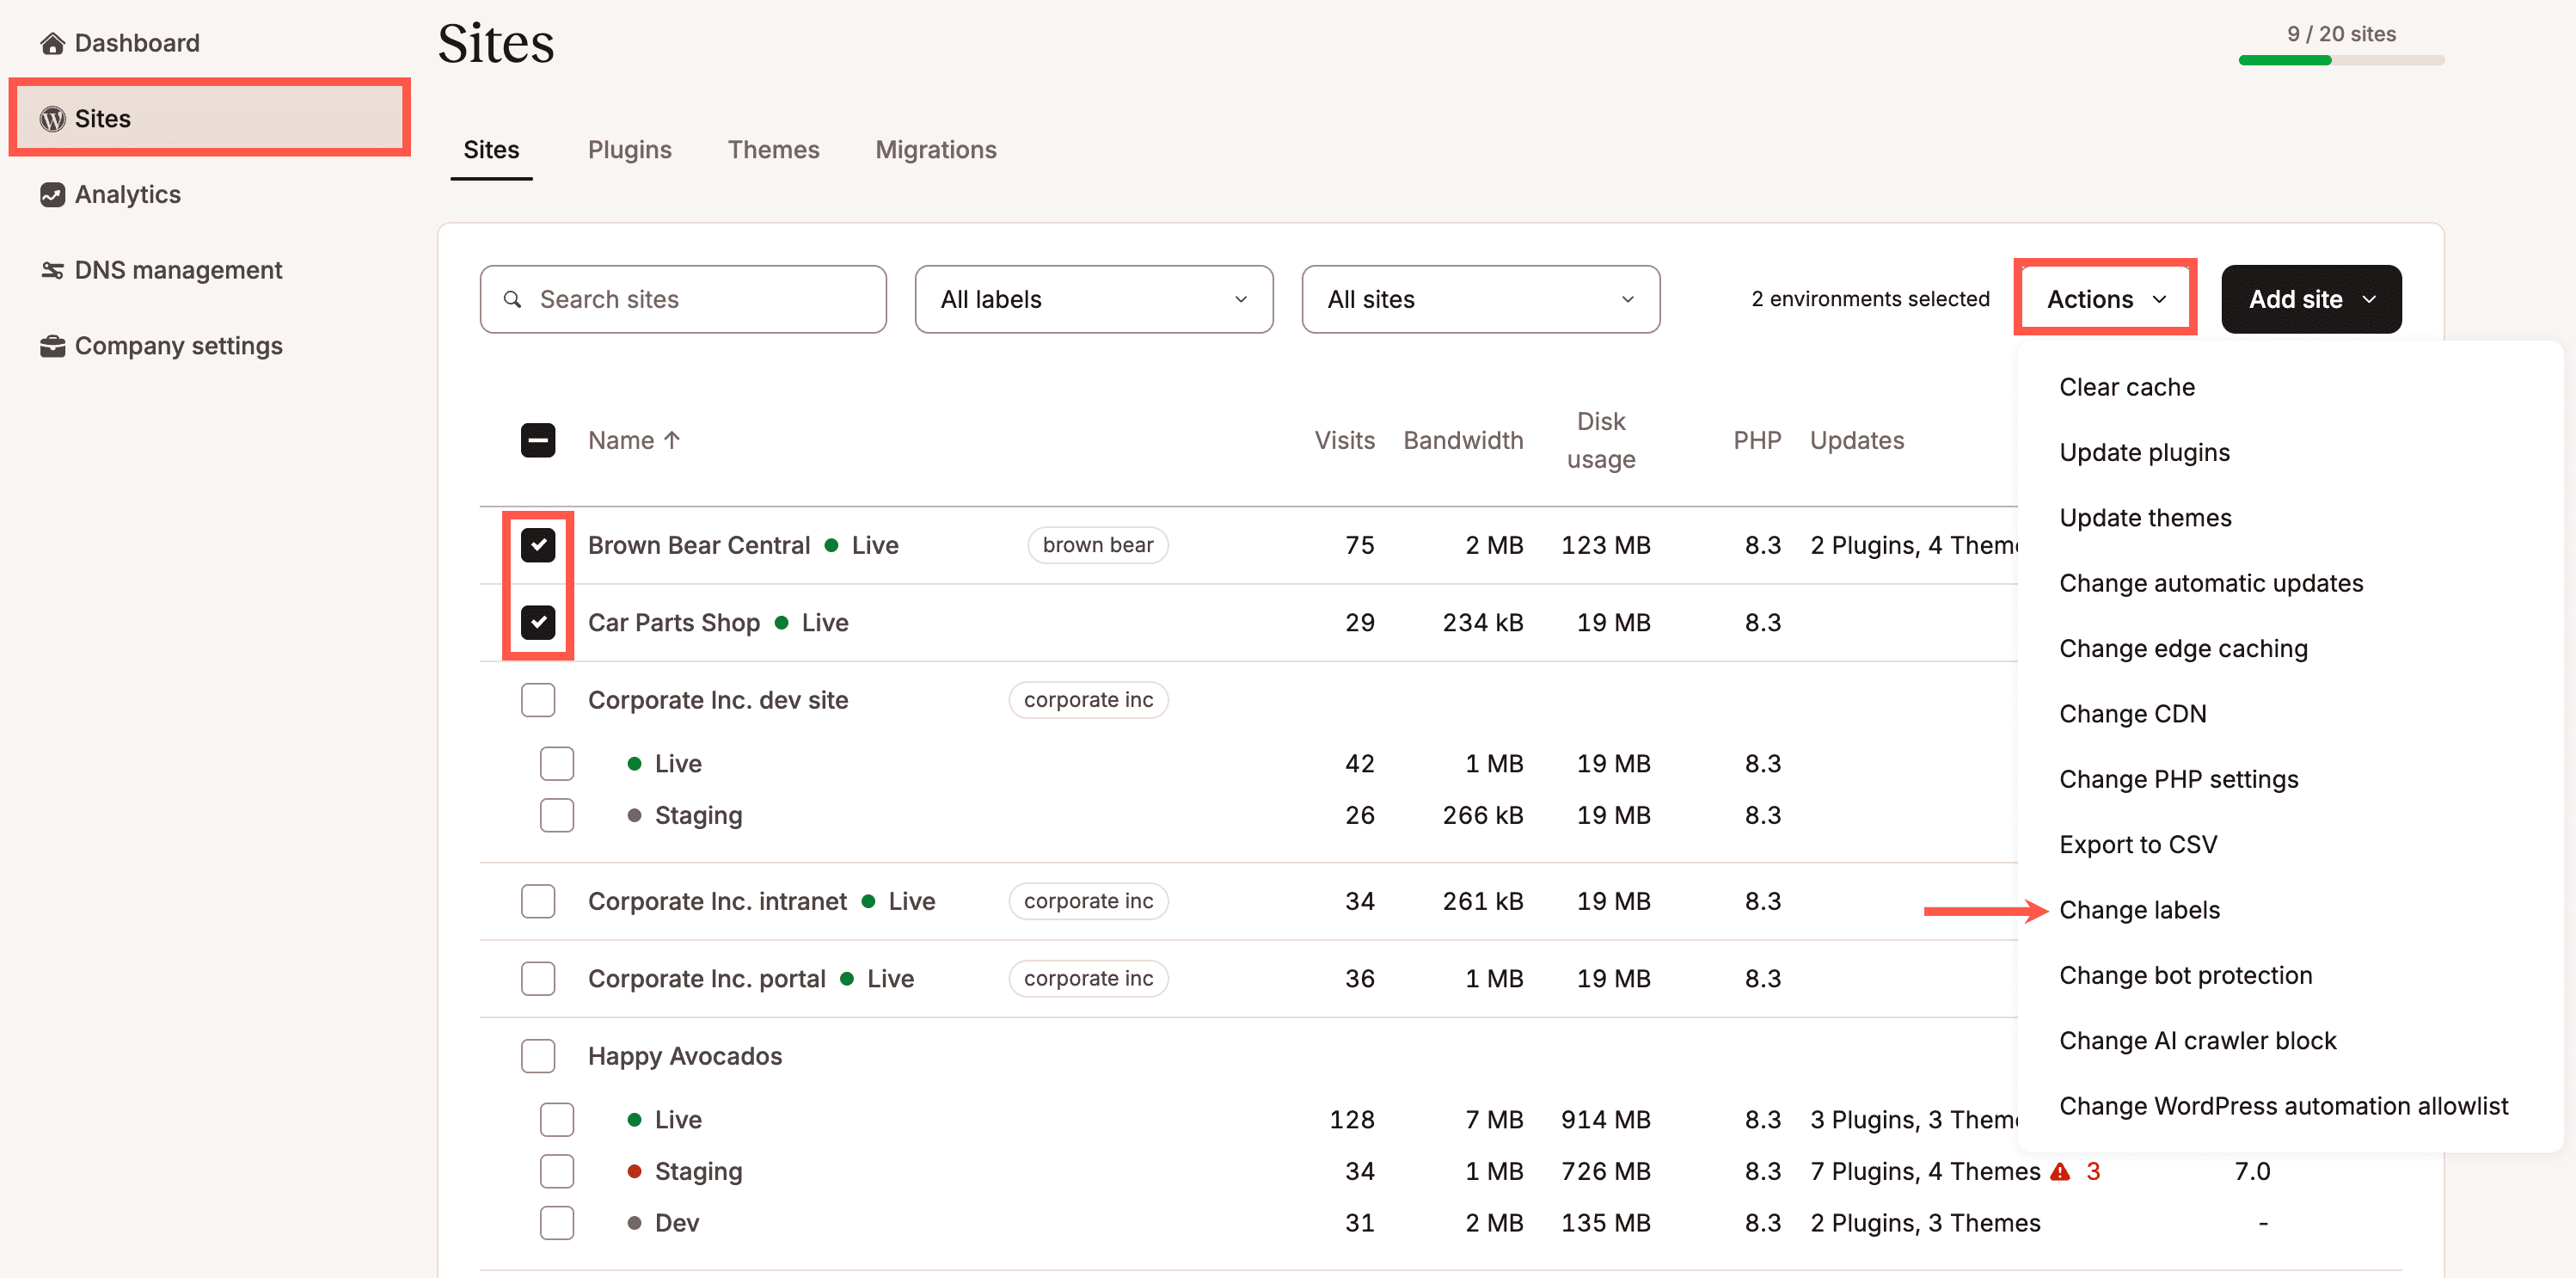
In MyKinsta > Sites, select the checkboxes next to the site(s) you want to label, click Actions, and choose Change labels.
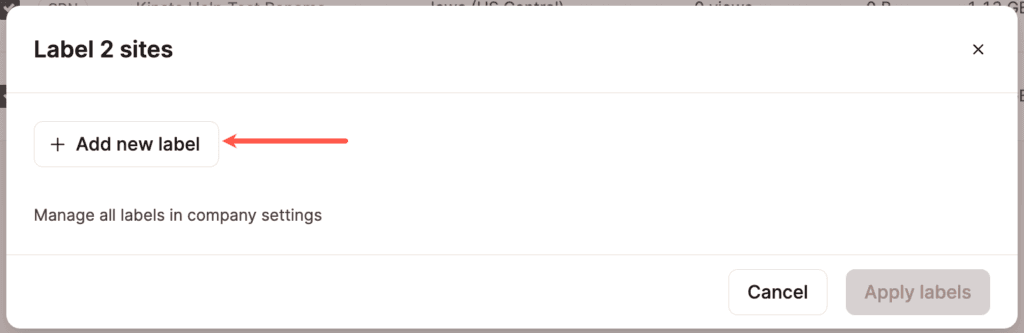
Click Add new label to create a new label. Enter the new label and click Apply labels.
If you have existing labels you want to manage, you can click Manage all labels in company settings.
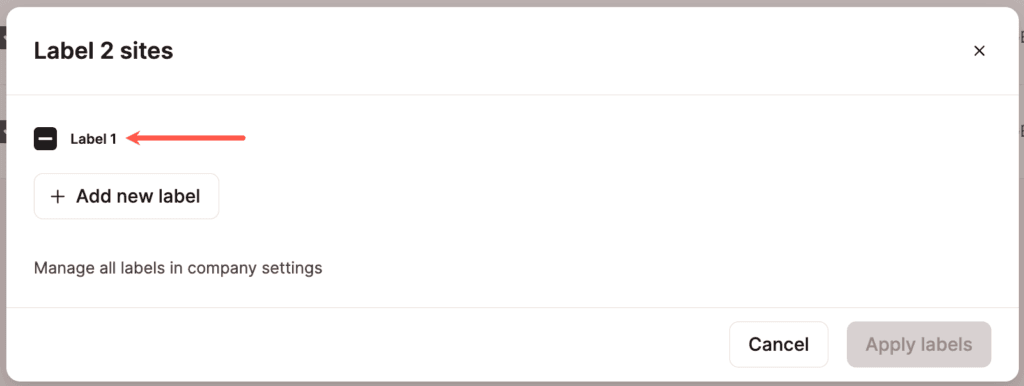
After a label is created, it will always be available for use in the future. The screenshot below shows “Label 1”, the label we created above.
To remove a label from a site, in the Label sites modal/pop-up, deselect the box next to the label you want to remove and click Apply labels.
After labeling your sites, you can filter the site list based on a specific label.

Label sites on the Site Information page
Another way to view, add, or remove labels is in the Basic details of an individual Site Information page (Sites > sitename > Info). Click the pencil (edit) icon in the Labels field.

Click Add new label to create a new label. If you have existing labels you want to manage, you can click Manage all labels in company settings.
After a label is created, it will always be available for use in the future. The screenshot below shows “Label 1”, the label we created above.
To remove a label from a site, in the Label sites modal/pop-up, deselect the box next to the label you want to remove and click Apply labels.
After adding labels to your site, you can see them in the Labels field.

Manage site labels
To manage your site labels, click Company settings > Site Labels. You can also click the Manage all labels in Company settings link in the Label sites modal.
Here you can add, rename, or delete labels.
To add a new label, click the Add new label button.

To rename a label, click the pencil (edit) icon on the right-hand side.

To delete a label, click the trash can (delete) icon on the right-hand side.

After a site has been labeled, the label will be visible in your site list.
