Reverse Proxy
A reverse proxy sits between web browsers and backend servers; it forwards requests from clients to servers and then returns the servers’ responses to clients. Unlike a traditional forward proxy, which handles requests on behalf of clients, a reverse proxy manages requests on behalf of servers.
Using a reverse proxy can provide several benefits for web applications and websites; the main benefit for WordPress sites is usually to provide a single point of entry. When you use a reverse proxy, you can serve multiple sites or applications from a single domain regardless of where they are hosted. For example, if your main site’s domain is mainsite.com and your subsite is mystore.kinsta.cloud, you can set up the reverse proxy to display the subsite on mainsite.com/mystore.
Reverse proxy add-on
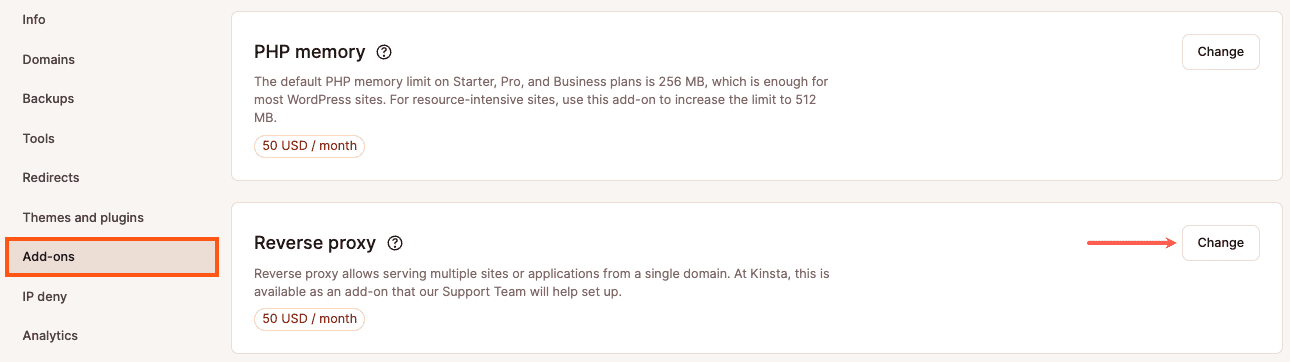
Reverse proxies are complex to install, configure, and support. Kinsta offers a $50 monthly add-on subscription per site to help you set up your reverse proxy. To request this add-on, contact Kinsta’s Support Team from Sites > sitename > Add-ons > and under Reverse proxy, click Change.
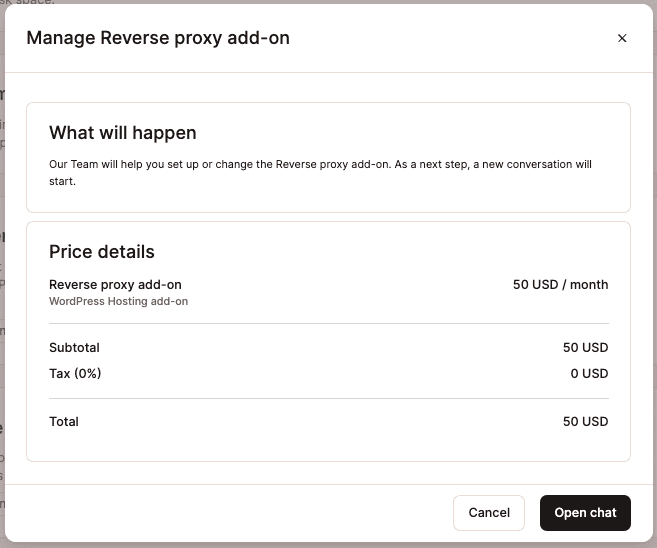
This opens a new window with the pricing information; click Open chat to start a new chat with our Support team, who will set up the add-on for you.
If you remove the reverse proxy add-on and you’re in the first 30 days of your WordPress Hosting plan, a prorated fee for the add-on will be added to your next invoice for the time period it was enabled. If your WordPress Hosting plan has been active for more than 30 days, you will receive a prorated credit for the add-on fees to your Account Balance for the remaining days of the current billing period. The credit is automatically used to offset money owed to Kinsta on your next invoice. For more information, refer to our WordPress Hosting Money-Back Guarantee.
If you choose to set up the reverse proxy without the add-on subscription, Kinsta’s Support Team cannot support you with the setup or any issues associated with the reverse proxy.
For more information about setting up a reverse proxy on Nginx or Apache, refer to our blog post How To Set Up a Reverse Proxy (Step-By-Steps for Nginx and Apache).
Reverse proxy use cases
The main use cases for a reverse proxy and WordPress websites hosted on Kinsta include:
Mainsite and subsite (proxied site) hosted on Kinsta
You can use a reverse proxy to keep the WordPress installations separate so they don’t share the same resources.
As you have access to both sites and their shared web server on Kinsta, with the reverse proxy add-on, the Kinsta Support Team can set up the reverse proxy rules for the main site and then configure the proxied site to load from the reverse proxy.
To request this add-on, contact Kinsta’s Support Team from Sites > sitename > Add-ons > and under Reverse proxy, click Change.
This opens a new window with the pricing information; click Open chat to start a new chat with our Support team, who will set up the add-on for you.
Only the subsite hosted on Kinsta
If your main site is hosted elsewhere, you can use a reverse proxy on your main site to display the subsite hosted on Kinsta under the same domain.
If you only have access to the proxied site and its web server, then you need to contact the server admin of the main site and ask them to set up the reverse proxy rules for you. Setting up the reverse proxy on your server falls outside the scope of Kinsta support, as only the server admin can take care of it.
On the proxied site hosted at Kinsta, you need to add a domain to the site, which points to the reverse proxy. Usually, a subdomain suits this purpose (e.g., blog.example.com) to load the proxied site over a subdirectory link (e.g., example.com/blog).
After setting up your proxied site on Kinsta, you can contact the Kinsta support team to configure the proxied site to load over a reverse proxy. The support team requires the real IP of your server to complete the setup process so that it counts visits correctly. If you cannot provide a static IP due to dynamic IP restrictions from certain providers (e.g., AWS CloudFront), we can convert your plan to a comparable bandwidth-based plan instead.
Only the main site is hosted on Kinsta
If your subsite is hosted elsewhere, you can use a reverse proxy on your main site at Kinsta to display the subsite under the same domain.
You must set up the reverse proxy on Kinsta and configure its rules to load the proxied site from an external host. Installing and configuring the proxied site to load over the reverse proxy is the responsibility of the secondary server’s admin.
As your main site is hosted at Kinsta, you can contact Kinsta’s support team to add the standard reverse proxy rules. You can also have any additional customizations added to those rules if required.
In this scenario, you’re fully responsible for configuring the proxied site to load it properly over the reverse proxy.