User Management
With our multi-user feature, you can create and manage a team, giving them access to various aspects of your WordPress sites within MyKinsta. We offer a number of roles to allow you to fine-tune user access.
Kinsta utilizes Two-Factor Authentication (2FA) for all users to help protect your MyKinsta account from unauthorized access, providing enhanced security and greater peace of mind. 2FA requires an additional verification code sent to your email or available through an authentication or password manager app. You can see which authentication method each user has enabled (email or app authentication) within Company settings > Users > 2FA.
User roles
Company Owner role
There is a special role called the Company Owner. A Company Owner is always also a Company Administrator. There can only be one Company Owner per company.
A Company Owner is the only user in a company who can request an account closure or transfer company ownership (to a Company Administrator in the same account). Apart from that, they are essentially the same as Company Administrators in day-to-day use.
Company roles
When inviting or modifying a user, the first choice is to give the user Company access or Site access. Site-level users only have access to specific sites you assign to them, while company users see company-level details. There are three company-level user roles to choose from, each with varying levels of access based on their role.
All user roles have access to Kinsta’s Support team, but we can only assist with sites your user role can access.
Company Administrator
Company Administrators have the highest level of access. They have complete control of all company data and full access to all sites, including migration requests. Only give Company Administrator access to users whom you trust. The Company Administrator can change any of the company plans, but they cannot cancel them; only a Company Owner can cancel a plan.
Company Developer
A Company Developer has access to manage all sites and DNS in MyKinsta, as well as site-level users. While a Company Developer can view the list of company users (including email addresses and roles), they cannot make any changes to company-level users.
Company Developers can delete sites that do not have a Premium Staging Environment add-on.
Within company settings, Company Developers can:
- Create and revoke access to API keys.
- View analytics.
- View the list of company users (including email addresses and roles).
- Manage labels.
- View user activity.
Company Developers do not see billing details or migration requests. The following actions are billing events that a Company Developer does not have access to:
- Cancel or change a WordPress plan.
- Access Referrals.
- Request a site migration.
- Approve or initiate a site or DNS transfer.
- Request a paid malware cleanup.
- Add or remove a premium staging environment.
- Add or remove an add-on.
If you want a Company Developer to access any of the above features, you must increase their access level to Company Administrator.
Company Billing
A Company Billing user is a specialized role that only has access to billing details and company settings. They can view invoices, enable automatic invoice emails, and update company details such as name and address. They do not have access to any sites or migrations in any way.
Site roles
Site-level users can access a specific site to which they have been granted access and may have access to multiple sites.
Site Administrator
Site Administrators have complete access to a site and control of all environments. Site Administrators can also manage the DNS records for the site if you add a linked WordPress site to your DNS zone.
The only actions they are not permitted to do are removing a site from a company’s account, submitting or managing migration requests, or creating and deleting Premium Staging Environments. Note that a single user may be a Site Administrator for multiple sites.
Site Developer
Site Developers have access to all staging environments (standard and premium) for the site(s) to which they are given access. They only have control over the staging environments and can perform most actions, except for removing the staging environment or pushing it to live. Note that a single user may be a Site Developer for multiple sites.
Site Developers do not have access to company-level or live environment analytics, user management, migrations, DNS in MyKinsta, or the company-level activity log in MyKinsta. They cannot create or delete Premium Staging Environments.
MyKinsta user roles and permissions chart
The following chart provides more specific details about the capabilities each user role has.
| Capability | Company Owner | Company Administrator | Company Developer | Company Billing | Site Administrator | Site Developer |
|---|---|---|---|---|---|---|
| Access billing details or change plan | Yes | Yes | No | Yes | No | No |
| Access referrals | Yes | Yes | No | Yes | No | No |
| Cancel WordPress plan | Yes | No | No | No | No | No |
| Access company analytics | Yes | Yes | Yes | No | No | No |
| Access site analytics | Yes | Yes | Yes | No | Yes | No |
| Install or remove a paid add-on | Yes | Yes | No | Yes (see note 1) | No | No |
| Adjust PHP performance settings | Yes | Yes | Yes (see note 2) | No | Yes (see note 2) | No |
| Approve inbound WordPress site transfer | Yes | Yes | No | No | No | No |
| Initiate inbound WordPress site/DNS transfer | Yes | Yes | No | No | No | No |
| Request WordPress paid malware cleanup (see note 3) | Yes | Yes | No | No | No | No |
| Request a WordPress site data center change | Yes | Yes | Yes | No | Yes | No |
| Request a WordPress site migration | Yes | Yes | No | No | No | No |
| Manage WordPress site labels | Yes | Yes | Yes | No | Yes | No |
| DNS in MyKinsta | Yes | Yes | Yes | No | Yes (see note 4) | No |
| Add or delete WordPress site/live environment | Yes | Yes | Yes (see note 5) | No | No | No |
| Add or delete SFTP users | Yes | Yes | Yes | No | No | Yes (see note 6) |
| Access live WordPress environment | Yes | Yes | Yes | No | Yes | No |
| Access or Add Standard Staging Environment | Yes | Yes | Yes | No | Yes | Yes |
| Delete or Replace Existing Standard Staging Environment | Yes | Yes | Yes | No | Yes | No |
| Add or delete Premium Staging Environment | Yes | Yes | No | No | No | No |
| Access Premium Staging Environment | Yes | Yes | Yes | No | Yes | Yes |
| Access any staging environment analytics | Yes | Yes | Yes | No | Yes | Yes |
| Push any staging to live | Yes | Yes | Yes | No | Yes | No |
| Push any staging to another staging | Yes | Yes | Yes | No | Yes | Yes |
| Request 2FA be disabled for other users in a company (see note 7) | Yes | No | No | No | No | No |
Note 1 – Can add a disk space add-on, but cannot manage hourly or external backups; those are managed at the site level.
Note 2 – Can adjust the number of PHP threads and memory per thread, but only Company Owners and Company Administrators can adjust the total PHP memory pool.
Note 3 – If the malware cleanup is free, any user can request it.
Note 4 – Can update DNS records if the WordPress site they have access to is linked to a DNS zone.
Note 5 – Can delete a live environment if no Premium Staging Environment is attached to it.
Note 6 – Site Developer can add, edit, or delete SFTP users in the staging environment only.
Note 7 – The Company owner can request that 2FA be disabled if the user is only associated with that one company.
View your access
To see which companies and sites you have access to and what level of access you have, click your username, go to User settings, and click Access.

Invite a user
With our multi-user feature, you can create and manage a team, giving them access to various aspects of your sites. On the Company Users page, you can invite users to your company or sites.
To invite a user to your company, log in to MyKinsta, from the Dashboard, click Company settings, then Users, and then Invite users. You can also invite a user to a site, rather than your company, on the site-level User management page.

- Enter the email address of the user you’d like to invite. You can invite up to 10 users by separating their email addresses with commas in the email field.
- Select Company to choose between Company Administrator, Company Developer, or Company Billing.

User invite details with company access. - If you only want to grant access to a particular site, select Site, either type the name of the site you want the user to have access to, or select it from the list.

Choose the site you want to grant the user access to. - You also need to select the user role (Site developer or Site administrator) for each site.

Choose the user role. - Click Send invite to invite the user.
Resend a user invitation
If you need to send the invitation to a user again, click Resend. If you need to delete the pending invitation, click the Delete (trash can) icon.

Add users to a site
We offer a number of user roles in MyKinsta so you can fine-tune user access to your site. You can invite existing users to a particular site from your username > Company > Users or the site-level User management page.
Add users from the Company Users page
If you previously added users to your company in MyKinsta and later want to change their access to one or more sites at the same time without editing each user individually, you can do this on the Company Users page.
Select the users you’d like to change and click Add to site.

Choose the site you want the user to have access to, either type the name of the site or select it from the list.

You also need to select the user role (Site developer or Site administrator) for each site. Selected users will receive the same role for that specific site.

Once you’re happy with the setup, click Add members.
Invite users from the site’s User management page
To invite a user to a site from the User management page, follow the steps below:
- Log in to MyKinsta and go to Sites.
- Select the required site > User management > Invite users.

Invite users to a site in MyKinsta. - Enter the email address of the user you’d like to invite. You can invite up to 10 users by separating their email addresses with commas in the email field. Select Site administrator or Site developer in the dropdown menu.

Invite a user to your site in MyKinsta. - Click Invite users.
- If you need to send the invitation to a user again, click the Resend (reload) icon.
- If you need to delete the pending invitation, click the Delete (trash can) icon.
- To copy the invite link, click the copy icon.
Remove a user from a company
Remove a single user from a company
Log in to MyKinsta, and click your username > Company settings > Users, click the trash (delete/remove) icon on the user.

To confirm the removal of the user, click Remove user.

Remove multiple users from a company
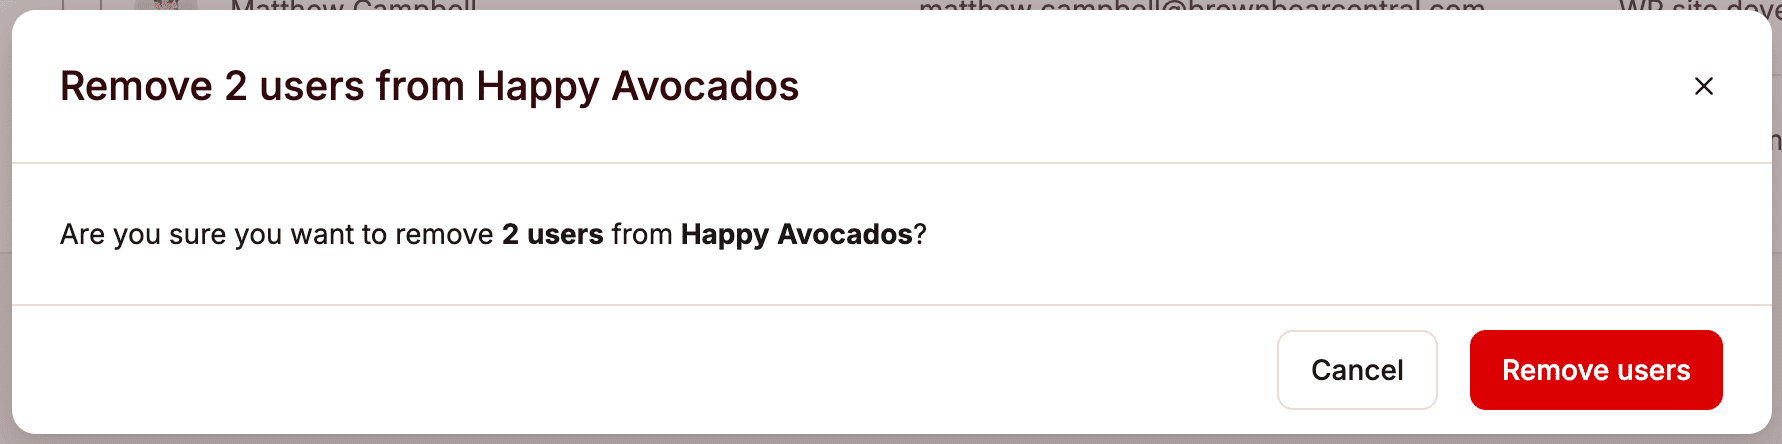
You can remove multiple users from your company simultaneously. Select the users you want to remove, click Remove, and click Remove from [company name].

To confirm the removal of the users, click Remove users.

Remove yourself from a company or site
If you are not the Company Owner, you can remove yourself from a company or site in your MyKinsta User settings. Click your username, then select User settings.

Click Access. Here you’ll see the companies and sites you have access to. To remove yourself from a company or site, click the Delete (trash can) icon.

Remove a user from a site
You can remove users from a site from either the site’s User management page or the company-level Users page.
Remove a user from the Company Users page
Log in to MyKinsta, click your username > Company settings > Users, and then click the Edit (pencil) icon on the user.

Click on the Delete (trash can) icon next to the site to remove the user from that site, and click Change access.

You can also remove multiple users from a site at the same time.
Note: If you only want to see users with access to a particular site, use the filter above the Name column to filter the list by site.
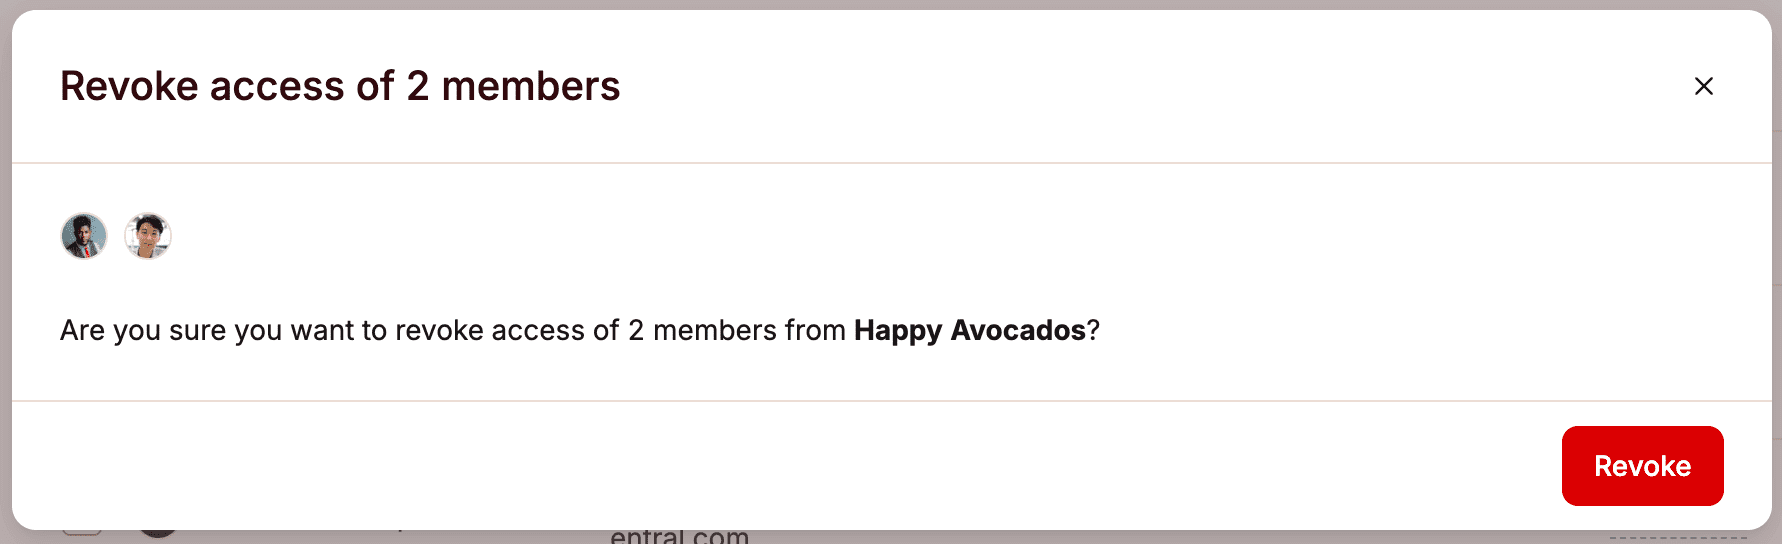
Select the users you wish to remove, click Remove, and select Remove from site name.

To confirm the removal, click Revoke.
Remove a user from the site’s User management page
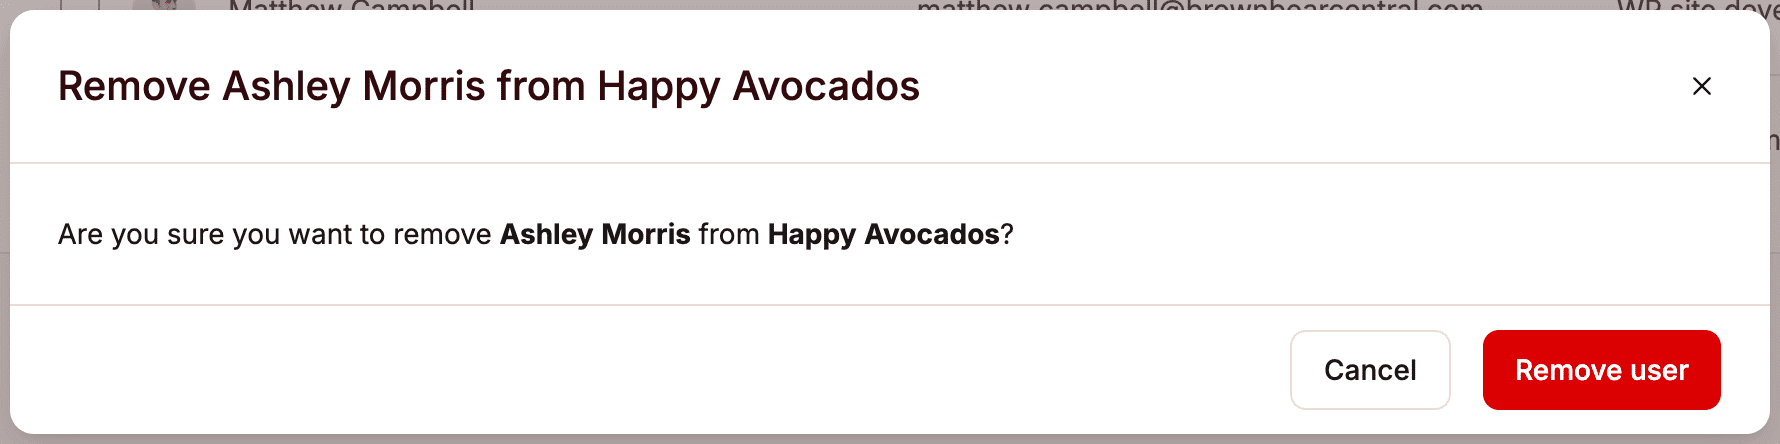
To remove a user from a site, on the User management page of the site, click the Delete (trash can) icon.

To confirm the removal of the user, click Remove user.
You can also remove multiple users from a site at the same time. Select the users you wish to remove and click Remove users.

To confirm the removal of the users, click Remove users.