htpasswd Protection
When working on a WordPress site, there may be times when you may not want it to be accessible to the public. Perhaps you’re developing a site for a client and only want that client to have access. A relatively easy way to lock down your site is to password protect it. You can do this with our MyKinsta .htpasswd tool, which uses what is referred to as basic HTTP authentication.
How to enable password protection on your site
Our .htpasswd tool adds password protection to your entire WordPress site, not just the WordPress admin. The tool is available for both live sites and staging environments.
- Log in to MyKinsta.
- Go to Sites and click on the site that you want to enable password protection on.
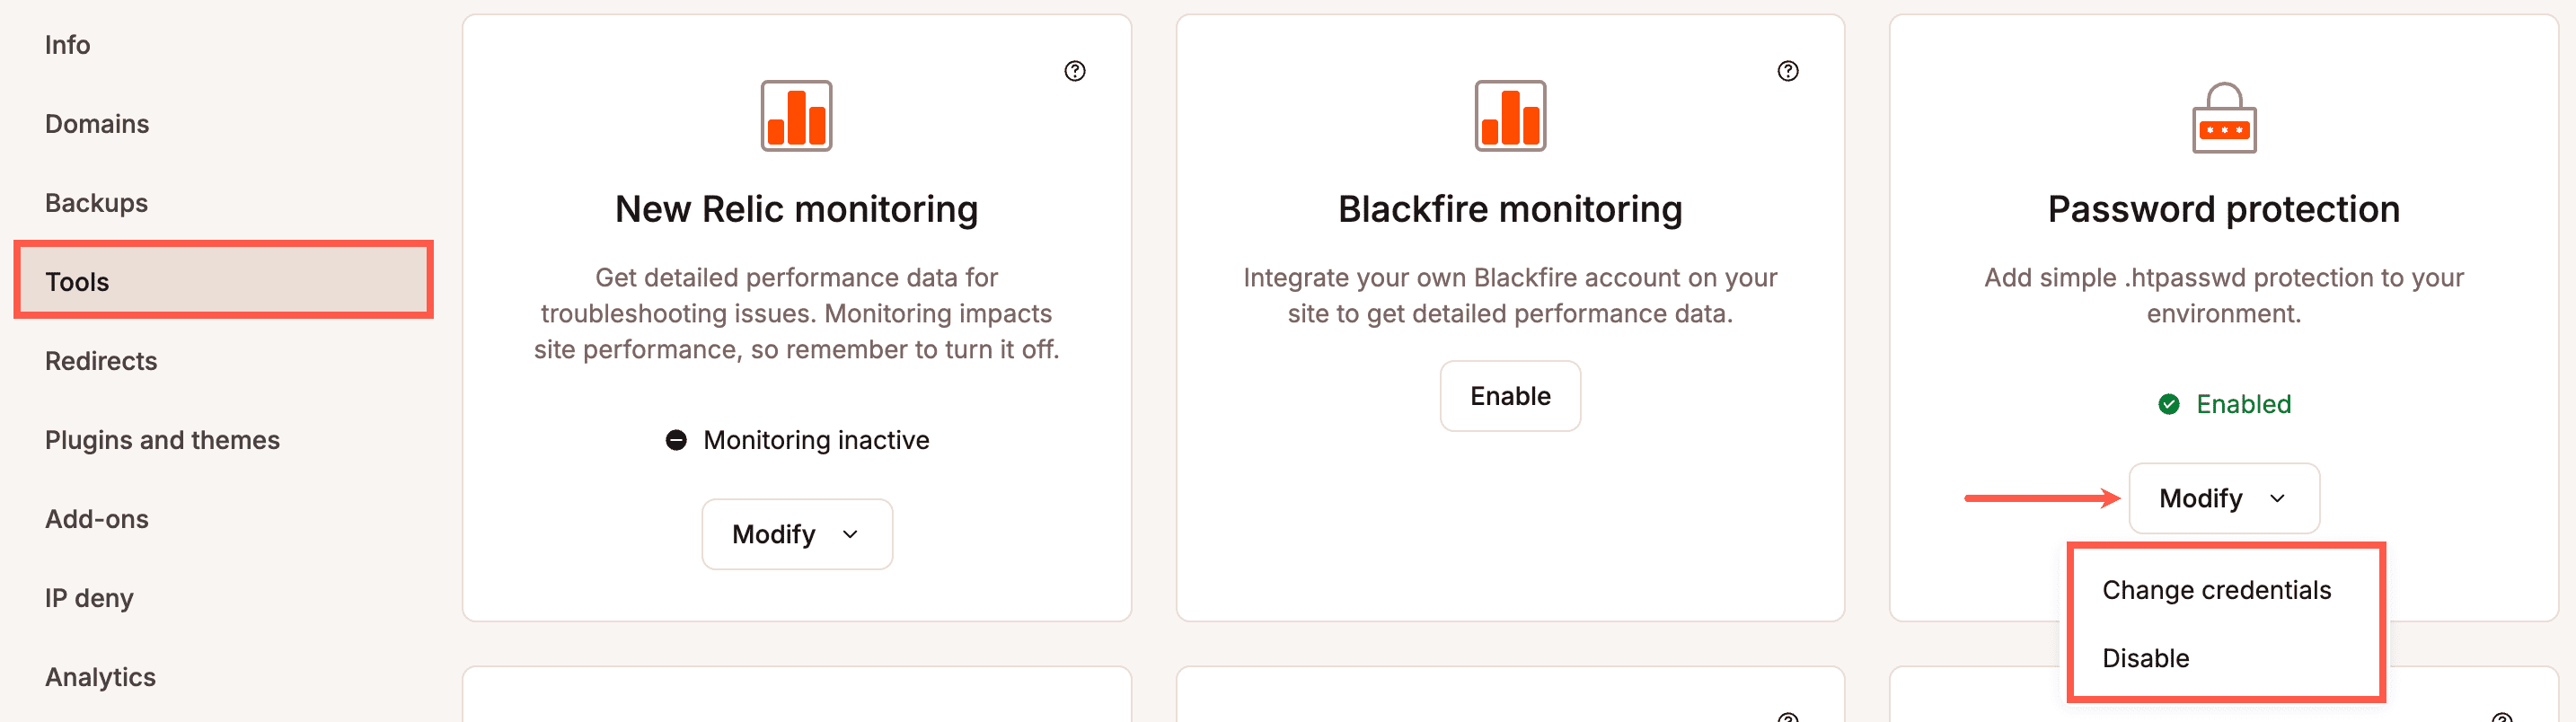
- Click on Tools on the left-hand side. Then scroll down, and under Password protection, click Enable.

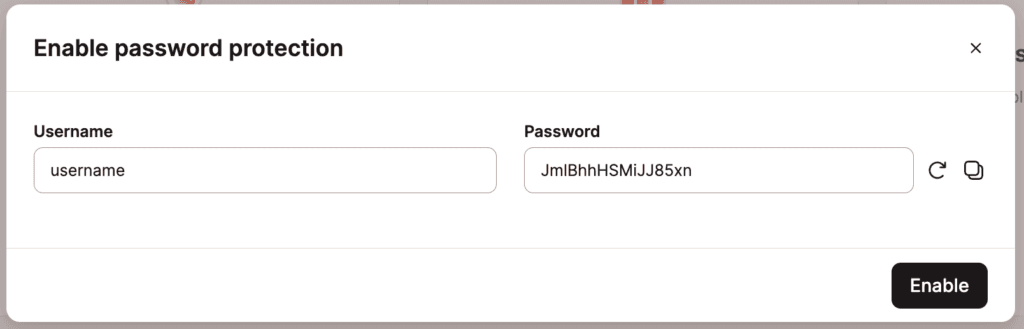
Enable .htpasswd protection. - In the Enable password protection modal/pop-up that appears, enter a Username and Password to use for authentication. To generate a new password and copy it to your clipboard, use the refresh (redo) and copy icons next to the password field. Then click the Enable button.
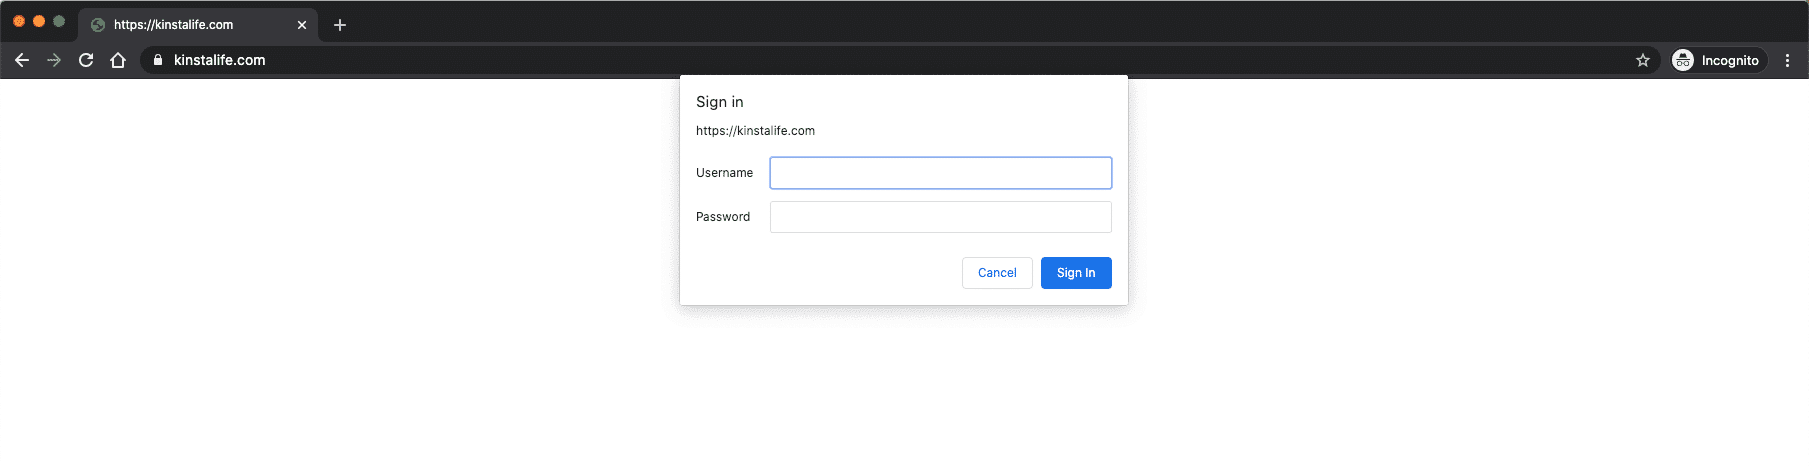
.htpasswd username and password - You can then visit your WordPress site to ensure it’s working correctly. When trying to access your site, you will see a modal/pop-up asking for your Username and Password. Enter the Username and Password you set up in the Password protection tool in MyKinsta, and click the Sign In button.
You will then be able to access your WordPress site for the remainder of your browser’s session.
Wrong credentials or canceling prompt
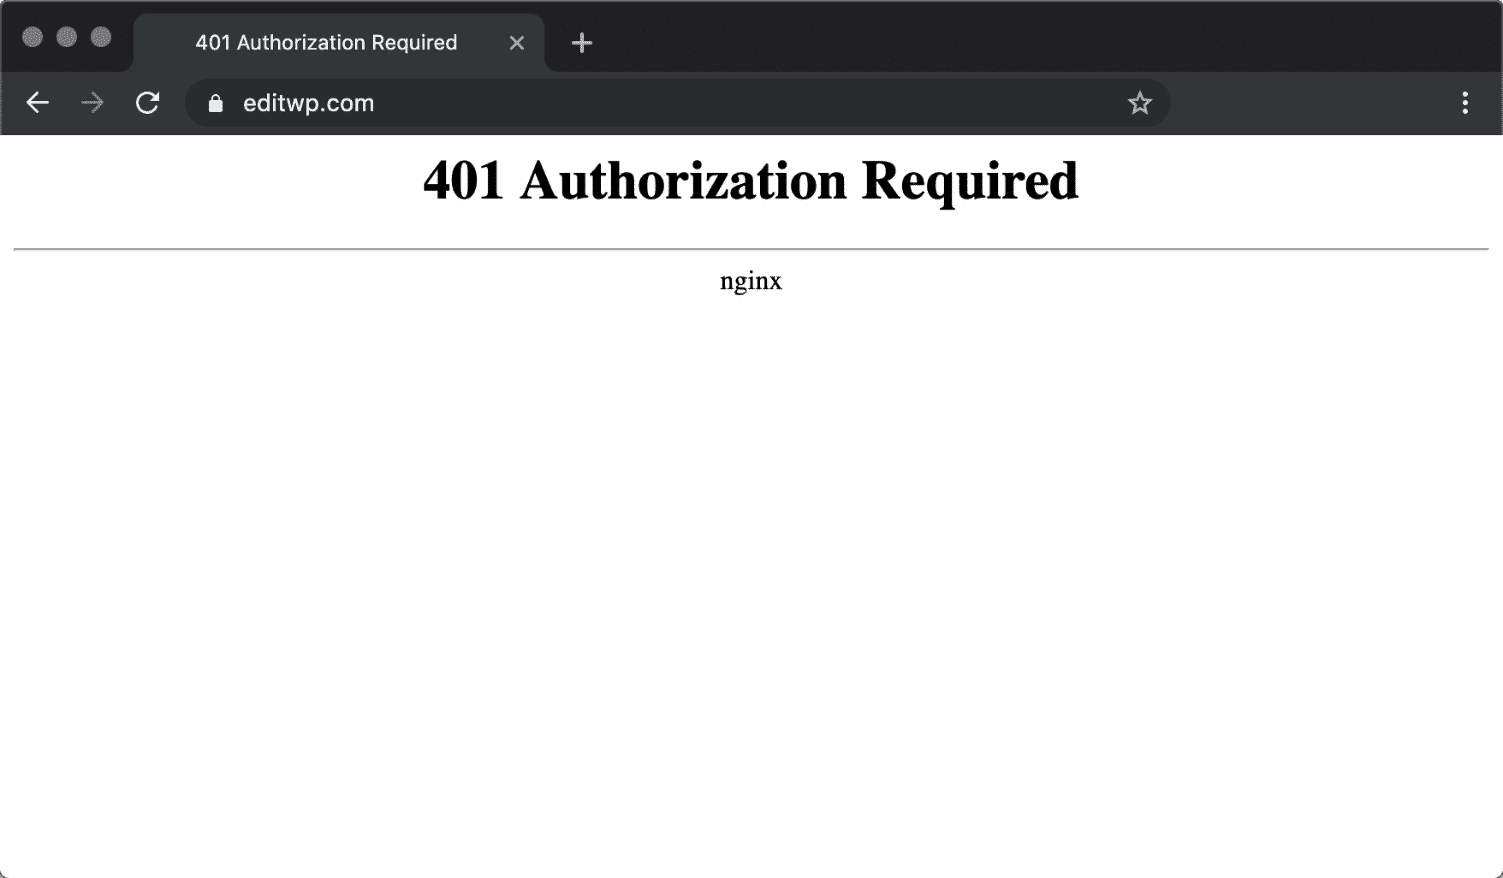
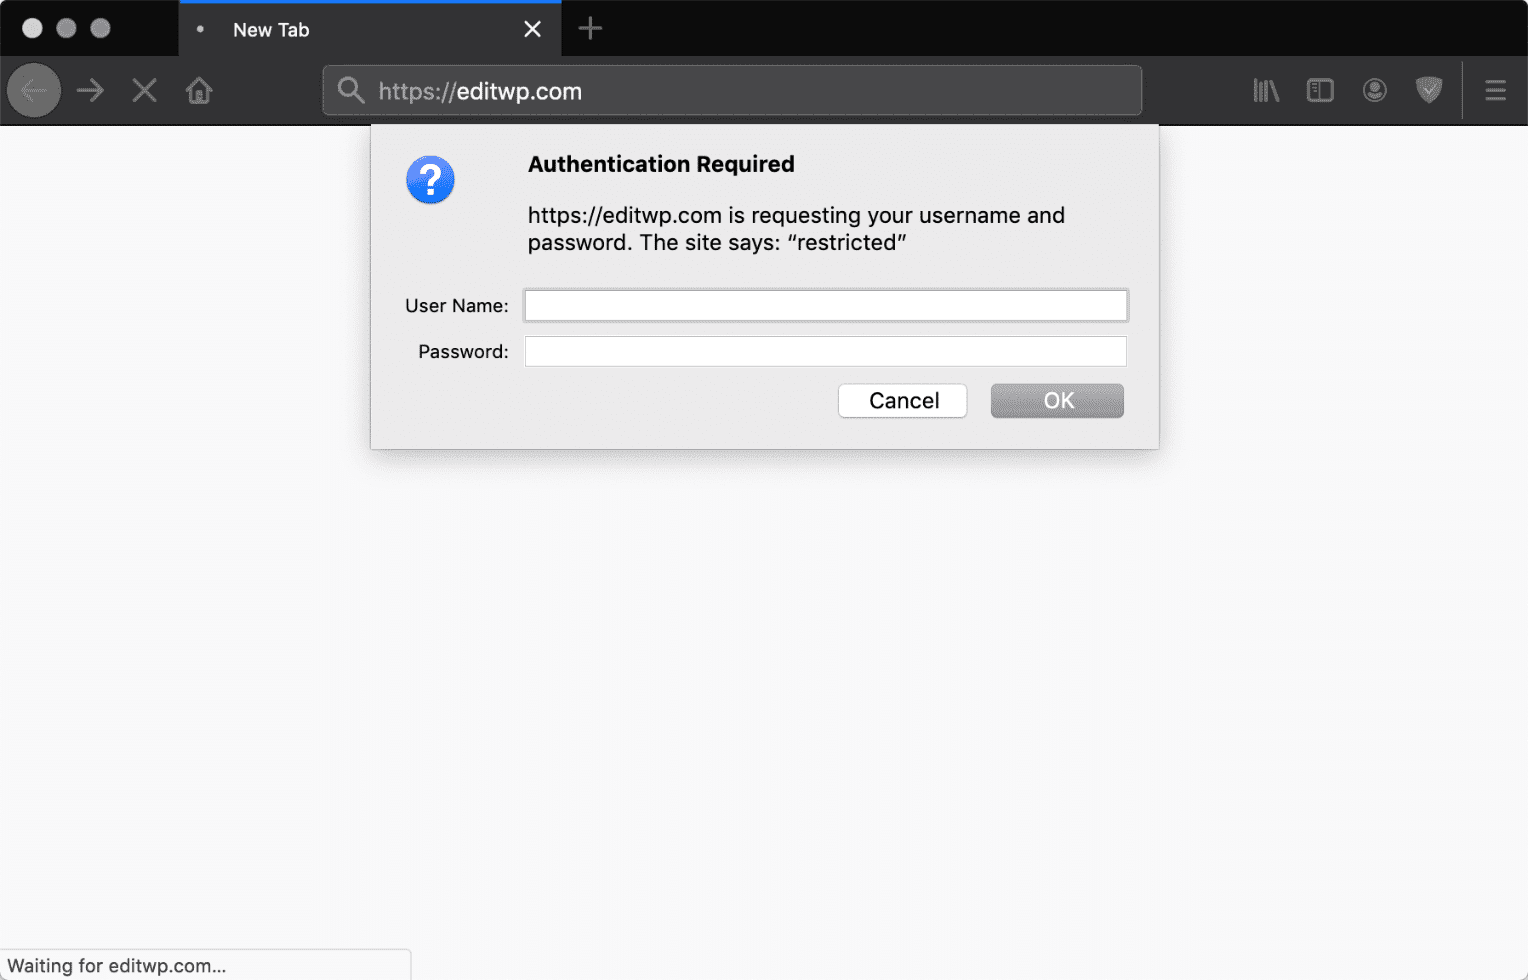
If a wrong username or password is entered, the modal/pop-up will reappear. If the credentials prompt is closed or canceled, the browser will return a 401 HTTP status code, and the user will see a “401 Authorization Required” message.
Alternate prompts in different browsers
The security prompt may appear slightly different, depending on your browser. In Chrome, the modal/pop-up is titled Sign in (as shown above).
In Mozilla Firefox, it will be an Authentication Required modal/pop-up.
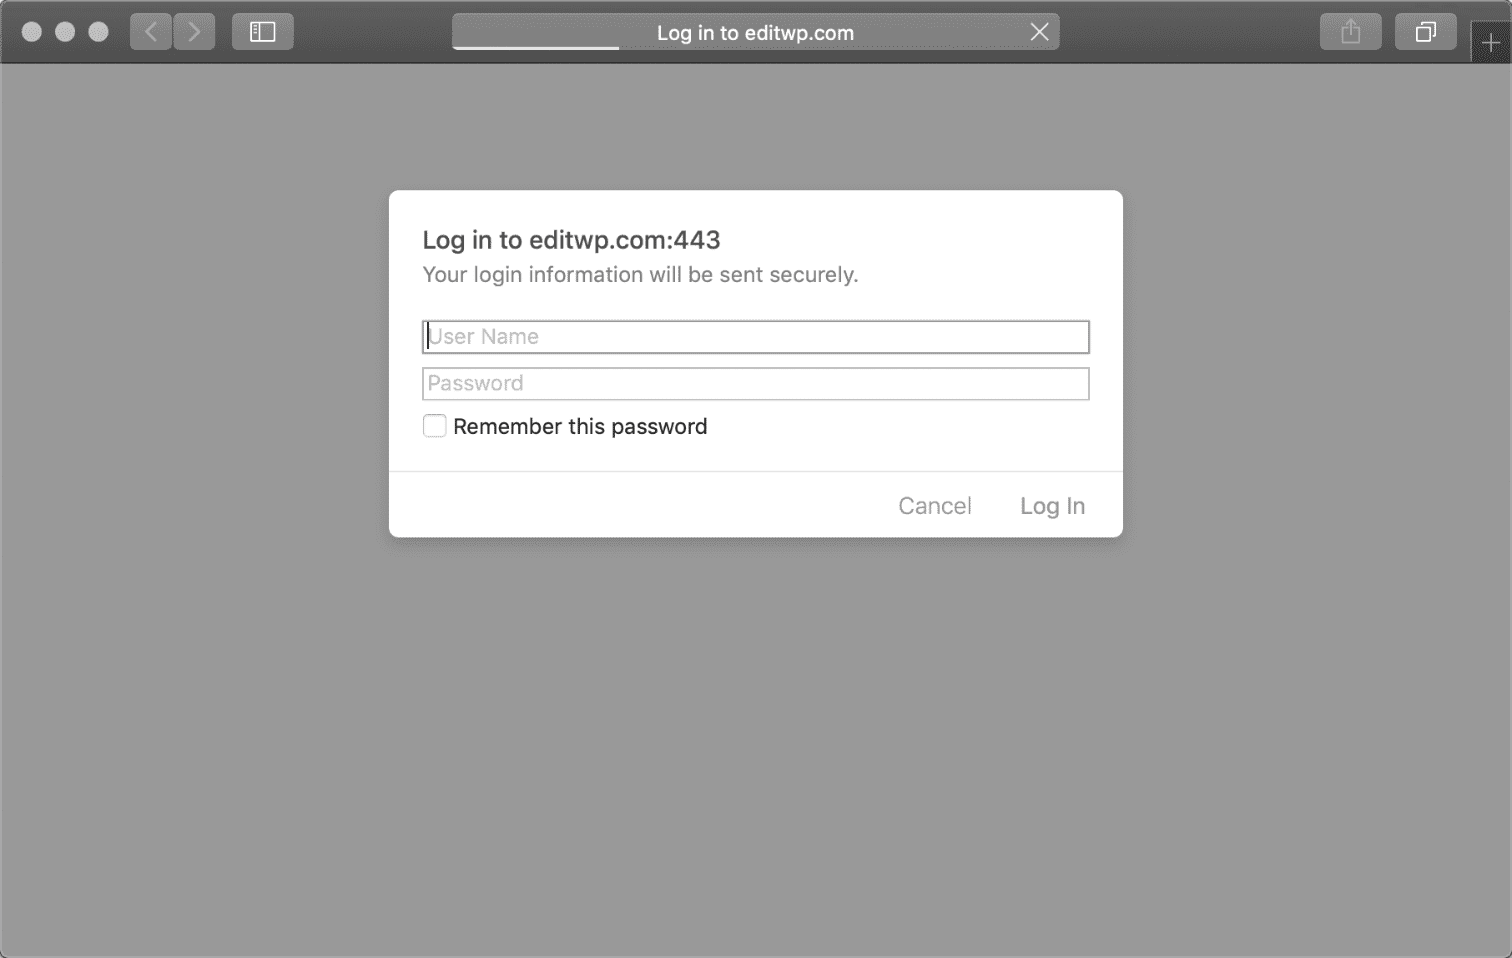
In Safari, it will be a Log in to… modal/pop-up.
How to change credentials or disable password protection
You can change the credentials or disable password protection at any time by going back to the .htpasswd tool in MyKinsta and clicking the Modify button.
If you need to password-protect just a portion of your site, a specific page, or further customize logins, check out our in-depth guide on WordPress password protection.
You can also open a new chat with our Support team if you need additional help. We’re here to help.